Have you ever recorded a tutorial, presentation, or software walkthrough, only to find that viewers struggle to follow your mouse clicks? Manually highlighting clicks in post-editing can be time-consuming and tedious. With the new Auto Zoom feature in latest Nero Screen Recorder, the editor automatically zooms in on your clicks, making it easier than ever to guide your audience and save editing time.
Guide
1: Record Your Screen
-
Select the screen or window to record.
-
Start recording and perform your actions as usual.
-
Tip: Enable 60 FPS recording for smoother playback, especially for fast movements or gameplay.
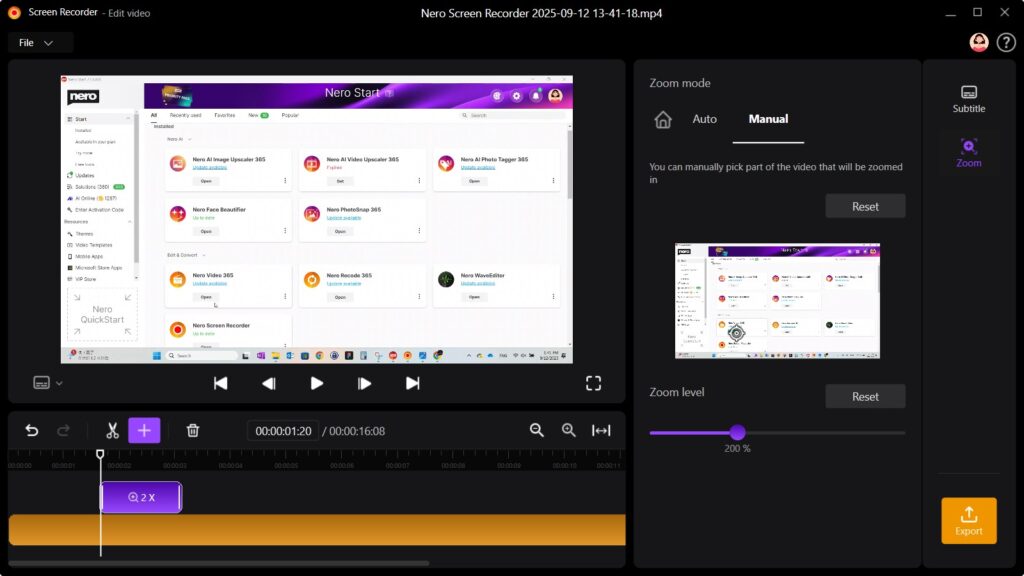
2: Try Auto Zoom
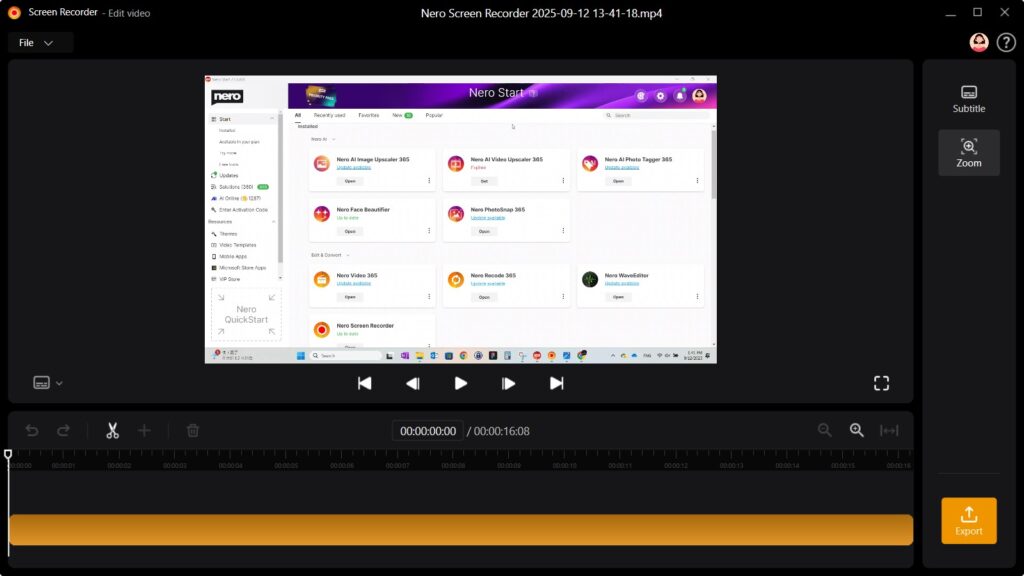
After recording, in the built-in editor:
-
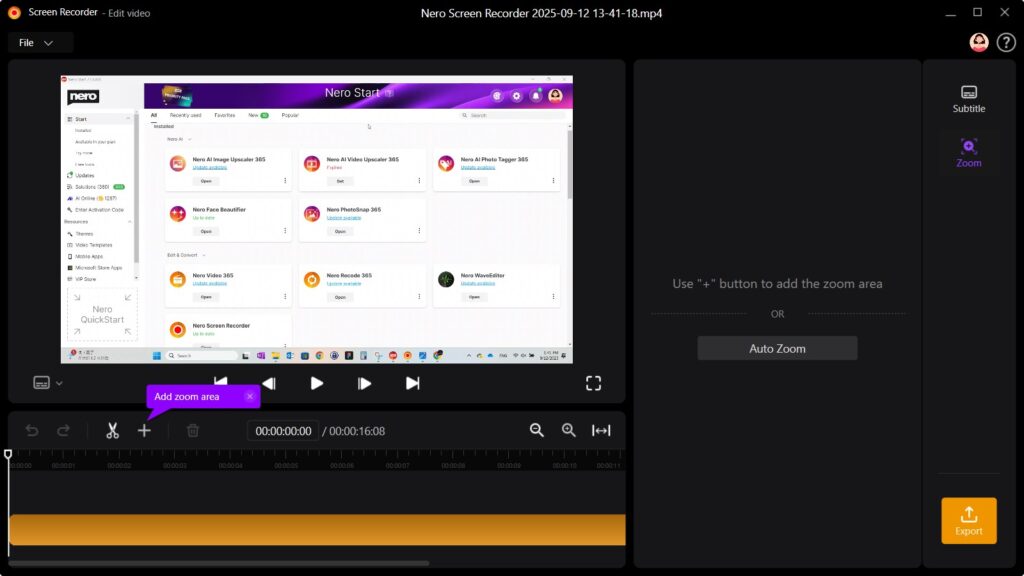
From Right Panel → Zoom.

-
Click Auto Zoom button → Auto Zoom will track your mouse clicks and highlight them during playback.
-
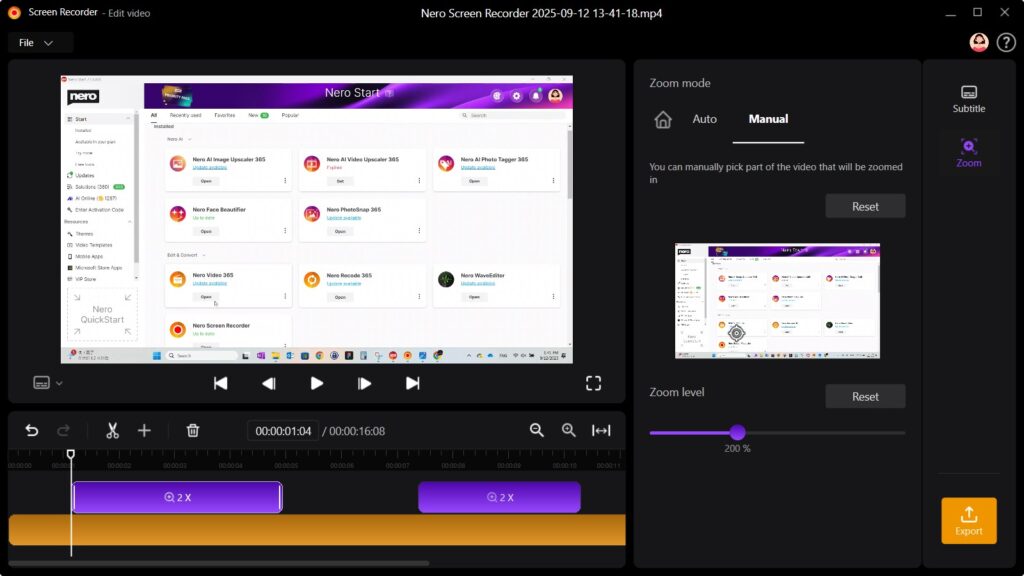
Playback automatically zoomed clicks and confirm clarity.
-
In Zoom mode, you can manually adjust the Zoom level in Manual tab.
3: Add zoom area manually
-
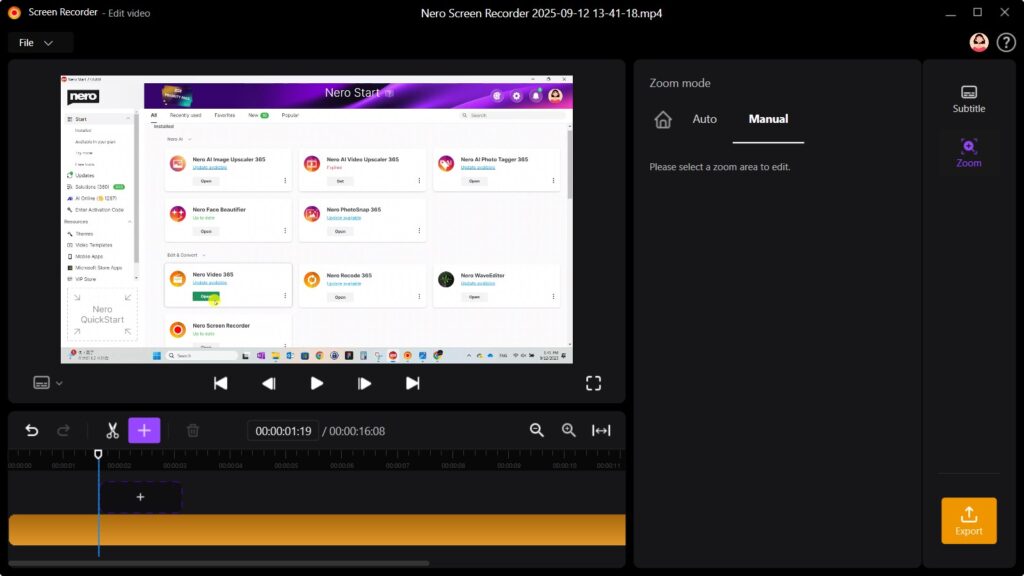
From timeline → Enable Add zoom area.
-
Move mouse to the position which you want to zoom → clicking to add
4: Review and Edit
-
Playback zoomed clicks and confirm clarity.
-
Optionally, trim, annotate, or enhance your video.
5: Exportieren
-
Export your video in the desired format.
Upgrade Tip
✅ Available with Subscription
The Auto Zoom feature (and 60 FPS recording) is available exclusively with a subscription.
-
If you are already a Nero Screen Recorder subscriber, simply update to Nero Screen Recorder 2026 to start using Auto Zoom today.
-
👉 Upgrade your workflow and create professional, easy-to-follow tutorials with minimal editing effort