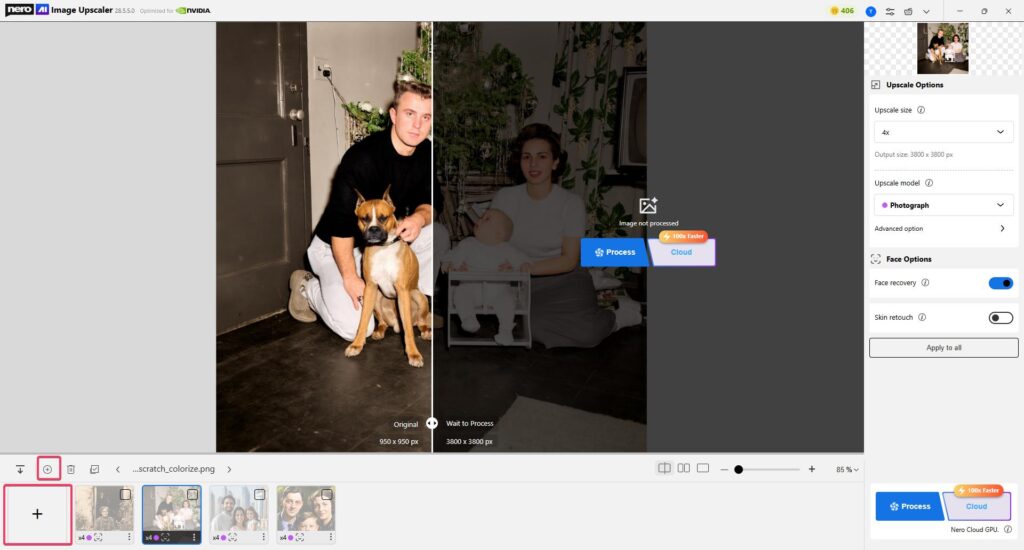
The Batch Upscale feature lets you process multiple images in one go — up to 20 images at a time — while maintaining high quality and flexibility. You can either apply the same AI model and settings to all images with one click or customize different settings for each image individually. This feature saves time and ensures consistent, professional results across your entire image set.
💡 What is [Apply to all]?
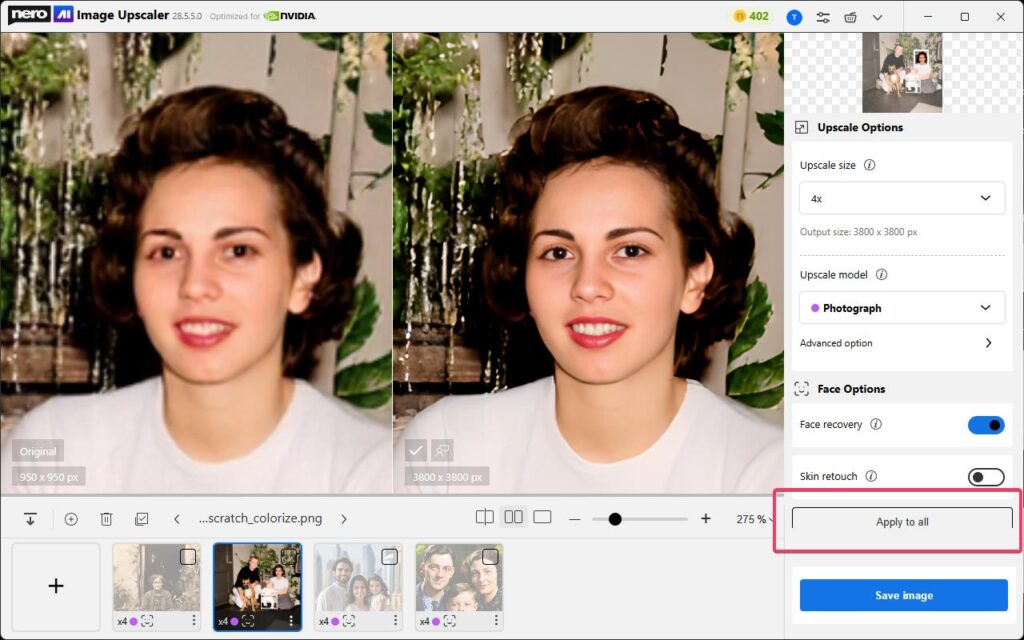
The Apply to all button automatically copies your current settings — including AI model, upscale rate, and face preferences— to all imported images.
Use it to ensure all photos follow the same parameters for a unified result.
Alternatively, you can assign different models or adjustments to individual images before batch processing.
🧭 How to Use
- Import Images
Add up to 20 images. Drag and drop them into the workspace or click Add.
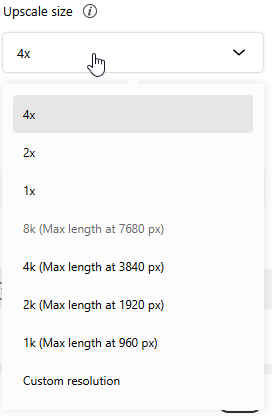
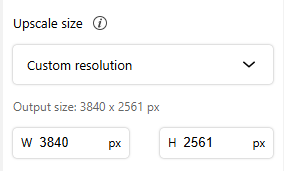
- Set Upscale Rate or Resolution
Choose a preset scale (e.g., 2×, 4×) or define a custom output resolution.

- Select AI Model
Pick an AI model best suited to the image type — for example:-
Photo – Soft and natural for portraits or everyday photos
-
Iris – Enhances fine textures such as hair, fur, and eyes
-
Standard – Ideal for landscapes and architecture
-
Anime – Designed for illustrations, paintings, and anime-style art
-
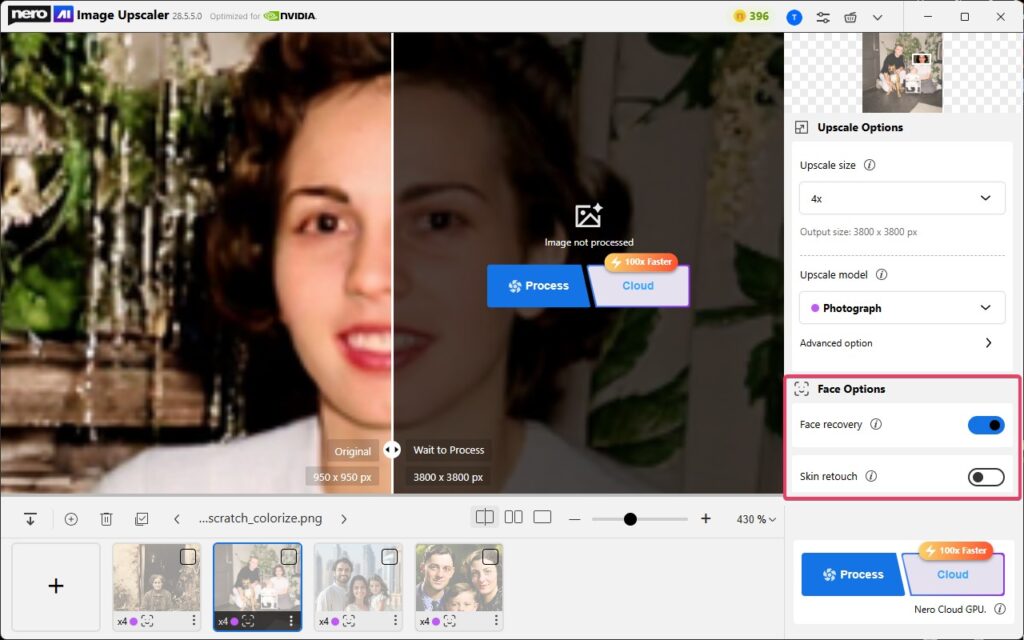
- Enable Face Recovery (Optional)
Turn on Face Recovery if your images include blurry faces that you want to enhance. It helps restore facial details and smooth imperfections.

- Preview and Adjust Settings
Process one image first to check results. Fine-tune model strength, upscale ratio, or face recovery if needed.
- Apply to All (Optional)
Once satisfied, click [Apply to all] to copy your current settings to all remaining unprocessed images.Or you can right-click the current image from the file list then click the [Apple settings to all images] button. You can still modify individual images afterward if they require different models or adjustments.
 - Select Images for Batch Processing
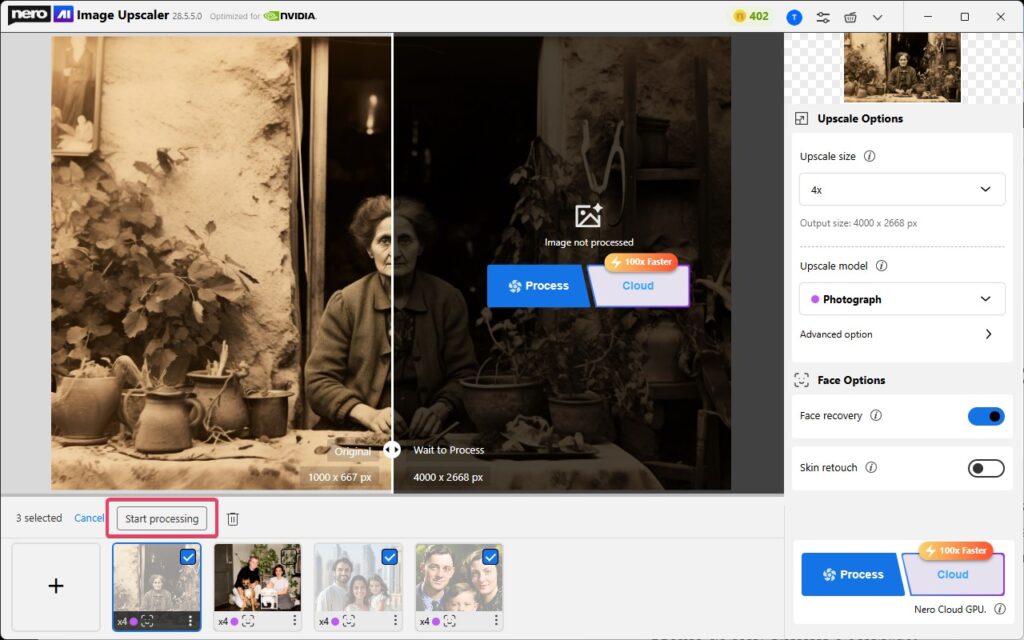
Click Select all button to include the entire batch (the processed image will not be processed again even checked on) or choose the specific images you want to process.

- Start Processing
Click [Start processing] to begin batch upscaling. Each image will be processed in sequence based on its assigned model and settings. - Monitor Progress and Review Results
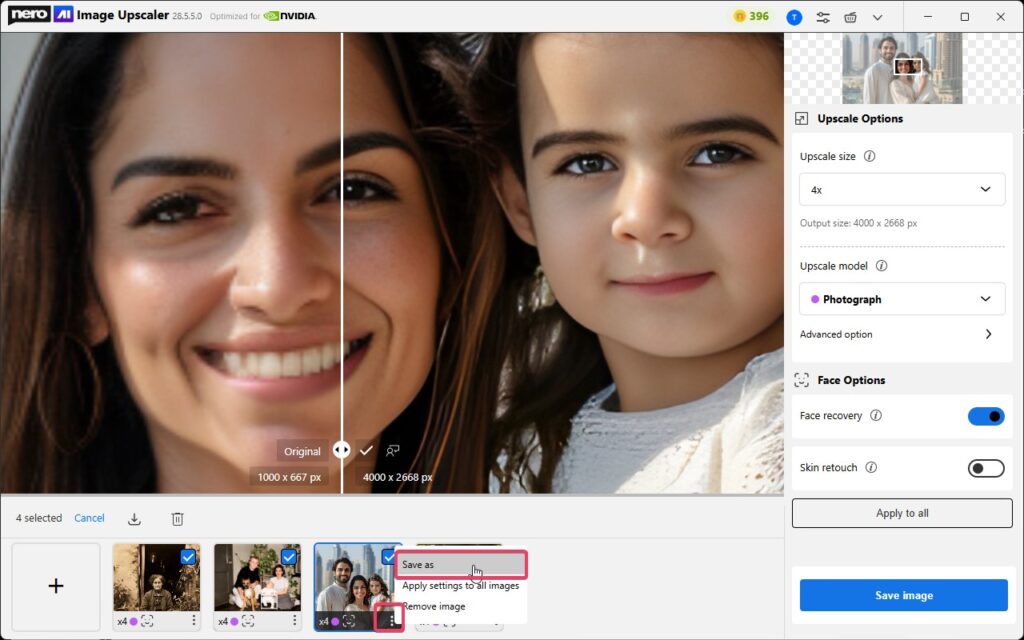
Follow progress in real time. When finished, review each result and export your enhanced images.

 Or you can right-click the current image from the file list then click the [Apple settings to all images] button.
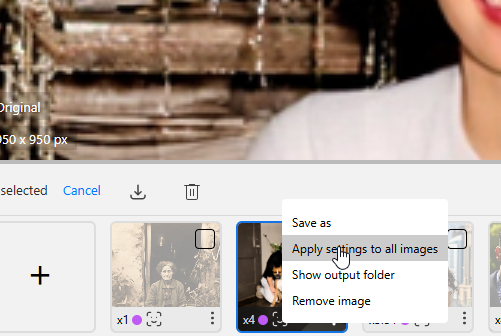 You can still modify individual images afterward if they require different models or adjustments.
✅ Best Practices
- Preview Before Batch Processing: Always test settings on one image before applying them to all.
- Mix Models for Different Image Types: Choose different AI models for portraits, artwork, or architecture to get optimal results.
- Balance Quality and Speed: Higher upscale ratios and larger original images increase processing time.
- Try Cloud Process for Heavy Tasks: If your PC is slow or running low on GPU/CPU memory, switch to Cloud Process for faster performance.(Requires Pro plan and consumes Nero Credits.)
🛠️ Troubleshooting
- Face Recovery Not Available
This feature requires a Pro or higher subscription. Upgrade to unlock advanced facial enhancement. - Task Failed or Processing Stopped
- Check your internet connection and ensure the batch does not exceed 20 images.
- If your PC is under heavy load or lacks GPU resources, try using the Cloud Process mode for stable and faster results.(Available for Pro users; each image consumes Nero Credits.)
- Inconsistent Results Across Images
Confirm that the correct AI model and settings are applied via [Apply to all], or adjust individually if image types vary. - Slow Performance
Close other demanding applications or background processes. For best speed, use Cloud Process or reduce batch size.