There are a number of options for you to view and preview your assets in Nero Video. ‘My Media’ is the key window for viewing, pre-viewing and checking all of your source assets.
Viewing your clips in My Media
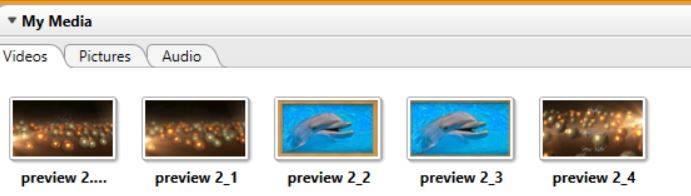
Within ‘My Media’ you find three tabs for the different types of media: Videos, Pictures, and Audio.
By default this archive is already filled with a number of clips, so that you can start doing some editing even without having imported your own clips.
You may not know this, and that’s why it is even more worth pointing out: within the ‘Audio’ tab you have almost 60 royalty free music samples available that you can use in your projects (if you own Nero Platinum 2019). These are all of a high quality and can easily be pre-listened for selection in your project by clicking ‘list view’, selecting a piece of music, and clicking the play button in the preview thumbnail.
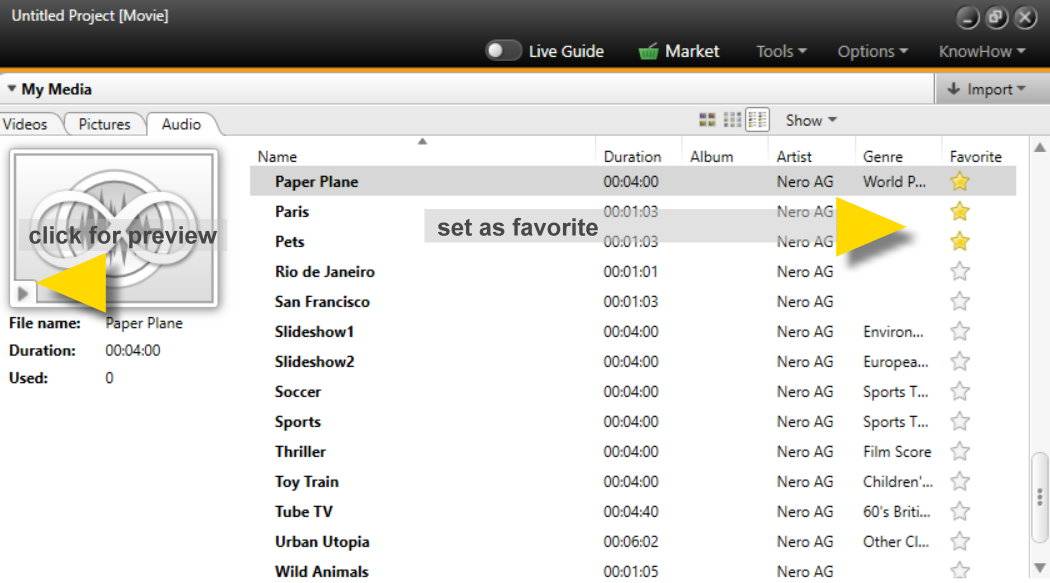
The viewing options for List view, Small thumbnails, and Large thumbnails apply to all tabs in My Media, so that you can flexibly select your preferred option. Also the option to set any of your of favorite clips as ‘Favorites’ applies to all of your assets within the tabs Videos, Pictures, and Audio.
Use ‘Show’ to view your media with applied filters
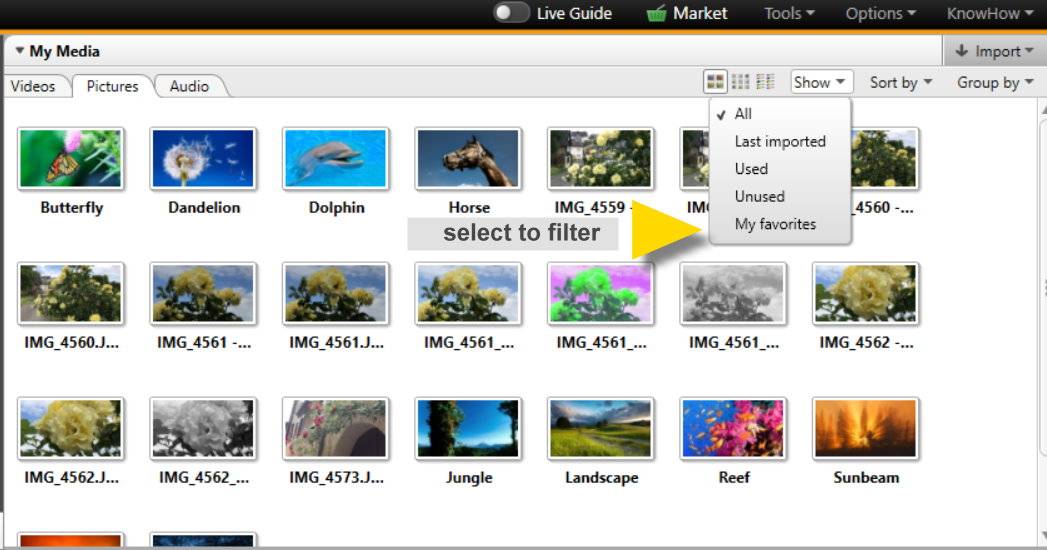
If you click on ‘Show’ in My Media, a drop down list will open. The default filter is ‘All’ and the preferred option depends on your project.
In many cases we can assume that a well suiting option will be ‘last imported’ to only view the clips that you actually imported after you had started your new project.
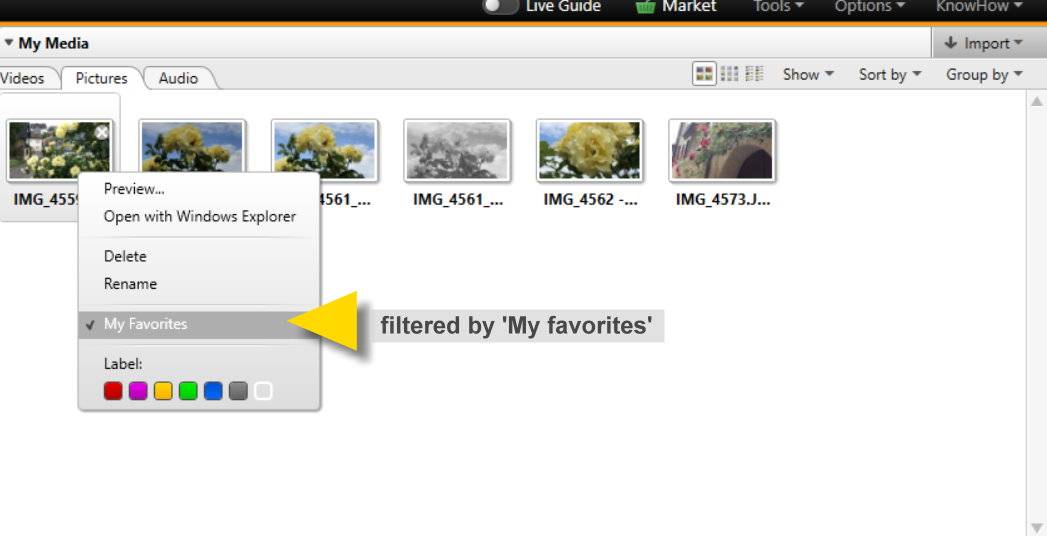
But you can also show your favorites, only, or just those clips that you are using in your project. The filter ‘Unused’ can be very convenient if you have finished your project and want to save it with only those assets that are actually used. Switching between views helps to keep the full picture.
 In addition, under ‘Sort by’ you have further sorting functions (name, day, month, etc.) to adapt the list of source files to your needs and those of the project.
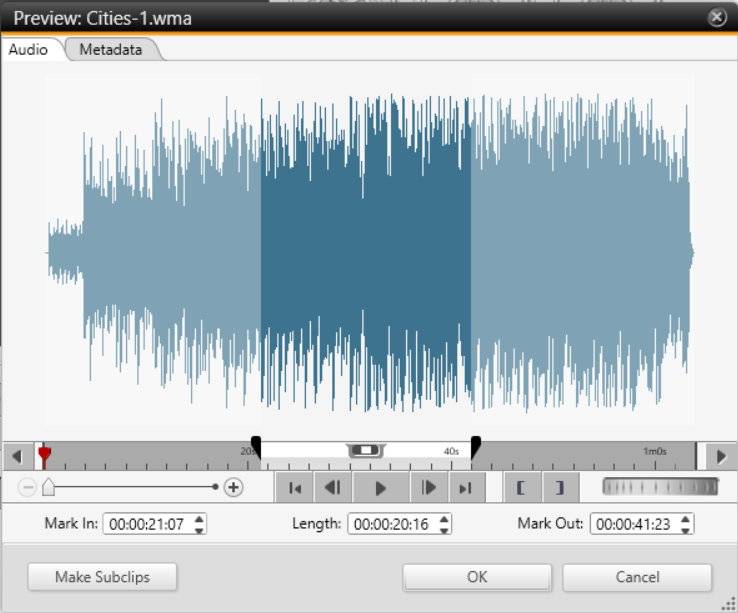
Preview and edit your assets individually with the pre-trim window
Double click on an asset in My Media and the preview window will open. This is available for all types of media and for any of these you can check the meta data if you click the respective tab (e.g. you can check the file format, the aspect ratio, the resolution, the codec of your source clip, etc).
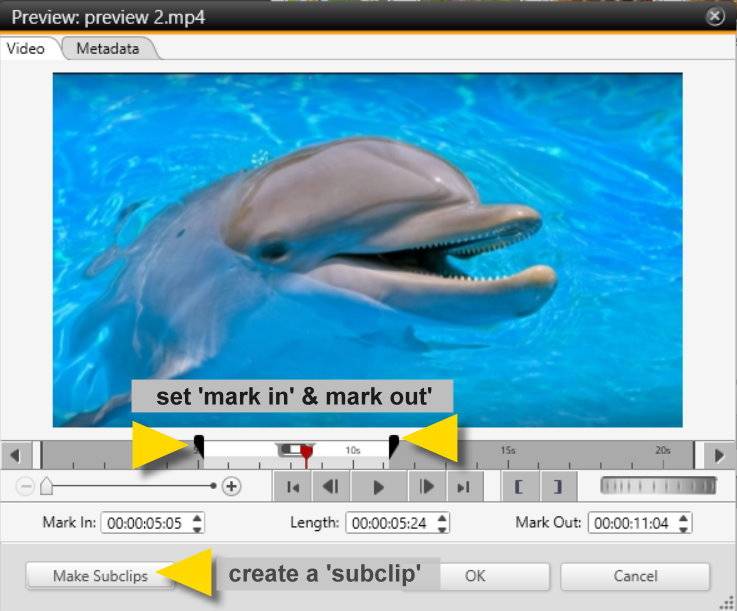
A very useful feature of the pre-trim window is setting ‘mark in’ and ‘mark out’ and even creating subclips of your assets. This allows you to separate sequences of your clips before even adding them to the timeline. Each subclip will be placed into My Media as a separate new clip.
Even if you want to edit special sequences out of your audio or music assets upfront of using them in the timeline, you can use the pre-trim window, too.
Just try it out, it helps improving your editing workflows for the rough cut quite a bit, especially as all the workflows described here just work identically in ‘Express Editing’ and ‘Advanced Editing’.
Nero KnowHow 00165