Changelog – Nero AI Image Upscaler

This is the changelog for version id starting with 24.5.x.x  

If you are running an app from Microsoft Store whose version id starts with 2.0.x.x, please see the changelog here. 

25.5.12.0

2023-01-13

New

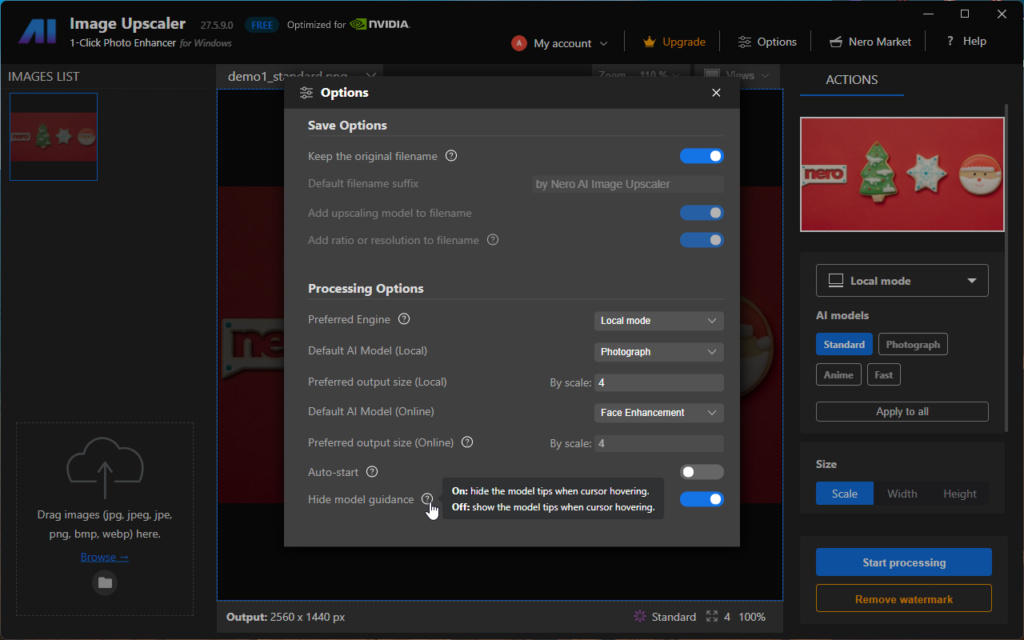
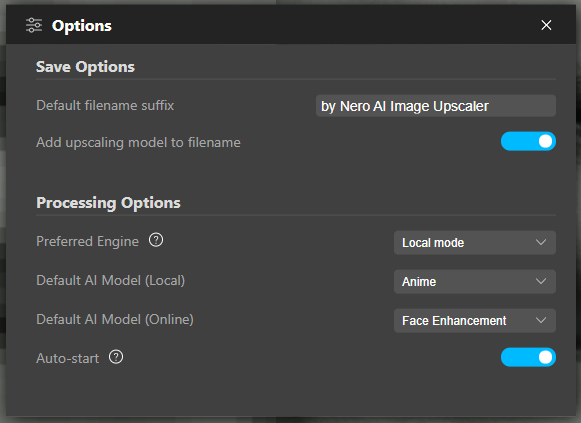
setup default ai model

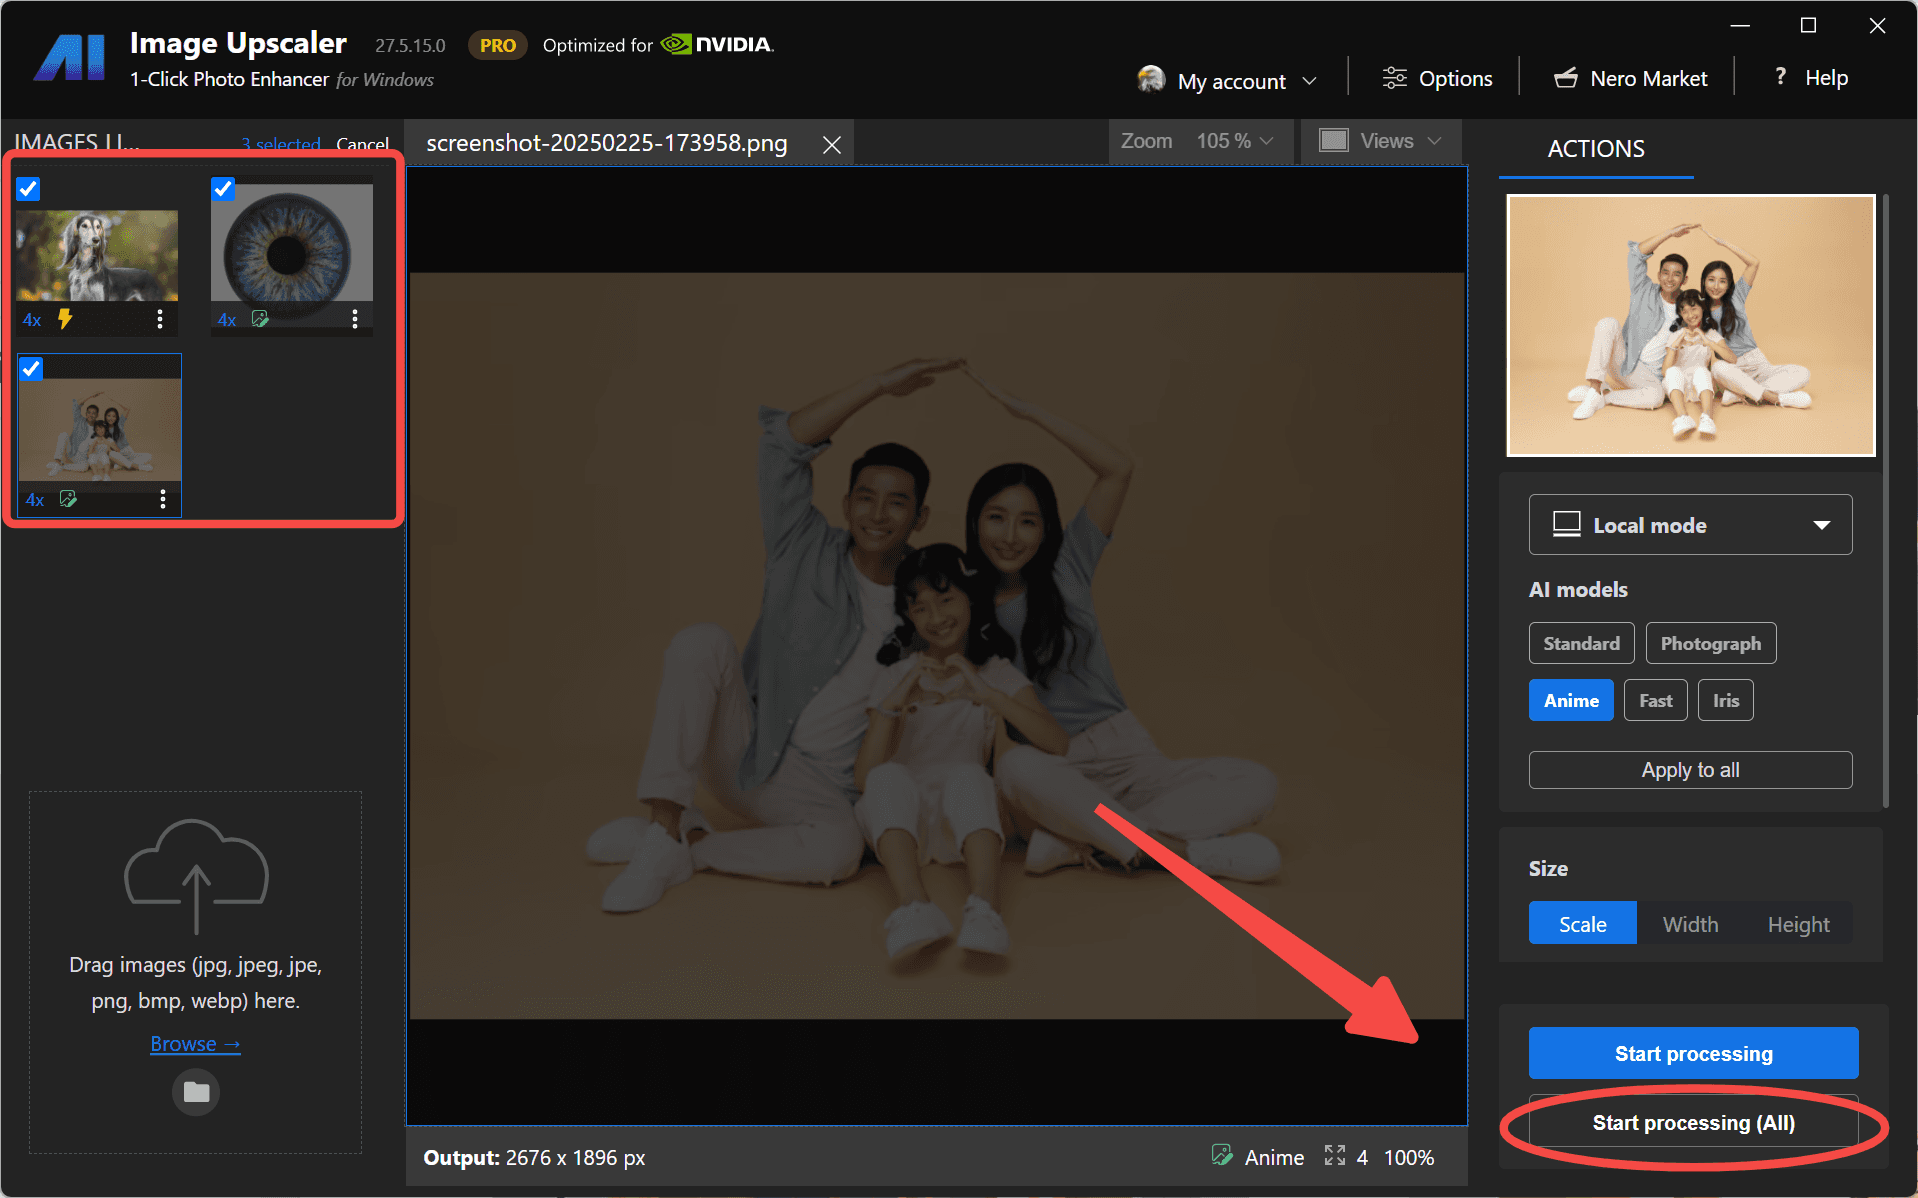
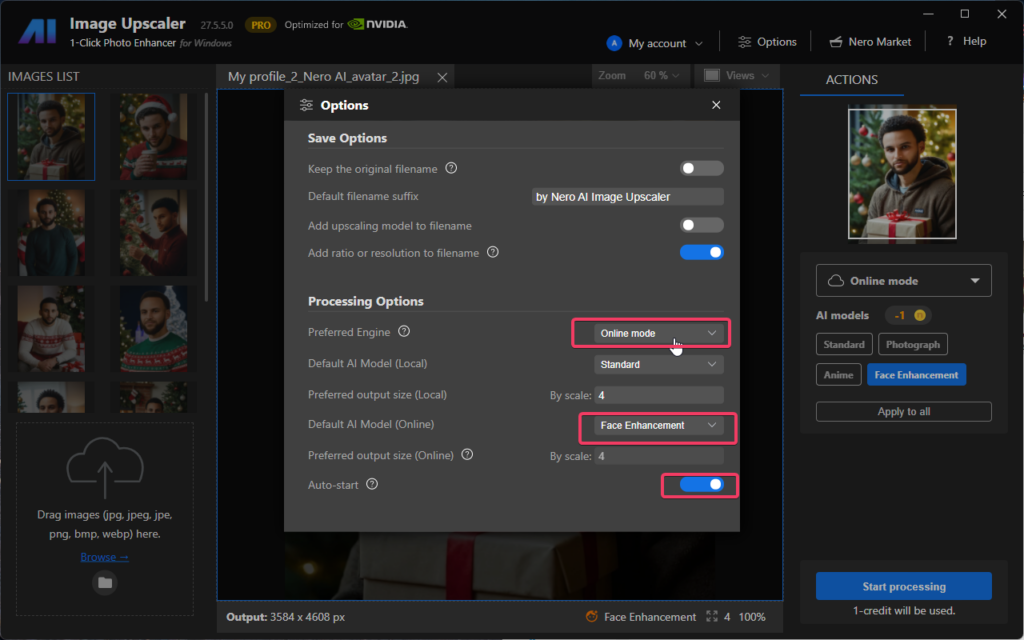
  • Now you can set up the default AI model in the Options.
  • Support new format .webp

25.5.11.0

2022-10-28

Improvements

  • Localizations for German


25.5.10.0

2022-10-14

New

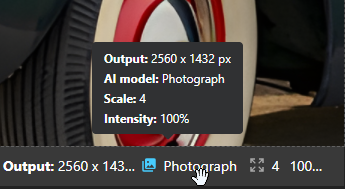
  • Hints with gif when cursor hovers on the model.

tooltip for models

  • Show the progress status in the thumbnail list for the image under processing.

progress status

  • Support compression settings when saving results as the jpeg.

jpeg compressions

  • Keep original EXIF data in the resulting image.

Improvements

  • Better sample image with result presenting.
  • The process will not be interrupted when the PC sleep.
  • Other improvements for stability and reliability.


24.5.67.0

2022-07-04

New

  • Some example images to start with.new start with example
  • You can input images from Google Drive

open from google drive

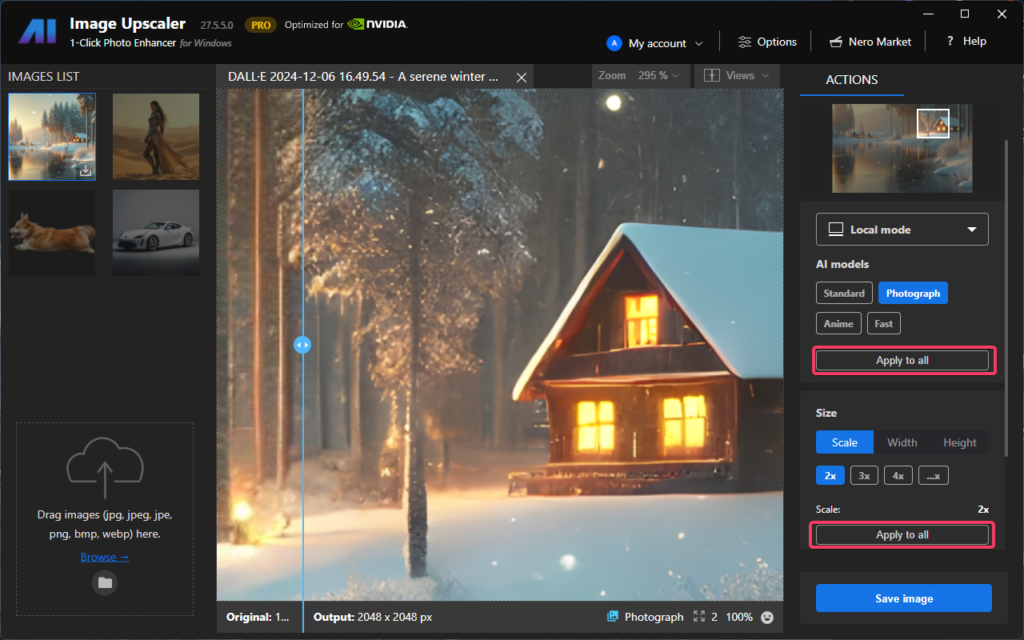
  • AI model selection is now available. Try different models for different photos till you get a happy result.

ai models

  • You define how big the result goes. 2x, 4x or by targeted width and height values.

more scale ratio

  • More comparison views:

1on1 view

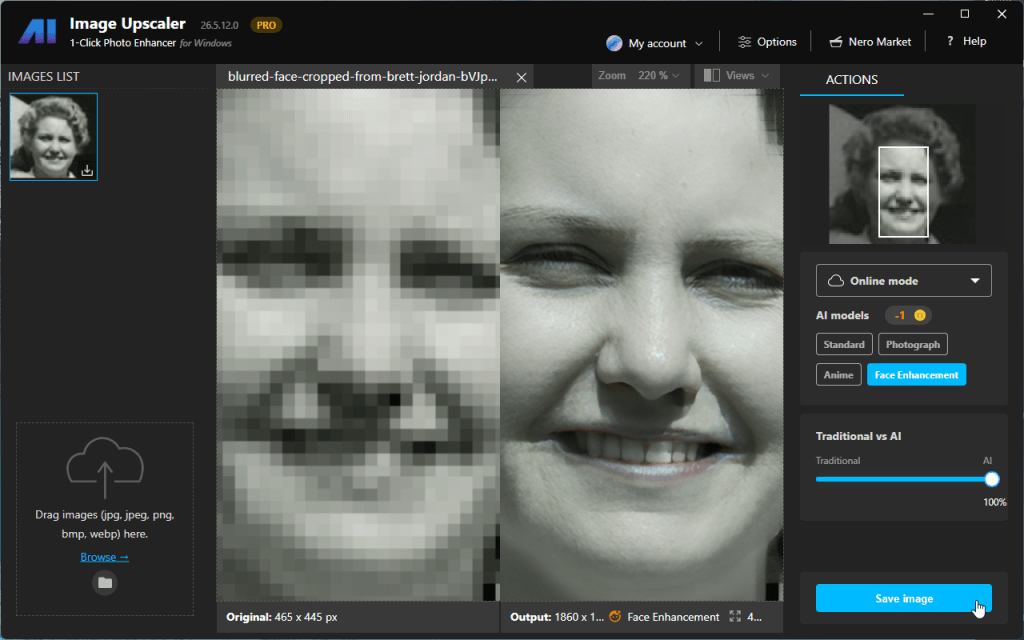
  • Compare traditional and AI results with the slide bar.

traditionalvsai

  • Batch processing is possible and up to 20 images in a row.

batch process

Improvements

  • Giant improvements in processing speed with NVIDIA GPU acceleration.
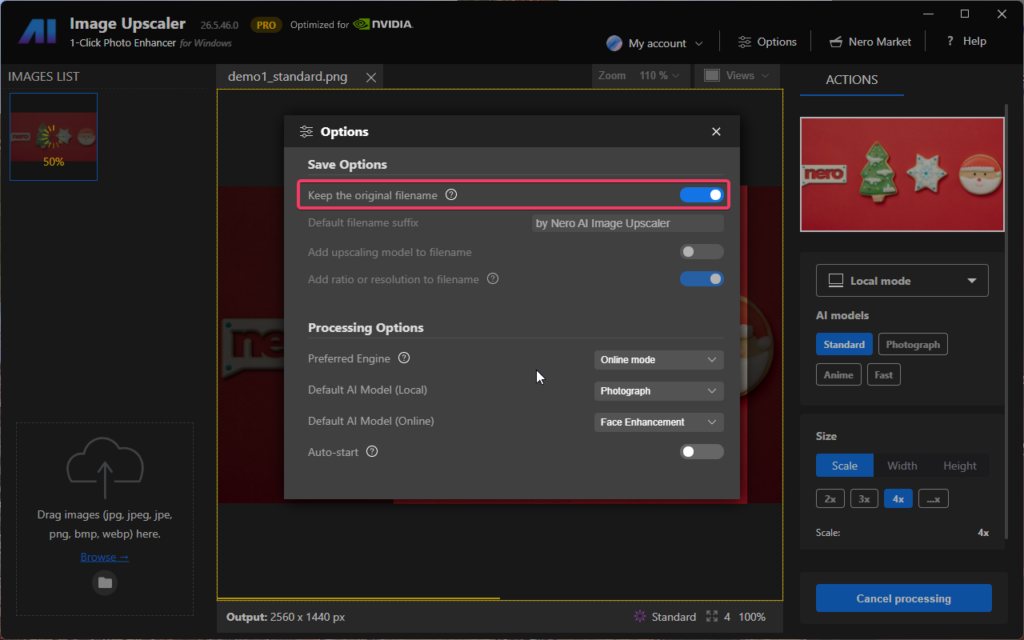
  • Save files with customized file names.


24.5.30.11

2021-12-07

Improvements

  • New icon design
  • Some improvements for photographs with faces.


24.5.30.7

2021-10-21

Improvements

  • Improved ads and Nero Market button.


24.5.30.6

2021-10-11

Features

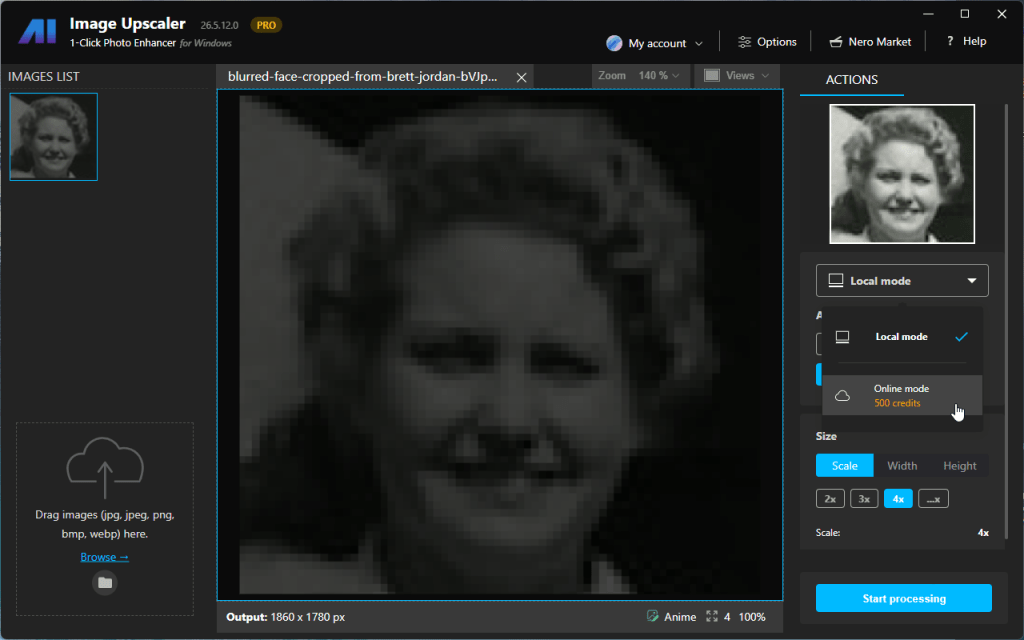
The initial release of Nero AI Image Upscaler – use artificial intelligence to increase image resolution with enhanced sharpness and detail.

  • Upscale rate: 4x.
  • Remove noise and jpeg compression artifacts.
  • Support JPEG, and PNG.


Nero KnowHow 00251

What is Nero AI Image Upscaling?

Whether you’re a blogger or designer, an online store owner, or a student, poor photo quality can be a major obstacle when it comes to photo printing and sharing.

These problems are now things of the past – with Nero’s cutting-edge deep learning technology, you can now enlarge your photos by enhancing their details and increasing their resolution.

What is Nero AI Image Upscaler (Lens)?

Nero AI Image Upscaler (Lens) is an AI-powered tool that can enlarge image size and increase resolution with enhanced quality.

By reducing noise and sharpening the details, AI Image Upscaler (Lens) lets works best on small images and photos.

How does Nero AI Image Upscaler (Lens) work?

Nero AI Image Upscaler (Lens) uses state-of-the-art image super-resolution technology based on deep convolutional neural networks.

Our neural network is trained on an immense dataset of training photos. In detail, we used millions of low-resolution and high-resolution image pairs to train the software on upscaling images and to learn typical features of physical objects such as the bricks of walls, hair and skin.

After the network recognizes those features on the images, it will enhance those details based on its general knowledge of the world.

What is traditional image upscaling?

Before AI-based image upscaling technology, it was virtually impossible to increase photo or image size without losing quality.

The best option, called Bicubic Interpolation – made your image unsharp and blurry.

Left: Original 4x | Right: 4x by Nero AI

Nero AI Upscaling
Bicubic

What pictures work best with Nero AI Image Upscaler (Lens)?

The system works best with unprocessed images that were not previously upscaled or pixelated by any other software tool.

Our main focus currently is upscaling physical content with sharp corners like digital illustrations, images with sharp borders, and contrasting textures (such as watches).

For images with small human faces or text, the result will be less obvious after processing.

Do you remove JPEG compression artifacts?

Yes, we automatically remove JPEG noise (also known as compression artifacts), if we detect an image with a .jpg or .jpeg extension.

If for any reason you want to upscale your image without removing noise, you can input your image as a png-file.

Is there a size limit for the images I want to upscale?

Users of the online version can use images with 3.75 megapixels (e.g. 2560*1440 pixels in 16:9).

Users of the mobile version which is called “Nero Lens” can use images with 4032*2268 pixels in size.

For the desktop version, the source image should be smaller than 16.78 megapixels.

However, the processing speed depends on your desktop’s or mobile’s CPU and GPU limitations.

Processing a high-resolution image will take up more time. In addition, the result may be less obvious when upscaling a high-resolution image.

Where can I find Nero AI Image Upscaler (Lens)?

Click on this magic link to download the version for your Windows PC.

You can also download it from the Microsoft Store with the below link: https://www.microsoft.com/store/apps/9N346N9MMKD9

Log on to the website https://ai.nero.com/image-upscaler to upscale small images online for free.

Or install our browser extension for Chrome and Edge from: https://chrome.google.com/webstore/detail/hd-image-downloader-nero/jdapmgnpnablnnmogepmjlomhhncmmie

“Nero Lens”, the mobile application is available in the App Store, Play Store, and Huawei App Gallery.

Lens- AI Photo Enhancer & Upscaler for iOS: https://apps.apple.com/us/app/ai-photo-enhancer-upscaler/id1594148389

Lens – AI Photo Enhancer-Unblur/Clear for Android: https://play.google.com/store/apps/details?id=com.nero.image_upscaler

Lens – AI Photo Enhancer for Huawei App Gallery: https://appgallery.huawei.com/app/C108366751

Nero KnowHow 00250

What is new in ‘Nero Start’ in Nero 2019?

Starting with Nero 2019 generation, ‘Nero Start’ (to some also known as Nero Launcher) comes in a refreshed design and updated workflows. Now, you will get going with your Nero product much more easily and achieve result faster than before.

The new user interface with completely updated design and workflows now includes animated buttons, which make the former next/previous page behavior superfluous. This way, you can directly open the info and video tutorial windows per application, now.

Moreover, it integrates a last used application function and gives prominent access to new Nero KnowHow PLUS. Via a slider, Nero Start allows you to change the UI between a lighter and a darker UI version.

Another highlight is ‘1-Click Video Story‘, that integrates into ‘Nero QuickStart’. Simply drag & drop photos or videos to the drop zone and your files will load automatically with a predesigned movie theme inside of Nero Video. Also see Nero KnowHow 00139.

‘Nero Start’ is available for all Nero Suite and standalone products, and also includes access to new ‘Nero KnowHow PLUS’.

1.PNG

Changes in the Version Installation Behavior

First published with Nero 2019, ‘Nero Start’ becomes independent of the installed Nero Suite generation. It is part of the Nero product installer but installs individually as ’Nero Core’ (including Nero Start, Nero Control Center, Nero KnowHow PLUS, and  Nero Update), after which the Suite applications will be installed.

From Nero 2019, ‘Nero Start’ will reside on the system and integrate with the Nero product version you own. Your product version displays prominently in the header of Nero Start. Even if you uninstall Nero Suite, ‘Nero Start’ with ‘NeroKnowHow PLUS’ and ‘Nero ControlCenter’ will still be available and usable.

Because ‘Nero Start’ will be generation independent, you will no longer see a version number associated to the Nero icon in Windows Start Menu. The icon will not say ‘Nero 2019’, but will just say ‘Nero’, or ‘Nero Start’ respectively. If a desktop shortcut was not added automatically, clicking on this icon in Windows Start Menu, will launch the application and automatically create a desktop shortcut for ’Nero Start’.

What to do if ‘Nero 2019’ was not installed, but only ‘Nero Core’

In some circumstances, it can happen that after the initial installation of Windows prerequisites and ‘Nero Core’, the installer will ask you to reboot. In most cases, the installation for Nero applications will automatically continue after the reboot.

In the rare case that the installation does not continue automatically, please run the installer you received with your Nero ESD purchase or run the Nero program installer on the DVD of your Nero retail product again, to finalize the installation.

Nero KnowHow 00135