We always improve our product based on your feedback and suggestions continually.
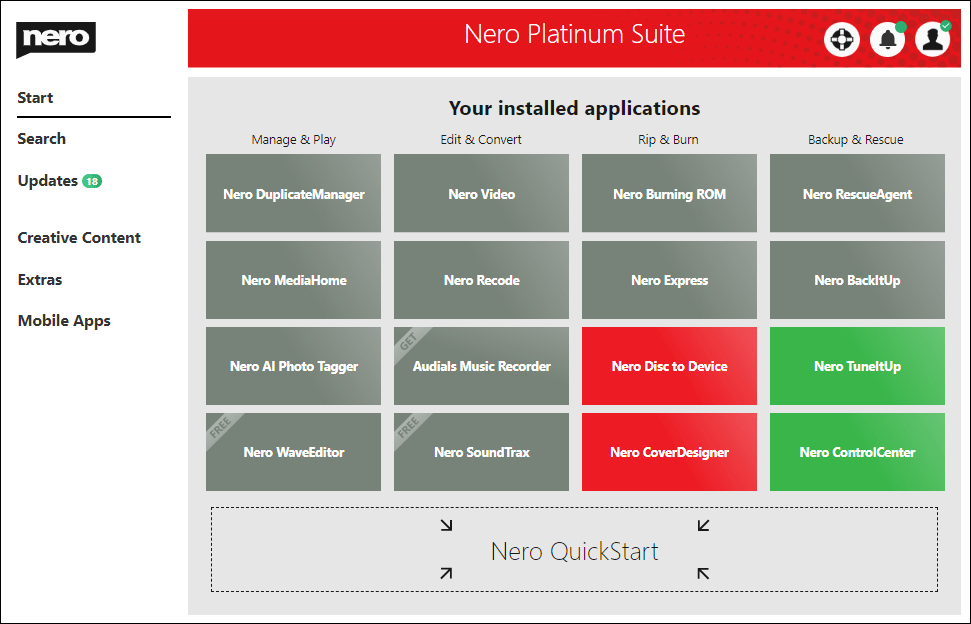
Nero Start
- [NEW] VIP Store is available for Nero Platinum Suite – 1 year license. In VIP store exclusive discounts is available.
- [NEW] Nero TuneItUp PRO is available for Nero Platinum Suite – 1 year license. Download, install and unlock it!
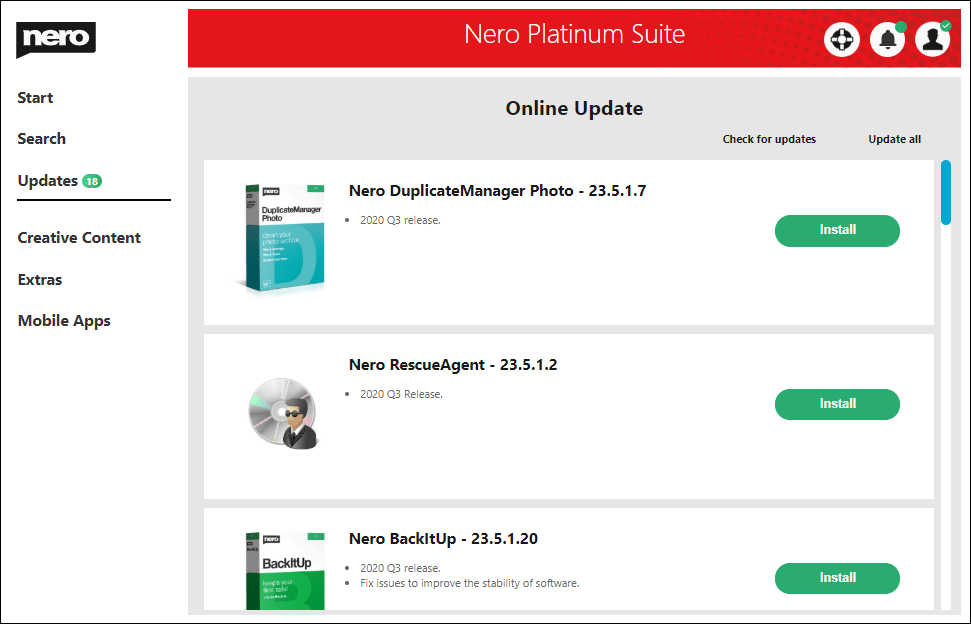
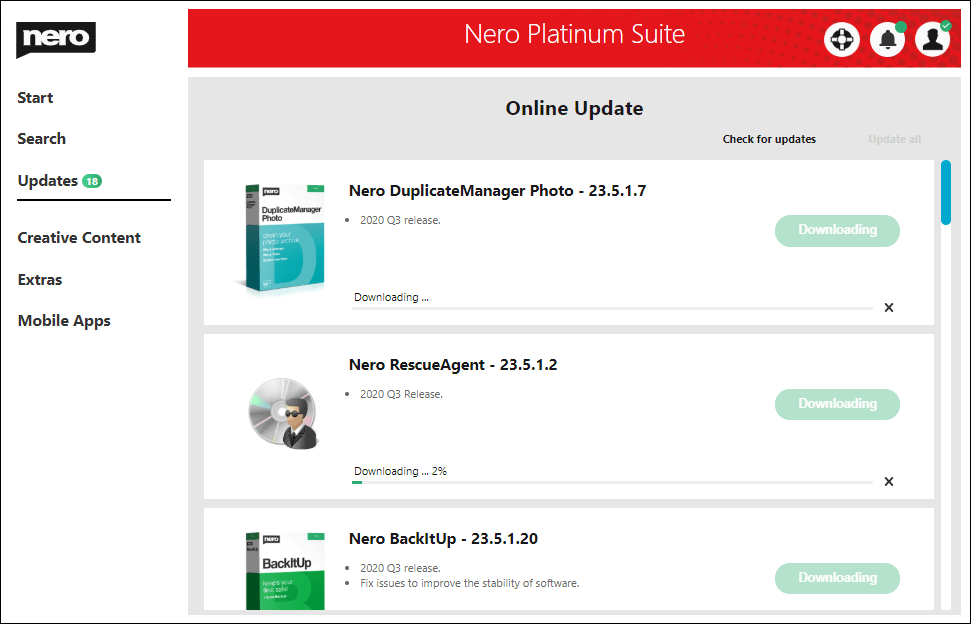
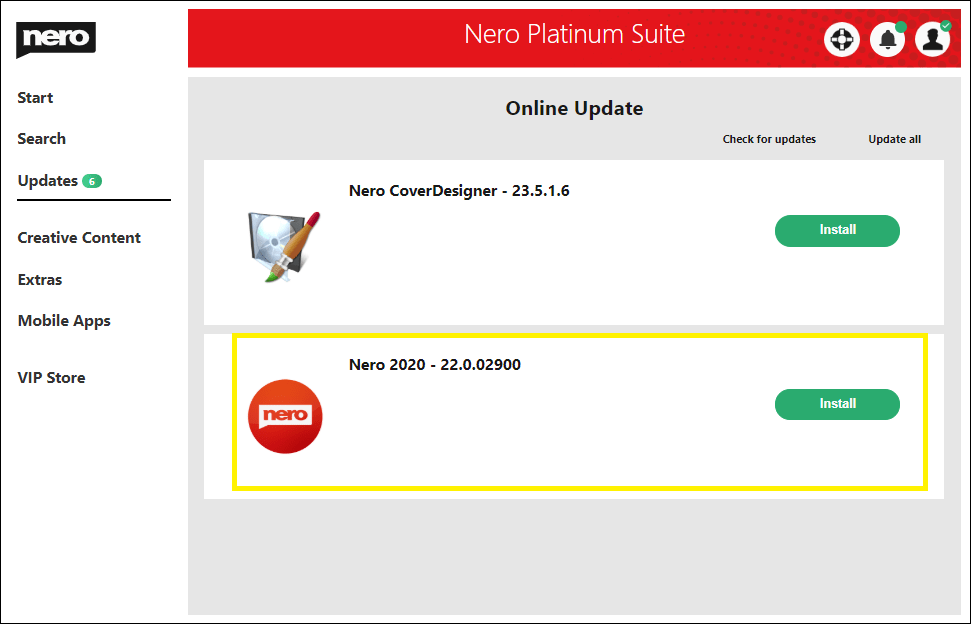
- [NEW] New Updates Center to install and Update Nero products.
- [NEW] New designed Options screen in Nero Start.
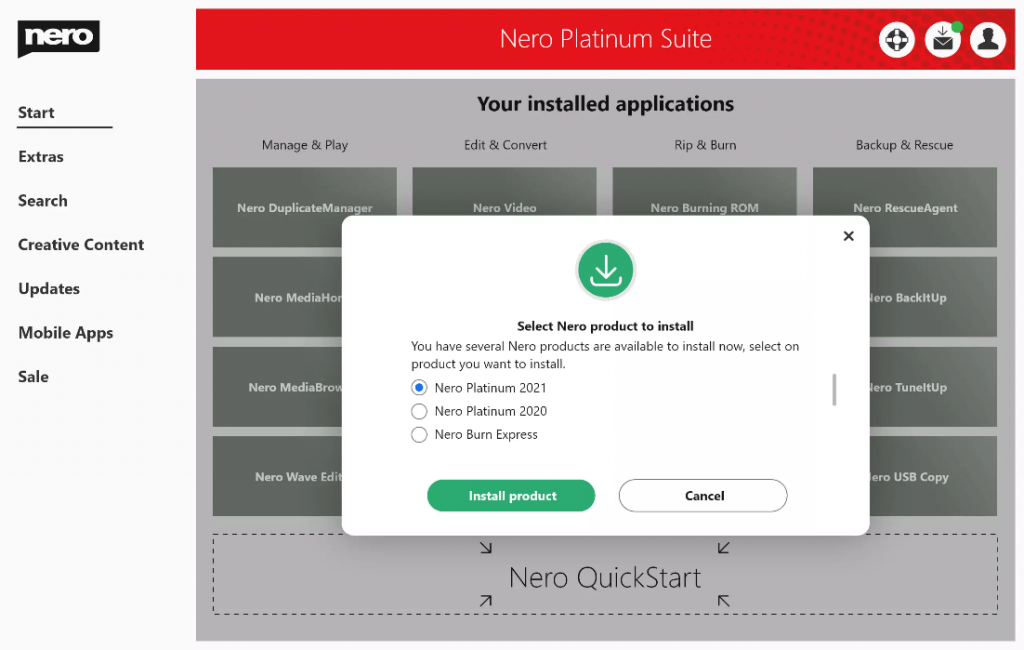
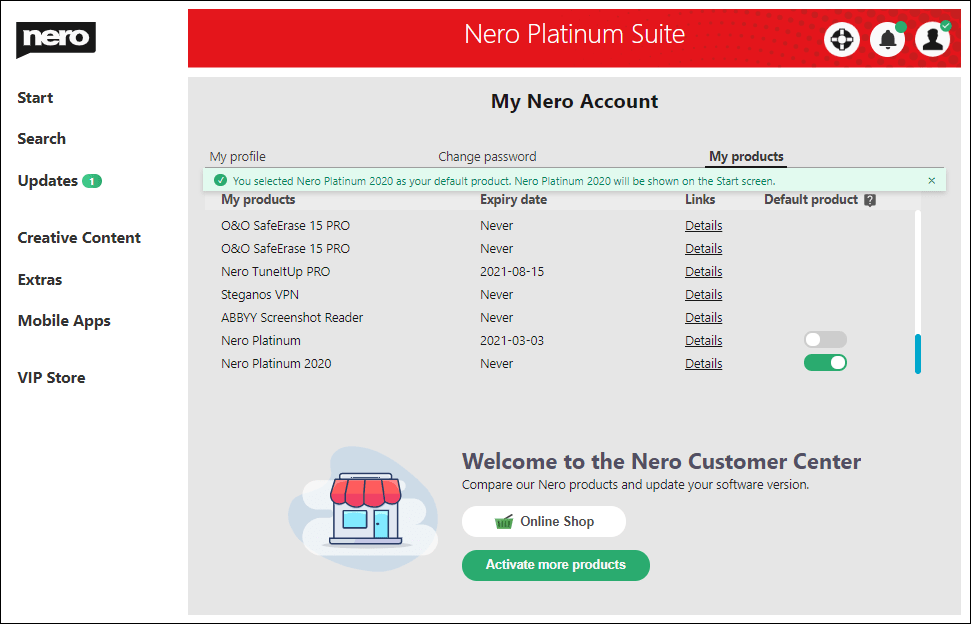
- [NEW] It is available to select one Nero product from all products in my Nero Account and show in on the Start screen.
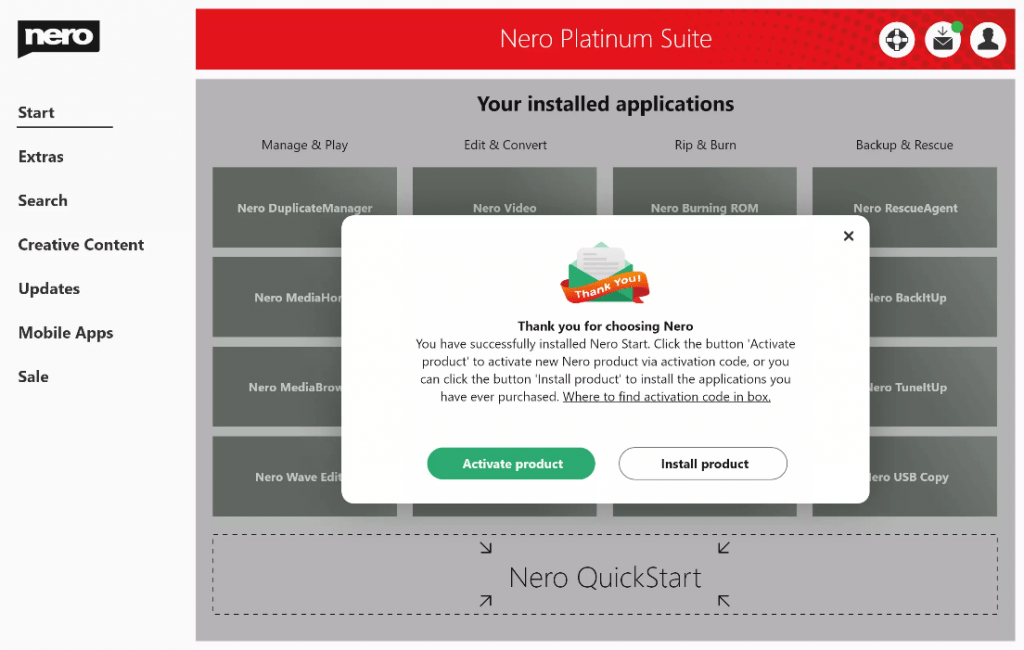
- Improved notifications in Nero Start.
- Fix issues to improve the software stability.
Nero MediaHome
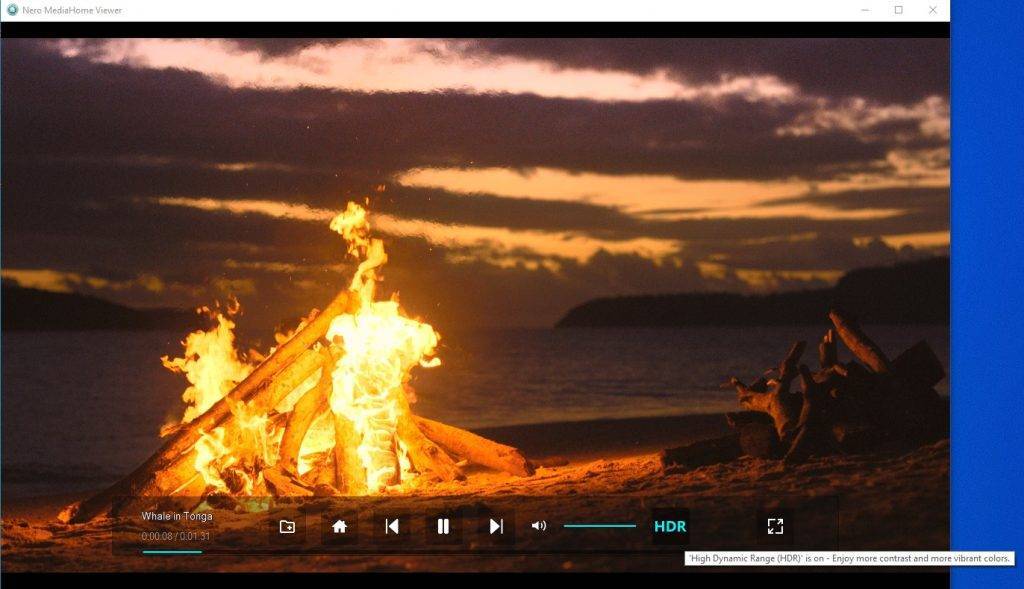
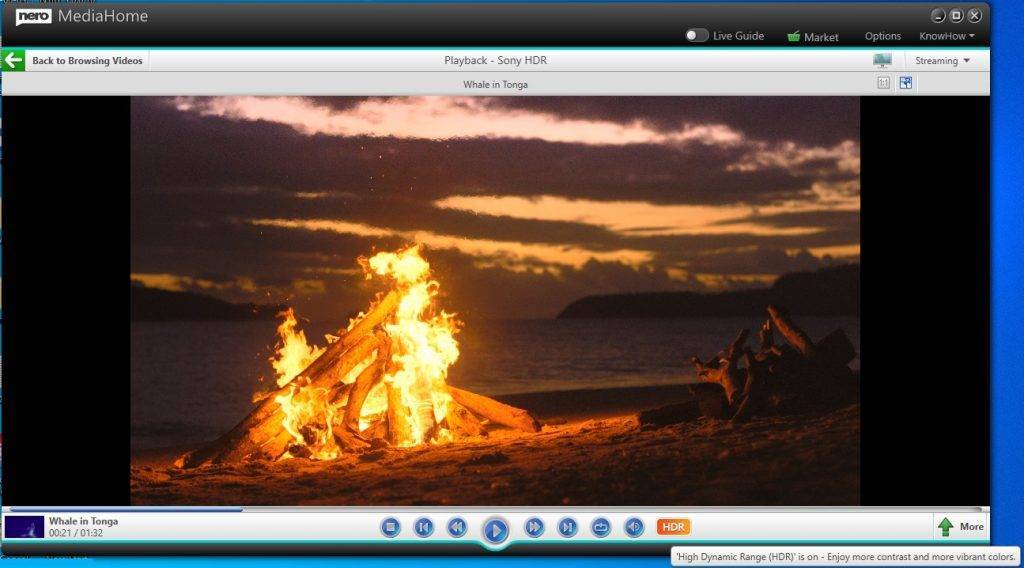
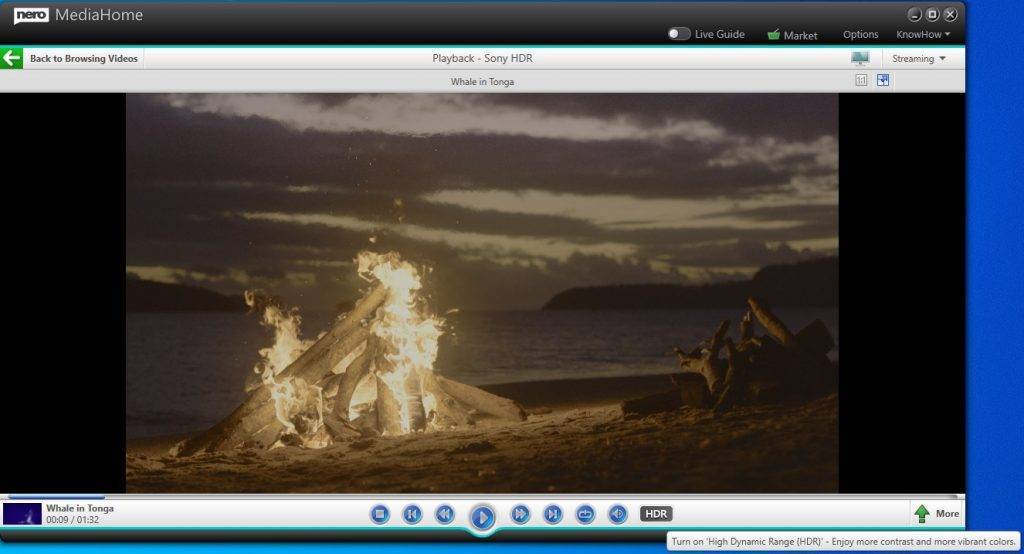
- [NEW] At Windows 10 system, now Nero MediaHome supports high dynamic range(HDR) playback for videos, movies and TV shows. You will find more detail at its How To document.
- [NEW] The detected AI tags are not so satisfied? Now you can manually correct the AI tag for your photo to better organize your photos.
- [IMPROVEMENT] Now you can find your photos easily! The new organized “Find” view allows you select “Find” conditions with much clearer structure.
- We have fixed some issues during face detection for the photos which are stored at OneDrive, NAS and network drives.
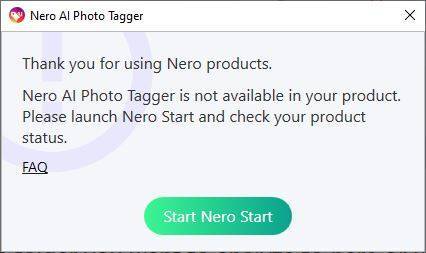
Nero AI Photo Tagger
- [NEW] Completely new user interface and better usability.
- [NEW] Nero AI Photo Tagger now supports more than 90 AI tags.
- [NEW] Upgraded AI detection is smarter than before. Now it provides you a better tagging precision for less manual work.
Nero Video
- [NEW] Now in Nero Video editing screen, possible to save the used assets and project file to another folder. With this new function, you can easily manage your Nero Video projects.
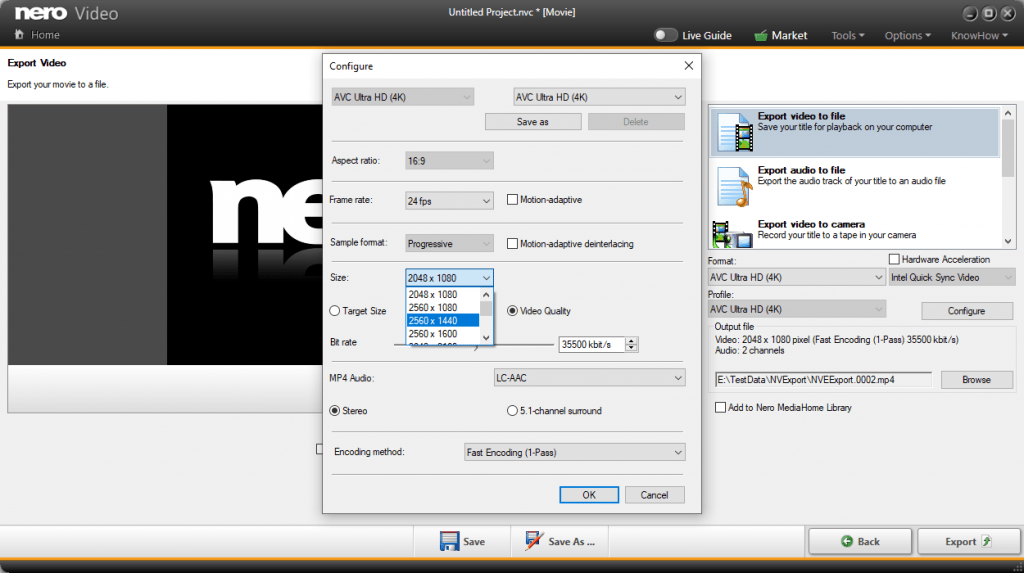
- [NEW] Add 2K level output resolutions in the profile “AVC Ultra HD(4k)”.
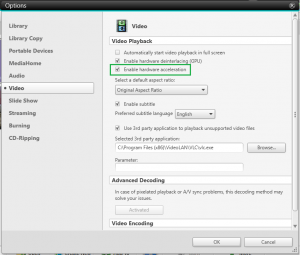
- Fixed the issue “Video looks distorted with green stripes in preview windows or burned disc” while decoding via Video Graphic Card Hardware Acceleration Decoding.
- Fixed the the position of audio config menu in Express Editing while in tablet model. At the same time, click the number in pop up volume adjust dialog, you can adjust the volume more precisely.
- Fixed the issue “Export MPEG-4 files failed due to the useless audio settings”.
- Fixed the crashes in Nero Video while enable the function of Video Graphic Card Hardware Acceleration Decoding.
- Fixed the issue that Seamless audios are missing in Audio Tab or cannot import into Nero Video project.
- Fixed the issue that the right context menu is missing in the Text editing screen.
Nero Recode
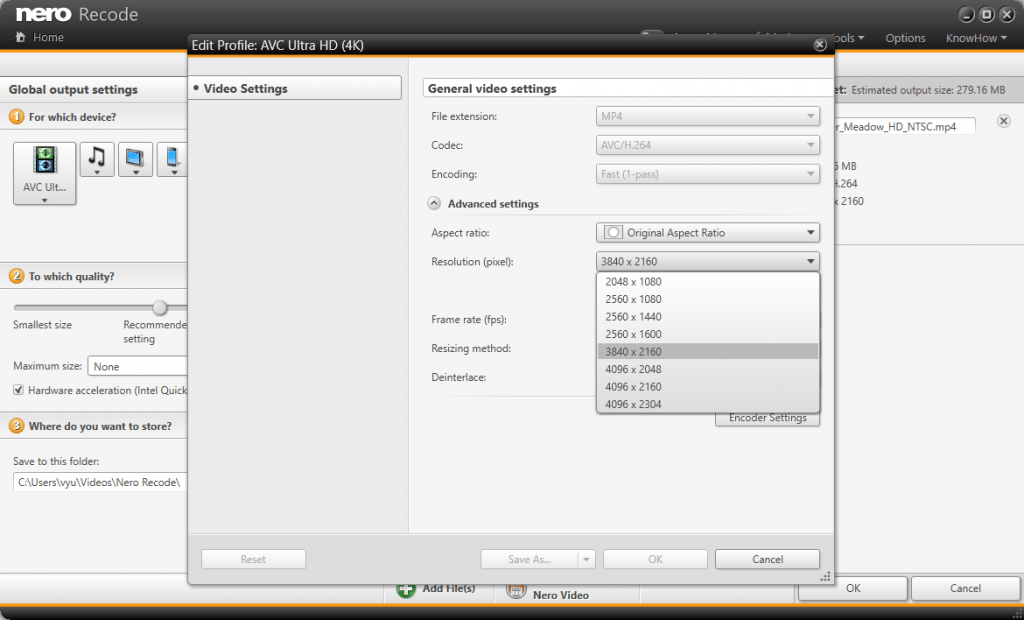
- [NEW] Support to export AVC 2K video files.
- Fixed the issue that the estimated output size is much larger than the actual size.
- Fixed the crash in playing HEVC 4K videos via Video Graph Card’s Hardware Acceleration decoding.
Nero Burning ROM & Nero Express
- Improve the burning module to fix the issue of cannot identify some Optical Disc Driver.
- Fix crash issues to improve the software stability.
Nero BackItUp
- Fix issues to improve the software stability.
Nero USBxCOPY
- [NEW] New user interface and better usability.
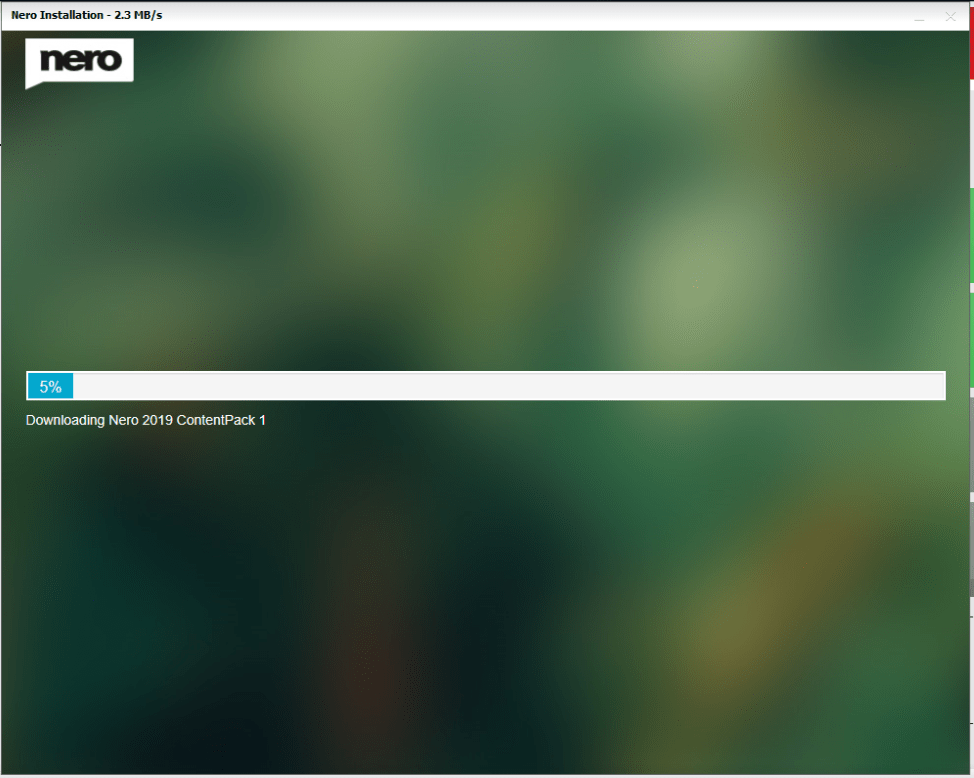
Nero Content (v1.0.24.0 in Nero Start Updates screen)
- Update Nero Content installers to capability with Nero Platinum Suite and other products.