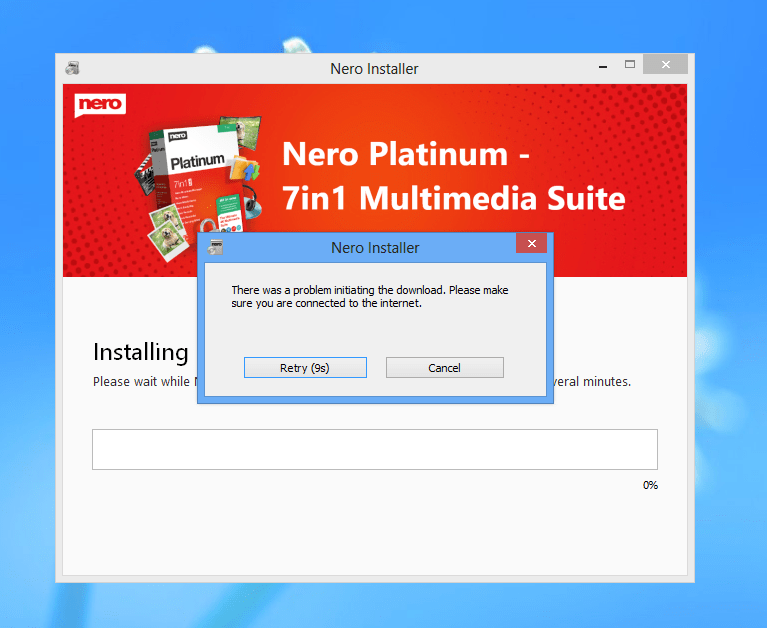
The Nero Installer may fail to download its content properly. This can be caused by wrong configurations for the Network in Windows. This article describes the most common problems and the solutions to fix them.
The article will continue to update.
Proxy Setting
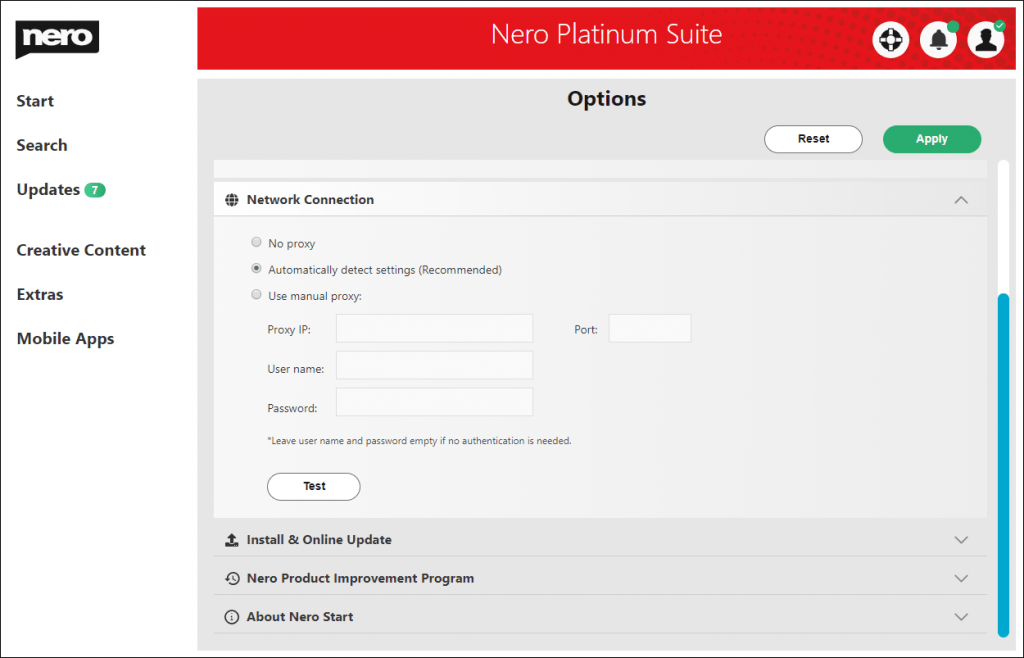
In your private network environment, proxy is mandatory for accessing the Internet. To make the Nero Installer work correctly, the proxy settings in Windows have to be correct. Nero Installer will get the proxy setting from Windows, and apply the settings while downloading the content.
Some downloading tools may add a proxy. You may need to remove the proxy settings while downloading & installing Nero packages.
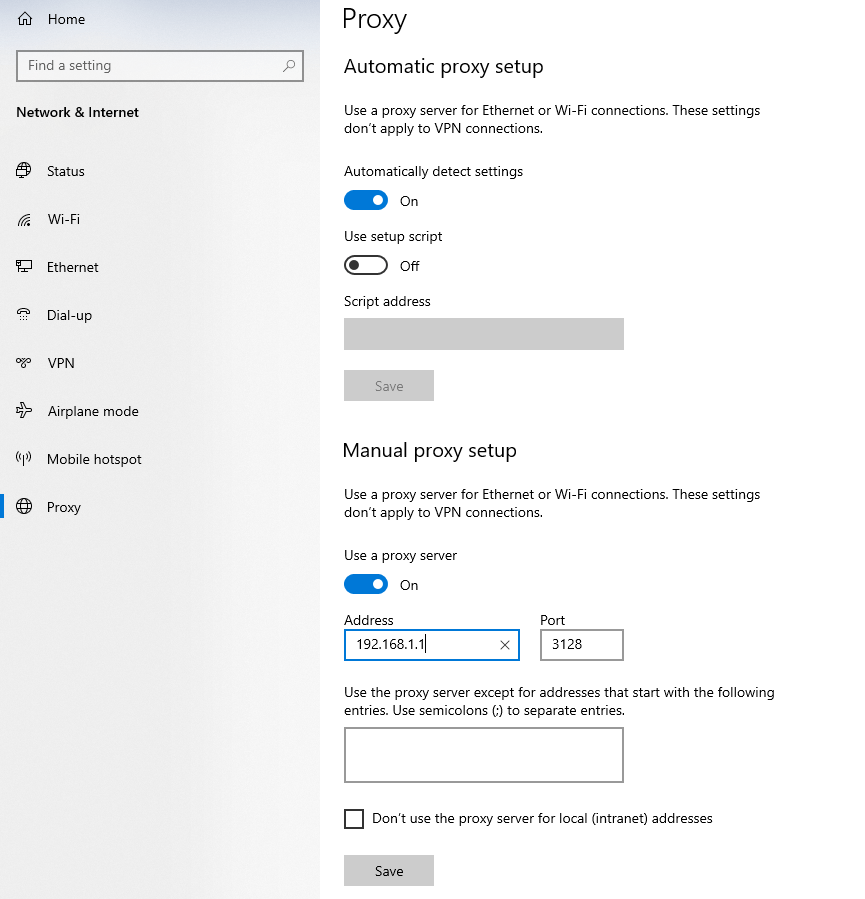
Windows 8, Windows 10 or later OS
In Windows 8, open Settings -> Network -> Proxy or in Windows 10, open Settings -> Network & Internet -> Proxy. Here you can adjust the proxy settings.
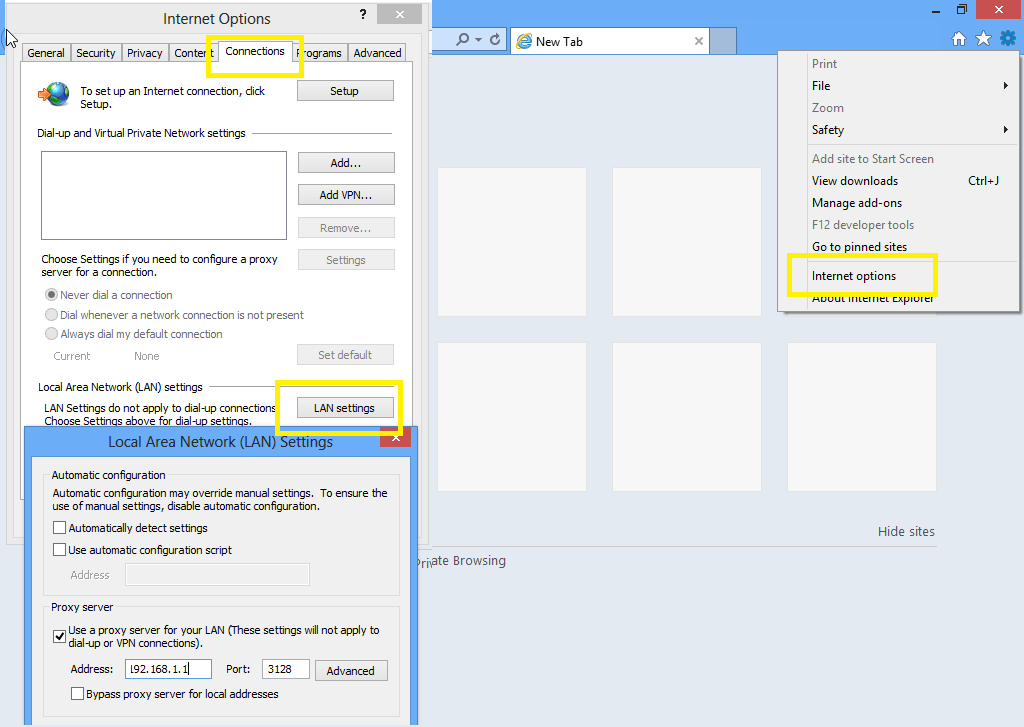
Windows 8 or earlier OS
Open the Internet Explorer, then open Internet options -> Connection -> Lan settings. In the pop up dialog, you can change the proxy settings.
Security Settings
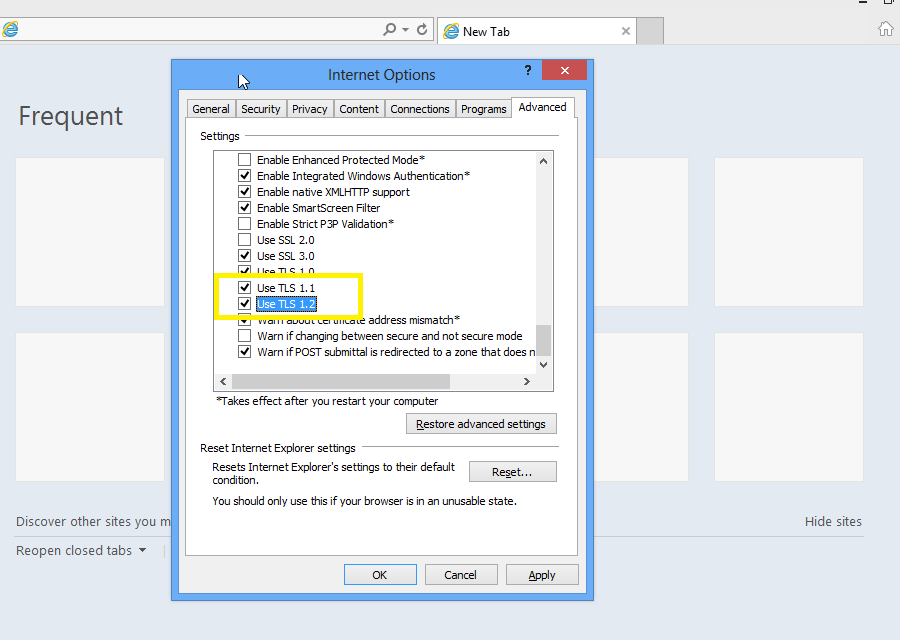
Nero Installer uses the Windows Internet Engine to download and install individual Nero product packages. Some old versions of Windows Internet Explorer have the TLS 1.1 and TLS 1.2 settings in the Windows Internet Engine disabled. This will cause a failed download.
To resolve the issue, open the Internet option in Internet Explorer. In the Advanced tab, scroll to “Security”, make sure “Use TLS 1.1” and “Use TLS 1.2” are checked, and apply the settings.
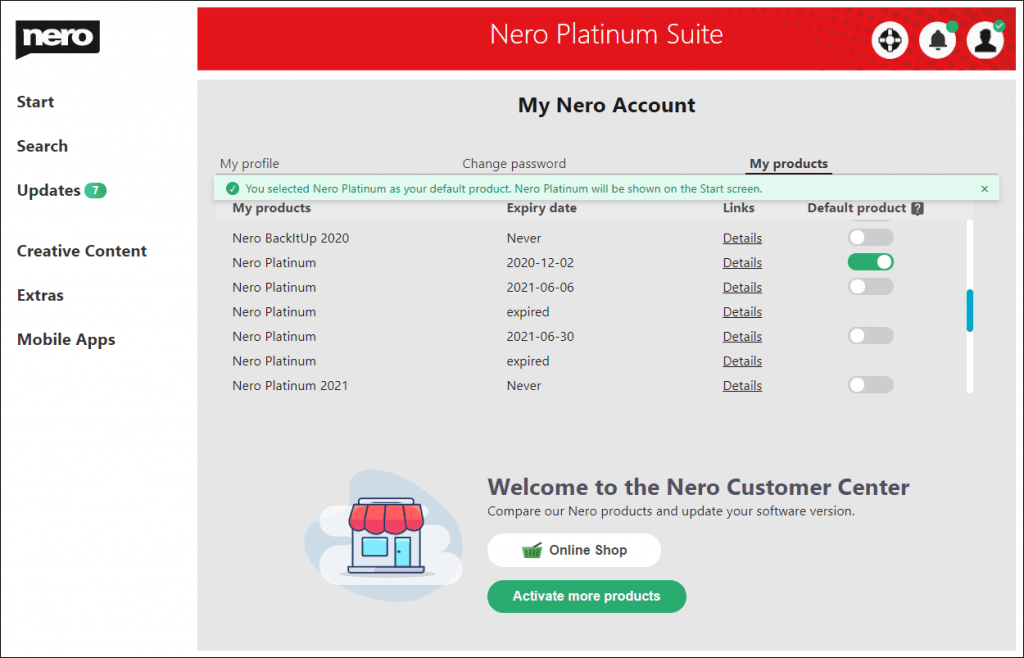
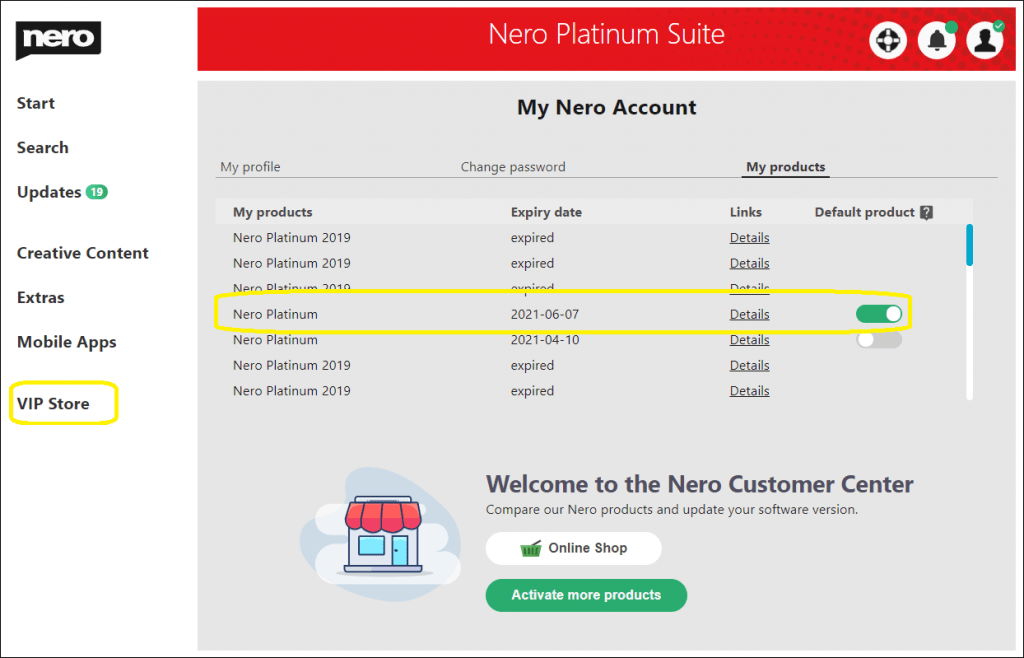
If you have multiple products in your Nero account (e.g. Nero Platinum 2021, Nero Platinum 2020, or Nero Platinum Suite), Nero Platinum Suite is usually the default product and all applications on the home screen point to the individual applications in the product.
But if you prefer to switch the default product, you can open the My Nero Account page, and activate the My products screen to change it. After the default product is changed, (e.g. change from Nero Platinum to select Nero Platinum 2021), you can find all applications in the Start screen point to the applications of Nero Platinum Suite 2021. What’s more, the updates also change to the given default product.
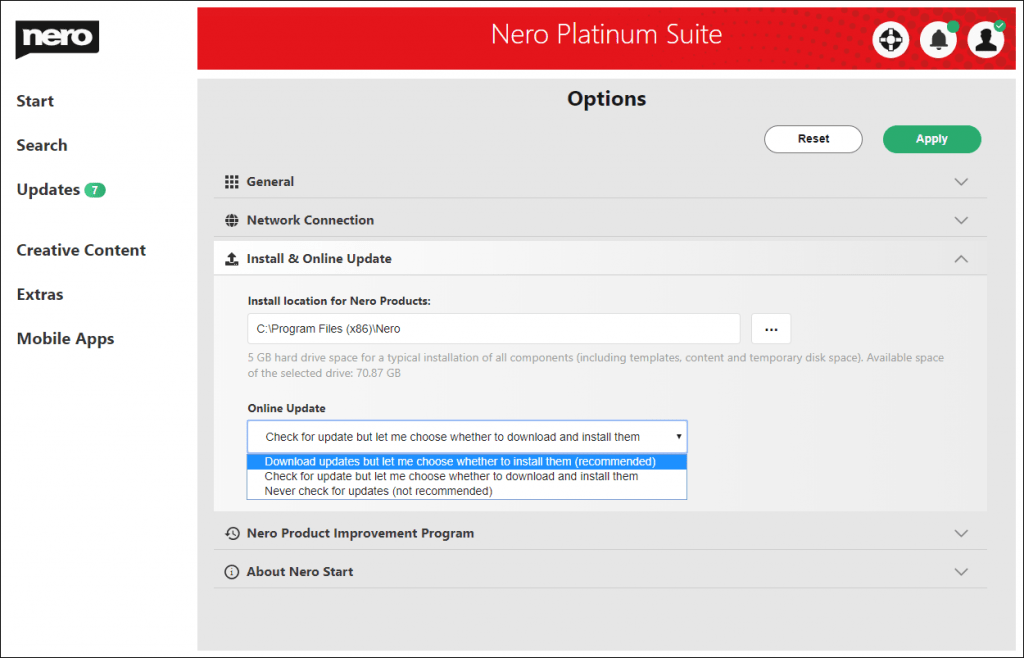
Install location for Nero Products: The location used for installing or updating Nero Products. You should keep 5GB of disk space available for the partition.
There are 3 types of updates check policy:
Download updates but let me choose whether to install them (recommended)
If updates for the applications are detected, Nero Start will automatically download the update in the background. You will be notified upon completion.
Check for update but let me choose whether to download and install them
While Nero Start launches, it will check for updates for the applications, and show the number available updates.
Never check for updates (not recommended)
Nero Start will not check for any updates.
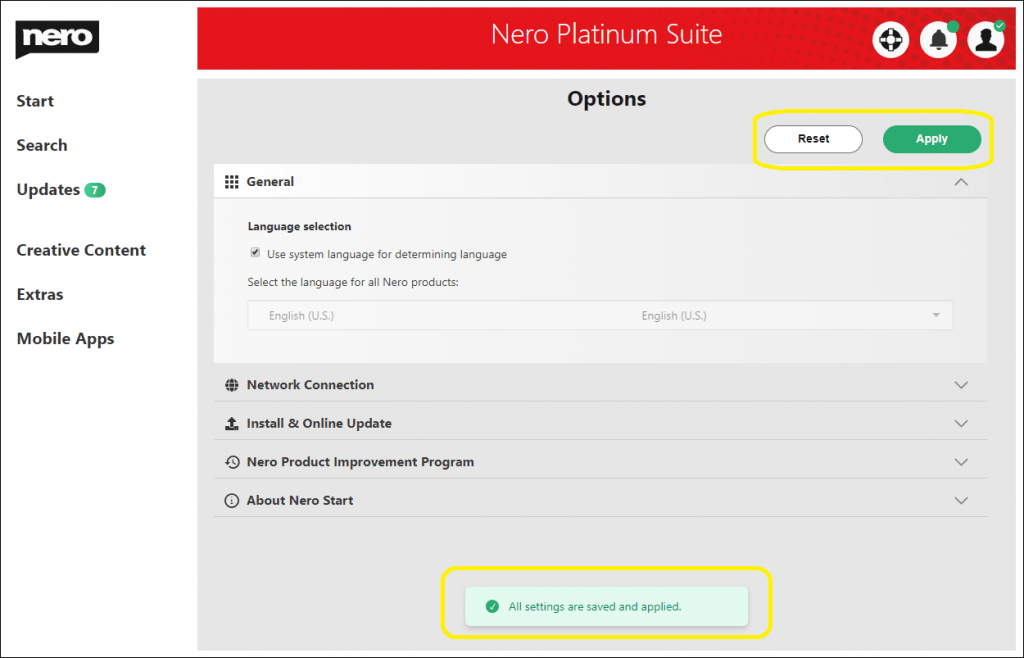
Click the button “Check for updates” to immediately leave the Options screen and start an online update check in Updates screen.
Info: Make sure to click the button “Apply” to save the configuration update before leaving the Options page.
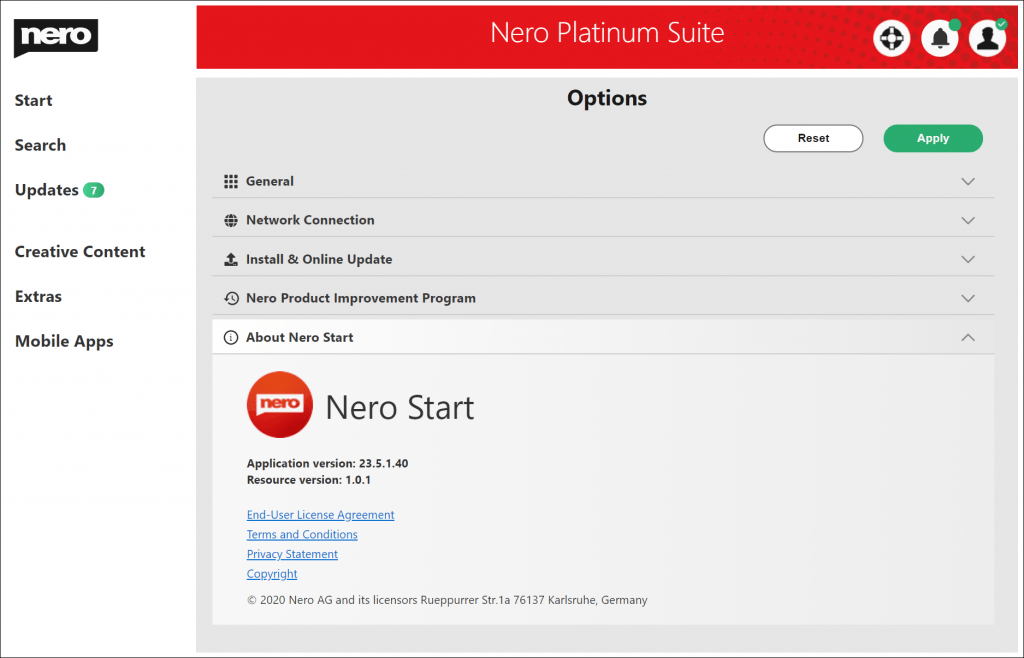
Nero Product Improvement Program
You can participate in the Nero Product Improvement Program to help improve the quality, reliability, and performance of Nero products.
Available Product: Nero Platinum Suite – yearly license
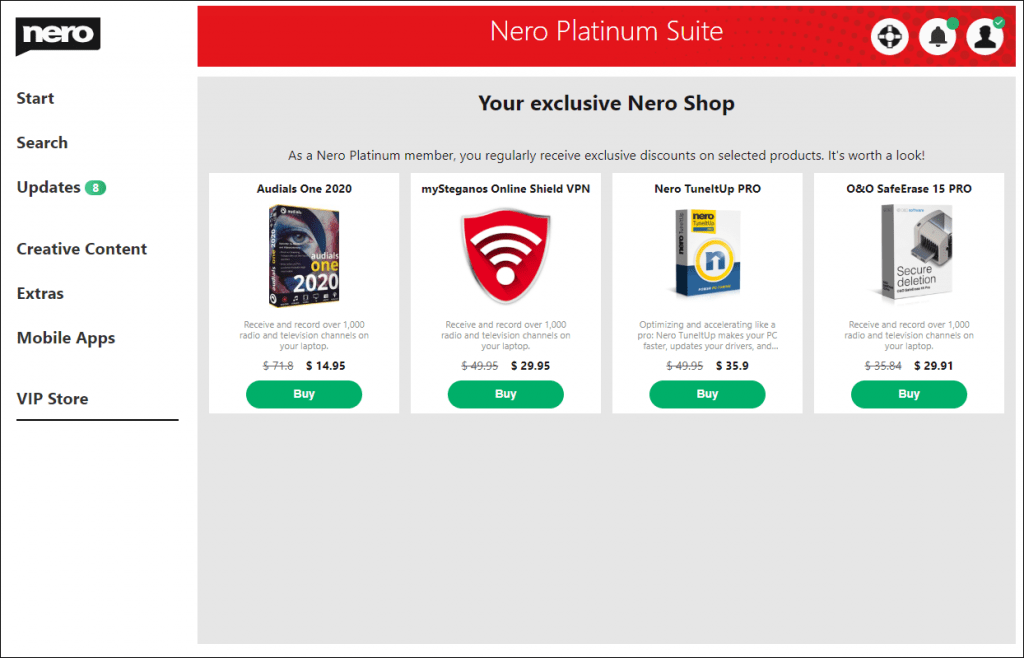
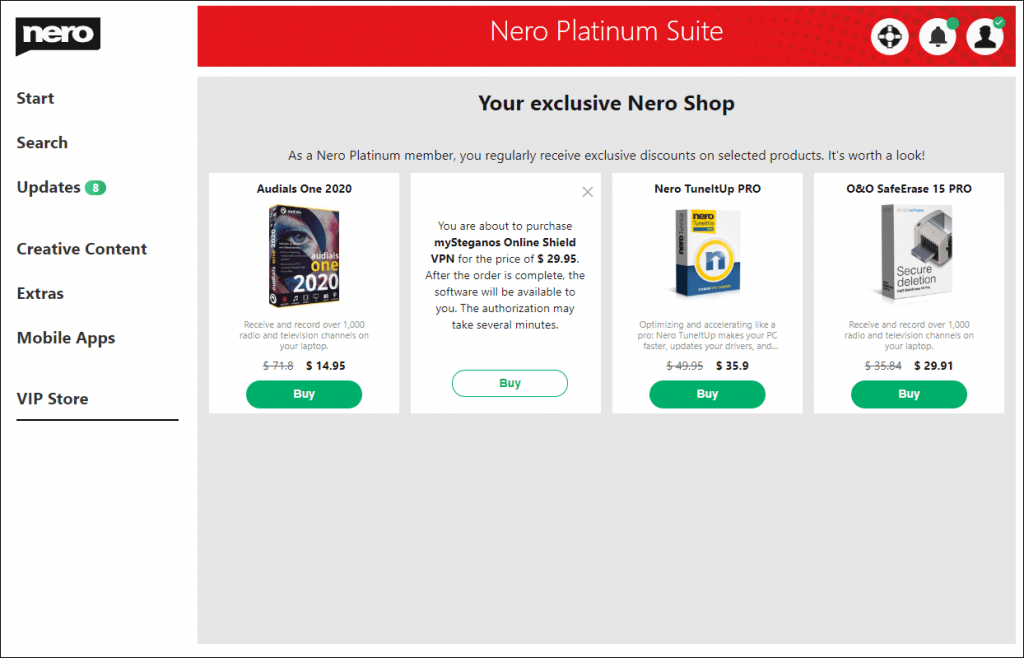
The VIP Store is the app Store in Nero Start. It is only available for Nero Platinum Suite – yearly license users. In the VIP Store, you can directly purchase additional software with just one click.
Info: Nero Start and other necessary components should be updated to the latest version to ensure the smooth functioning of the VIP Store.
When you are signed in in Nero Start and have Nero Platinum selected as your default product, the Nero VIP Store will appear in the left menu entry.
Nero Platinum subscribers will receive exclusive discounts for different products.
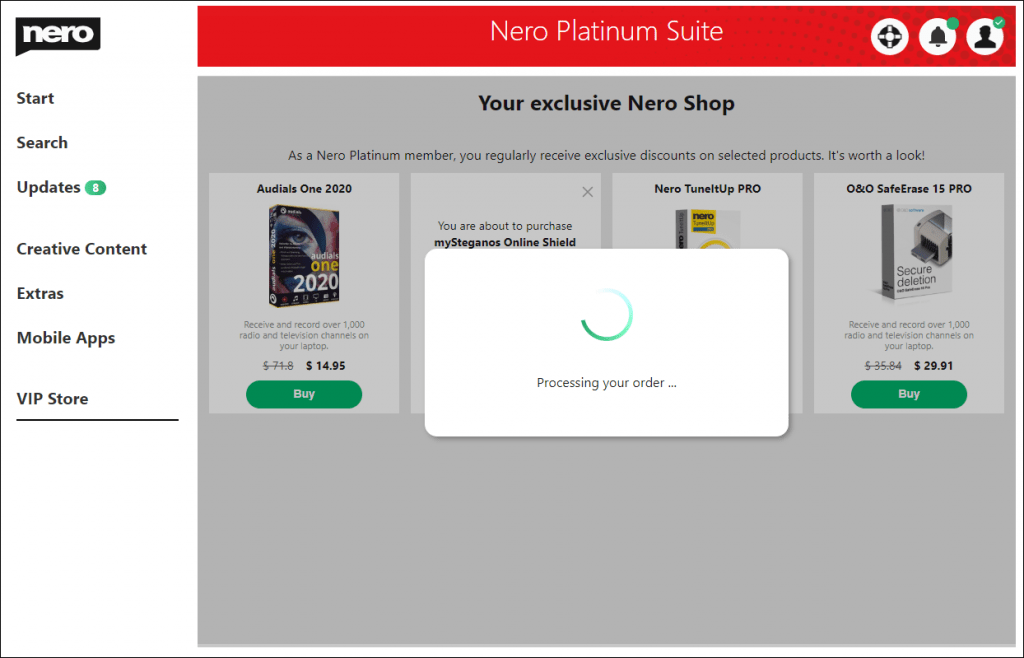
After you have confirmed your purchase in the VIP Store, the order will be placed by our authorized payment provider Verifone. The payment method will be the same one you are using for your yearly Nero Platinum license.
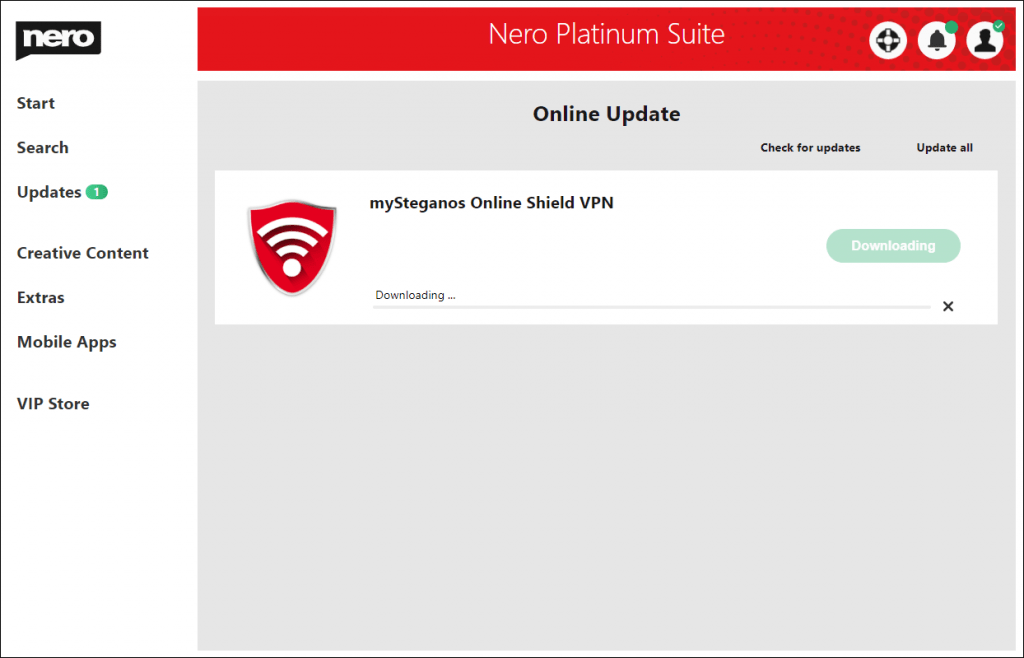
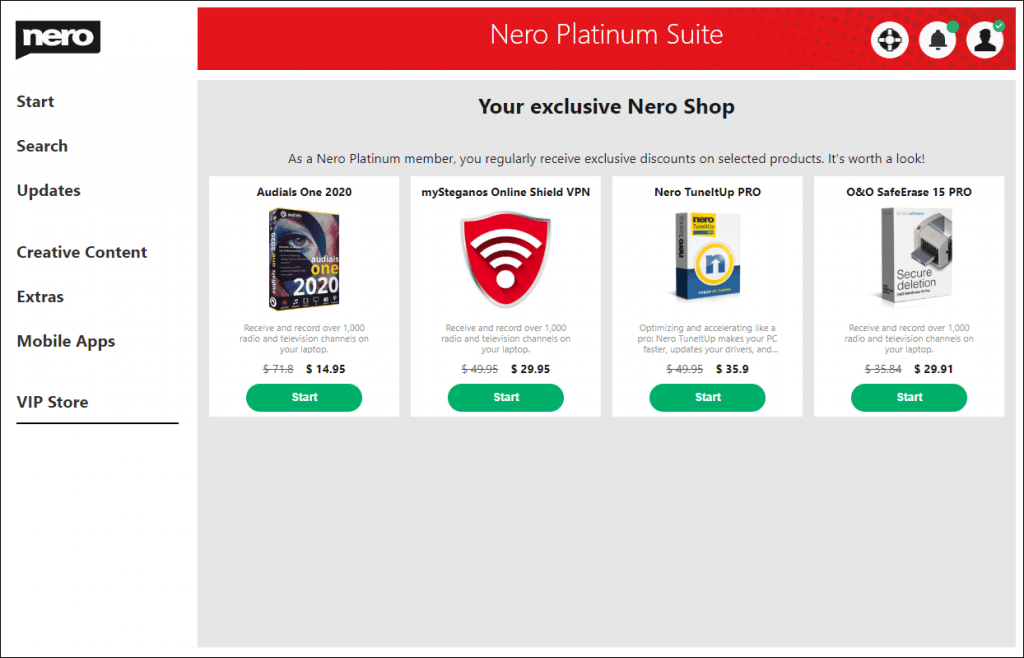
After the order is finished and successful, Nero Start will begin to download and install the product. After the product is installed successfully, you can start the application directly via the VIP Store.
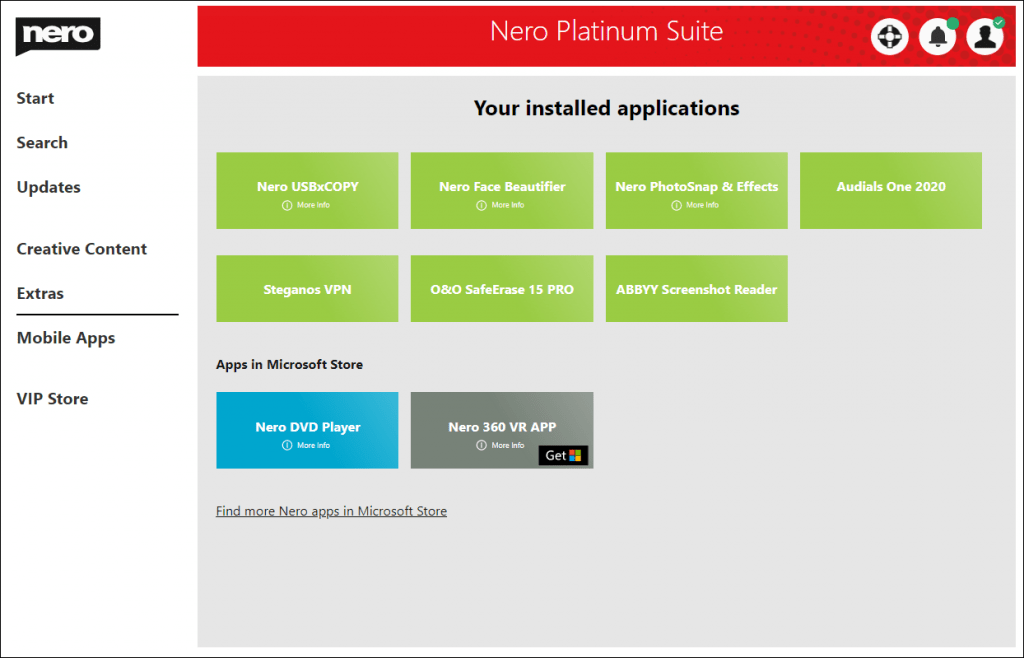
You can also find the application in your Extras menu entry.
If the payment information from your Nero Platinum Suite happens to be out of date, you will be notified and asked to input your payment info manually to continue with the order.
You can get the privacy policy detail information from below link.