Up from Nero 2017 there is a very simple way doing that in Nero Video called ‘Multi Export‘.
Import your long clip into the timeline of your Nero Video project. Now you can cut the video into the wanted parts manually. A much easier way doing that is using scene detection, though.
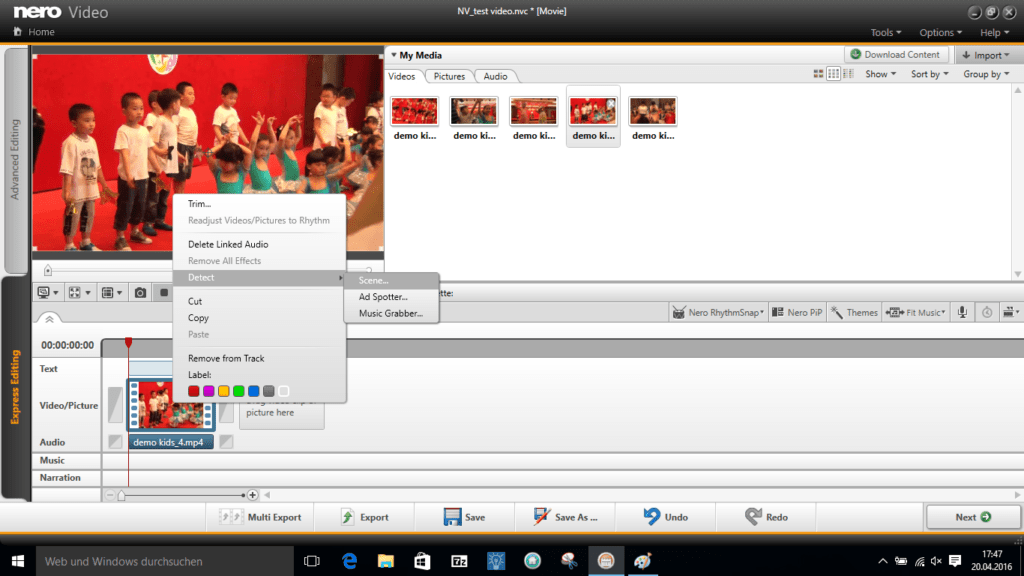
Just right click on yor video clip in the timeline, select ‘detection’ and ‘scene detection’.
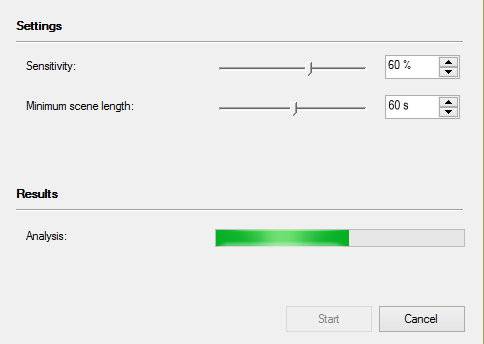
The detection window opens and allows you to set overall detection sensitivity and clip duration per single clip to be detected. I recommend leaving the sensitivity as is and set the duration for single clips based on the wanted duration of the single clips you are planning to export. Then start detection.
Let’s imagine you have a 30 minute video and want to export single clips with a duration of about 60 seconds each. After detection you will have about 25 to 30 single scenes available in your project. From that you will select your final shots for ‘Multi Export’.
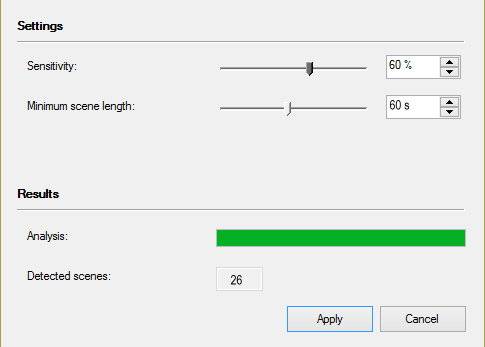
When the detection is done the scene indicator will show the given scenes at the bottom. You have the option changing the settings for better results. When doing this while the detetcion window remains open – after the prior analysis was carried out – new results will be available without re-calculation.
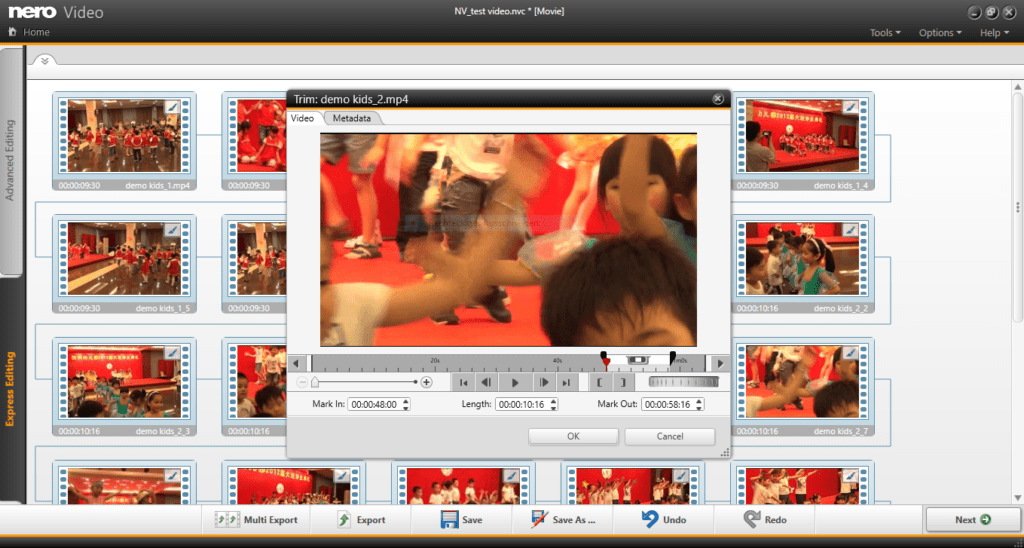
Now select the scenes you like best. If you want to present a ‘best of‘ from a shot event to family or friends I recommend reducing the number of selected files. Less is always more. Spent a little more time on the perfect selection from your 30 minute source clip: five videos one minute each should do in this case. For doing so open the storyboard full screen view. Via double click you can play individual scenes and also do further triming if wanted.
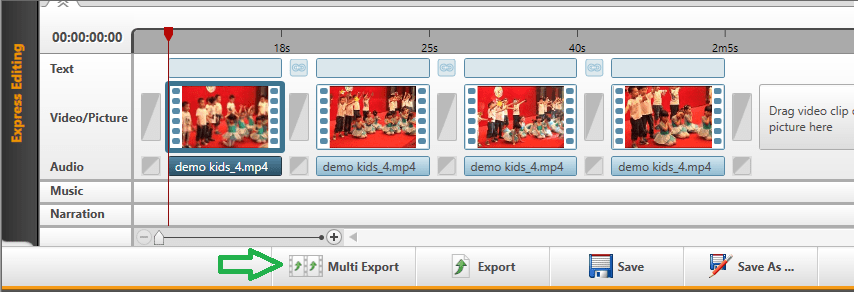
Delete the scenes you dislike and you will have the final number of scenes left to ‘multi export’ as single clips in one go. For doing so click on the ‘Multi Export‘ button underneath the timeline.
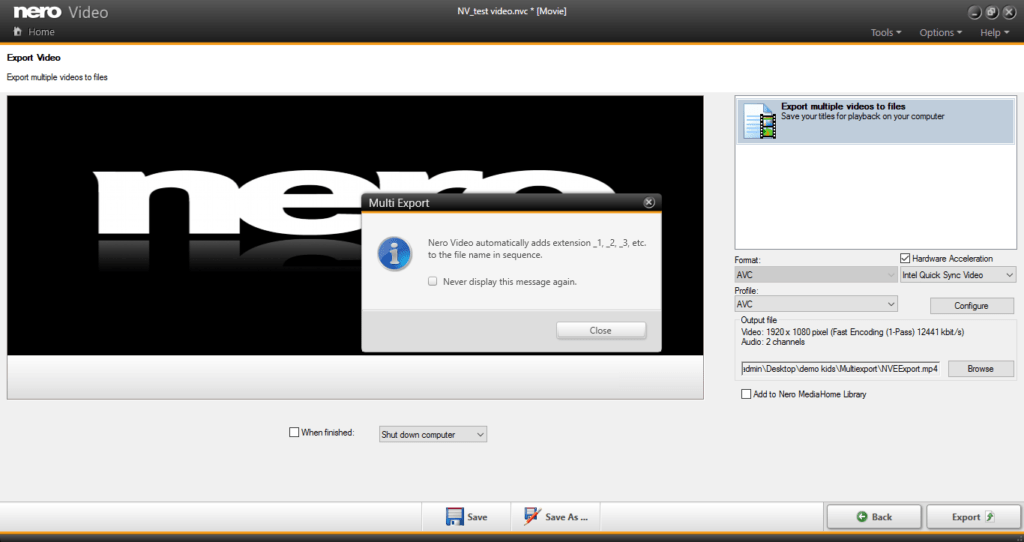
The dedicated ‘Multi Export’ screen will open. Now proceed with selecting an export format as always. Best choice is input equals output. In this case you keep your quality and also Nero SmartEncoding can come into place. Type in a file name. ‘Nero Video’ will automatically add extensions to your clip name (name -1, name -2, name -3, etc.) representing the number of exported files. I recommend checking the box add to ‘Nero MediaHome Library’ so you will have all clips ready to play in ‘Nero MediaHome’. Press ‘ok‘ and batch export will be carried out.
From ‘Nero MediaHome’ you have further options like streaming the files to your TV – also comfortably make use of ‘Nero Streaming Player App’ for this, or utilize ‘Nero MediaHome Wifi Sync App’ for quickly transfering your set of videos to your iOS or Adroid smartphone wirelessly.
One final note: ‘Nero Multi Export’ only works within express editing. Transitions or title effects are not supported via ‘Multi-Export‘ . Nevertheless you can boost up your footage with the broad range of Nero Video effects, even add one unique effect to all.
Nero KnowHow 00028