This update introduces a new Uninstall & Cleanup center inside My Nero Account. It helps you remove Nero apps faster — especially when you want to uninstall multiple apps or clean up older versions.
Where can I find “Uninstall & Cleanup”?
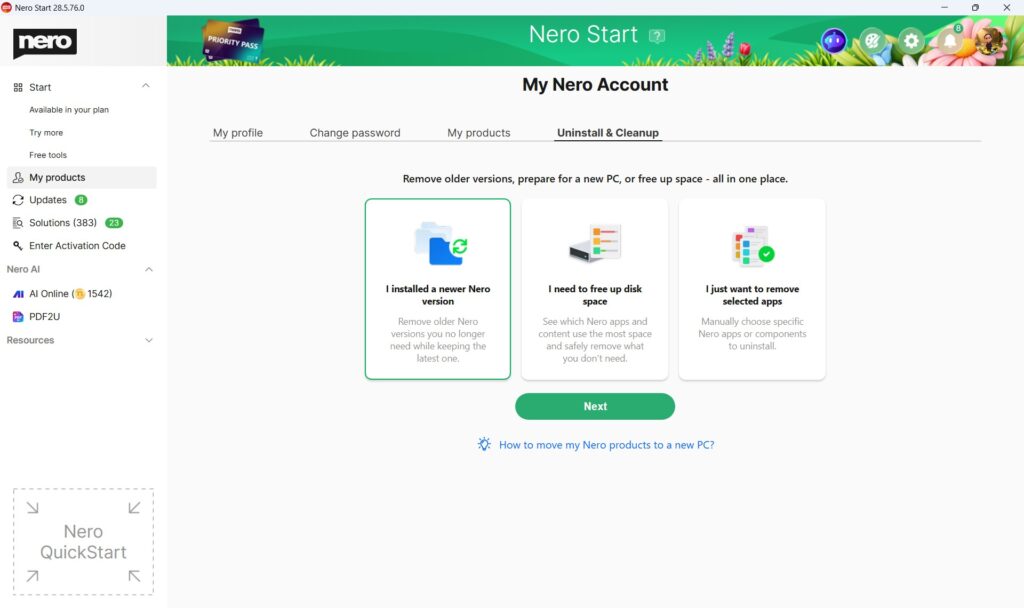
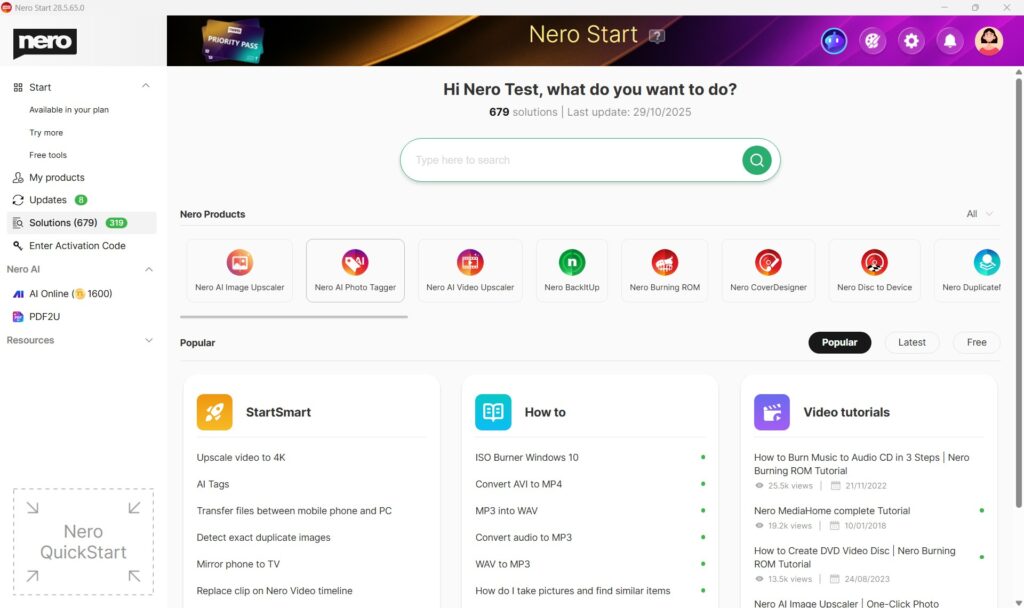
Open Nero Start → go to My products → select the new Uninstall & Cleanup tab.
What can Uninstall & Cleanup do?
With Uninstall & Cleanup you can:
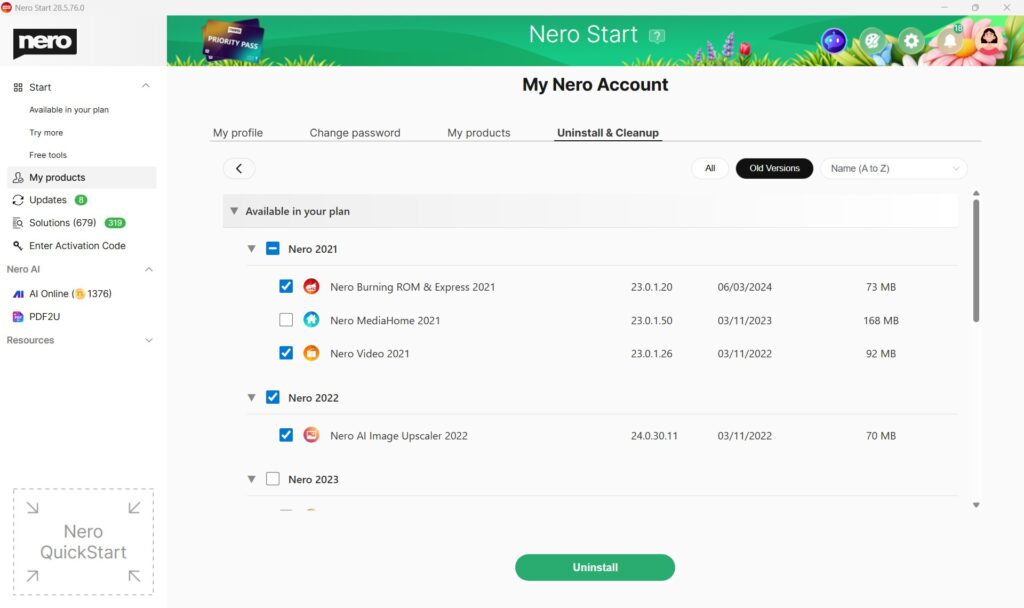
Uninstall multiple Nero apps at once (batch uninstall)
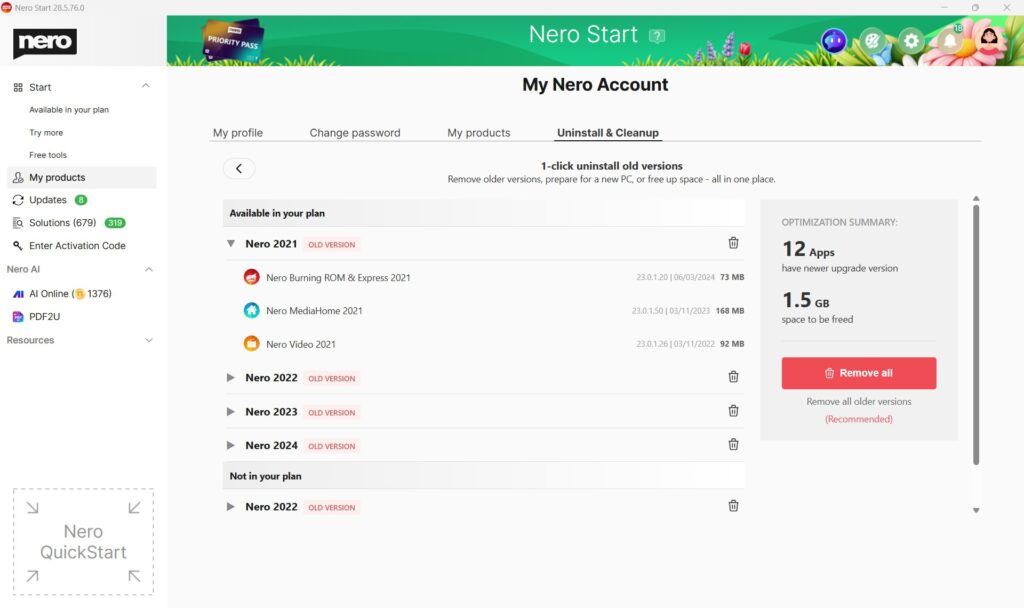
Remove older versions in one go to keep your PC cleaner
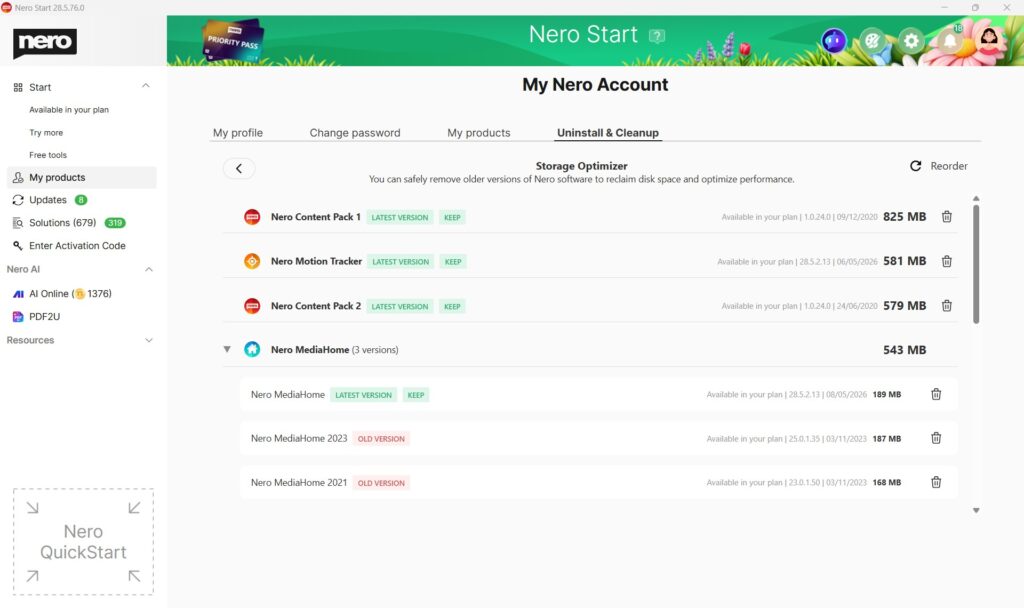
Free up disk space faster by sorting apps by size and removing the ones you don’t need
Will uninstalling remove my personal files?
Uninstalling a Nero app removes the application from Windows. Your personal files (for example videos, photos, music, and documents) are not deleted. If an app includes optional settings or cache data, those may be removed as part of the uninstall process.
What else is included in this update?
We also included usability improvements and bug fixes to make Nero Start more reliable.
Users replacing, upgrading, or moving to a new Windows PC.
Can I use my Nero products on a new PC?
Yes.
Since Nero 2020, you usually only need to install Nero Start (or reinstall your Nero product) on the new PC and sign in with the same Nero Account used for purchase or activation.
Your available products should appear automatically under Account > My products.
For older versions before Nero 2020, you need to install the product installer manually.
Recommended checklist before moving
On your old PC
Before changing PCs, we recommend:
Save all Nero projects
Copy your videos, photos, music, and other project files
Backup your important media folders
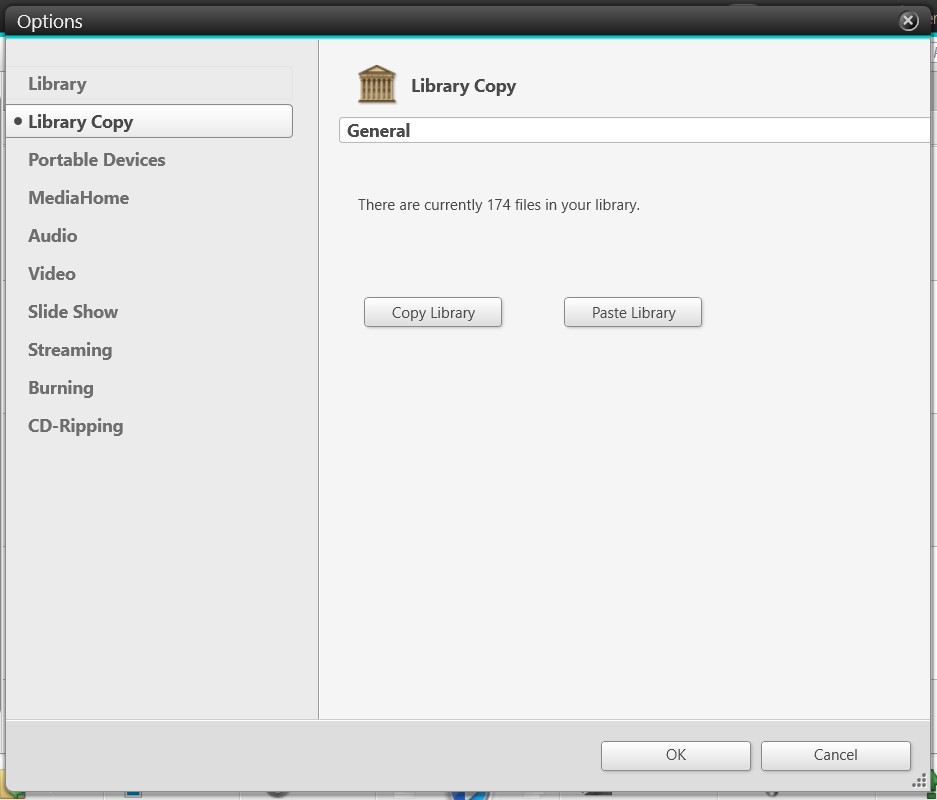
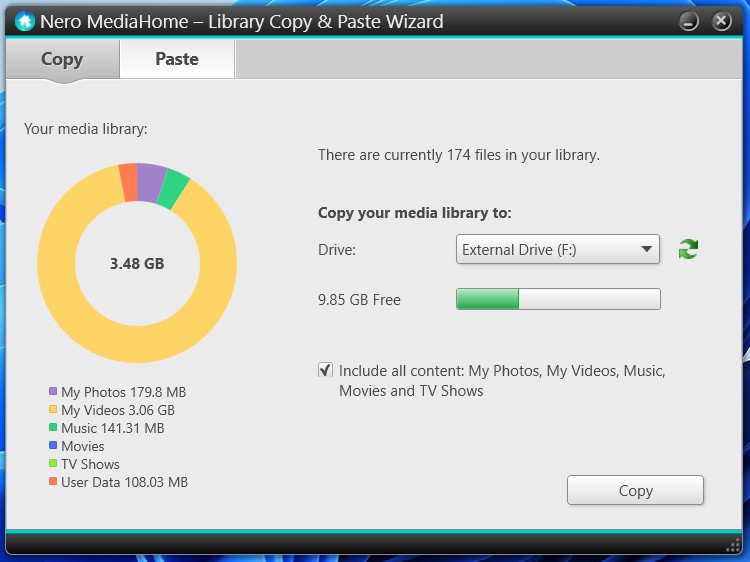
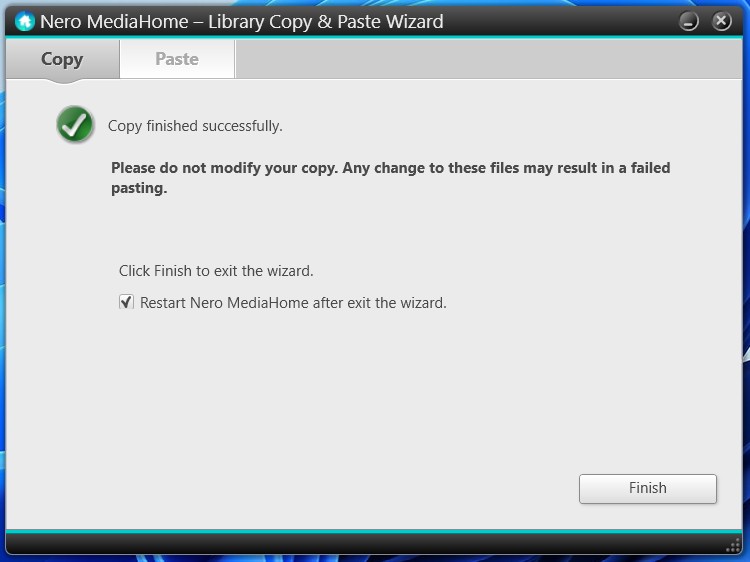
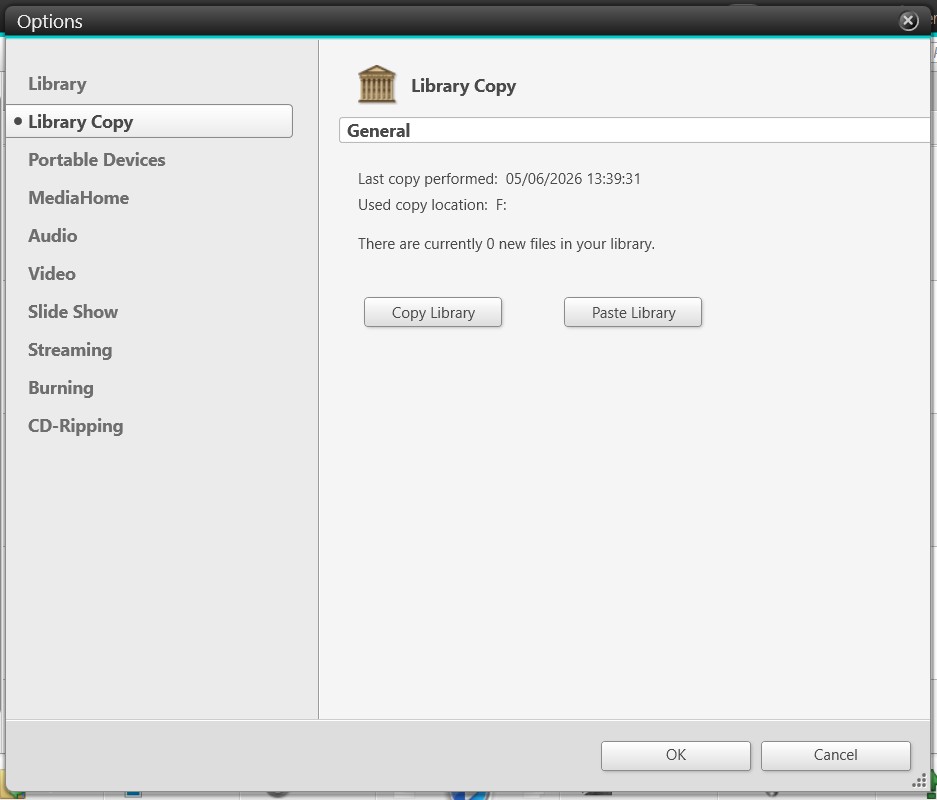
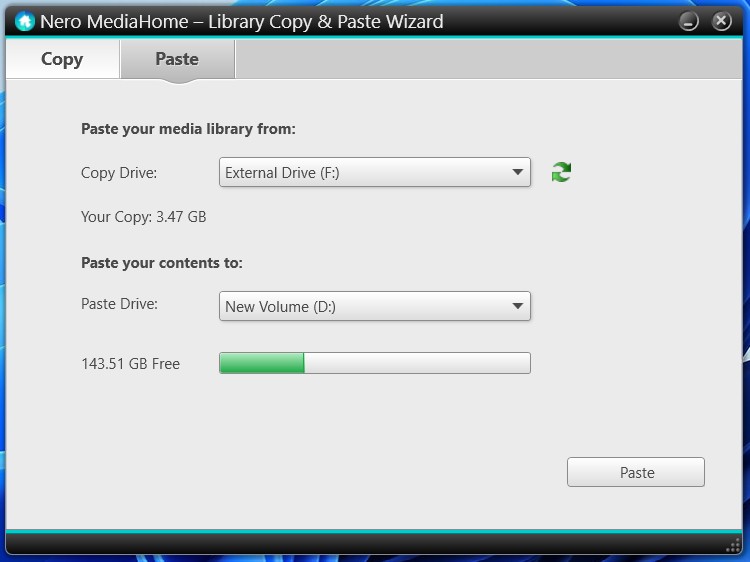
Copy your Nero MediaHome library to an external drive. We recommend including all media content.
Make sure you know your Nero Account email address and password
Optional: uninstall Nero after migration is complete
Important:
Do not delete your Nero Account when moving to a new PC. You need the same account to access your purchased products, active subscriptions, Nero Credits, and purchase/activation history on the new PC.
On your new PC
After setting up your new PC:
Install Nero Start or your Nero product
Sign in with the same Nero Account
Install your Nero applications
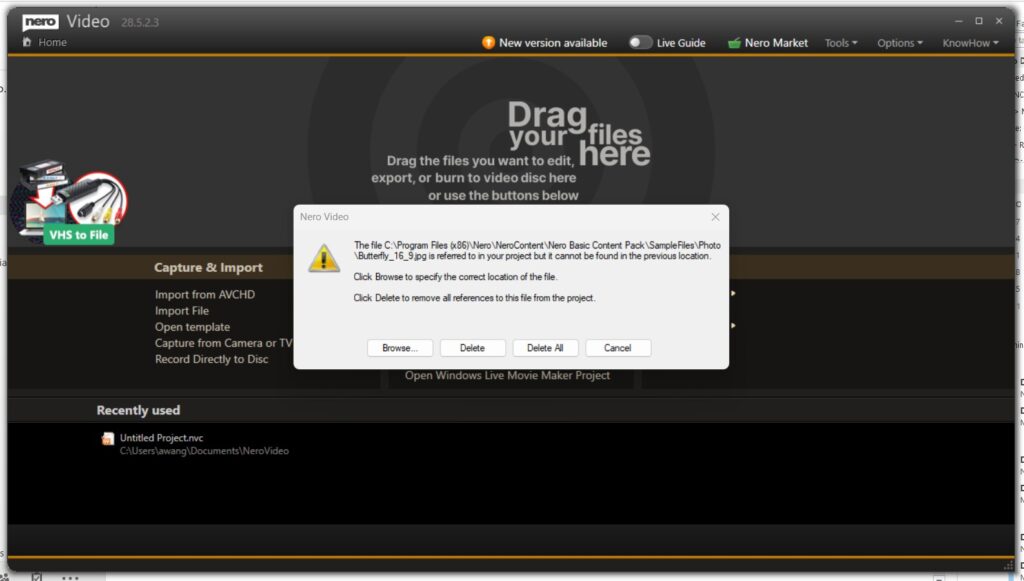
Copy your projects, media folders, and personal files to the new PC
Reconnect media folders or paste the copied MediaHome library if needed
How do I install Nero on the new PC?
Install Nero Start or your Nero product on the new PC
Open Nero Start
Sign in with the same Nero Account used previously
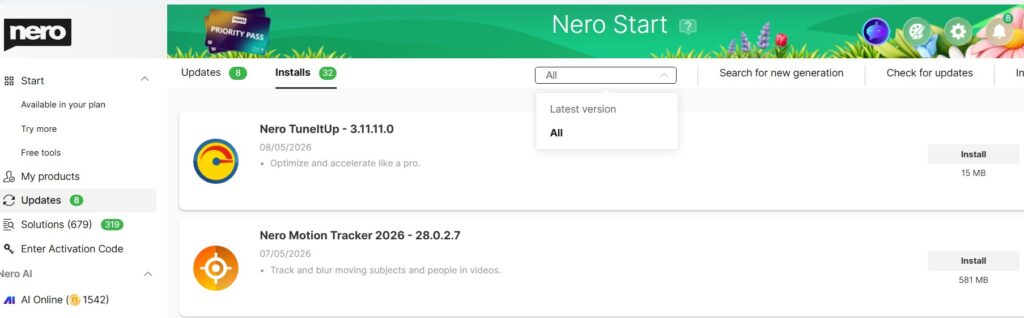
Go to Updates > Installs
By default, Latest version is selected. You also can switch to All to view all available versions
Install your available Nero applications
Notes:
Download the latest Nero Start installer from here.
Find all your products and installers in your online Nero Account here.
New: Switch between Local (in-app) login and Online login anytime in Options
Improvements: Stability and usability updates, including smoother activation code entry
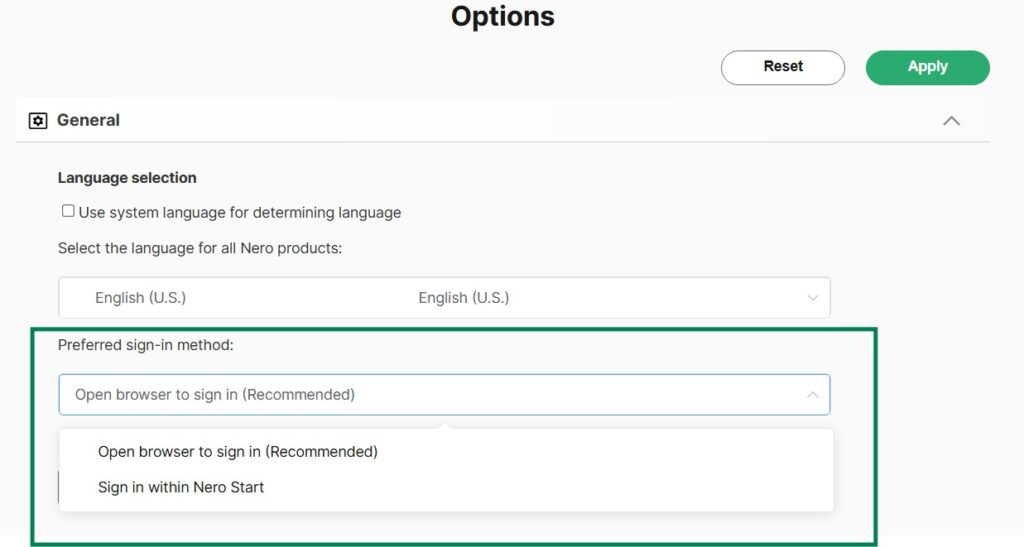
What is “Open browser to sign in” vs “Sign in within Nero Start”?
Nero Start now lets you choose how the sign-in screen opens:
Open browser to sign in: Sign in using your default web browser.
Sign in within Nero Start: Sign in directly inside Nero Start.
What’s the benefit of open browser to sign in?
When you sign in using Open browser to sign in, your sign-in status can be shared across Nero services that require account login – so you may not need to sign in again in other Nero experiences on the same device/browser environment, for example:
Nero Microsoft Store applications,
Nero’s official website,
Nero AI online services.
This cross-service sign-in experience is not available with Sign in within Nero Start.
How do I switch between different sign-in method?
You can switch anytime in Options, which is helpful if your preferred method works better on your system.
Open Nero Start.
Go to Options.
Find Preferred sign-in method (or a similarly named setting).