Browse your media your way with Folder view

What is Folder view in Nero MediaHome?

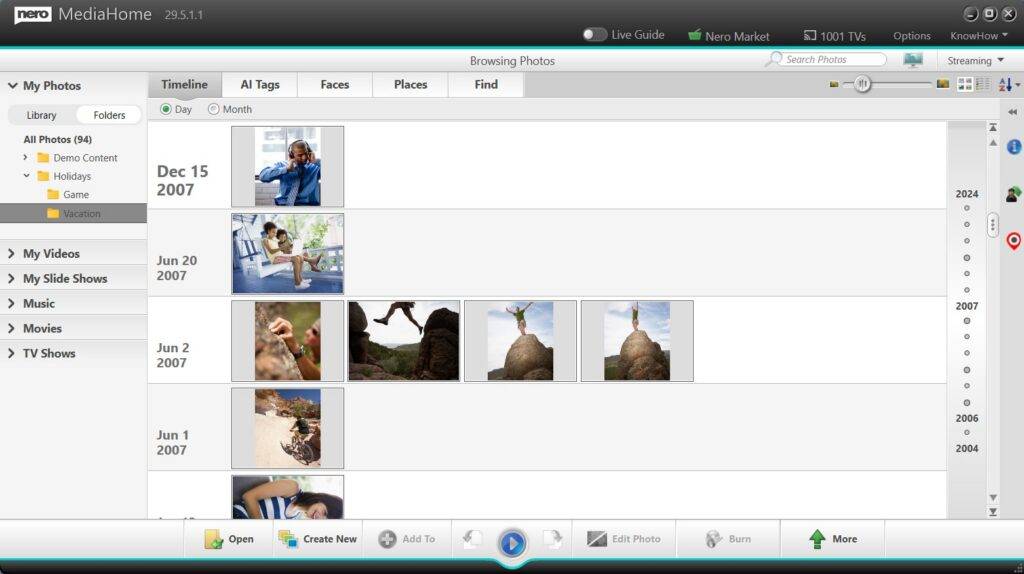
Folder view gives you another way to browse your photos and videos in Nero MediaHome.

Instead of browsing only through the MediaHome Library, you can now view your media using the folder structure you already know from Windows.

Switch between:

  • Library — browse media organized by Nero MediaHome.
  • Folders — browse media using your existing folders and subfolders.

Both views work with the same media. You can switch between them anytime depending on how you want to find your photos or videos.

Why use Folder view?

Many people already organize their photos and videos into folders such as:

Photos > 2026 > Summer Vacation
Videos > Family > Birthdays

With Folder view, you don’t need to learn a different organization just to find them in Nero MediaHome.

It helps you:

  • Find media where you expect it — browse using your familiar Windows folder structure.
  • Keep your existing organization — there is no need to reorganize or move your files.
  • Switch browsing styles anytime — use Folders when you know where a file is, or Library when you want MediaHome to help you explore your collection.
  • Combine folders with smart media information — find files by folder first, then use MediaHome information such as Faces, Places and AI tags to explore related memories.

How do I browse my media by folder?

  1. Open Nero MediaHome.
  2. Go to My Photos or My Videos.
  3. Select Folders instead of Library.
  4. Browse through your folders and subfolders just as you would in Windows.
  5. Select a folder to see the photos or videos it contains.

You can switch back to Library at any time.

Switching views does not move, rename, or reorganize your original files and folders.


How do Folders work with Faces, Places and AI Tags?

This is where Folder view becomes especially useful.

Your folder structure tells you where you stored your media, while Nero MediaHome’s smart information helps you find and explore media based on who or what is in it, and where it was taken.
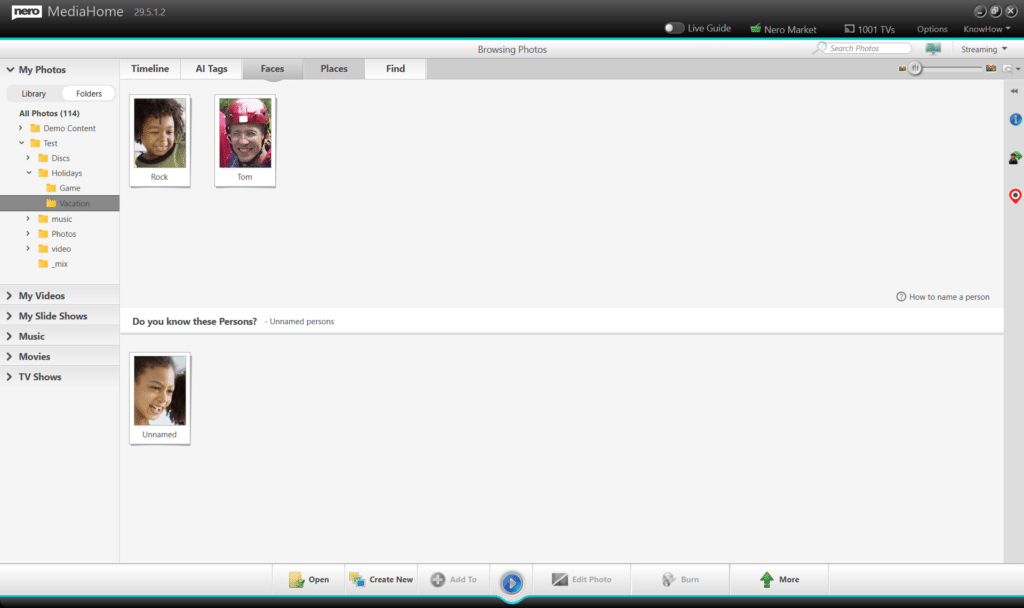
For example, suppose you open:

Photos > 2026 > Summer Vacation

You can browse the photos exactly where you saved them, while Nero MediaHome can still use smart information such as:

  • Faces — find and organize photos by the people in them.
  • Places — explore photos based on where they were taken.
  • AI Tags — automatically identify content in your photos, making it easier to find images by subjects and objects.

This gives you complementary ways to find your media:

Folders: Where did I save it?
Faces: Who is in it?
Places: Where was it taken?
AI Tags: What is in it?

You don’t have to choose one way of organizing your media. Use them together depending on what you remember about the photo you’re looking for.


When should I use Library or Folders?

If you want to…Use
Browse media using your existing Windows organizationFolders
Go directly to a folder you already knowFolders
Browse your media through MediaHome’s organizationLibrary
Explore memories by people or locationFaces / Places
Find related media when you don’t remember where it is storedLibrary + Faces / Places

Quick tip

You don’t need to reorganize your media to take advantage of Nero MediaHome.

Keep the folder structure that already works for you, and use MediaHome’s Faces and Places when you want a smarter way to explore your collection.
How to keep music volume consistent in Nero MediaHome?

Audio normalization is a feature that balances the playback volume of different music tracks so they sound more consistent.

Audio normalization can be used in two different scenarios, depending on how you listen to or export your music.

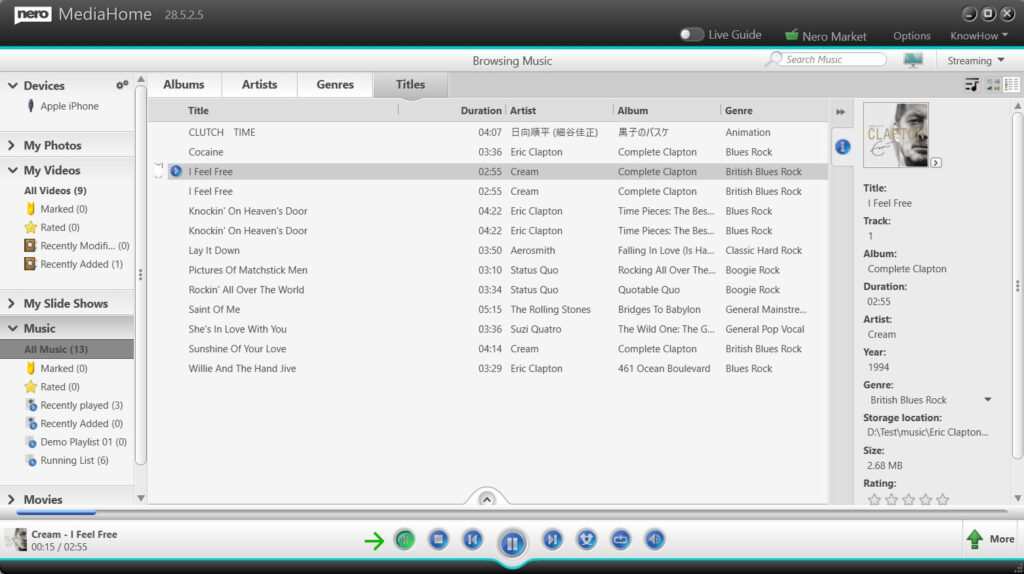
1. Music Normalization During Music List Playback

turn on audio normalization
Example: turn on audio normalization

If you listen to music directly in Nero MediaHome:

  1. Open your music list.

  2. Locate the Audio Normalization on/off button in the playback controls.

  3. Turn Audio Normalization ON.

Once enabled, music normalization will be applied automatically during music list playback, helping to keep volume levels balanced between tracks.

You can turn this option off at any time.


2. Music Normalization When Exporting Music to External Devices

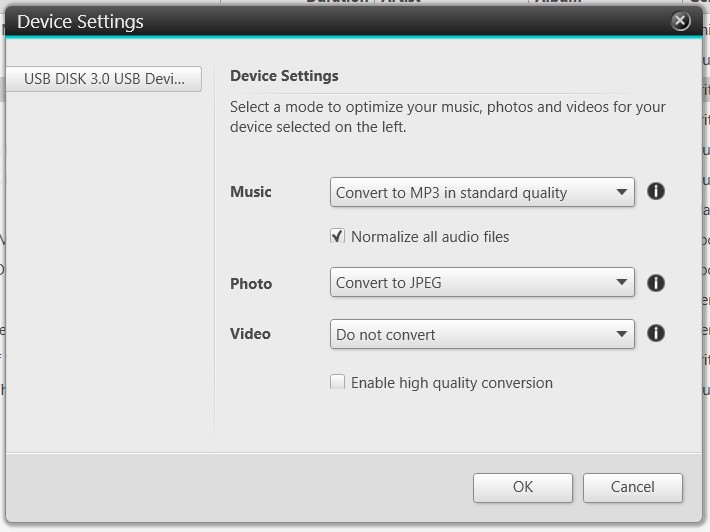
Normalize all audio files in Device Settings
Example: Normalize all audio files in Device Settings

If you copy or export music from your Nero MediaHome library to an external device (for example, a USB stick or SD card for use in your car):

  1. Connect the external device to your computer.

  2. Open Device Settings in Nero MediaHome.

  3. Enable the option Normalize all audio files.

  4. (Optional) Select your preferred output music format, such as MP3.

  5. OK to start the process.

During export, Nero MediaHome will balance the volume of all music files as they are written to the external device, ensuring a more consistent listening experience on other players.


Additional Notes

  • Music normalization is optional and user-controlled.

  • Original music files in your library remain unchanged.

  • The feature is especially useful for mixed playlists, older music collections, and in-car listening.

How to Organize and Find Photos with IPTC Metadata in Nero MediaHome?

Sometimes you add location, captions, or copyright info directly on your camera, but after importing your photos into the application, that information isn’t visible or usable. With the new IPTC support in Nero MediaHome, all your metadata—including place details—can now be easily viewed, searched, and exported. This makes it simple to organize your library and make the most of the information you’ve already added.

Guide

First, add the folder as a watch folder in Nero MediaHome.

1: View and Edit IPTC Metadata

  • Select a photo in your Library.
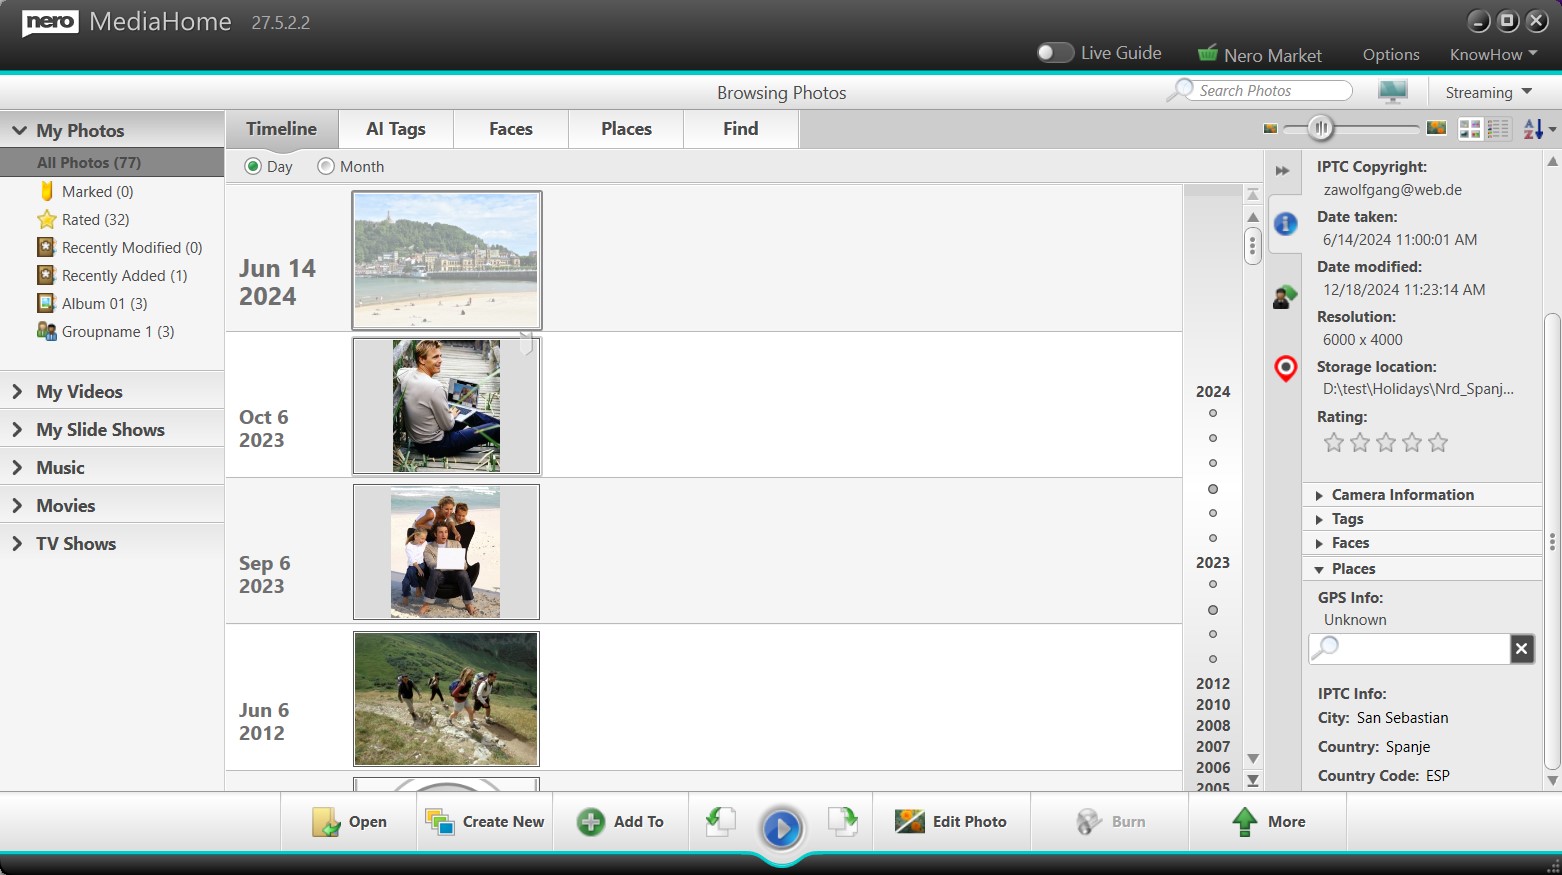
  • If IPTC metadata is available, basic fields will be listed in the right Info panel, e.g., location, title, copyright, creator.
  • Tip: Location information appears under the Places
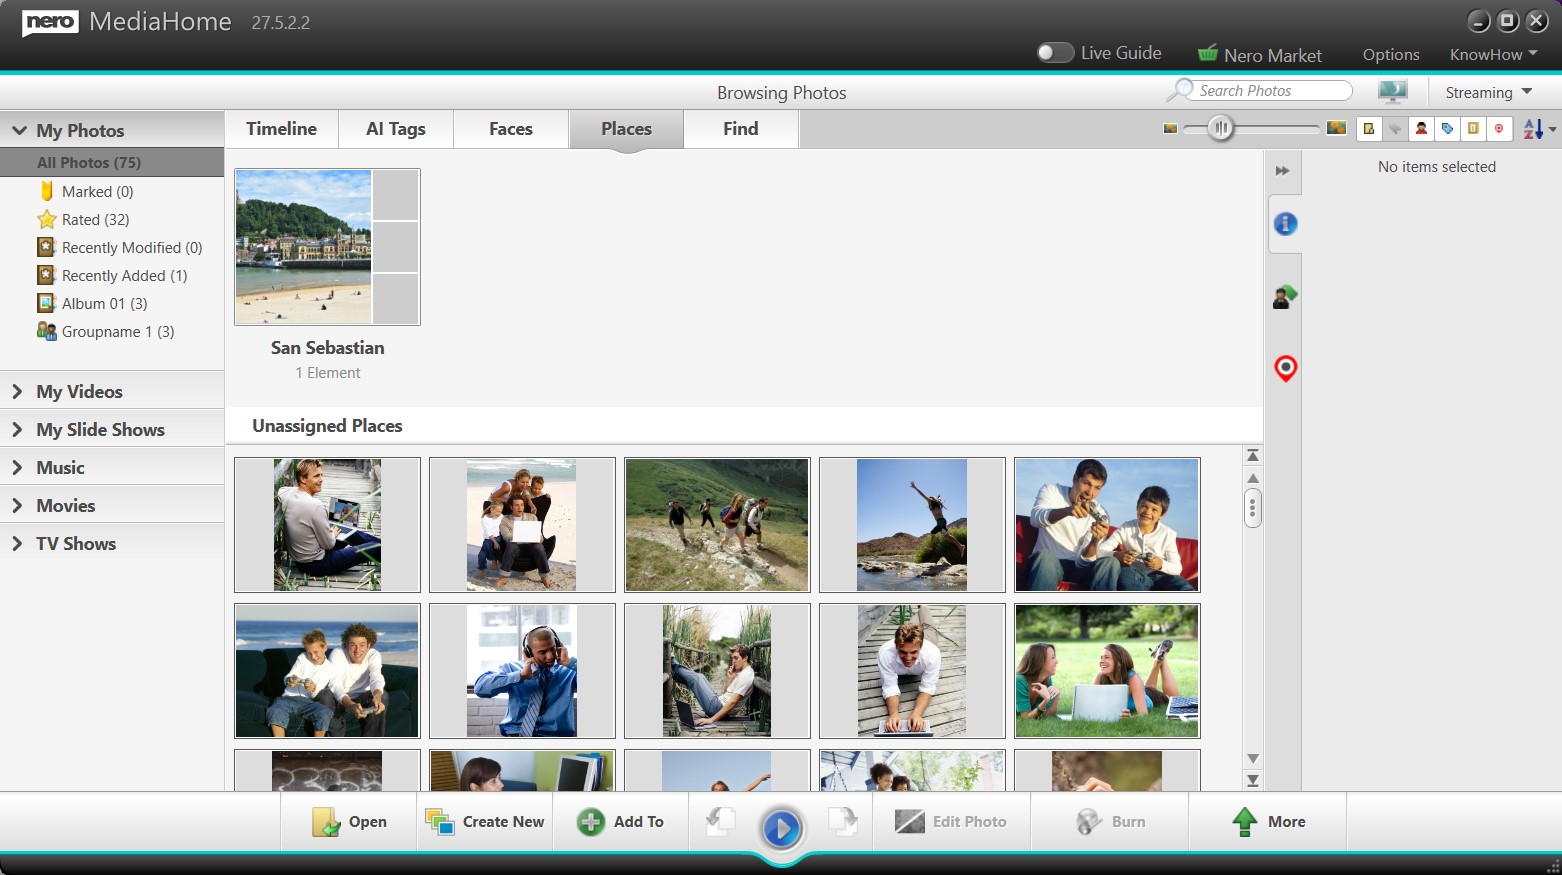
  • In Place tab, IPTC place info will be grouped together with any existing Places if available.
  • You can also edit IPTC metadata directly in Nero MediaHome and save your changes.

2: Search Photos by IPTC Tags

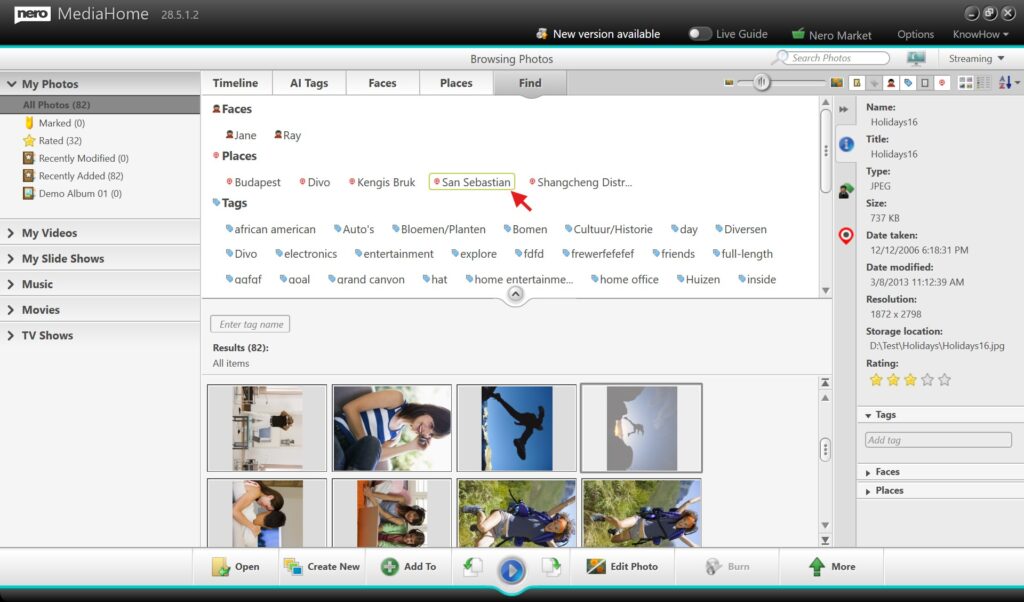
  • Open the Find
  • Select IPTC Place Tag (or other IPTC fields) to filter your photos.

Continue reading How to Organize and Find Photos with IPTC Metadata in Nero MediaHome?

How to Import and Export Playlists and Collections in Nero MediaHome?

Have you spent time creating playlists in one application only to find they can’t be used elsewhere? Or carefully organized photo and video collections in Nero MediaHome but were restricted to exporting only to external devices? The latest update addresses both: music playlists in popular formats—especially the universal m3u8 format—can now be imported and exported across apps. At the same time, photo and video collections can be exported directly to any local folder, providing greater flexibility for sharing, backup, and cross-device use.

Guide

1: Import Music Playlists

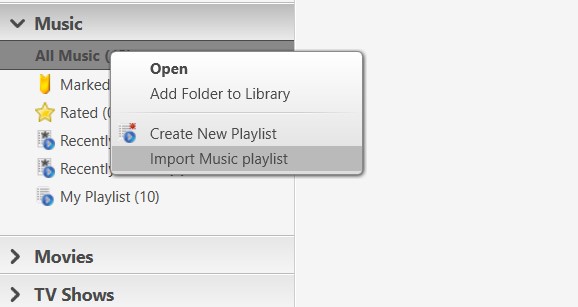
  • Go to the Music → Select All Music → right-click (context menu) → Import Music Playlist → select your playlist file.
    • Supported formats: m3u, m3u8, PLS, WPL
  • Imported playlists appear in your library, ready for playback, editing, or integration.

⚠️ Note: When importing playlists (e.g., m3u8), Nero MediaHome will only import files that are accessible:

  • If some files in the playlist cannot be accessed (e.g., stored in cloud services or unavailable drives), those entries will be automatically removed after import.

  • If none of the files are accessible, the entire playlist will not be imported.

2: Export Music Playlists

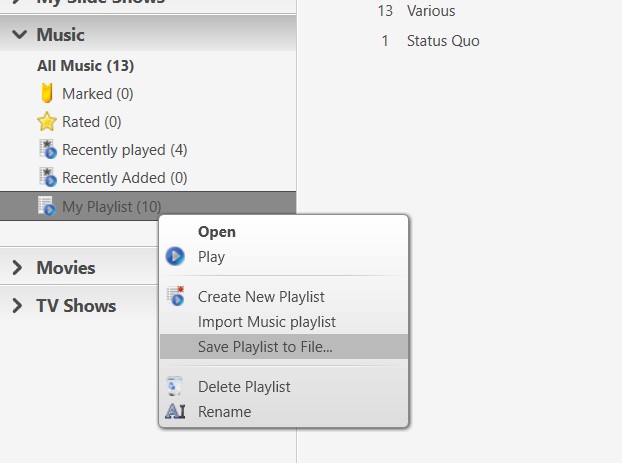
  • Go to Music → select an organized music playlist → right-click → Save Playlist to File → choose the destination folder or device.
    • Supported formats: m3u, m3u8

Tip: Supported playlist formats make your music lists usable across different applications.

3: Export Photo and Video Collections to Local Folders or Devices

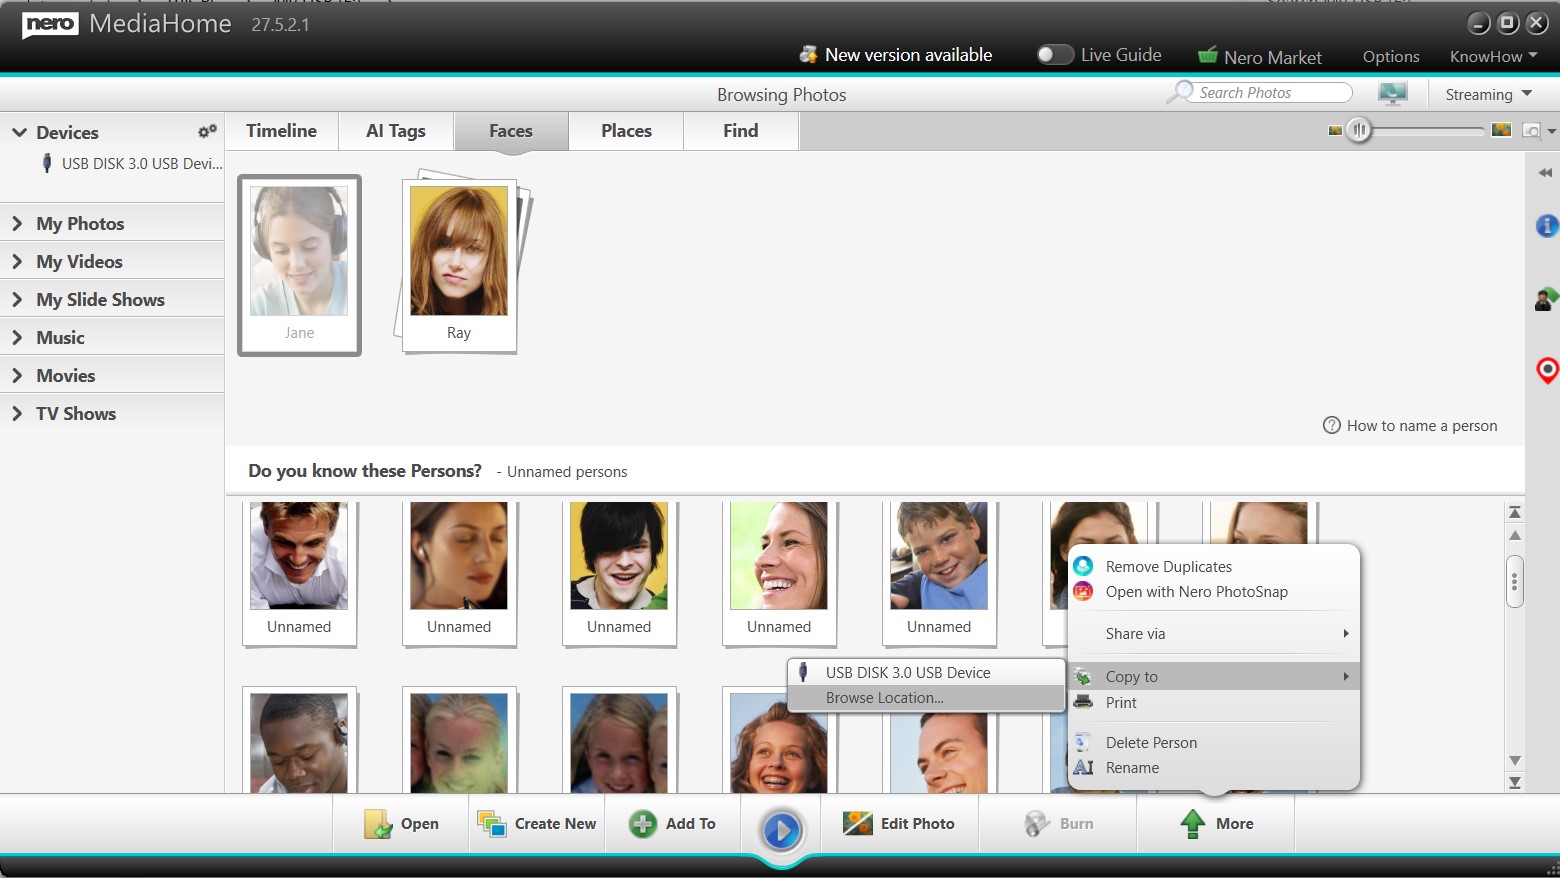
  • Open your photo/video library → select a collection (by Faces, Places, or album).
  • Click More → Copy to → browse to choose any local folder or select an external device.

Tip: Folder and album structure is preserved, keeping your collections organized.

Continue reading How to Import and Export Playlists and Collections in Nero MediaHome?

What is Nero AI video upscaling and how to turn on/off it?

Even people who are not so interested in watching movies may agree that watching videos in high resolution (such as Full HD, 4K) is a wonderful experience. With 4K monitors and TVs becoming more and more popular, are you still satisfied with watching blurry SD videos on 4K monitors or TVs?

What is traditional video upscaling?
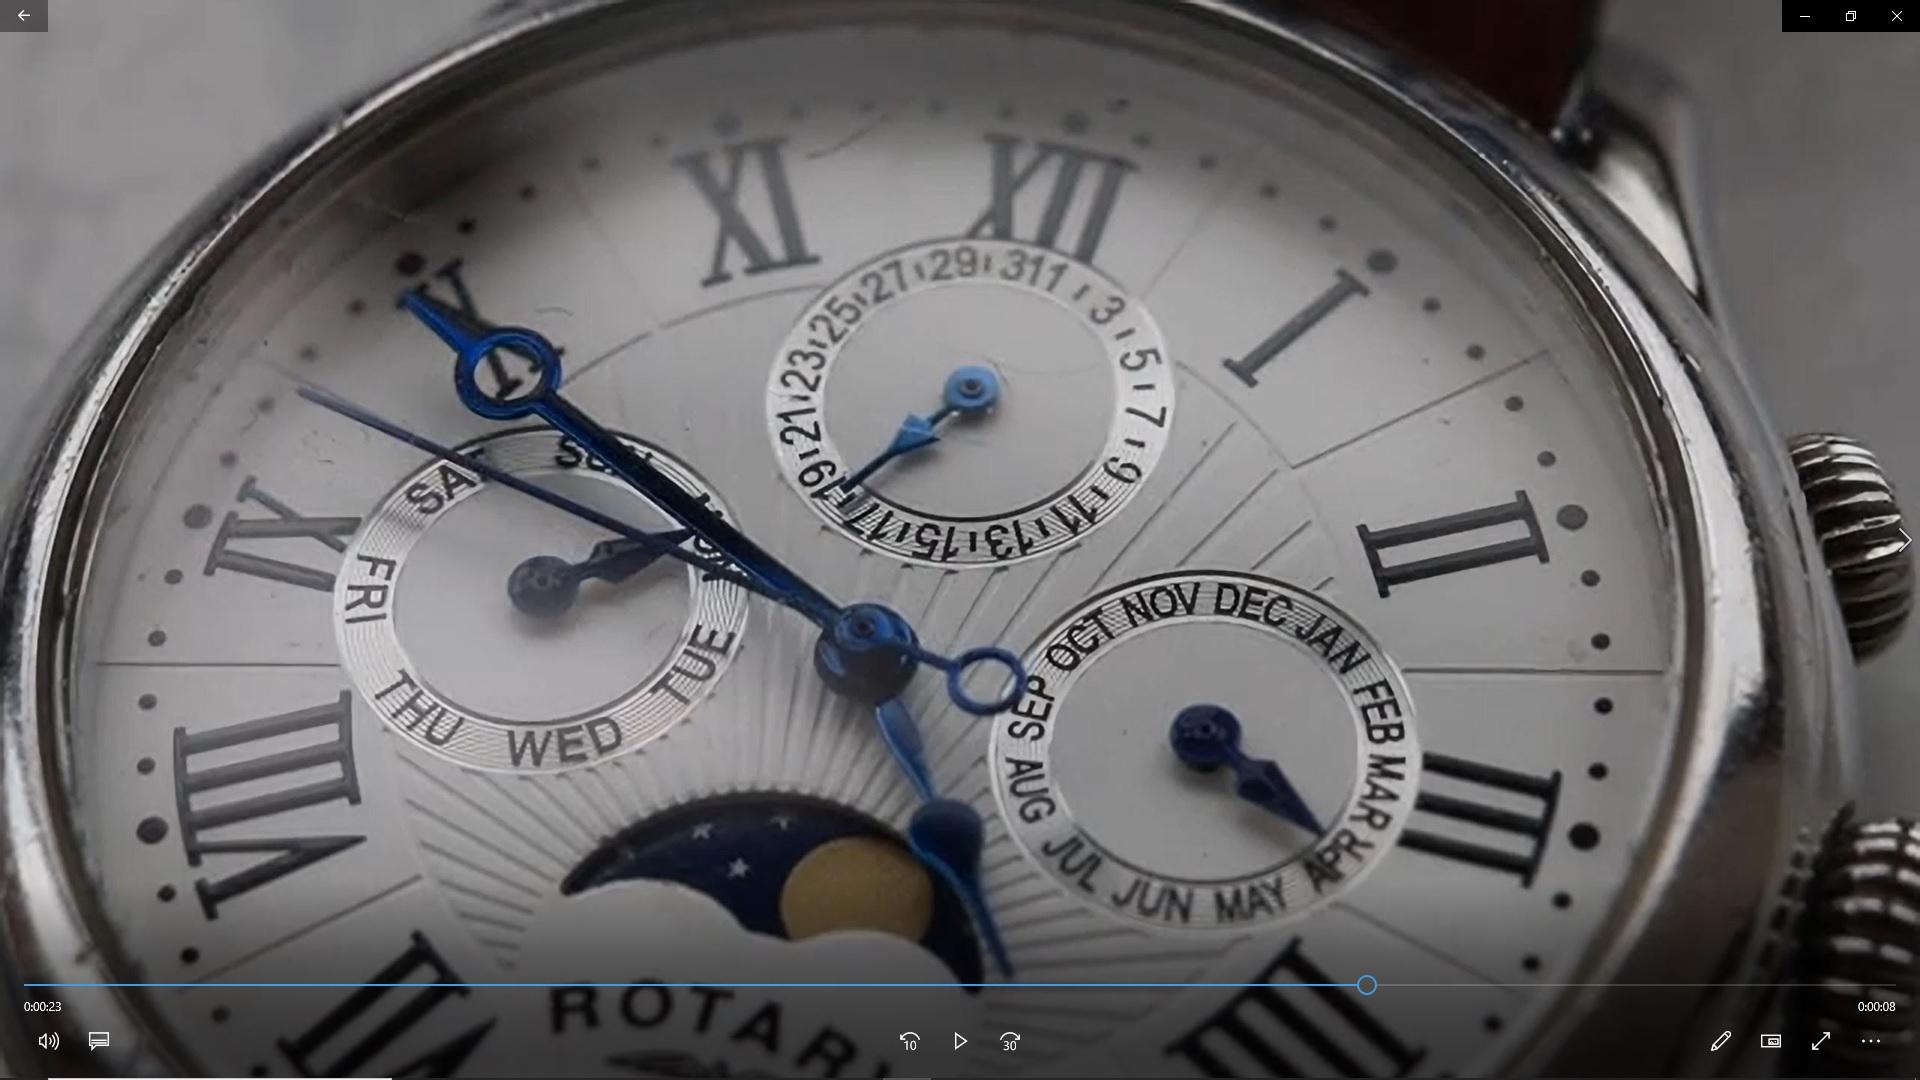
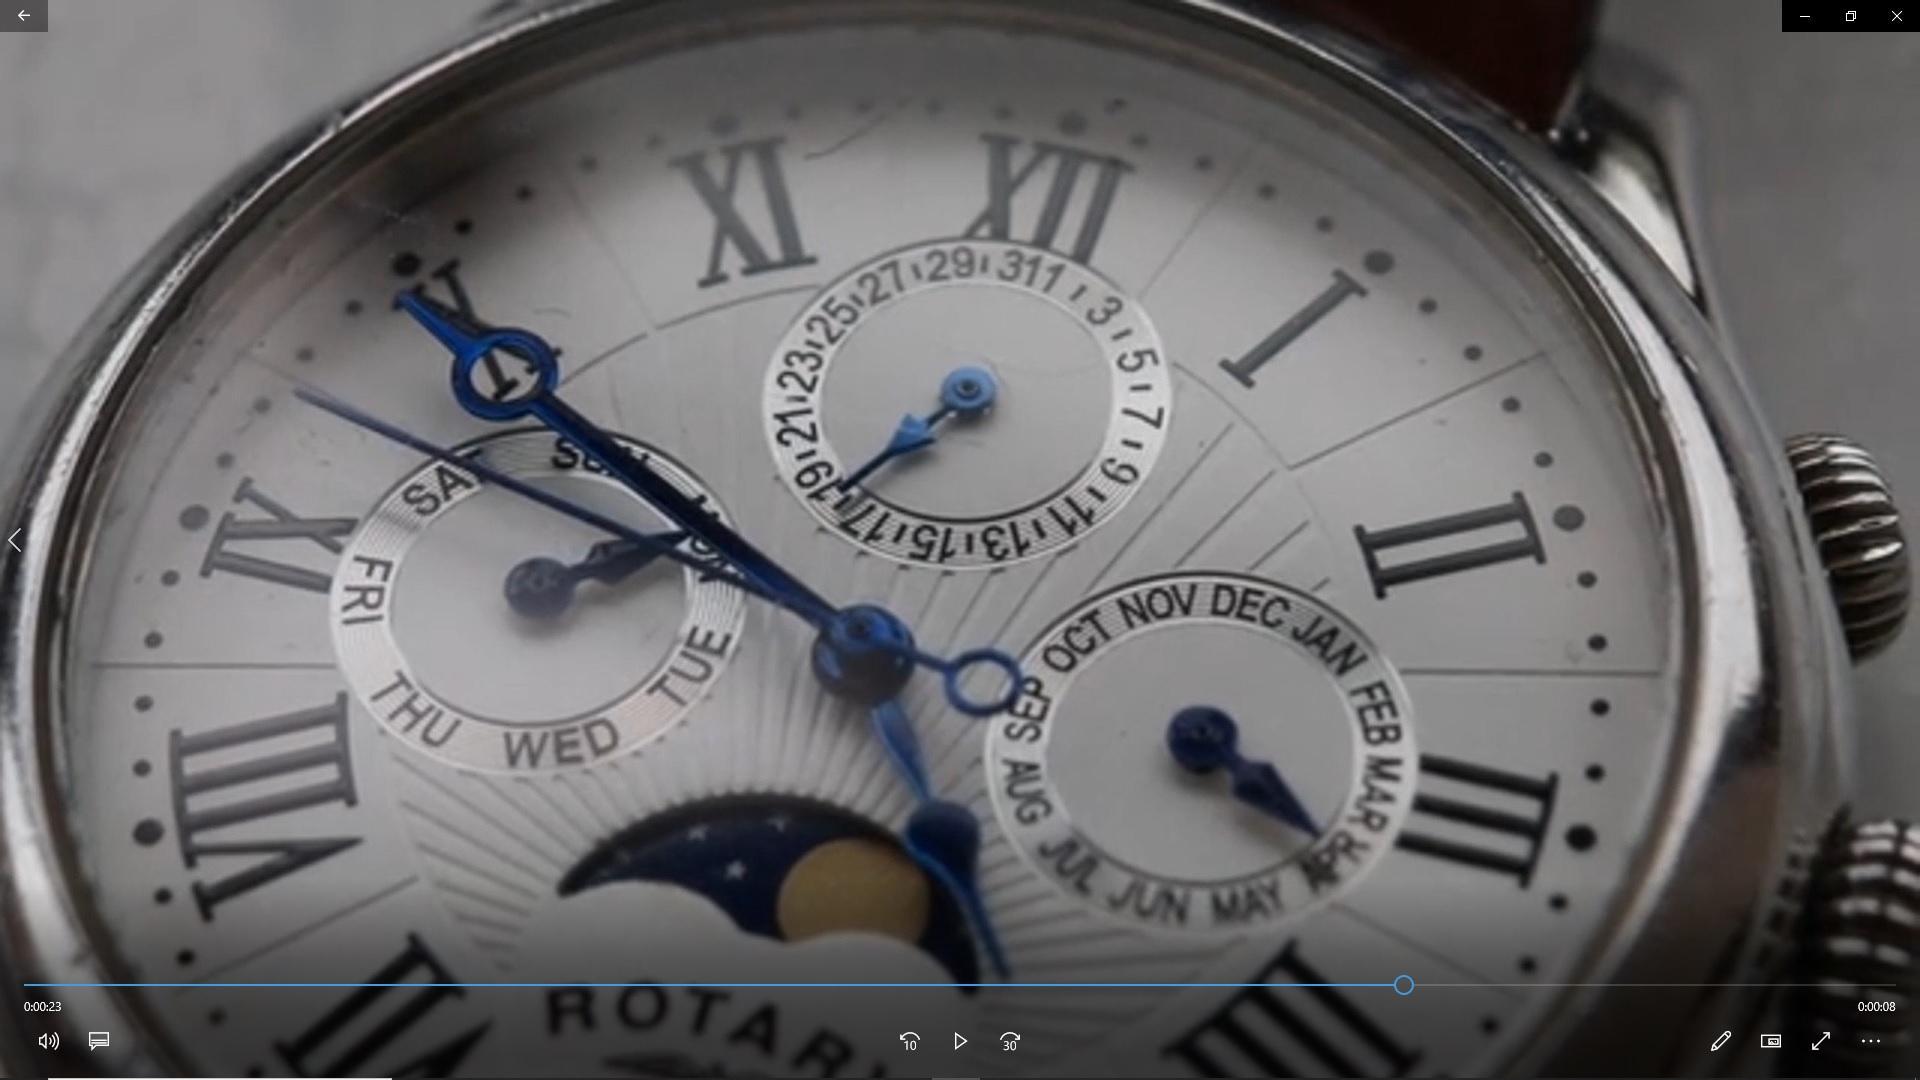
Traditional upscaling or resize is the easiest way to stretch a lower resolution video onto a larger displayer. The pixels in the lower resolution image are simply repeated and averaged to fill all the pixels of the higher resolution display. The result is that the video fits a 4K monitor, but it usually looks blurry.

What is Nero AI video upscaling?
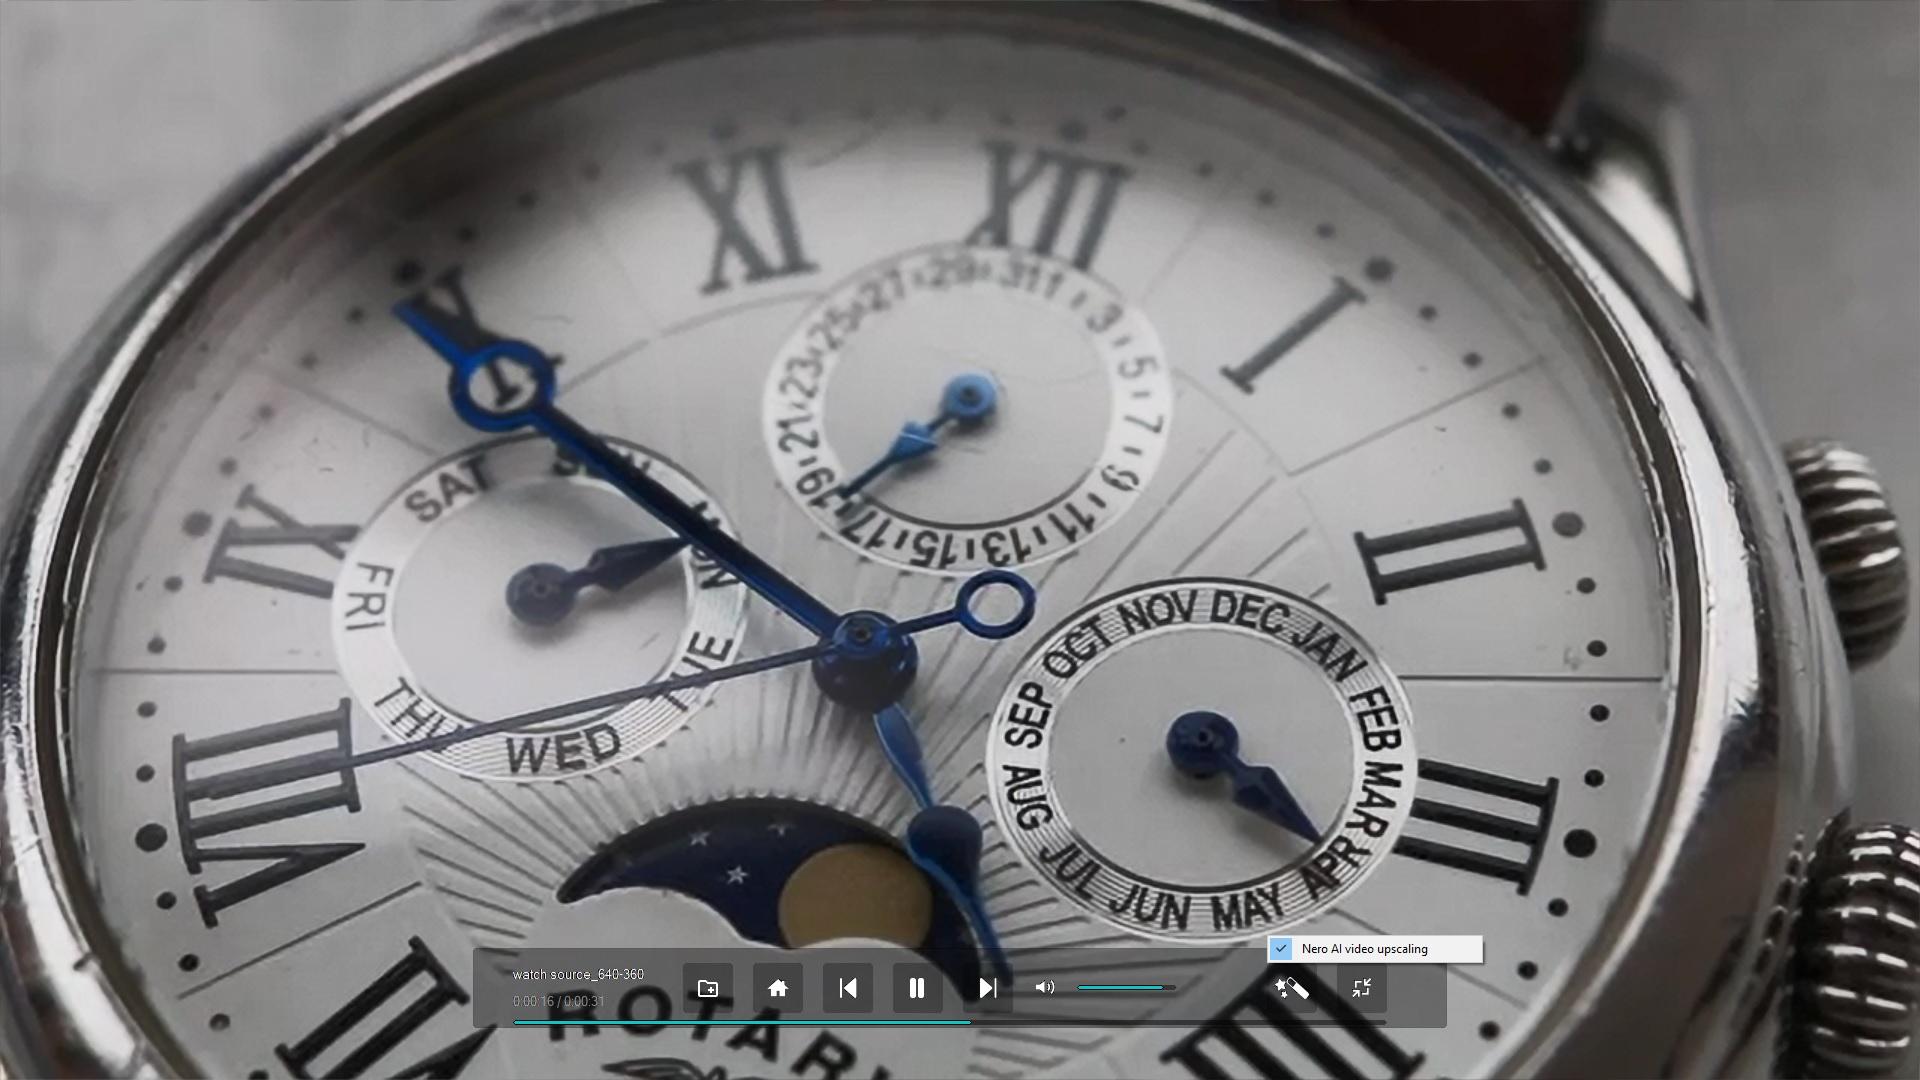
Nero AI video upscaling predicts high-resolution videos through an AI model and produces incredible clarity and enhanced details that cannot be reproduced by traditional upscaling, such as sharper edges, more realistic hair, and the landscapes with striking clarity.

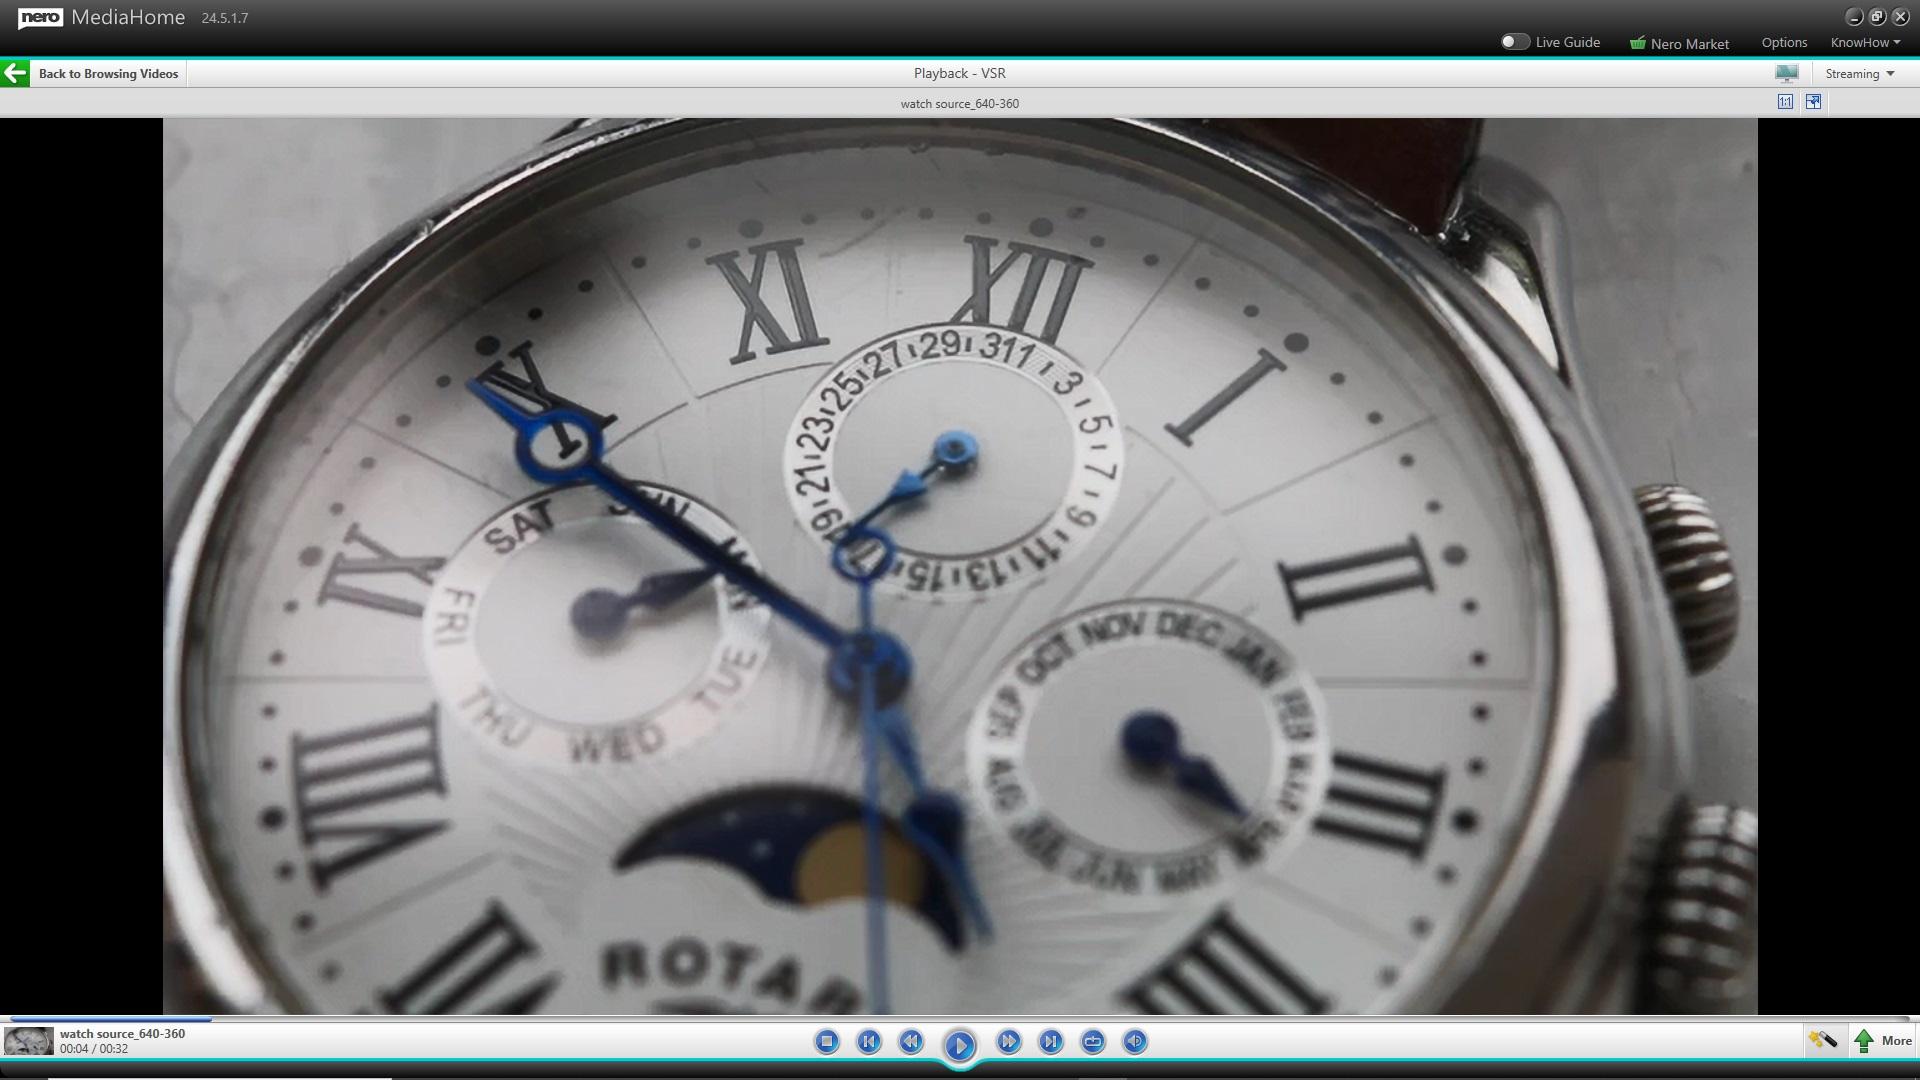
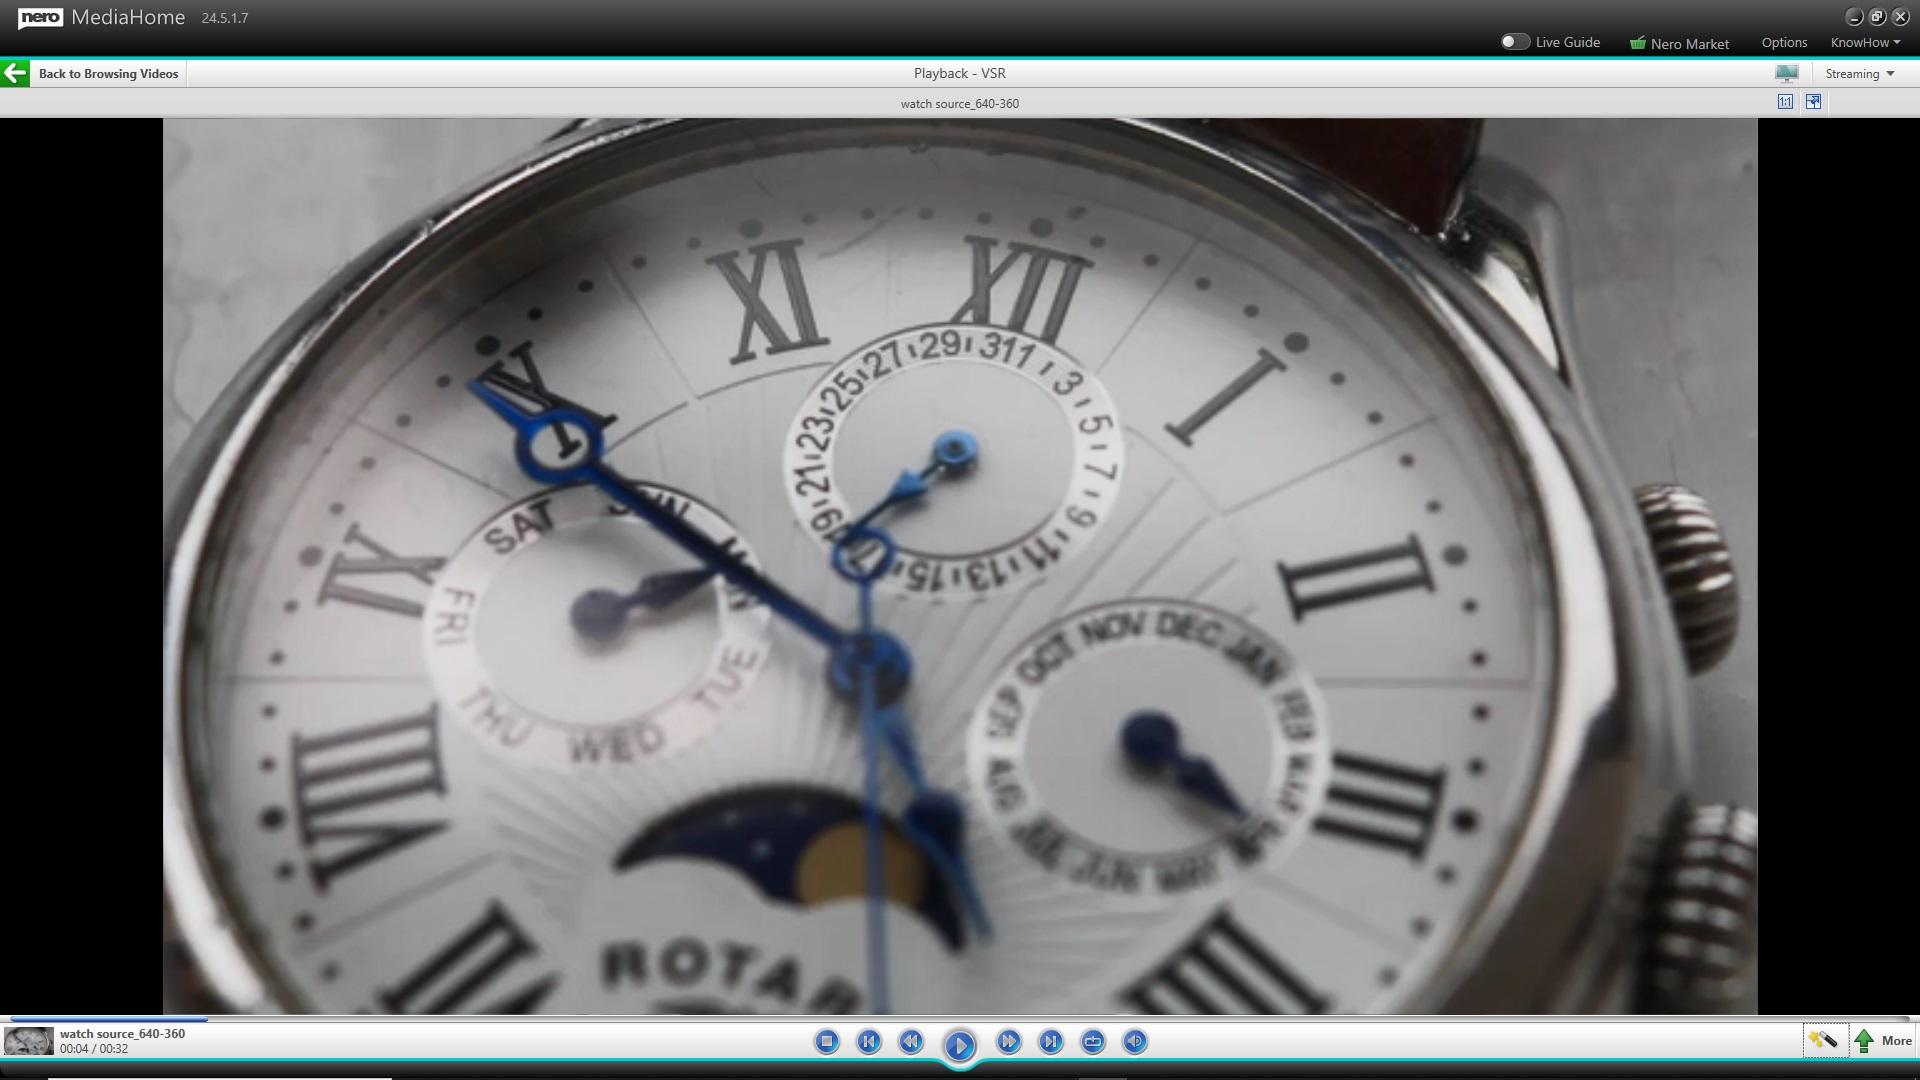
Before and after: Nero MediaHome playback with Nero AI video upscaling


The result video that converted by traditional video upscaling and Nero AI video upscaling

What You’ll Need

  • Nero Platinum or Nero Platinum 2022 installed.🛒 Click and Get Nero Platinum Suite
  • Nero Platinum supports Nero AI video upscaling up from V24.x and higher.
  • Please attach your monitor to the higher performance graphic card, if your PC has dual graphic cards.
  • Windows 10 or higher 64-bit operating system is recommended.

Enjoy a better performance with enabled hardware-accelerated AI enhancement

We recommend using at least a Nvidia GTX 970 or AMD Radeon R9 390 graphics cards for hardware accelerated video AI upscaling of SD source files. If you would like to do video AI upscaling of HD source files, we recommended using at least a Nvidia GTX 1070 or AMD Radeon RX 5600 graphics cards.


How to turn on/off Nero AI video upscaling?
In Nero Platinum V24.x and higher versions, you can enjoy the improvement of video quality from Nero AI video upscaling during video playback, converting and exporting.

Video Playback – Nero MediaHome
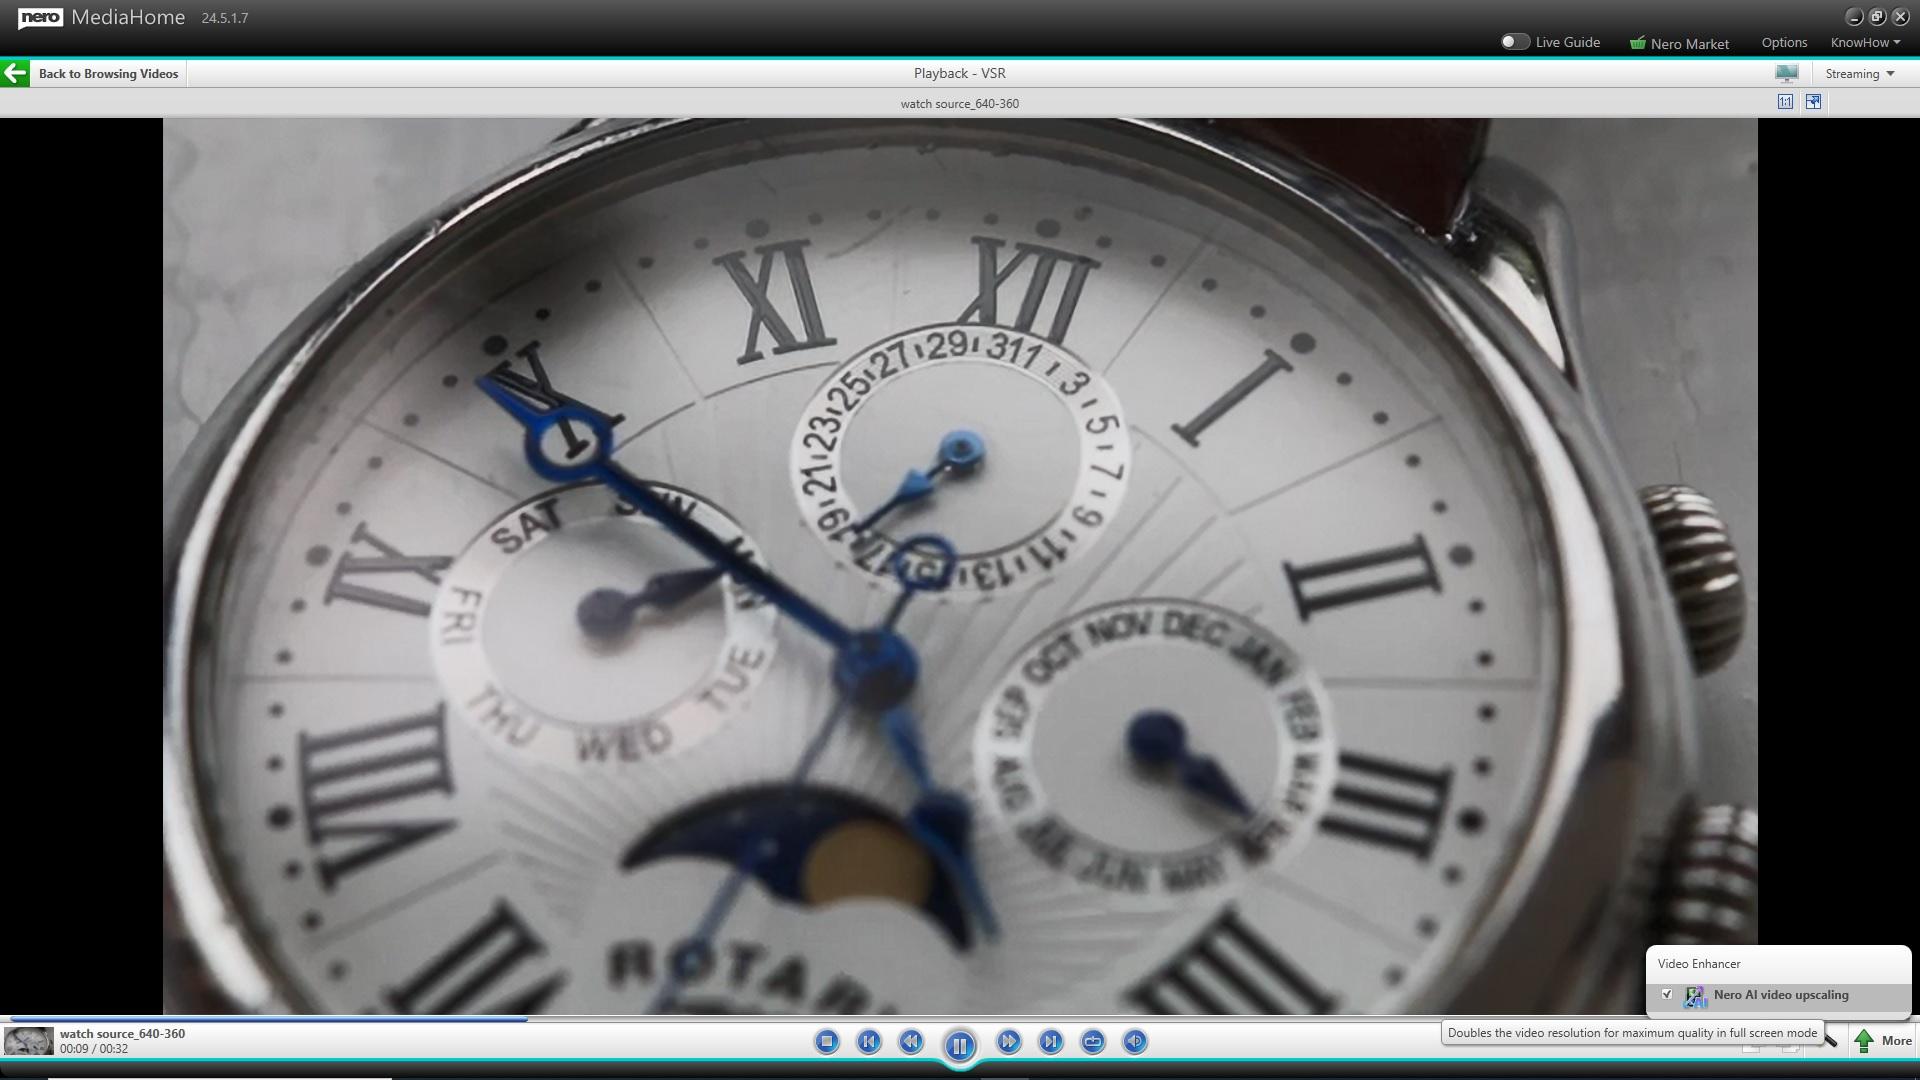
When you are playing video clips, no matter playing from Nero MediaHome Library or in Nero MediaHome Viewer, you will find a “Video Enhancer” icon in the lower right corner. From there you can turn Nero AI video upscaling on or off.

VSR playback in NMH Library VSR playback in NMH Viewer

The real-time video playback of “Nero AI video upscaling” depends on the performance of your graphic card.
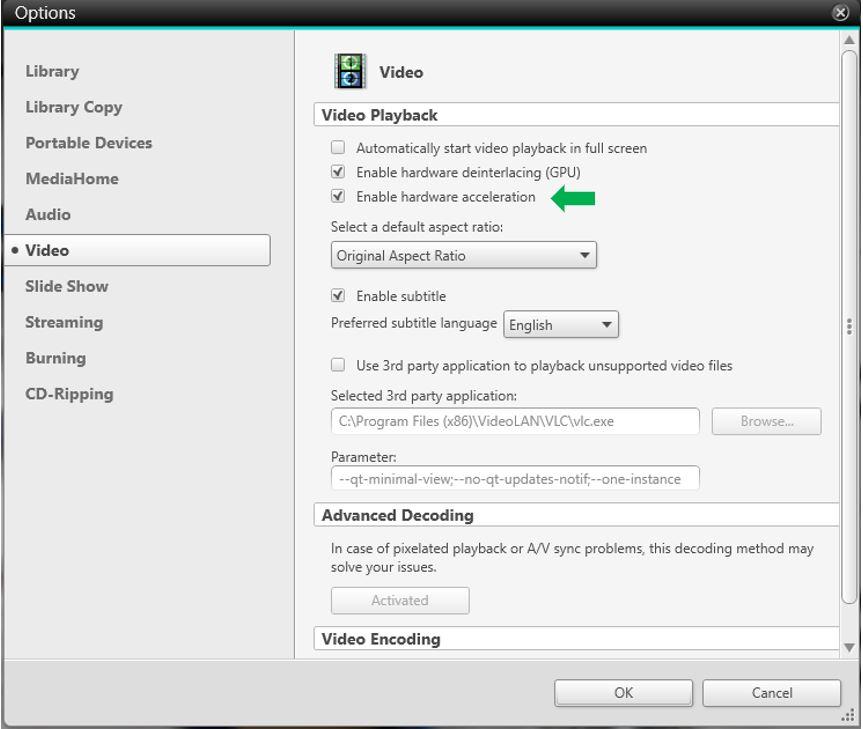
We recommend enabling hardware acceleration under Video Playback in Nero MediaHome > Options > Video.

NMH Option HWA


Export – Nero Video
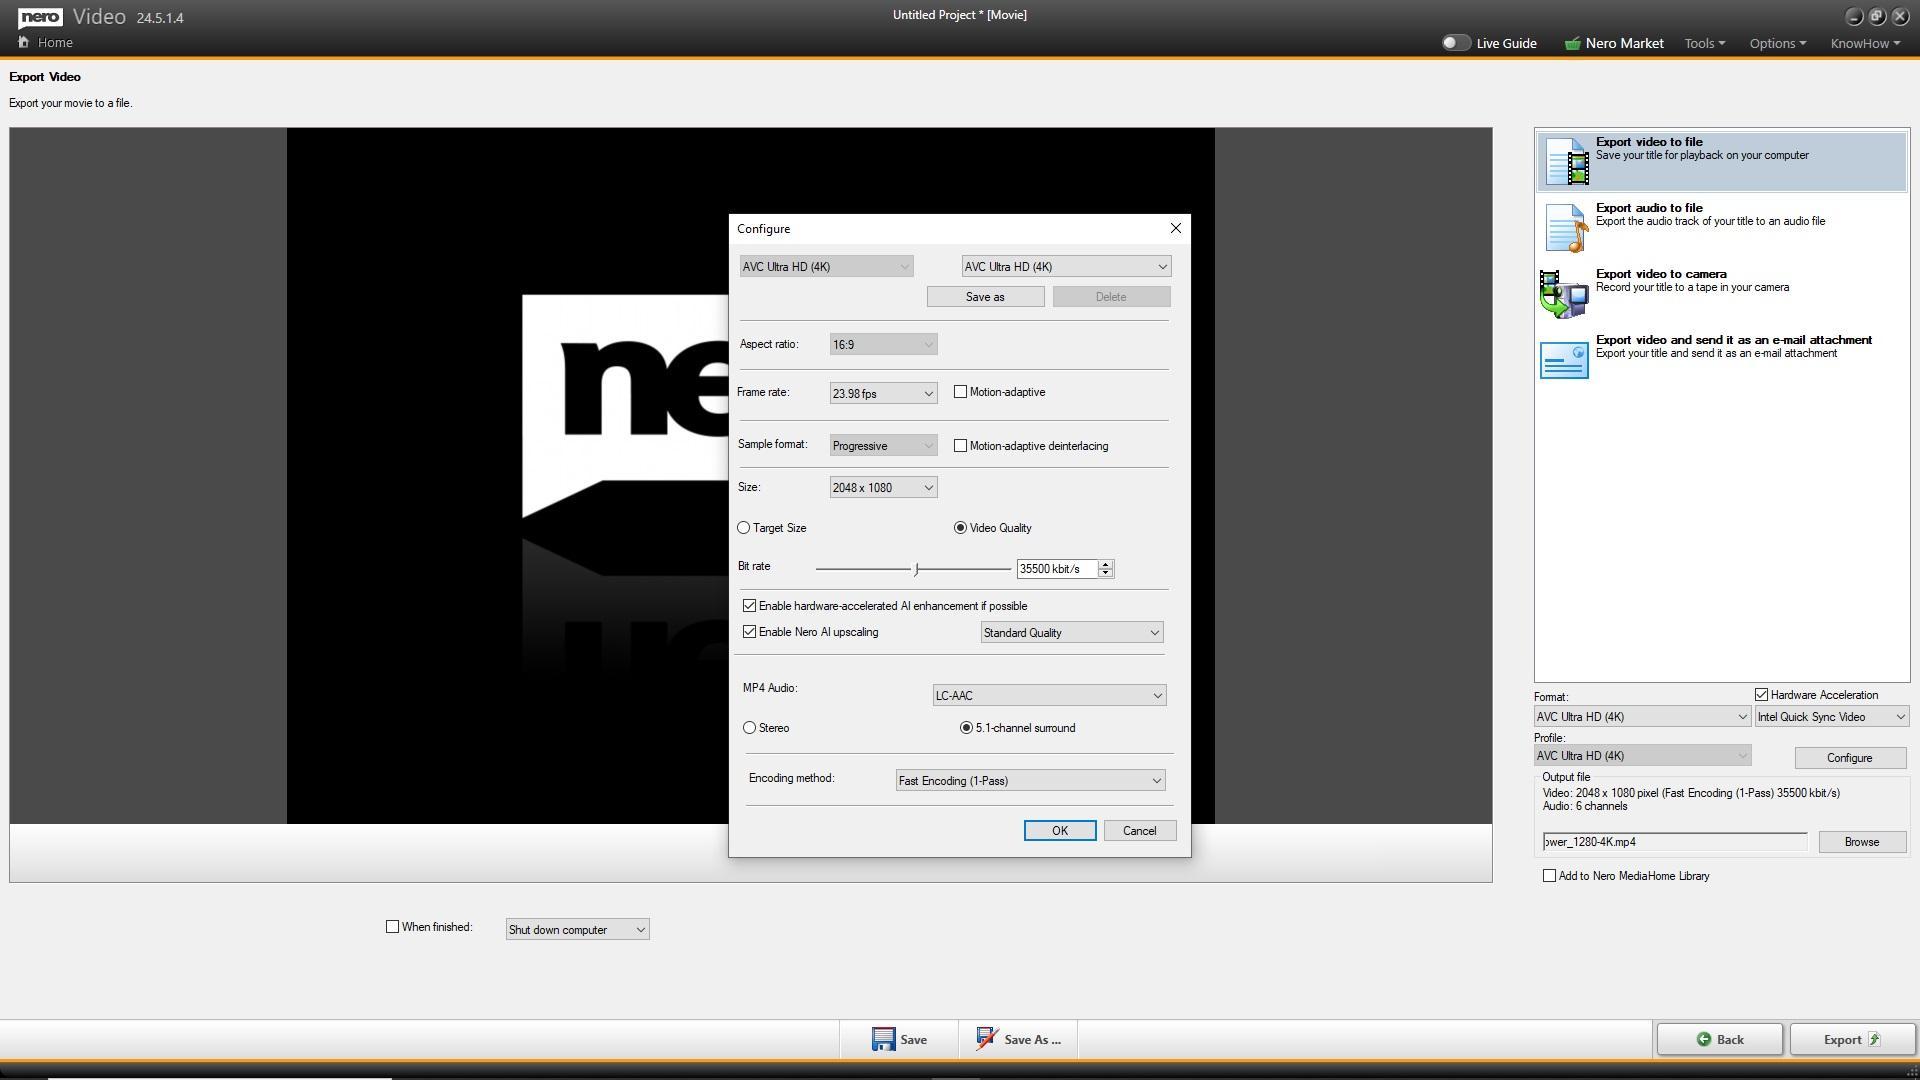
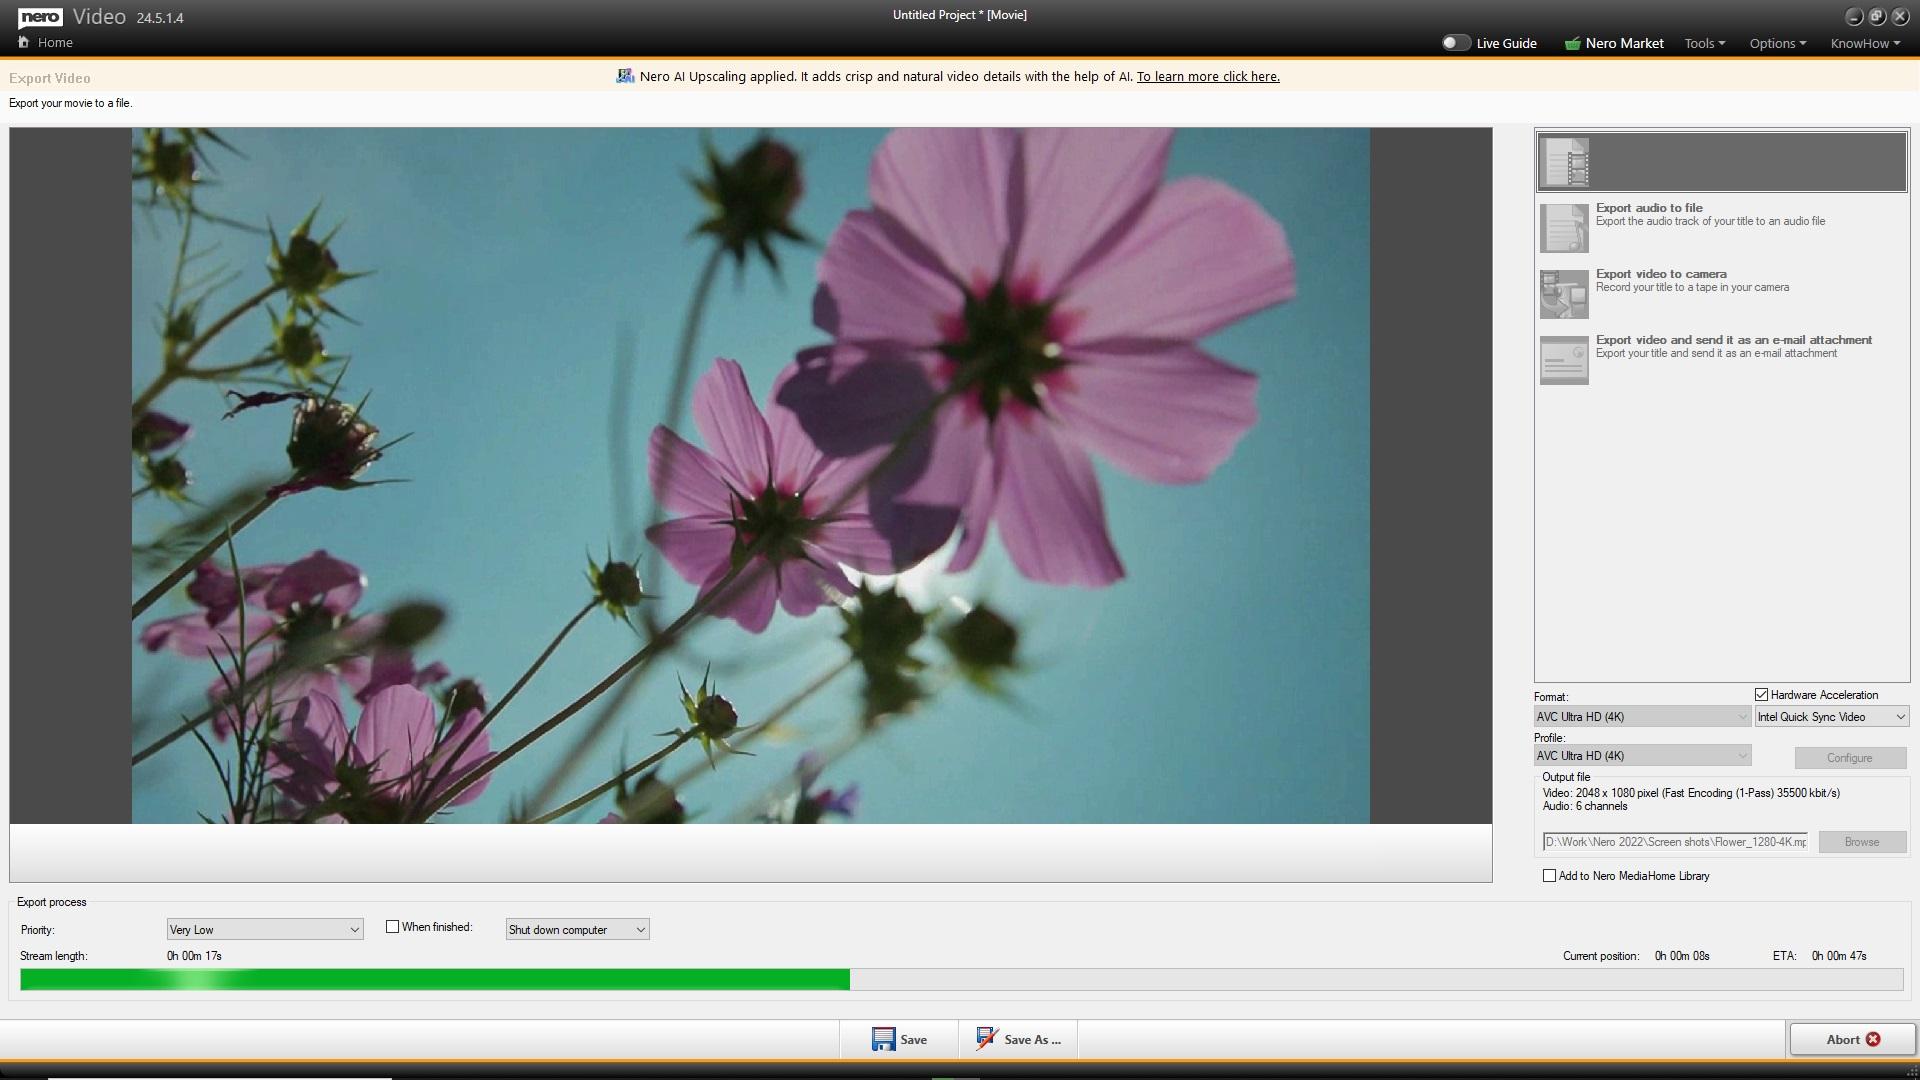
In Nero Video V24.x or later versions, you will find the option to enable or disable Nero AI upscaling in the export settings under “Configure”. Nero Video will apply Nero AI upscaling to your movie project when the target size is larger than your movie resolution settings.

Nero AI video upscaling_configure

Nero AI video upscaling_export
There are two levels for the output quality: standard quality and high quality. With the “high quality” level, you will get a better output file, but it needs more time.

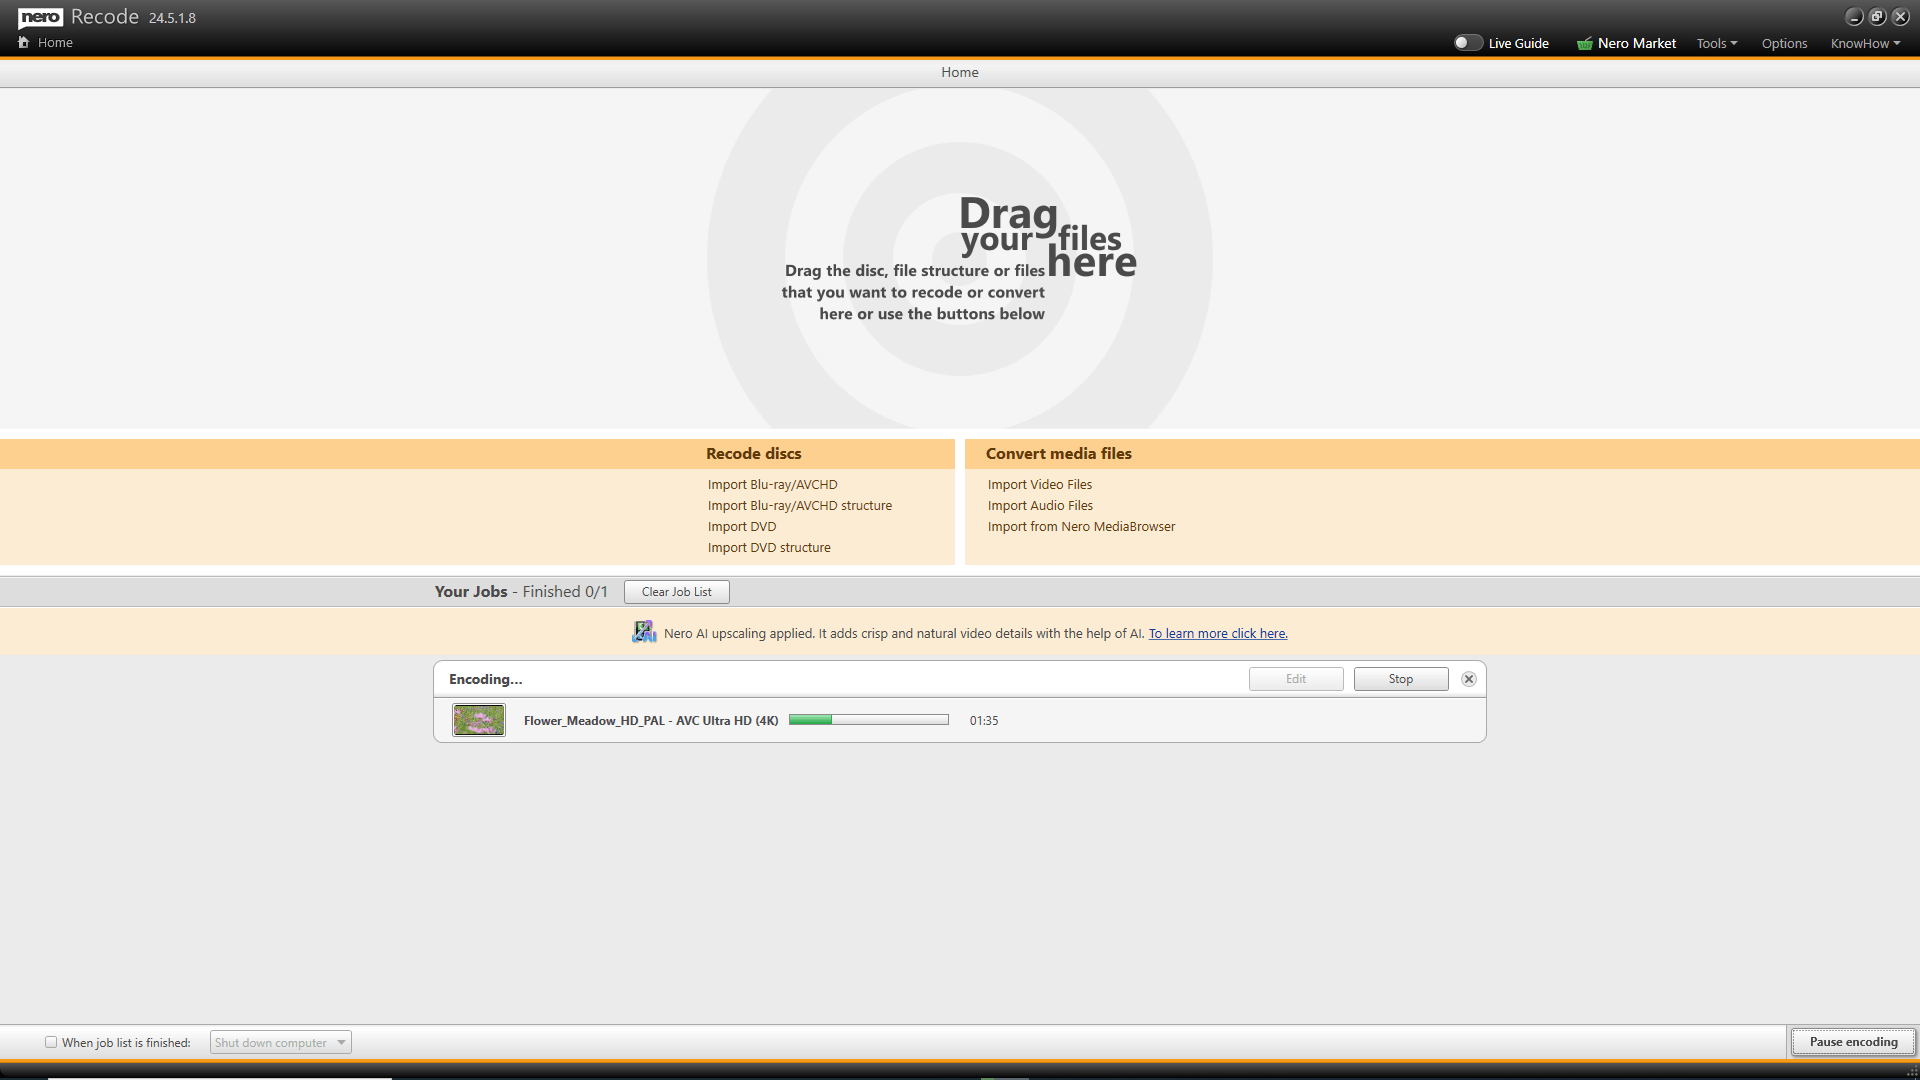
Convert – Nero Recode
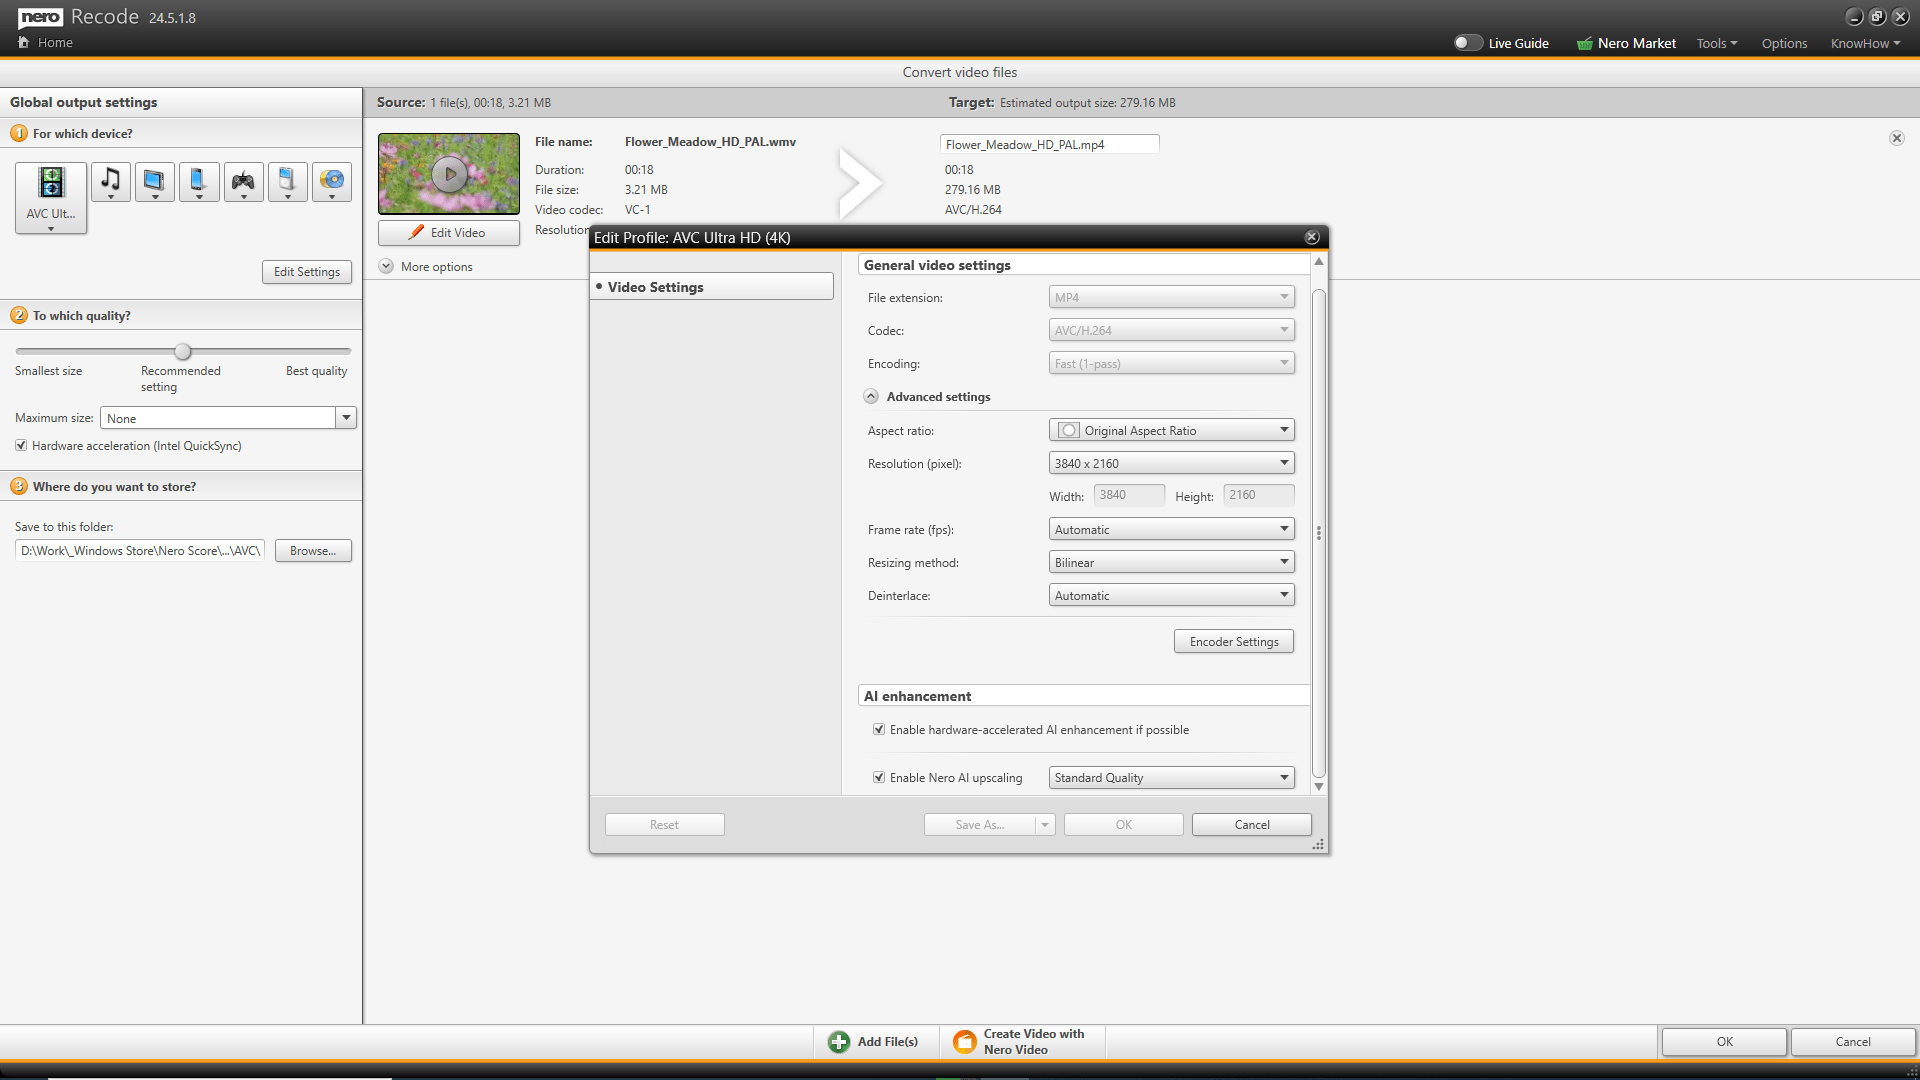
In Nero Recode V24.x or higher versions, you will find the “Nero AI upscaling” and its AI hardware acceleration options in Output settings.
Recode_Nero AI upscaling_configure
Recode_Nero AI video upscaling_export
There are no special hardware requirements for the conversion in Nero Recode and the export in Nero Video. The general performance depends on the system performance. But the hardware limitation will not affect the output quality. We recommend running Nero AI upscaling on Windows 10 or higher 64-bit operating systems.

Nero KnowHow 00238