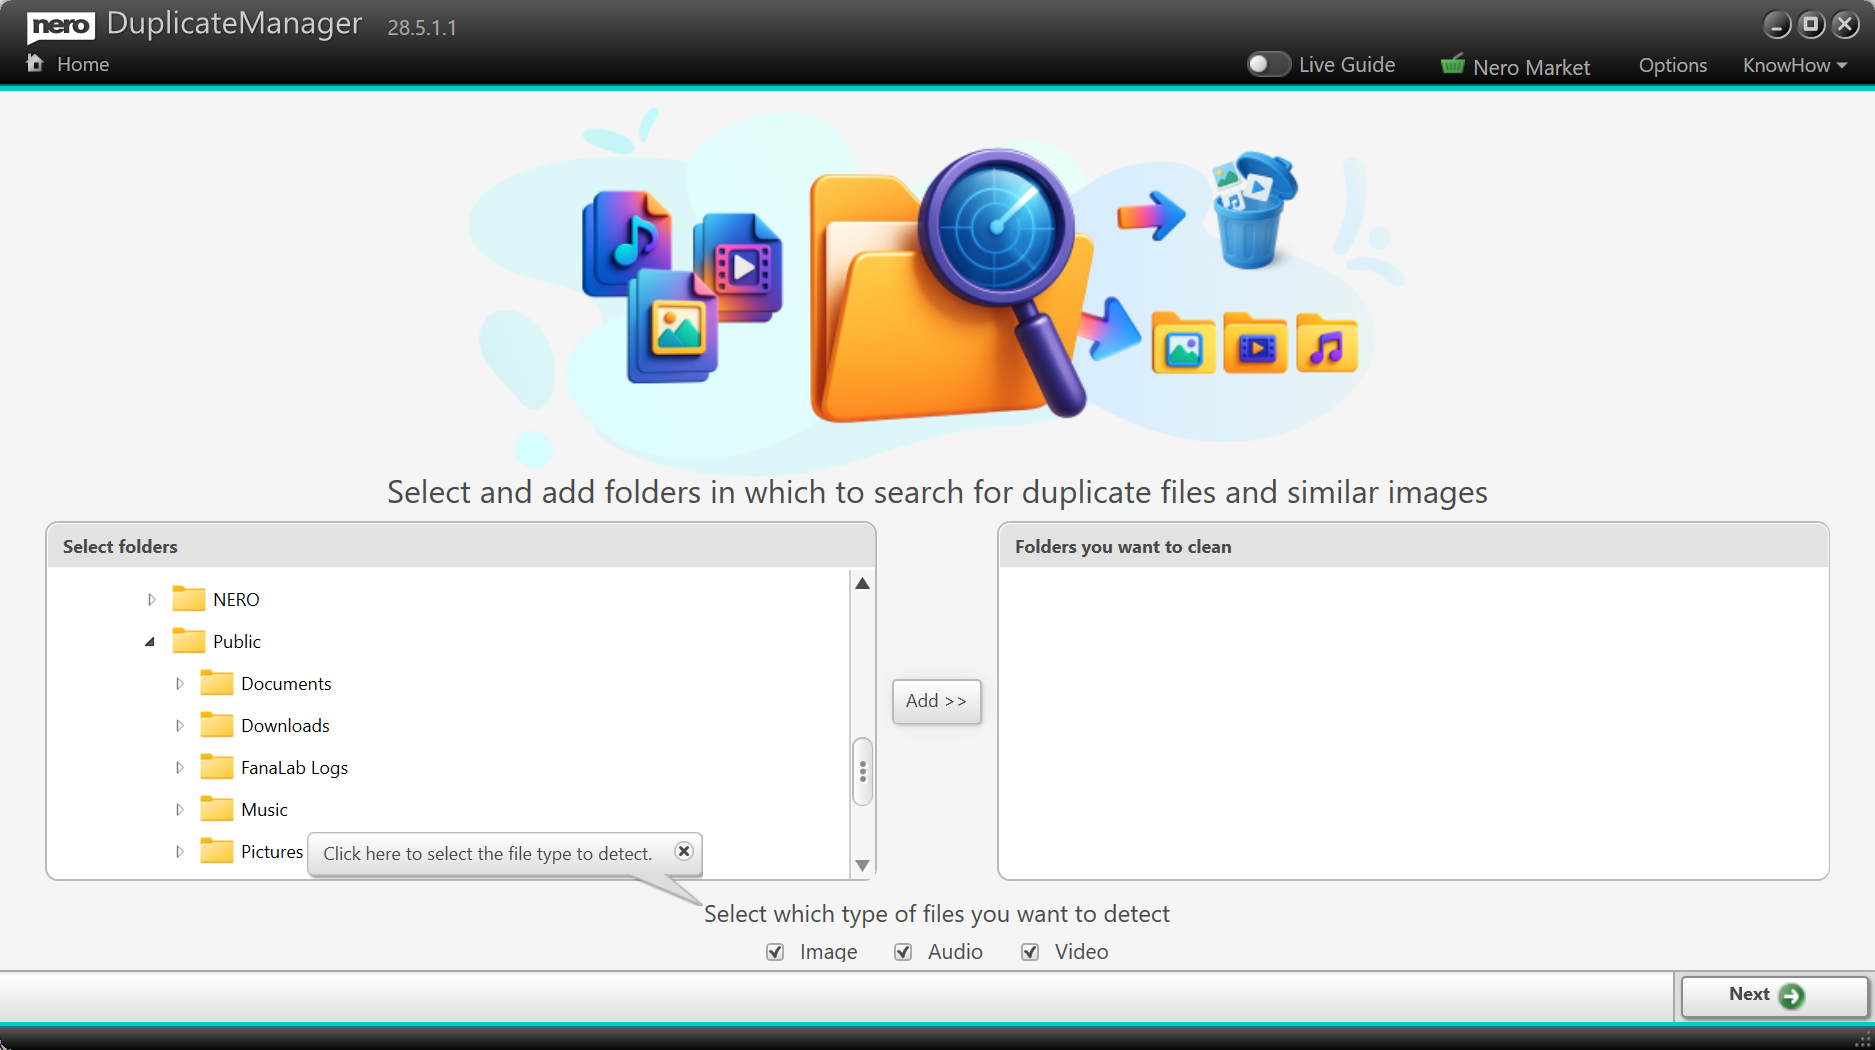
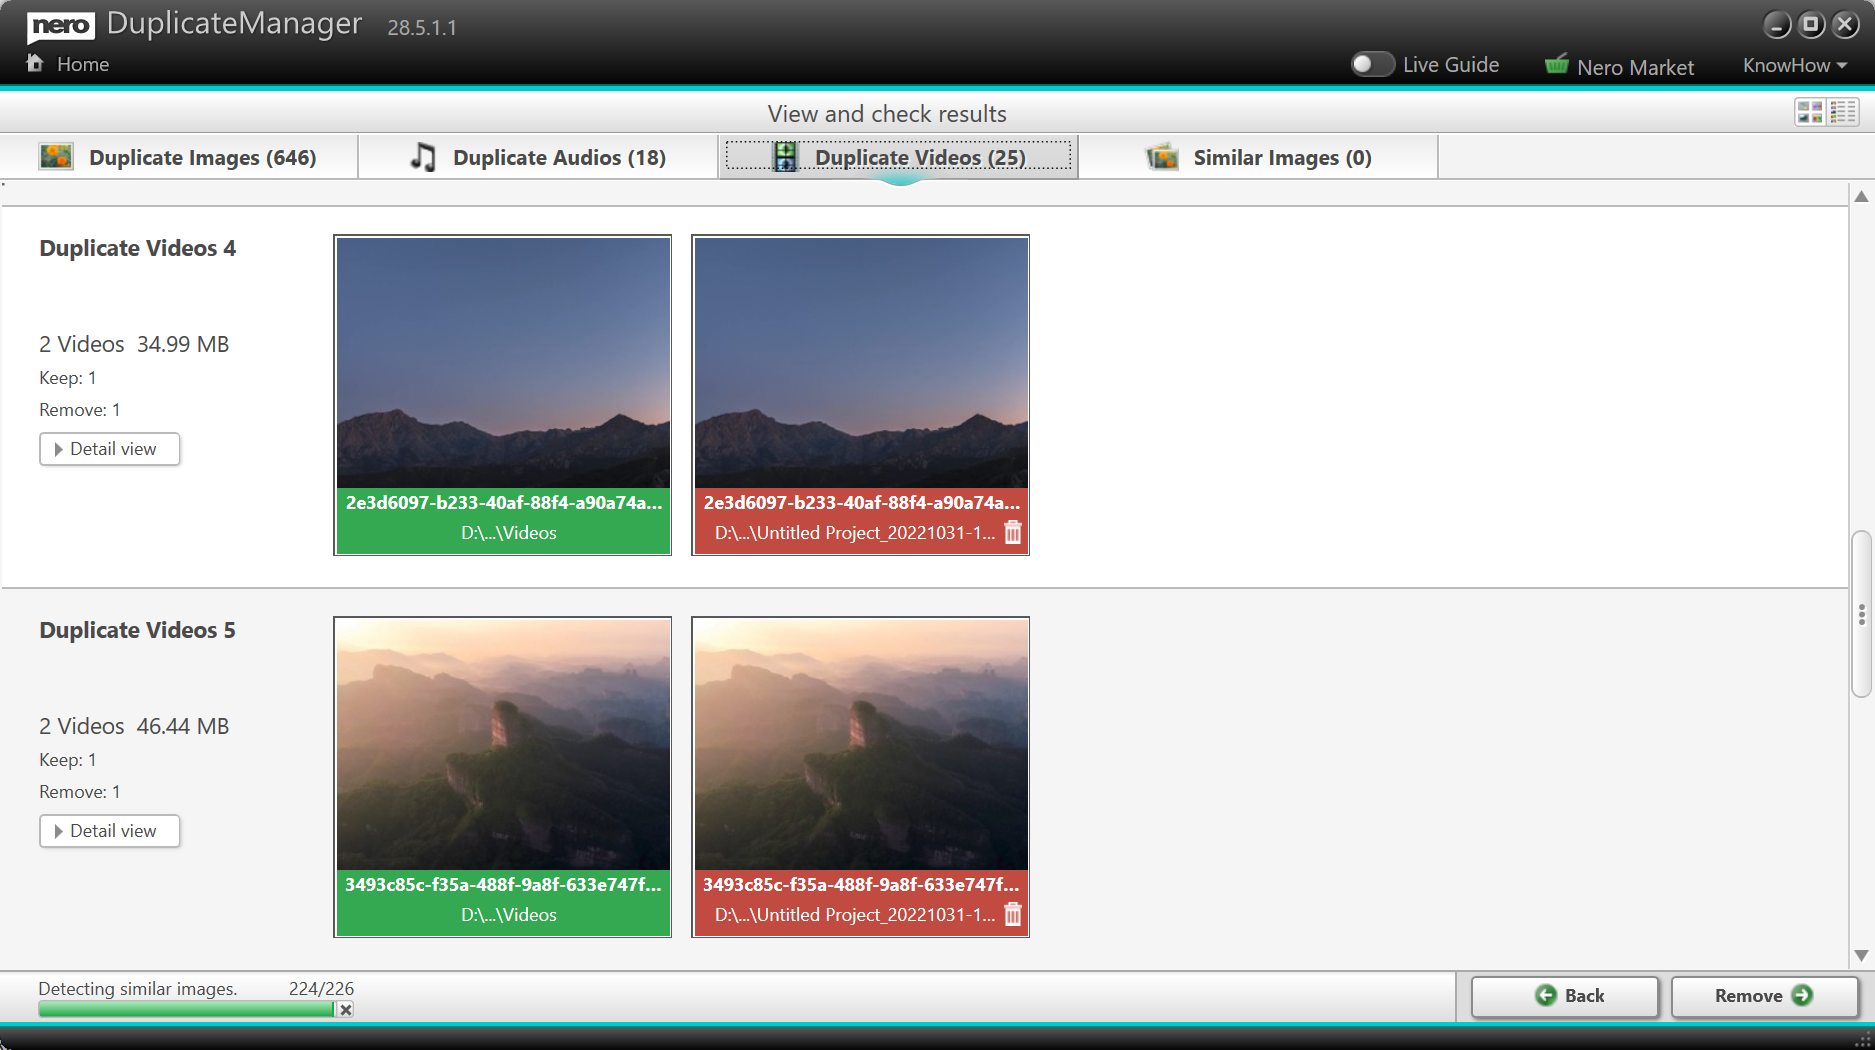
Nero AI Video Upscaler Release Notes – 27.0.1.7 & 27.5.2.12

New Feature

Face enhancement

Add a new model for enhance the detail of human faces in the video.

Bugfixes

  • Recognize DRM protected video correctly.
  • Fixed the issue of video export stopping midway.
  • Added countdown for shutting down and hibernate the computer after exporting a video.


Image Upscaler Release Notes – 27.5.5.0

New features

  • Now you can set the default upscaling ratio and models for all remaining unprocessed images with just 1-click.
    • via Options page:Auto-start option for face recovery
    • via the processing control zone:Apply model and size settings to all the unprocessed images

The size settings of scale rate is only available for local models. We will make it possible for online models soon.

For more infomation, please refer to How to set model and size settings to all unprocessed photos quickly with Image Upscaler

How to set model and size settings to all unprocessed photos quickly with Image Upscaler

What is it?

A feature that lets you instantly apply your preferred settings with a single click, saving time and ensuring consistency across your photo upscaling tasks, including:

  • Model option
  • Scale option (Currently works with local models only. Support for online models coming soon.)

These settings will apply to all photos waiting to be processed.

How to Use

There are two ways to apply the settings:

1. Configure your settings on the Options page

Auto-start option for face recovery

For example, if you’re a portrait photographer who regularly upscales portrait photos, we recommend: Set the Engine to Online, default model (Online) to Face Enhancement, and turn auto-start ON.


After setup, you’ll only need to input the portrait images. The app will handle all Face recovery and upscaling operations automatically.

This setup is also ideal when upscaling videos with Image Upscaler, processing each frame.

2. Click the “Apply to all” button to implement model settings or size settings instantly.

Apply model and size settings to all the unprocessed images

This option is better for complex daily tasks where you might not want auto-start because you have different photos that need different models.

The [Apply to all] button remains available to apply your current model settings to all remaining unprocessed images.

Best Practices

  • Review your original images and settings before applying to all
  • Regularly update your saved settings to match your current needs

Troubleshooting

  • What if settings don’t apply correctly?
    • Verify that all settings were properly saved
    • Be aware that the settings for online engine and local engine are separated
    • The model settings and size settings are separated
  • Why the Face enhance is not available to me?
    • The Face enhancement is currently based on Nero Cloud GPU only so it requires the PRO version.


Nero Start release notes – 27.5.21.0

Welcome to Nero 2025

We are pleased to introduce you to the new look and feel of Nero Start – designed to make your experience even more enjoyable.

2025 new UI


Getting to know Nero Start quickly

After logging in for the first time, a quick guide will show you how to use it, so you can start getting the most out of Nero Start right away.

Getting to know Nero Start quickly

On-Demand Support

Nero Start gives you direct access to FAQs, tutorials, guides, updates and support for your convenience.

On-Demand Support

Easy to stay up-to-date

With ‘Nero Start > NEW’, filter through ‘What’s New’ articles to easily compare and understand the latest features at any time.

On-Demand Support

Simplified Uninstallation

Say goodbye to cumbersome uninstallation processes with Nero Start’s one-click product uninstallation feature.

Simplified Uninstallation

Innovation never stops – As we regularly roll out updates, there’s always something new to explore and discover with Nero Start.


What’s new in Nero Video 2025?

Replace mode

For the request to change media files on the timeline, Nero Video now features the replace mode to make it easier to use by only pressing “Ctrl” button when dragging media file from library to the timeline.

The only limitation of replace mode is that the replacing media file needs to be longer than the replaced segment.

Video and image file can replace the segment on the video track. Audio file can replace the segment on the audio/music/narration track. Effect can replace the effect segment on the master effects track.