What is “Solutions”?
Solutions helps you complete common tasks by offering three types of help in one place:
- StartSmart – Guided use cases that take you directly into the right Nero app to start your job.
- How to – Step-by-step help articles for detailed instructions.
- Video tutorials – Short videos that show the workflow.
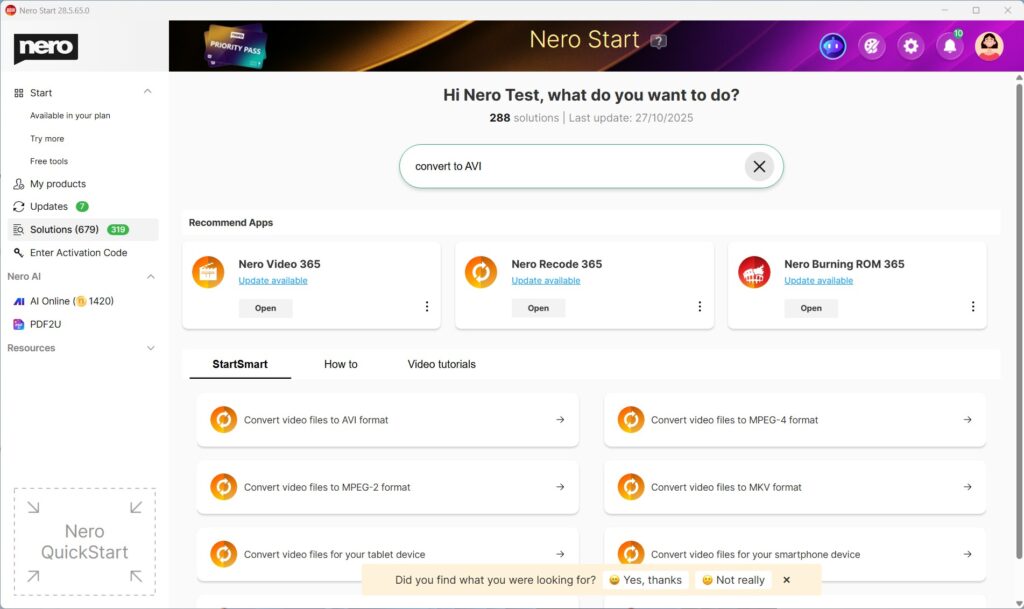
When you search for a use case, Solutions can show all three (StartSmart + How to + Video tutorials) so you can choose what works best for you.
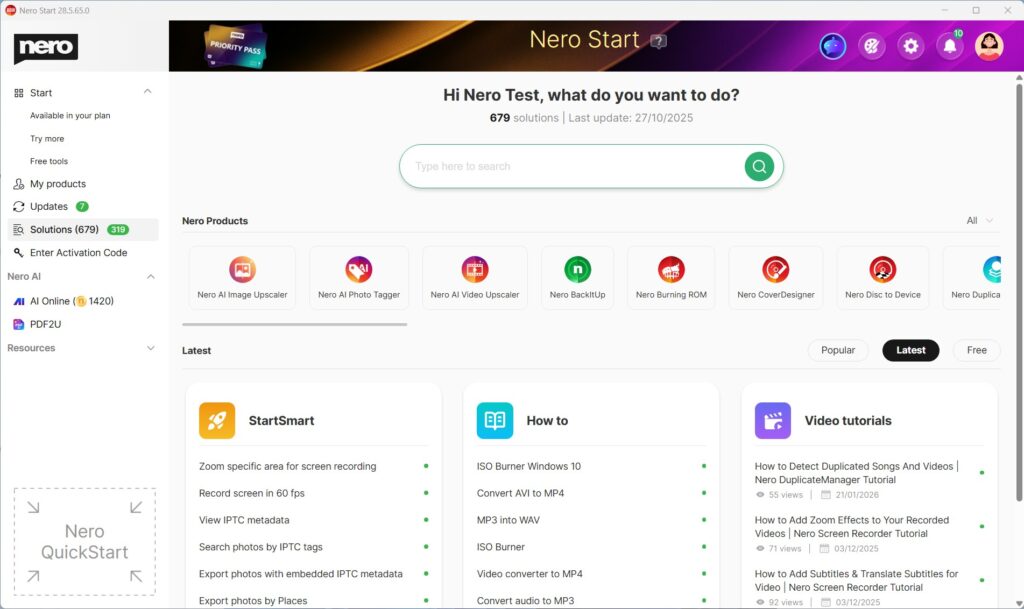
Find what you need with Search
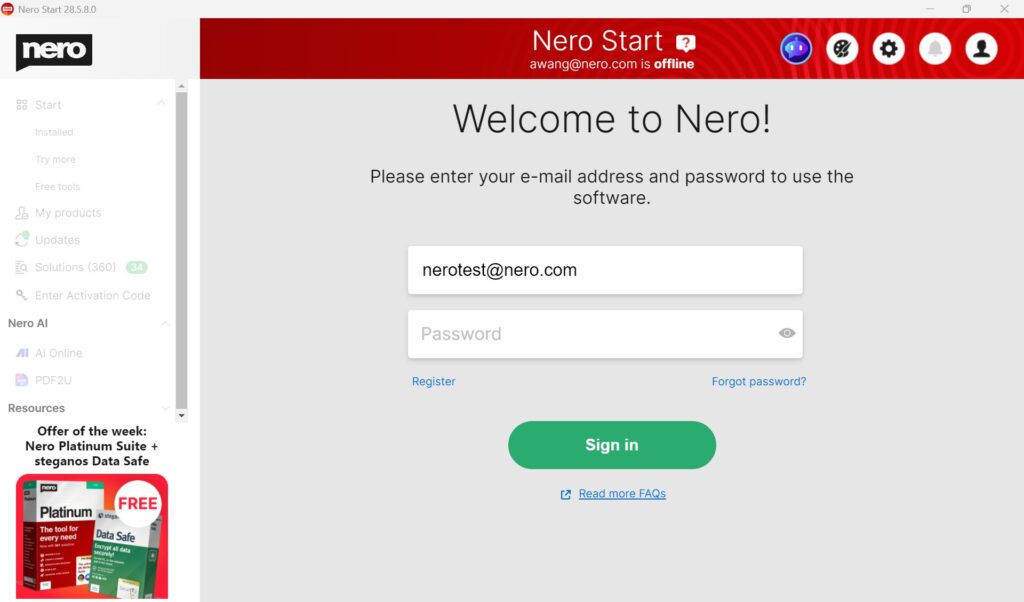
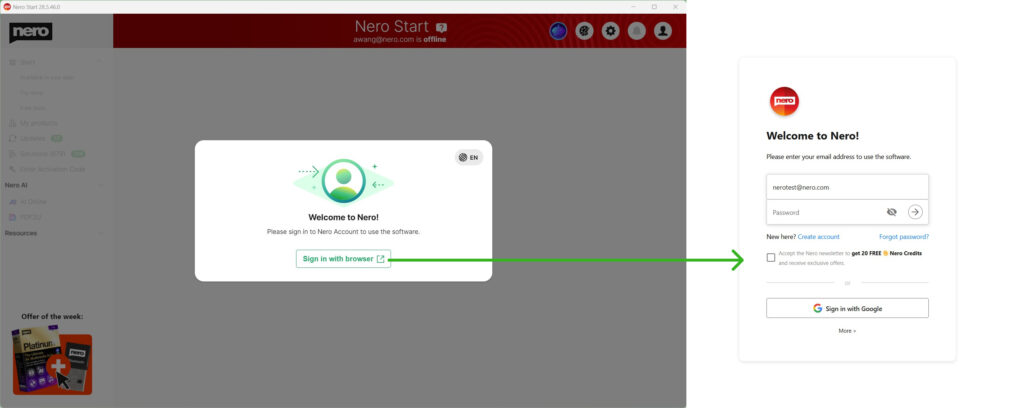
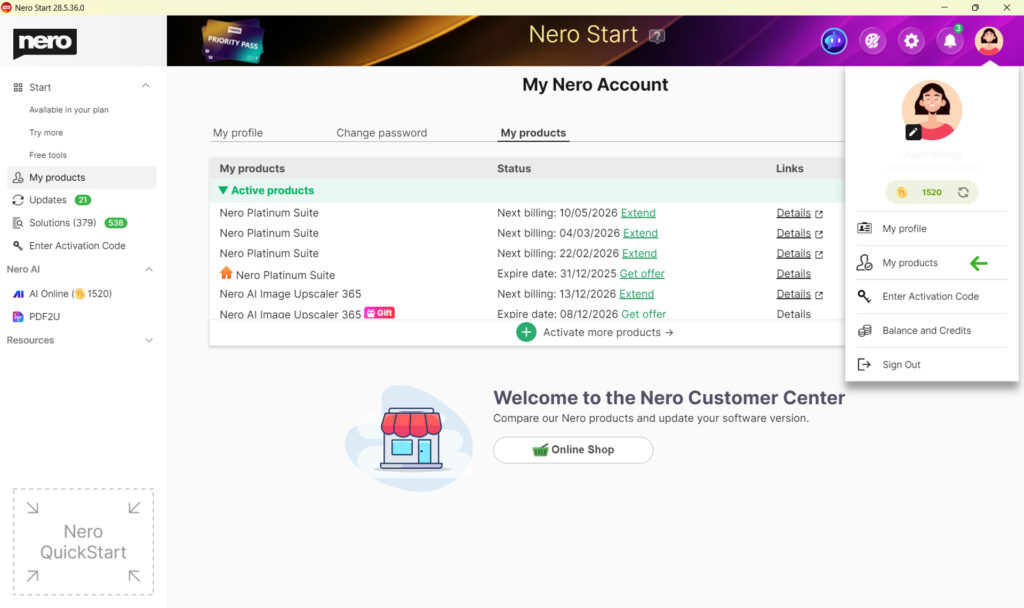
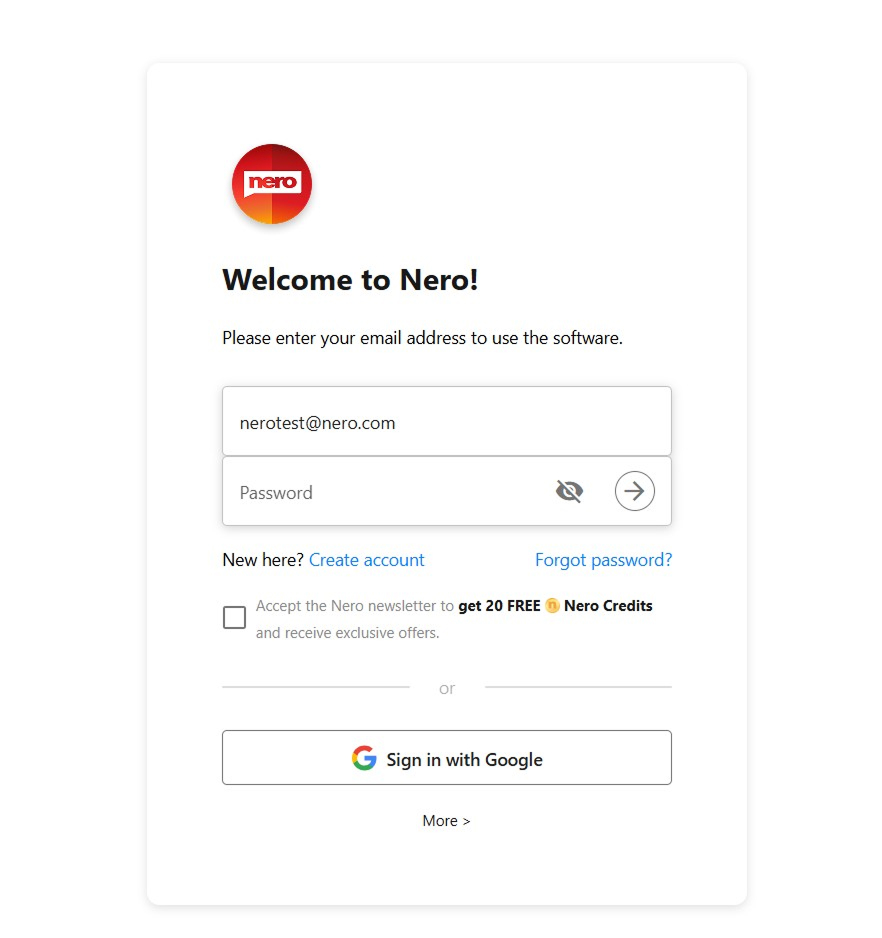
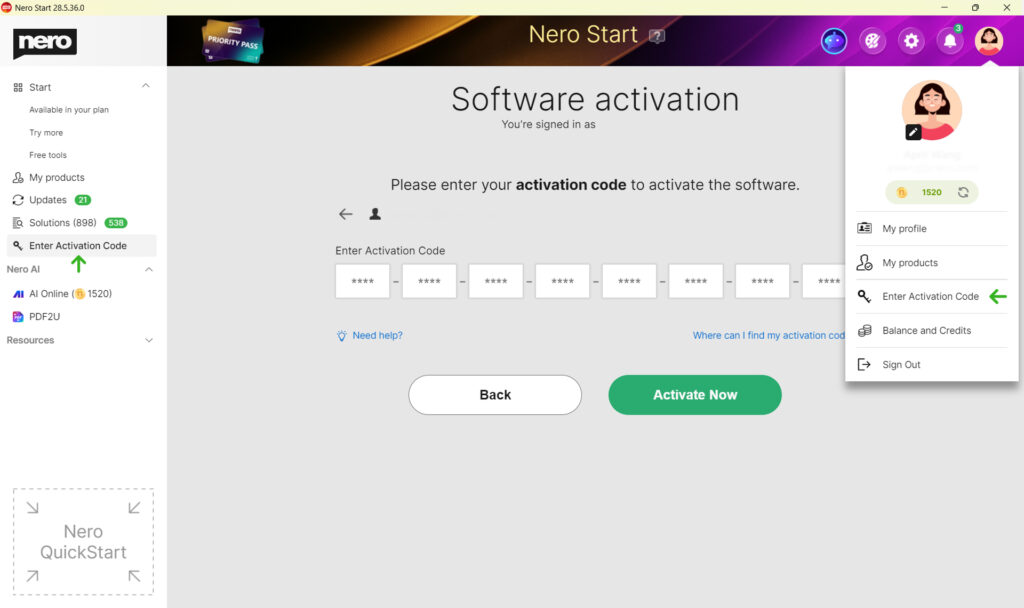
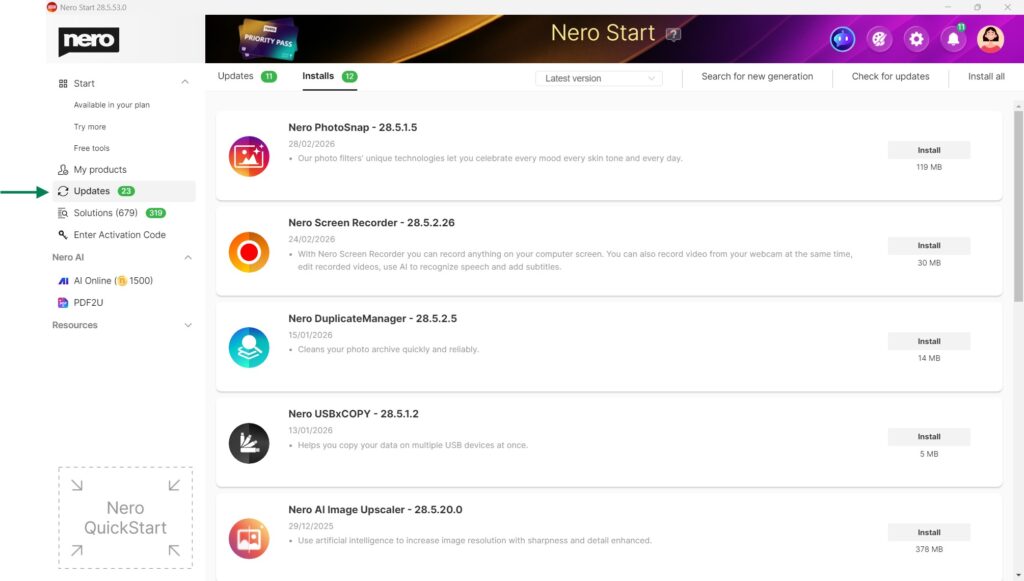
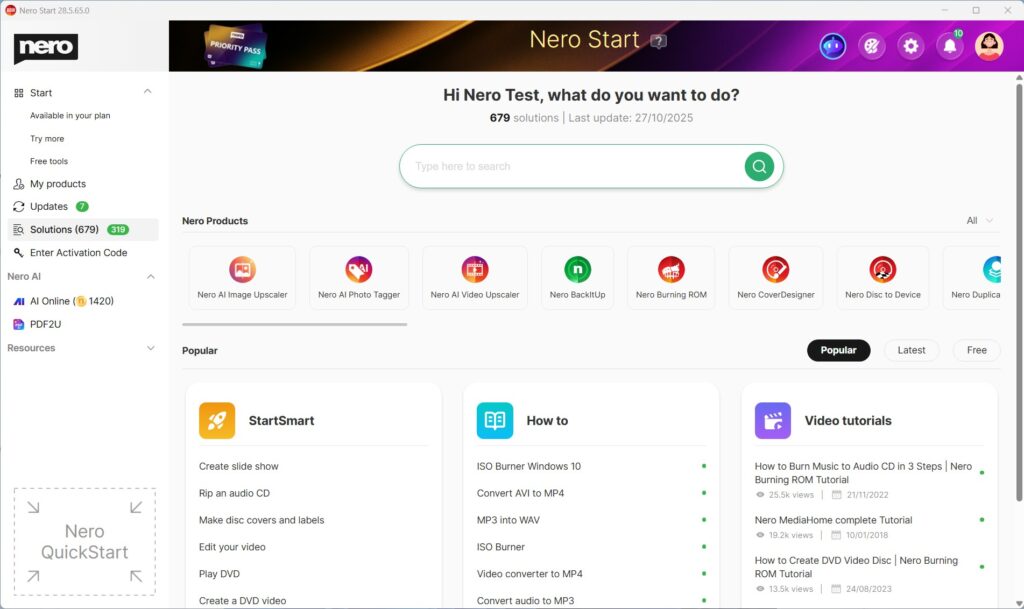
- Open Nero Start.
- Go to Solutions.
- Use the Search field.
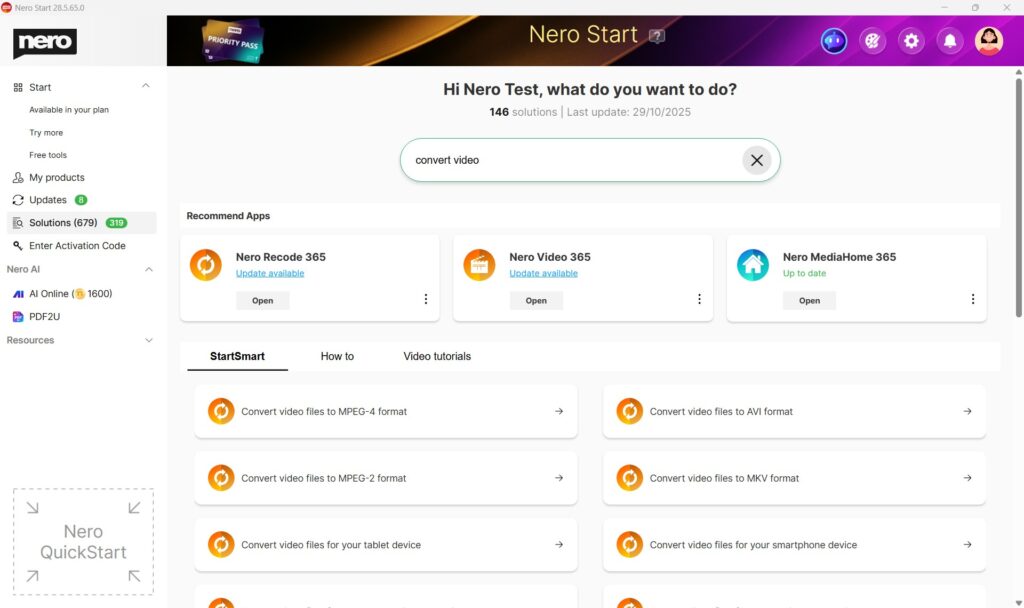
- Type what you want to do (e.g. convert video, rip CD, backup, edit)
- Review results across:
- StartSmart (start immediately),
- How to (read steps),
- Video tutorials (watch a demo).
- Select the result you want.
Tip: The most relevant results are always listed at the front.
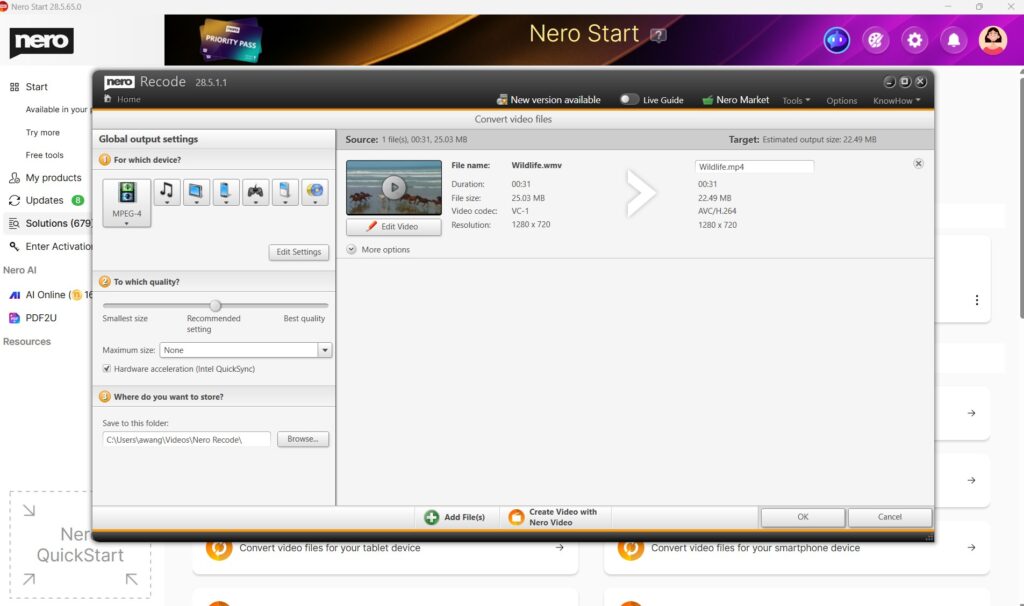
Use StartSmart to start a task right away
- Open Nero Start > Solutions.
- Choose a use case from StartSmart that matches your goal.
- Select Open (or Install if the required app isn’t installed).
- Follow the guided steps to begin.

Use “How to” for step-by-step instructions
- Open Nero Start > Solutions.
- From How to, choose an article for your use case.
- Follow the instructions in the article.
Use Video tutorials to learn by watching
- Open Nero Start > Solutions.
- From Video tutorials, click a topic
You can start the watching of video demo.
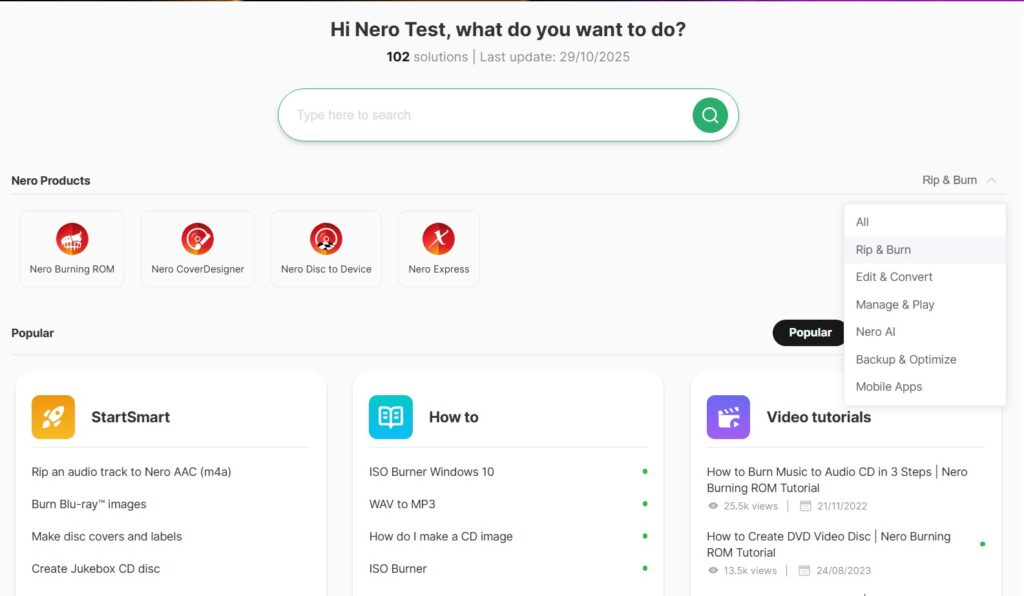
Refine results with Filters and Sorting
Apply filters
- Open Solutions.
- Select Nero Product Category

- Or select a dedicated product


Change sorting
- Open Solutions.
- Select Popular, Latest or Free.

- Solutions will list all info based on your requirement.
Troubleshooting
I can’t find what I need in Solutions
- Try a simpler keyword (e.g., “convert” instead of “convert MP4 to AVI”).
- Clear filters and search again.
- In the feedback area, just feel free to submit what case you were looking for to Nero – we will collect your feedback and make improvements in future updates.
StartSmart doesn’t open the app
- Make sure the required Nero app is installed.
- If prompted, select Install and try again after installation.