After you turned on “WiFi+Transfer*” on your mobile device, you are able to map this mobile device as a network drive on your computer.
If you are reviewing this FAQ at your mobile side and would like to connect your mobile phone to your PC now, you can switch on WiFi+Transfer and go to your PC. Open file explorer, go to Network > Other Devices.
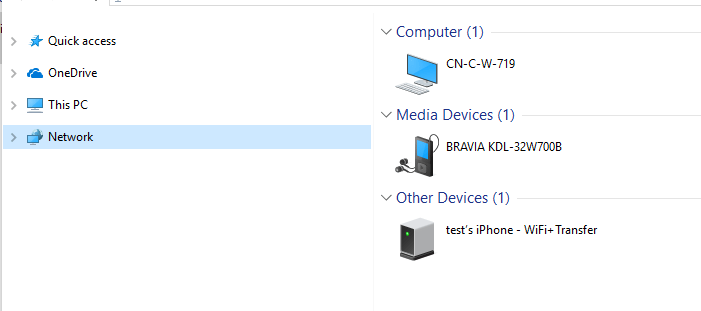
Double click the device, a web page will be opened:
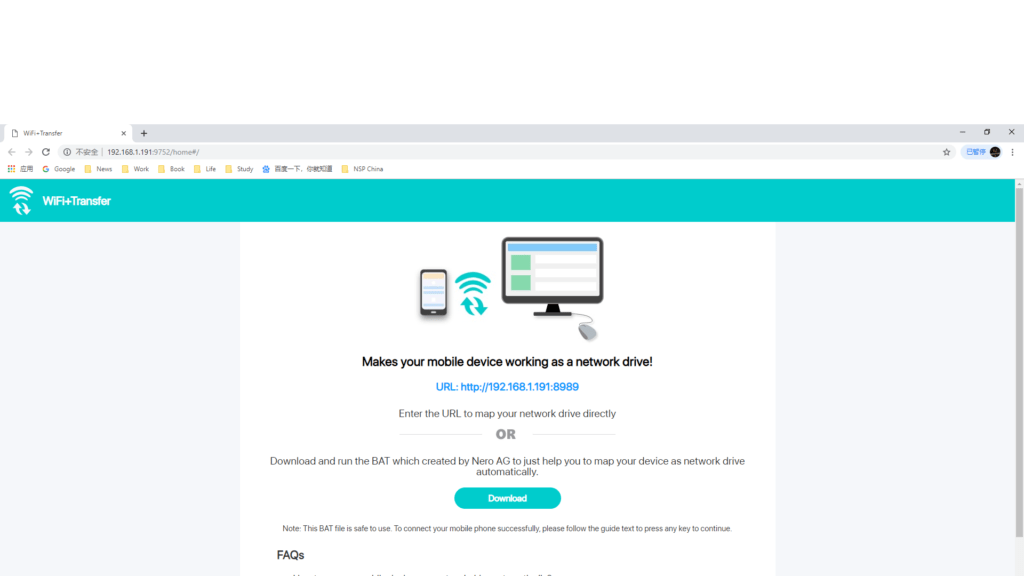
Now you can map network drive automatically by following these steps:
1. Download the BAT file and save it to local.
- This BAT file is created by Nero AG.
- It will check and update your system limitation for file transferring and also help to map your device as a network drive automatically.
- It is safe to use.
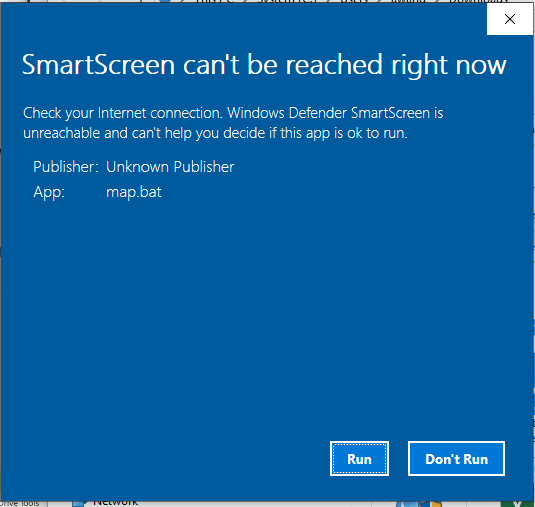
Based on your system security settings, you may get below system messages. Please select ‘Keep’ or ‘Save’/’Run’.


2. Run this BAT file.
3. Based on your system security settings, you may get a dialog which told you ‘SmartScreen can’t be reached right now’. Please click ‘Run’.
4. You will get two system windows. They will check your system maximum allowed file size and map your mobile device as network drive.
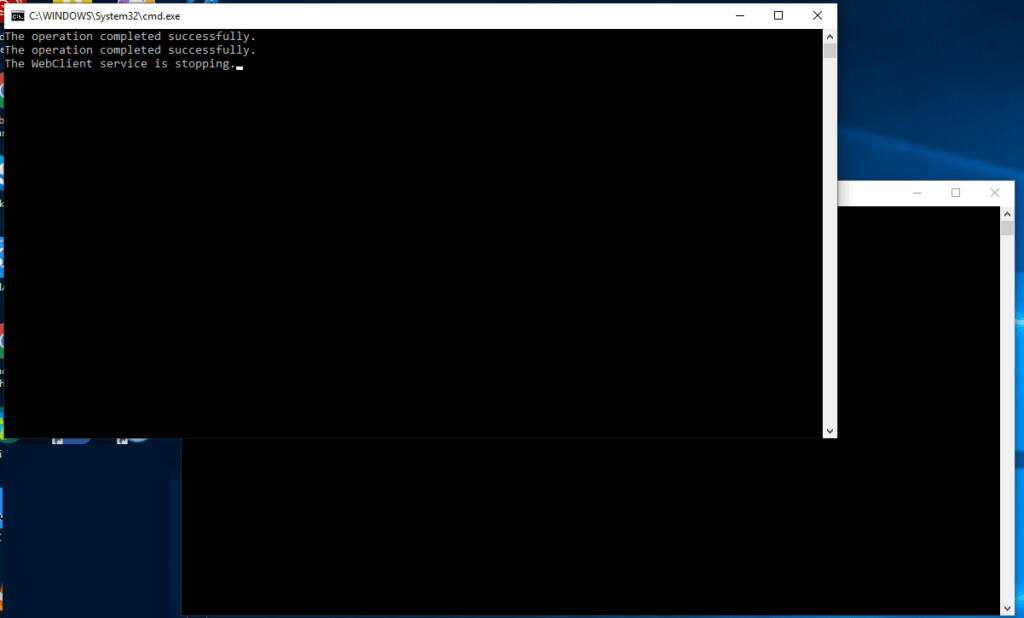
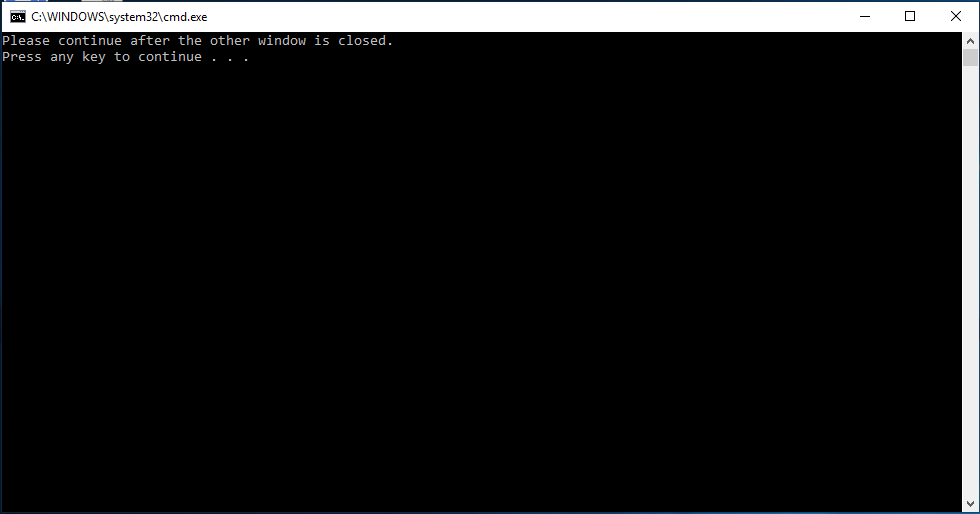
5. After the window at top is closed, please press any key to continue
6. PC will try to access your mobile and map it as network drive. At your mobile side, please allow the access.
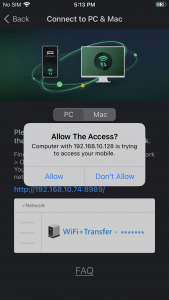
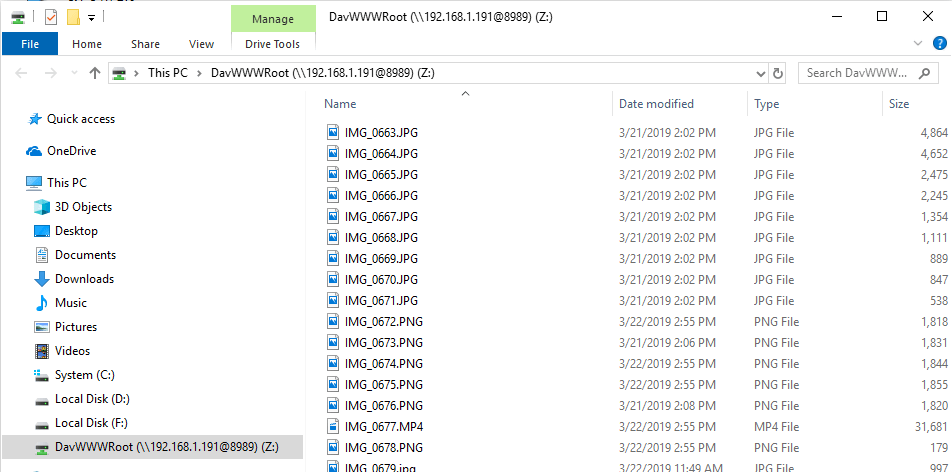
7. After you allowed the access, you will see your mobile at Windows Explorer.
WiFi+Transfer*: WiFi+Transfer iOS v.1.2.5 and higher, WiFi+Transfer Android v. 1.3.6 and higher
Nero KnowHow 00191