With the latest Nero Burning ROM for Nero Volume Licenses 2019, you will get the new feature “Burn SecurDisc to USB Stick/Card”.
With new feature, you can directly select burn the “SecurDisc” to the USB Stick/Card.
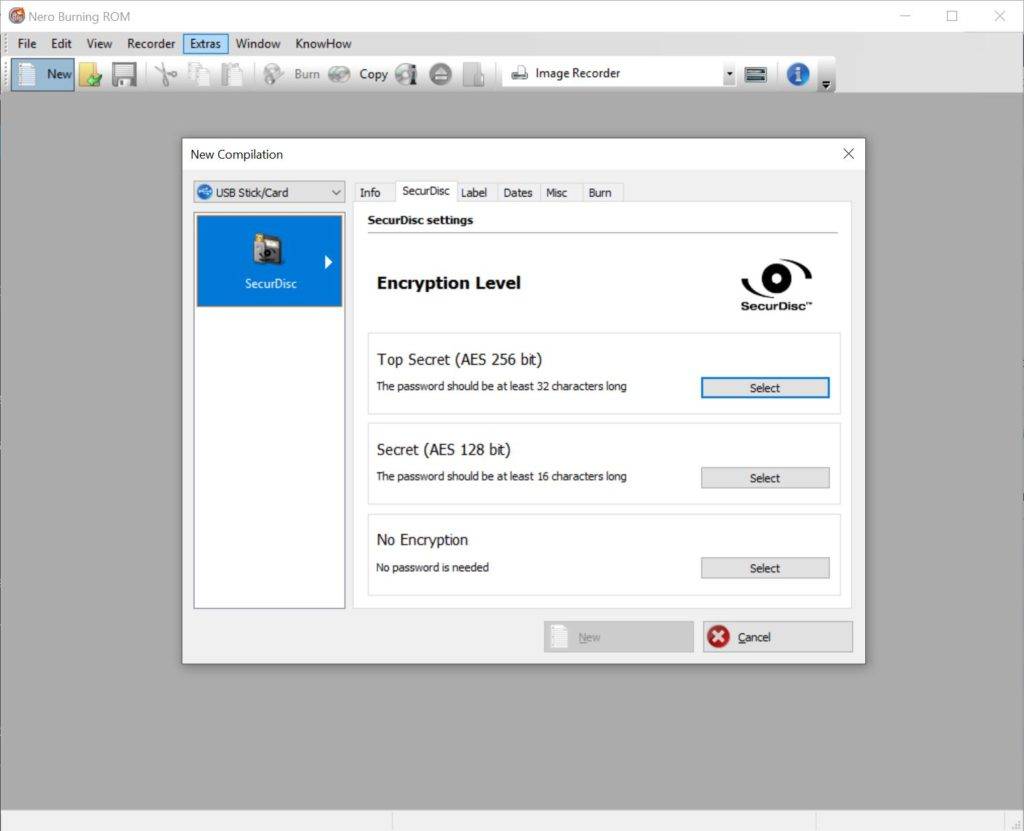
Before burning, a pop up dialog will help to verify the information. A checksum file for the SecurDisc will be generated at the same time.

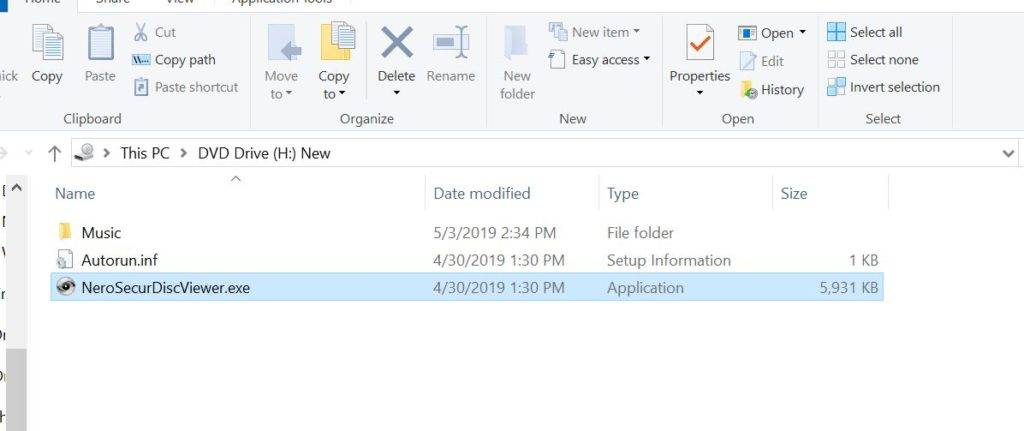
And after burn succeed, with Windows File Explorer, the SecurDisc(.iso) file can be mounted to Virtual Driver, with the file “NeroSecurDiscViewer.exe”, you would view the files in the SecurDisc.
Information: If Windows File Explorer do not support open or mount .iso file(For example, in Windows 7), you still need a Windows Virtual Driver tool.
Other Improvements:
- Fix crash issue in burning huge number of files to a CD