In general, your subscriptions are managed by Google. You can check the official document from Google:
https://support.google.com/googleplay/answer/7018481?co=GENIE.Platform%3DAndroid&hl=en
We listed some frequently asked questions below:
Q1: I would like to trial the subscription features before I pay. How to do it? Will I be billed if I cancelled subscription in free trial phase?
If ‘3-day Free Trial’ is available for your subscription product, just clicking ‘Buy Now’ will start your subscription immediately and you will not be billed in your free trial phase. If you want to cancel your trial before be billed, you need to cancel the subscription at least 24-hours before your renewal date.
Q2: How do I cancel my subscription?
If you subscribed via one of your Android mobile apps, you must cancel your subscription through the Play Store.
In order to cancel your subscription, please follow the following steps:
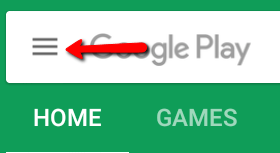
1. Launch the Play Store app on your Android device
2. Tap on the Menu button in the top left of the screen
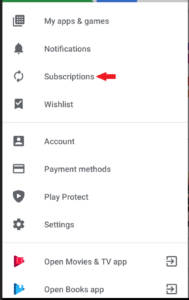
3. Tap on Subscriptions
4.Tap Nero Streaming Player Pro VIP subscription. Below is a test example screen shot:
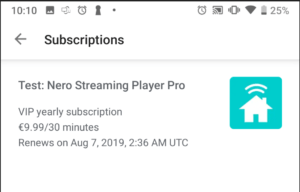
5. Tap Cancel Subscription. 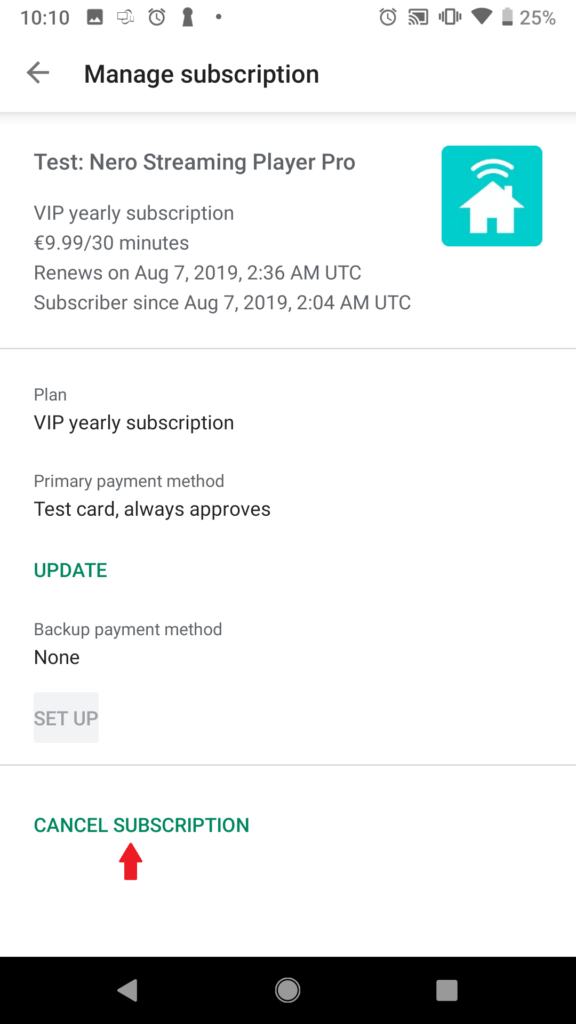
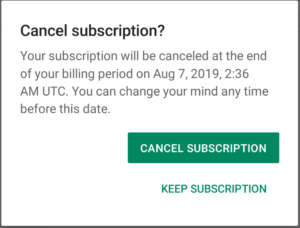
6. It will pop up a confirmation dialog. Tap Cancel Subscription again
Alternatively, you cancel your Google Play subscription online without an Android device by following these steps:
1. Log in to Google
2. Go to https://play.google.com/store/account/subscriptions
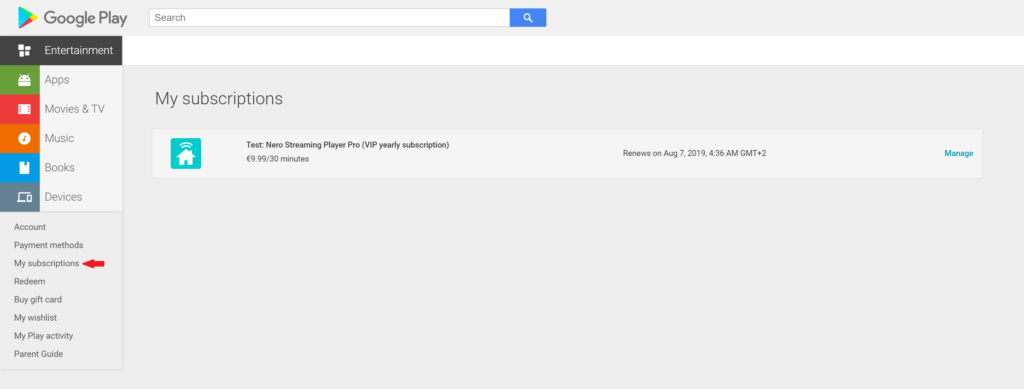
3. Find the subscription you want to cancel.
4. Click Manage.
Note that if you follow these steps and only see options to re-subscribe, that means that you had already canceled your subscription.
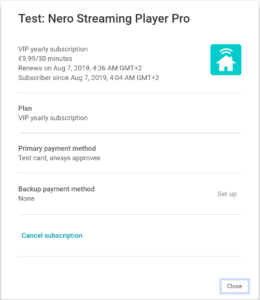
5. Click Cancel subscription
Q3: Does deleting the app cancel my subscription?
No, uninstalling an app will not automatically stop your subscription. You must cancel your subscription to end your subscription. If you uninstall the app without canceling your subscription, you will still be charged. If an app you’ve purchased a subscription for is removed (discontinued completely) from Google Play, your future subscription will be automatically canceled but past subscriptions will not be refunded.
Q4: Where can I manage my subscription?
Being in control of your subscription is really easy! To view, end or cancel your subscription, follow these steps:
1. Open the Google Play Store app on your Android device
2. Tap the Menu button
3. Tap Account
4. Tap Subscriptions
5. Tap the ‘Nero Streaming Player Pro VIP subscription’
Here you can:
1. View your subscription details, including renewal date and price
2. Cancel your subscription. If you cancel, your subscription will stop at the end of the current billing cycle
If you have more questions, please contact us at support@nero.com
Nero KnowHow 00199