Sometimes you add location, captions, or copyright info directly on your camera, but after importing your photos into the application, that information isn’t visible or usable. With the new IPTC support in Nero MediaHome, all your metadata—including place details—can now be easily viewed, searched, and exported. This makes it simple to organize your library and make the most of the information you’ve already added.
Guide
First, add the folder as a watch folder in Nero MediaHome.
1: View and Edit IPTC Metadata
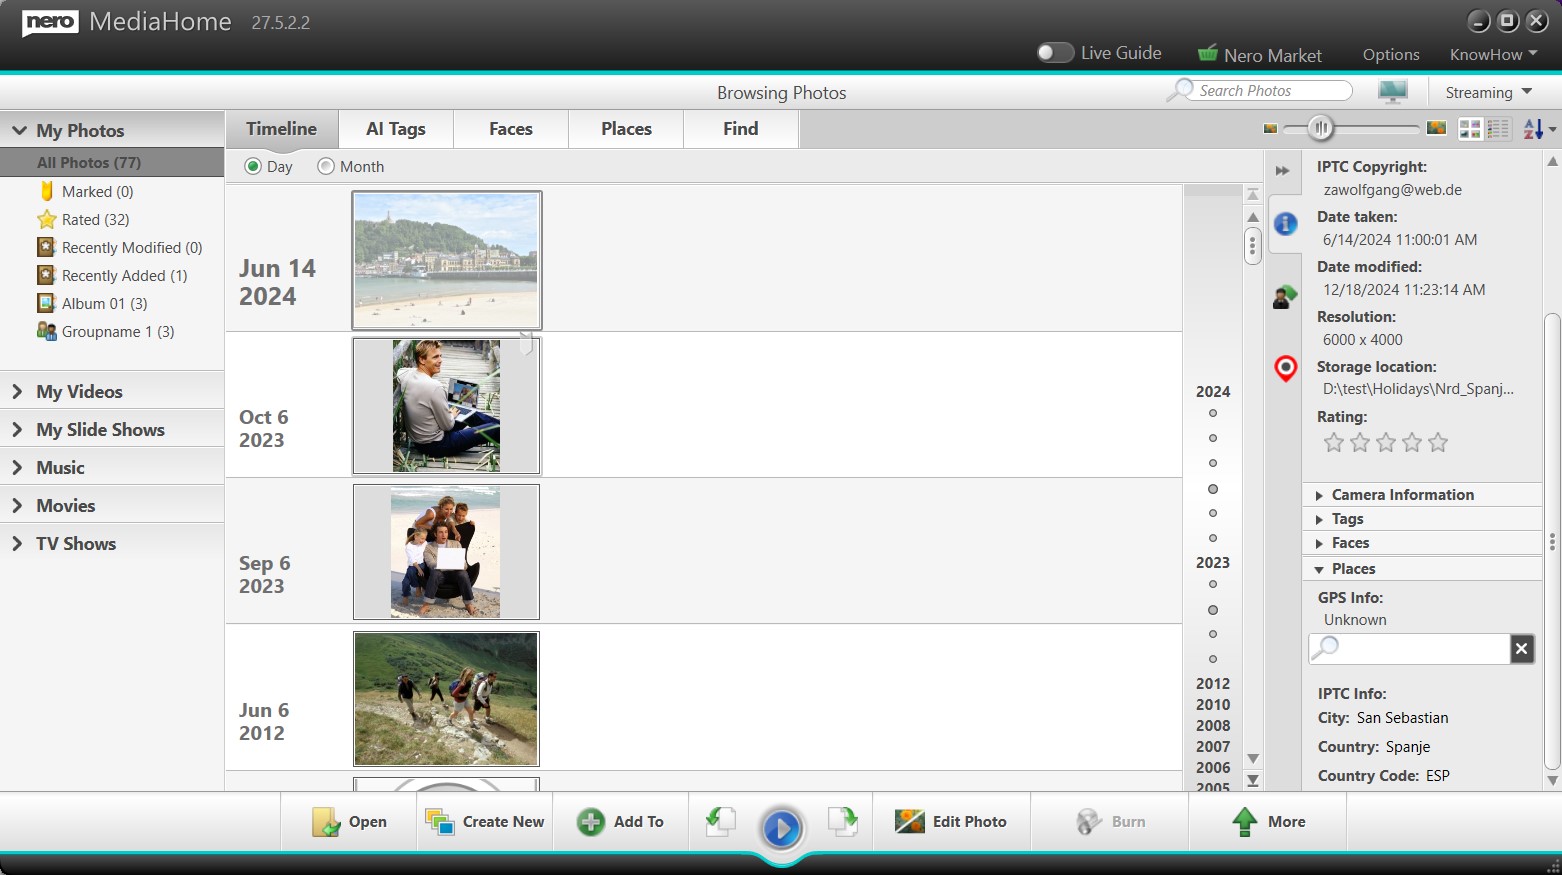
Select a photo in your Library.
If IPTC metadata is available, basic fields will be listed in the right Info panel, e.g., location, title, copyright, creator.
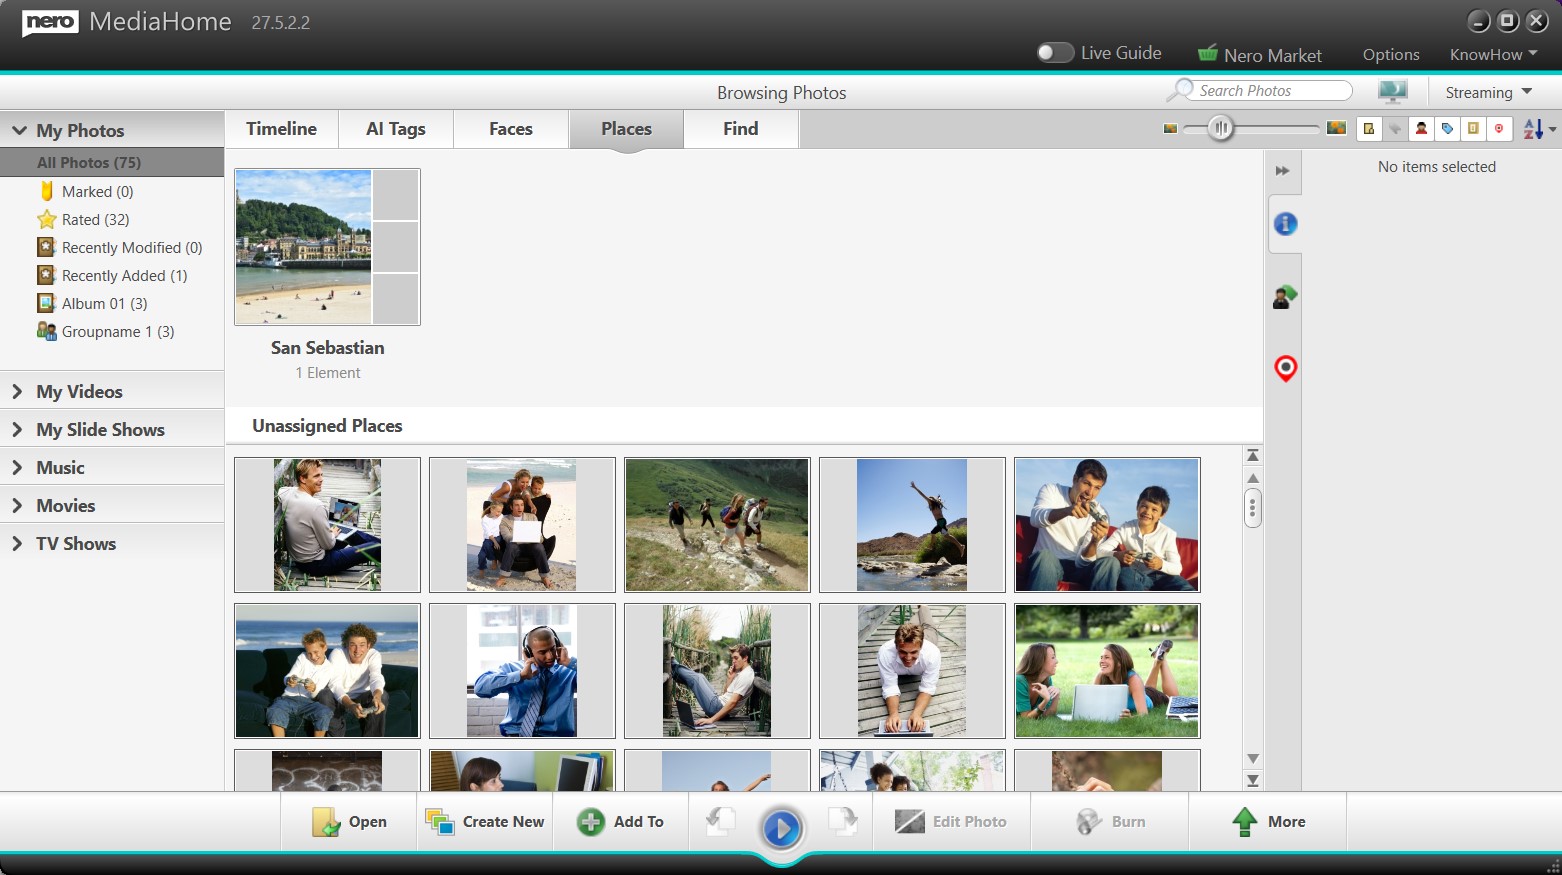
Tip: Location information appears under the Places
In Place tab, IPTC place info will be grouped together with any existing Places if available.
You can also edit IPTC metadata directly in Nero MediaHome and save your changes.
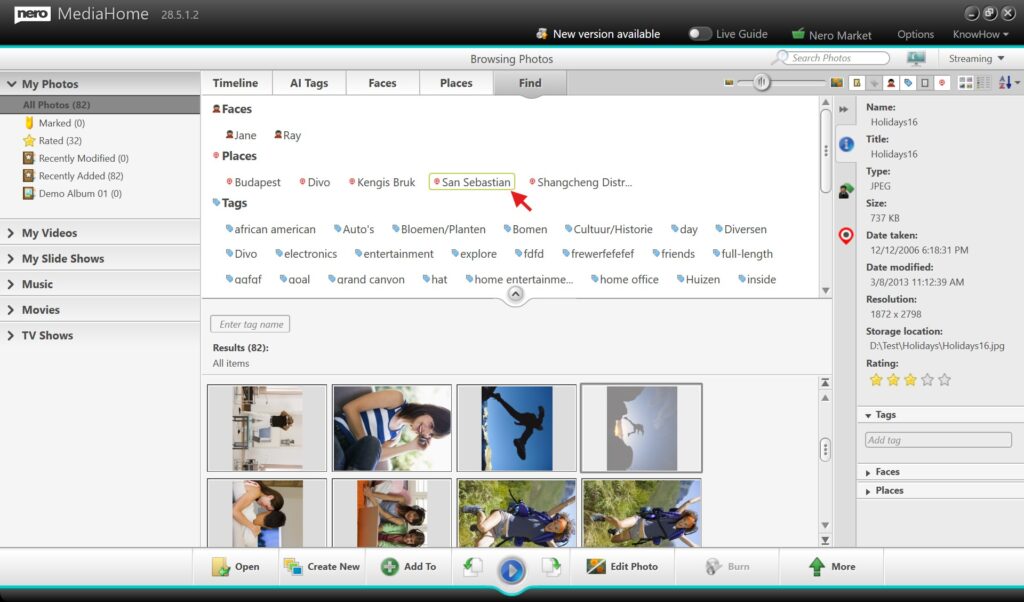
2: Search Photos by IPTC Tags
Open the Find
Select IPTC Place Tag (or other IPTC fields) to filter your photos.
Duplicate videos and audio files can quickly pile up across your computer, external drives, or media folders — taking up precious storage space and making your libraries cluttered. If you’ve noticed duplicate movies, songs, or recordings, it’s time to tidy up your collection.
With Nero DuplicateManager, you can easily detect and remove duplicate media files in just a few clicks — safely and efficiently.
Follow these simple steps to get your library organized and your storage back!
🔄 Step 1: Update to the Latest Version
Before you start, make sure you’re using the latest Nero DuplicateManager 365 or 2026.
Updating ensures you have the newest features, faster scanning, and the most accurate detection for video and audio duplicates.
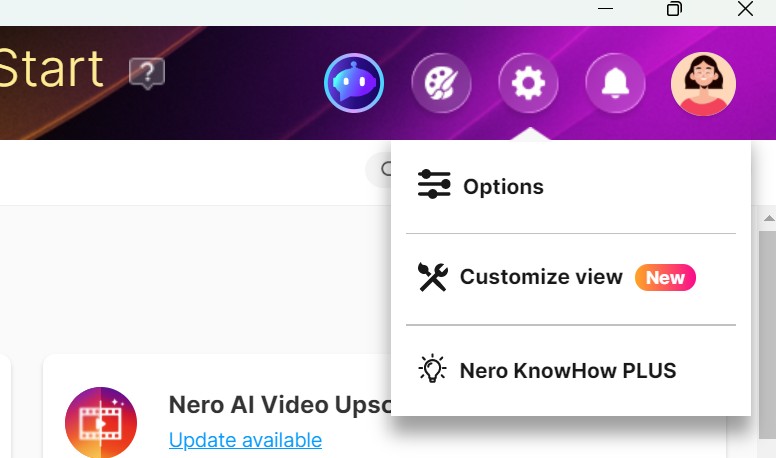
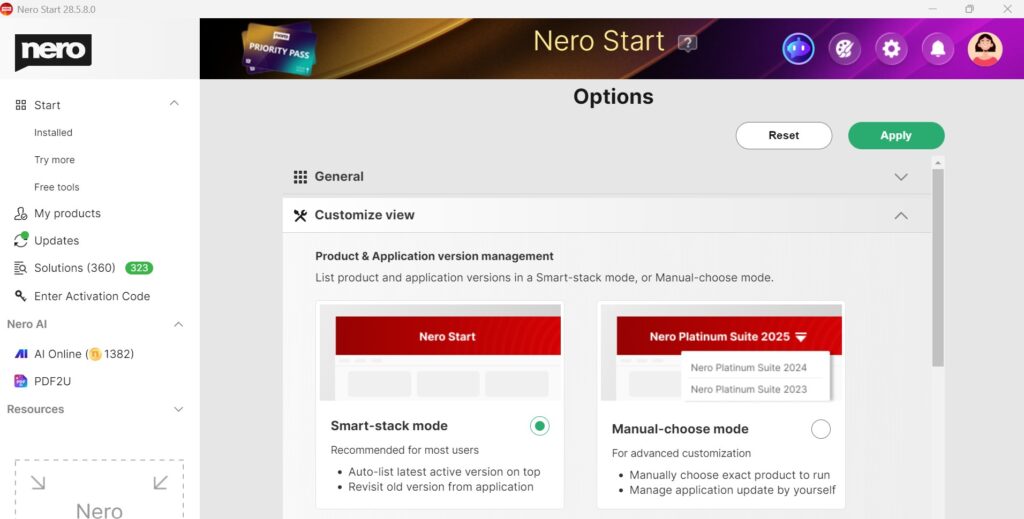
How to check for updates:
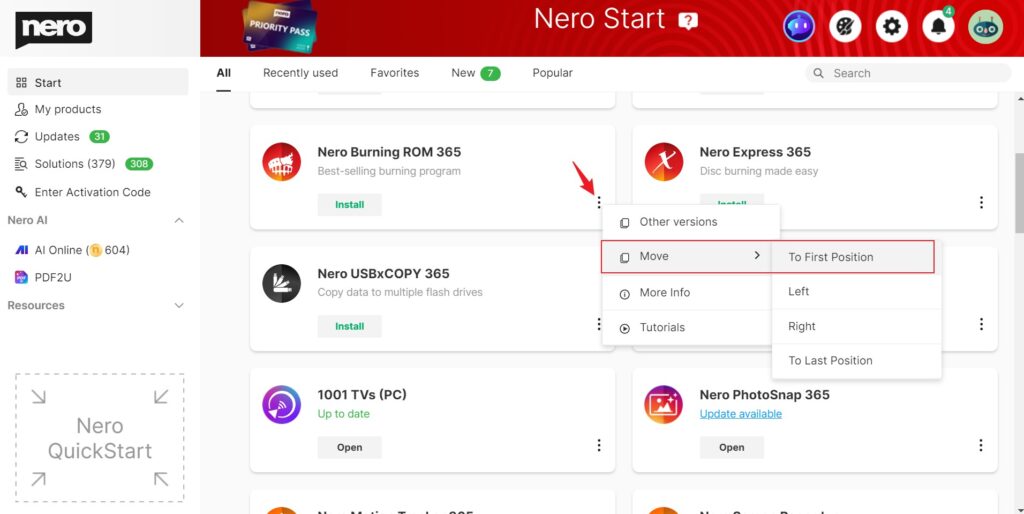
Open Nero Start.
Go to Updates.
Install the latest version of Nero DuplicateManager if available.
Keeping your software up to date guarantees the best cleanup experience.
🎵 Step 2: Check the Detection Options for Audio and Video
Nero DuplicateManager doesn’t just compare file names — it analyzes file content, metadata, and format characteristics to find real duplicates, even when the names differ.
To make sure your media files are included in the scan:
Launch Nero DuplicateManager.
Check the Detection Options.
Enable the checkboxes for Audio and Video.
This ensures that both music and video files are thoroughly analyzed and detected.
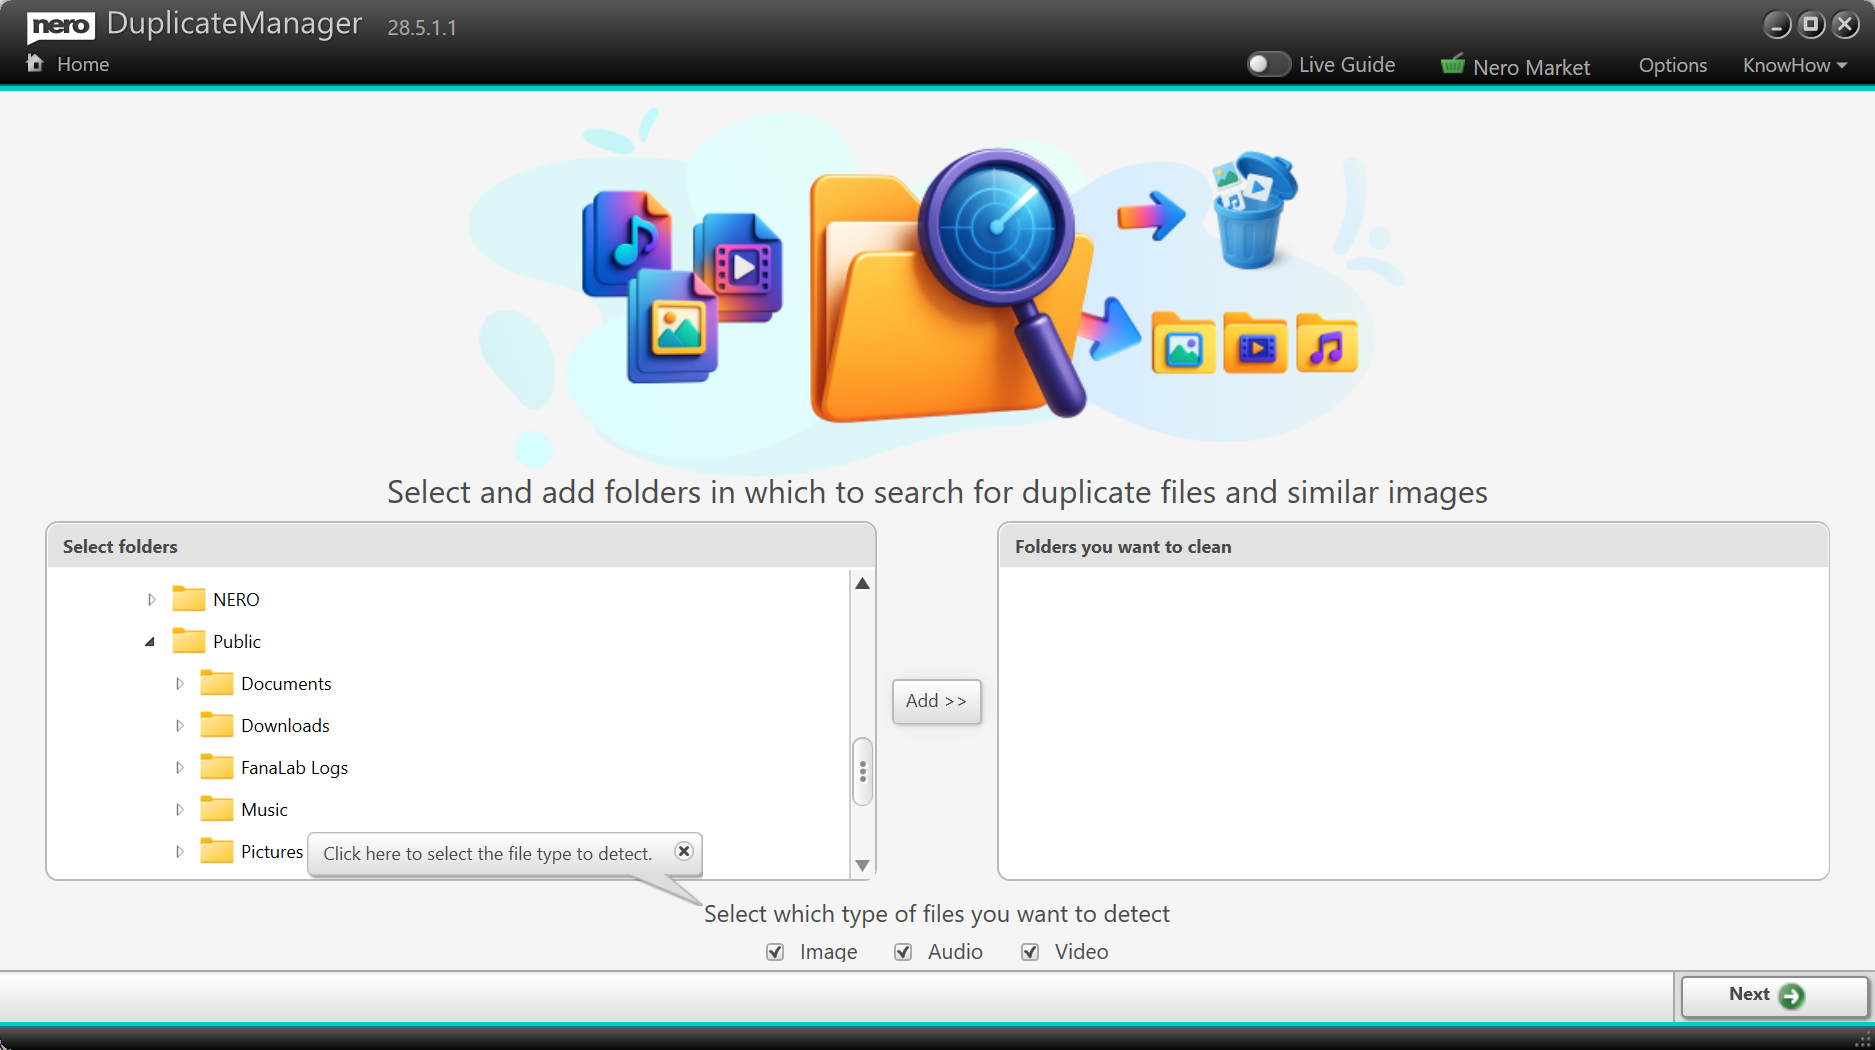
📁 Step 3: Select the Folders You Want to Clean
Next, choose where Nero DuplicateManager should look for duplicates.
To select folders:
Select the folders that contain your music and videos — for example, Music, Videos, Movies, or External Drive folders.
Click the Add button to add the folders to the right column.
Add multiple folders if needed for a full-library scan.
When you’re ready, click the Next button to start scan and let Nero DuplicateManager find all your duplicate media files automatically.
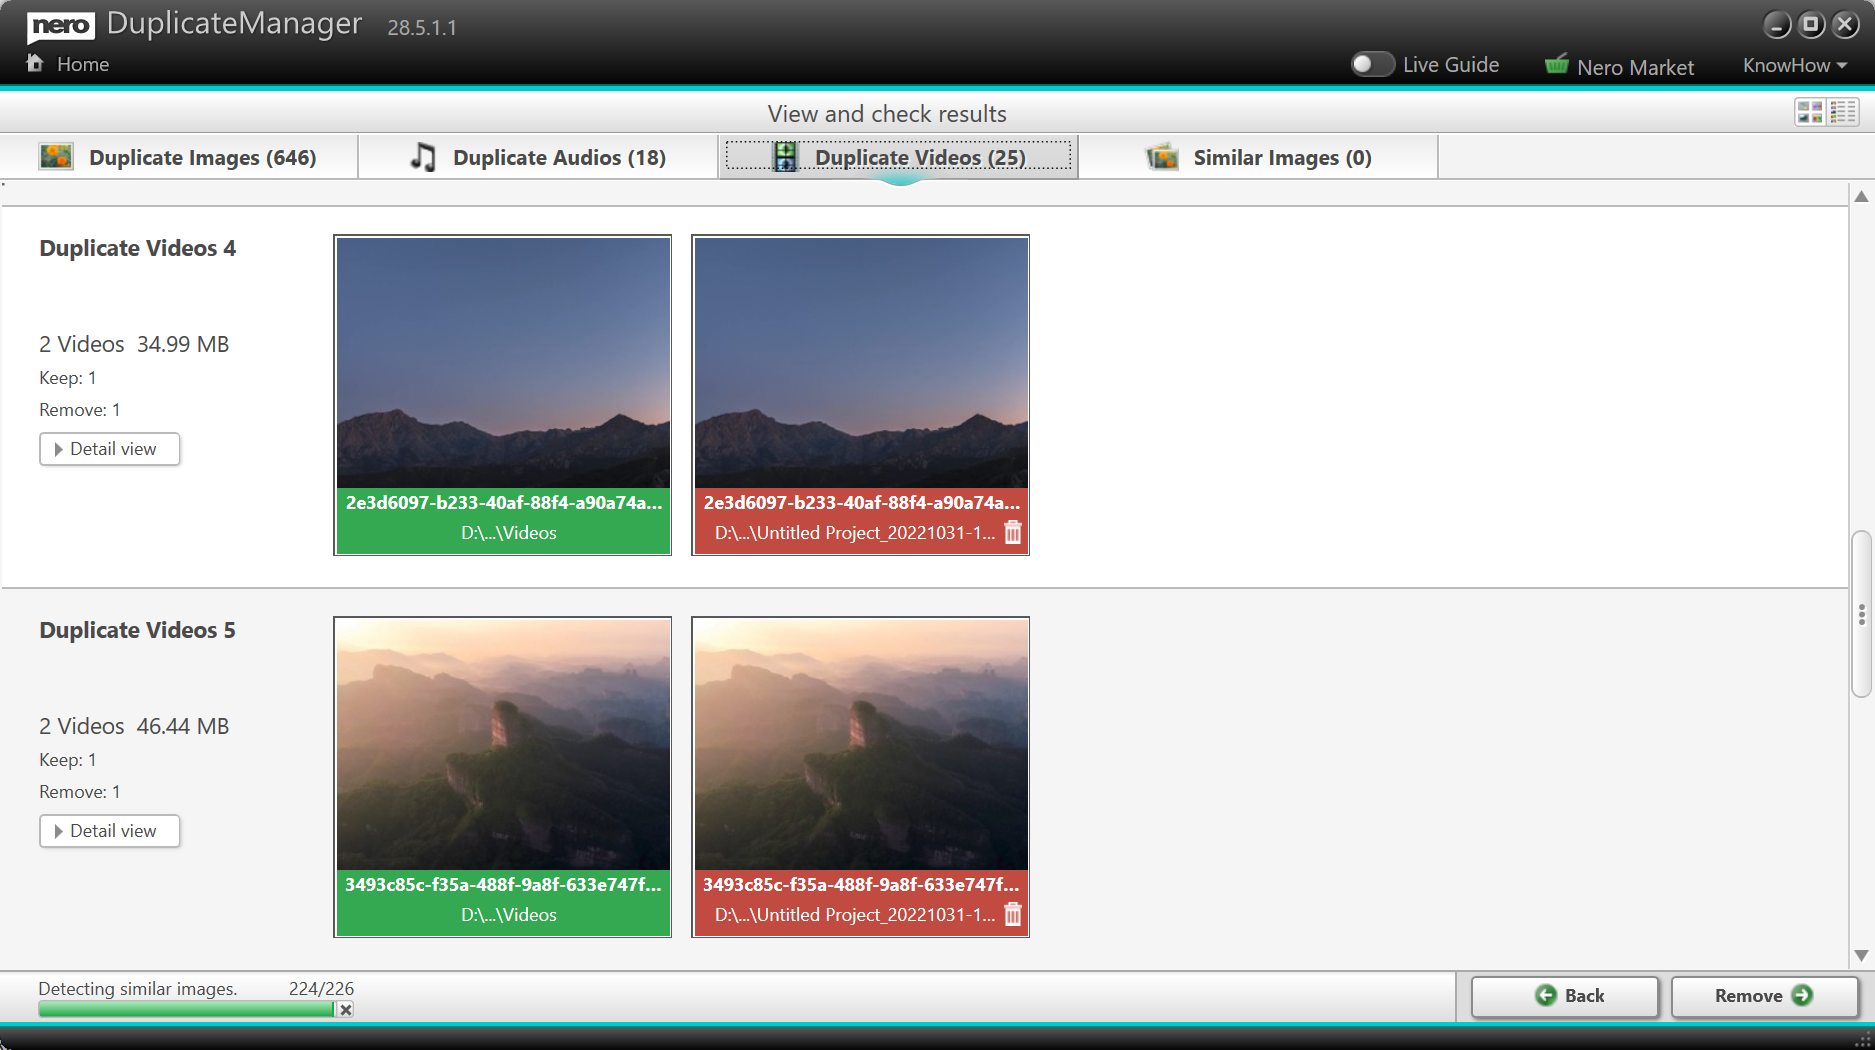
🗑️ Step 4: Review and Delete Duplicate Files
After scanning, you’ll see a clear overview of all detected duplicates.
You can:
Preview videos and listen to audio directly within the app.
Let the software auto-mark duplicates for safe deletion (keeping one original).
Or manually select which copies to delete or keep.
Once reviewed, click Remove button to remove duplicates and instantly reclaim valuable disk space.
⚡ Why Choose Nero DuplicateManager?
🔍 Smart Detection: Finds real duplicates based on content, not just names.
🎬 Supports All Major Media Formats: MP4, AVI, MOV, MP3, FLAC, WAV, and more.
🧠 Safe Cleanup: Automatically keeps at least one original copy.
🚀 Fast and Reliable: Optimized for large media collections and quick results.
Whether you’re managing your personal music collection or cleaning up old project folders, Nero DuplicateManager gives you complete control — with safety, speed, and precision.
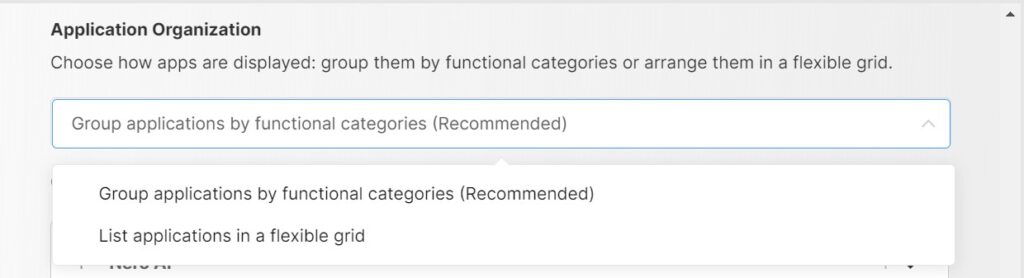
Have you spent time creating playlists in one application only to find they can’t be used elsewhere? Or carefully organized photo and video collections in Nero MediaHome but were restricted to exporting only to external devices? The latest update addresses both: music playlists in popular formats—especially the universal m3u8 format—can now be imported and exported across apps. At the same time, photo and video collections can be exported directly to any local folder, providing greater flexibility for sharing, backup, and cross-device use.
Guide
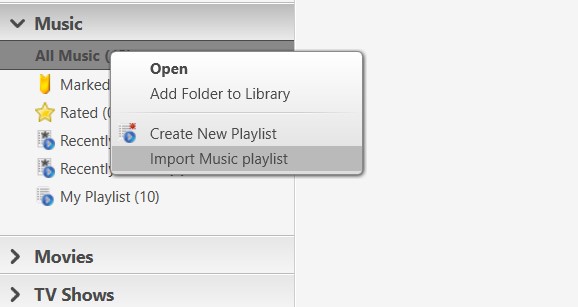
1: Import Music Playlists
Go to the Music → Select All Music → right-click (context menu) → Import Music Playlist → select your playlist file.
Supported formats: m3u, m3u8, PLS, WPL
Imported playlists appear in your library, ready for playback, editing, or integration.
⚠️ Note: When importing playlists (e.g., m3u8), Nero MediaHome will only import files that are accessible:
If some files in the playlist cannot be accessed (e.g., stored in cloud services or unavailable drives), those entries will be automatically removed after import.
If none of the files are accessible, the entire playlist will not be imported.
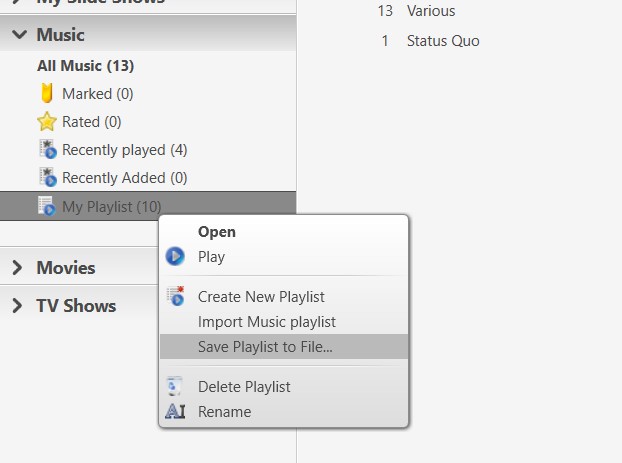
2: Export Music Playlists
Go to Music → select an organized music playlist → right-click → Save Playlist to File → choose the destination folder or device.
Supported formats: m3u, m3u8
Tip: Supported playlist formats make your music lists usable across different applications.
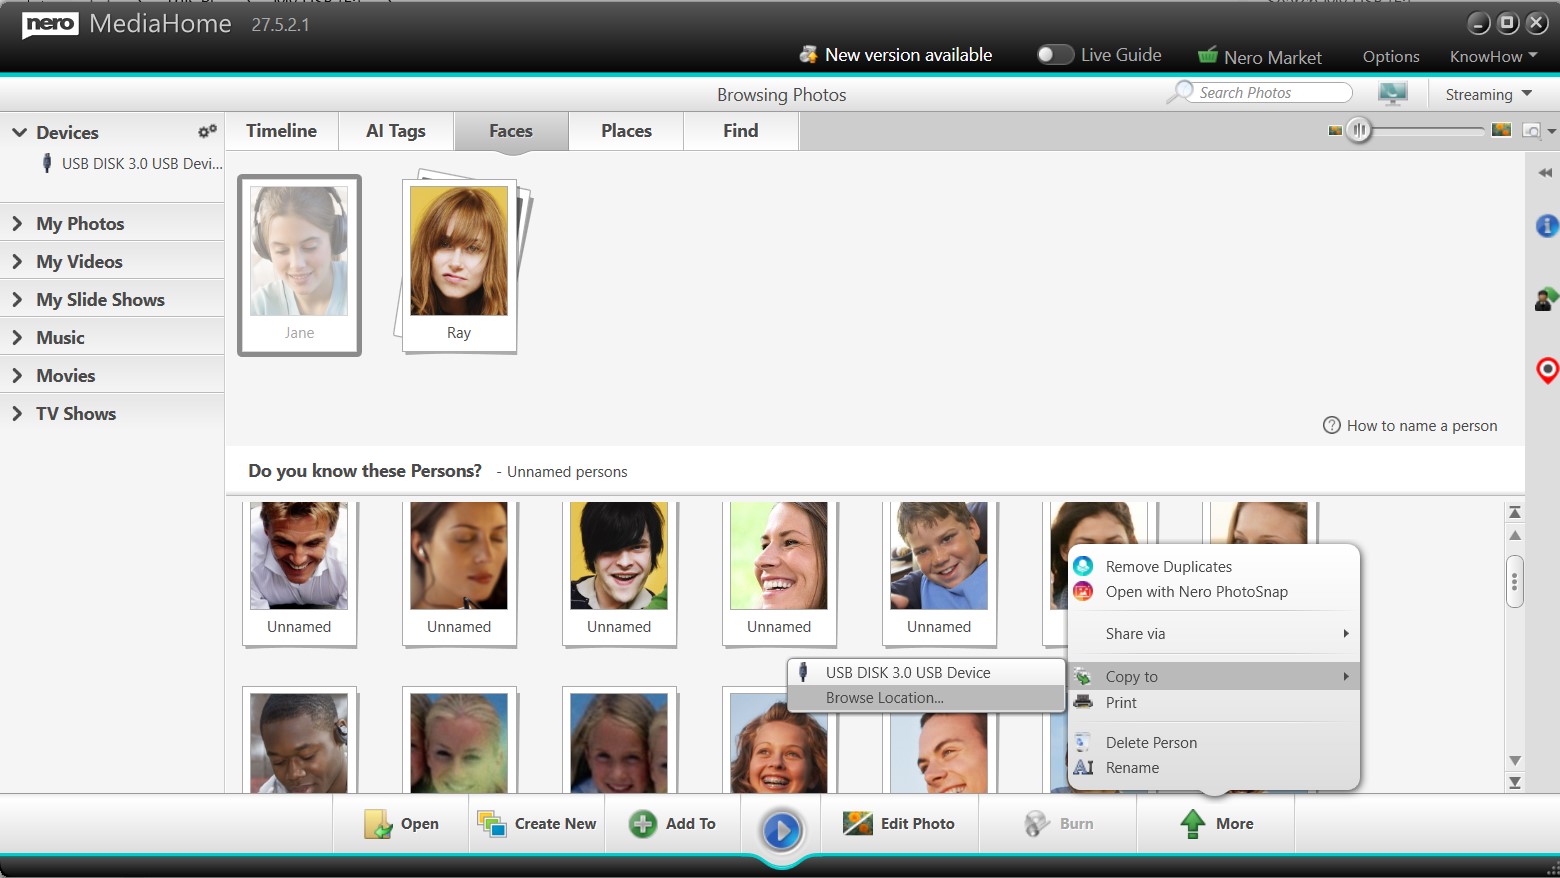
3: Export Photo and Video Collections to Local Folders or Devices
Open your photo/video library → select a collection (by Faces, Places, or album).
Click More → Copy to → browse to choose any local folder or select an external device.
Tip: Folder and album structure is preserved, keeping your collections organized.
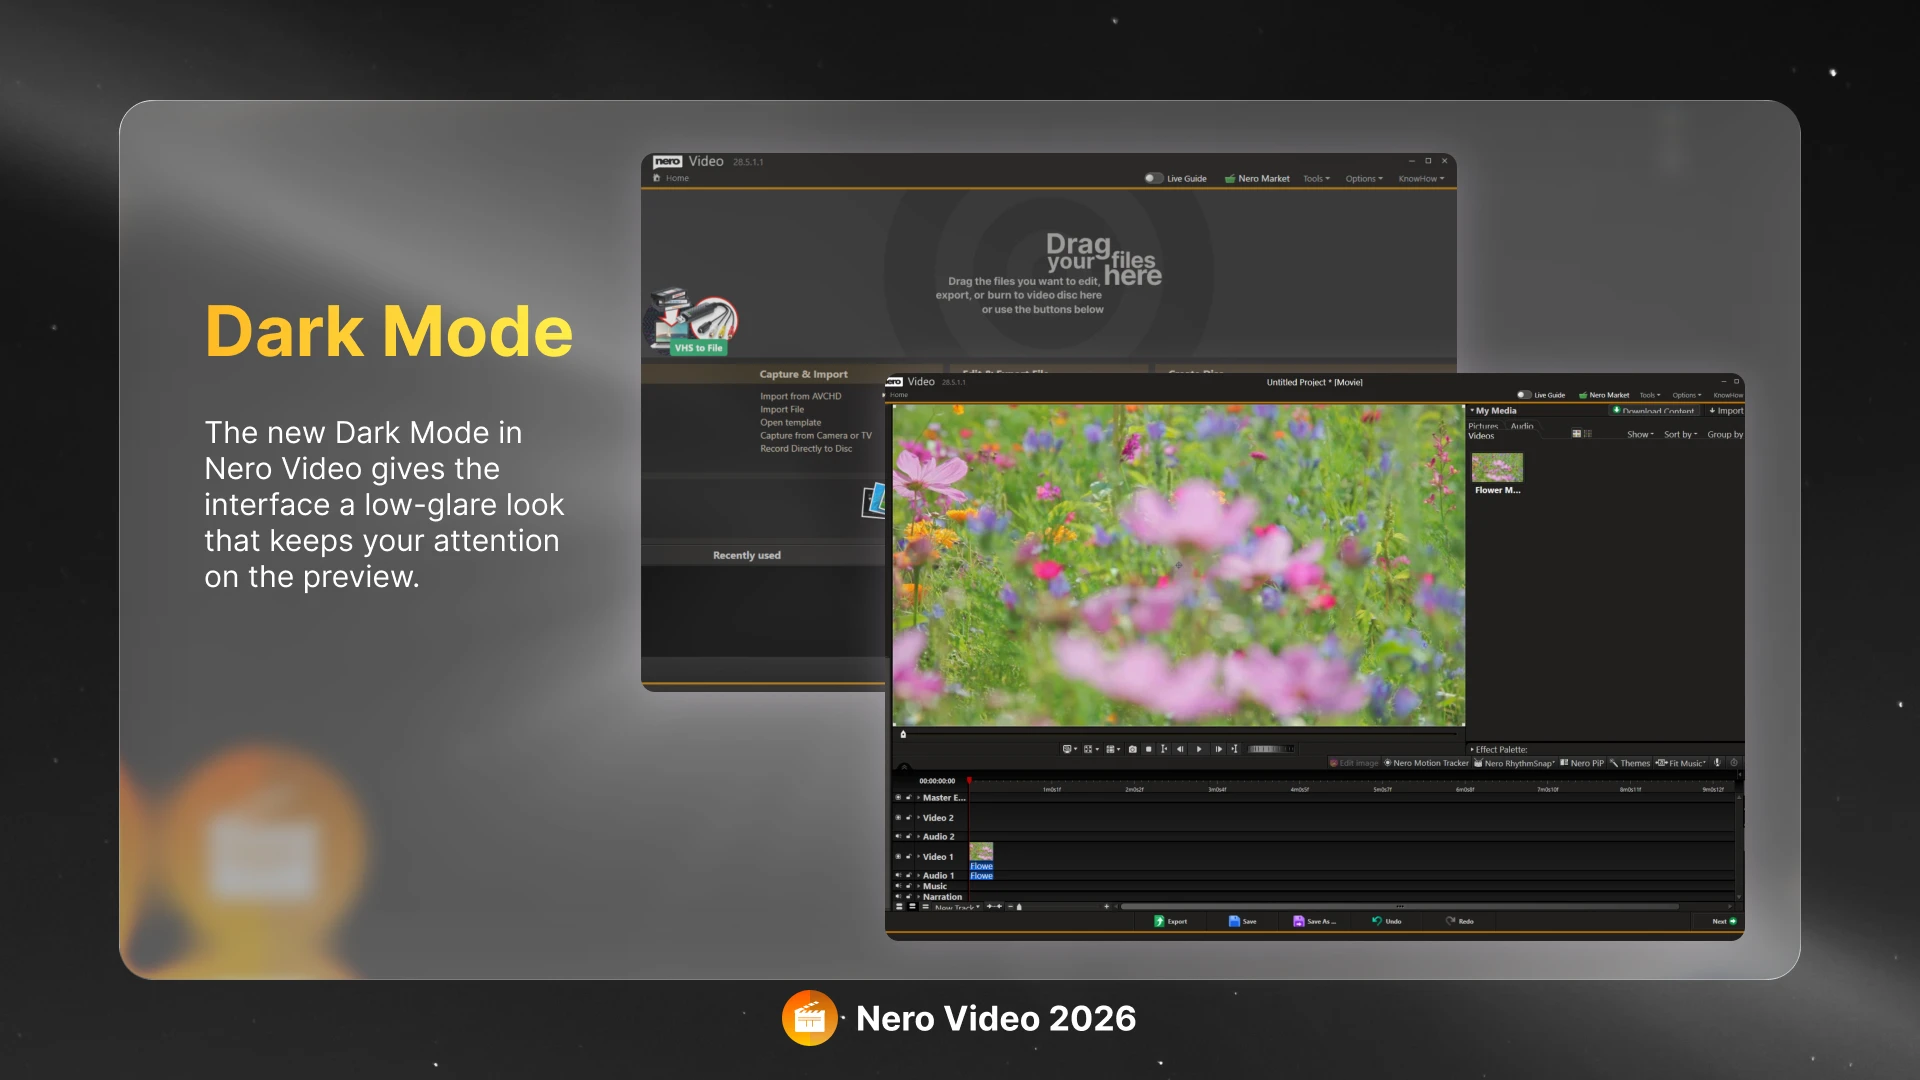
We’re excited to announce the 2026 update for Nero Video, and one of the most requested features has finally arrived: Dark Mode.
A Fresh Look for Modern Creators
Dark Mode transforms the Nero Video interface into a sleek, modern workspace that’s easier on the eyes, especially during long editing sessions or when working in low-light environments. With a darker color scheme and carefully optimized contrast, your videos stand out while the UI stays subtle in the background.
Why Dark Mode?
Many of you have asked for it, and here’s why it makes a difference:
🌙 Comfortable for the eyes – Reduce eye strain during extended editing hours.
🎬 Focus on your content – The darker UI ensures your video footage remains the star of the screen.
⚡ Modern aesthetic – A fresh, professional look that aligns with today’s creative software standards.
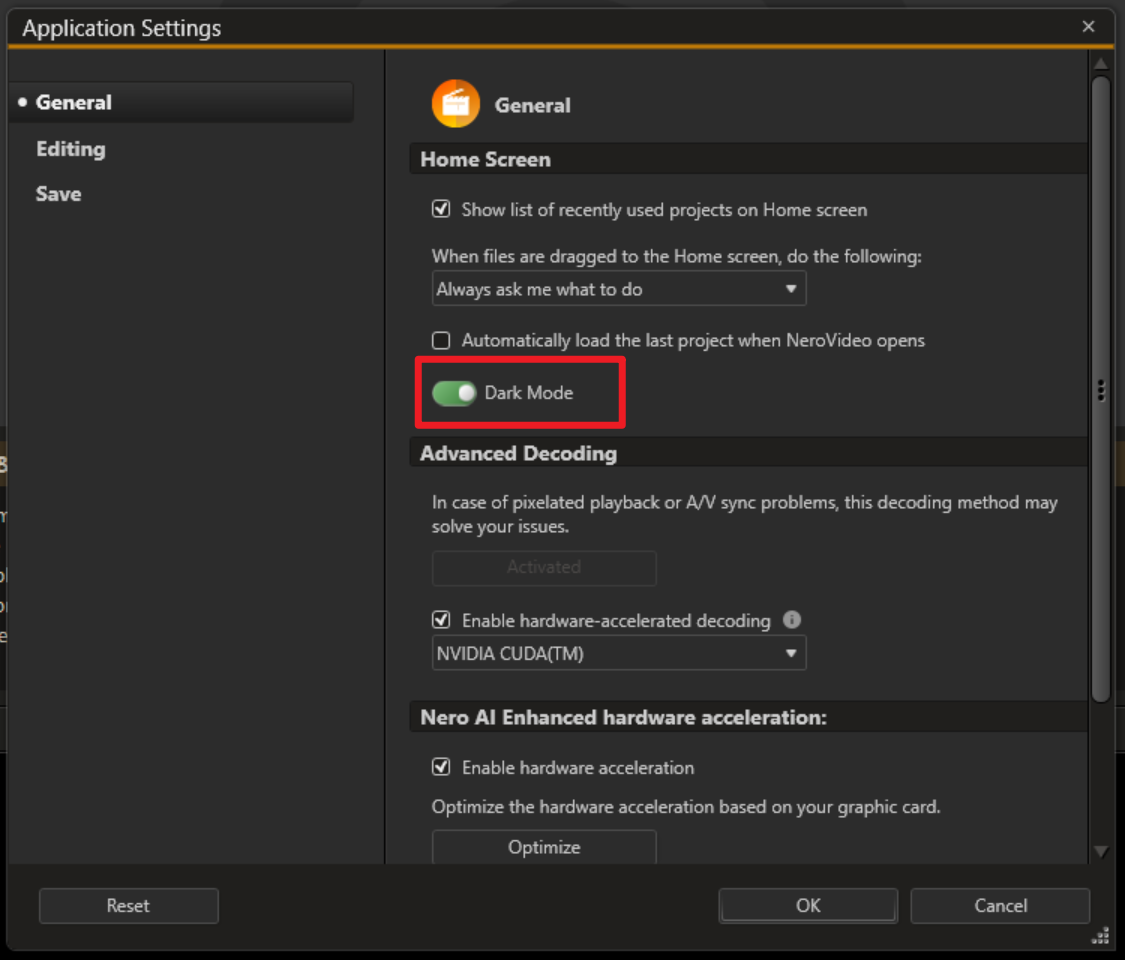
Flexible & Easy to Switch
We know editors like to have options. That’s why Dark Mode in Nero Video 2026 is easy to toggle. Switch between Light Mode and Dark Mode anytime in the settings, so you can adapt your workspace to your personal style and environment.
Available Now
The new Dark Mode is available with the Nero Video 2026 update, free for all existing Nero Video subscribers and included in the latest Nero Platinum Suite.