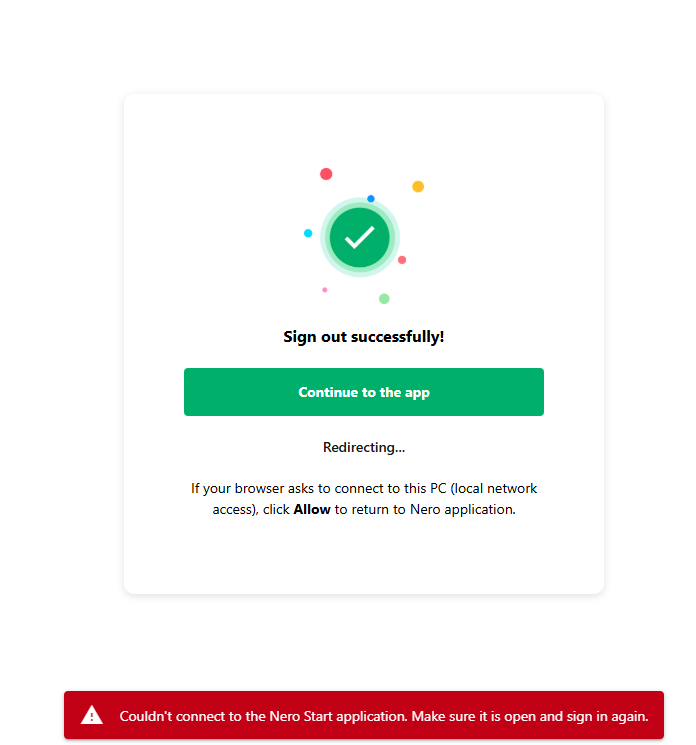
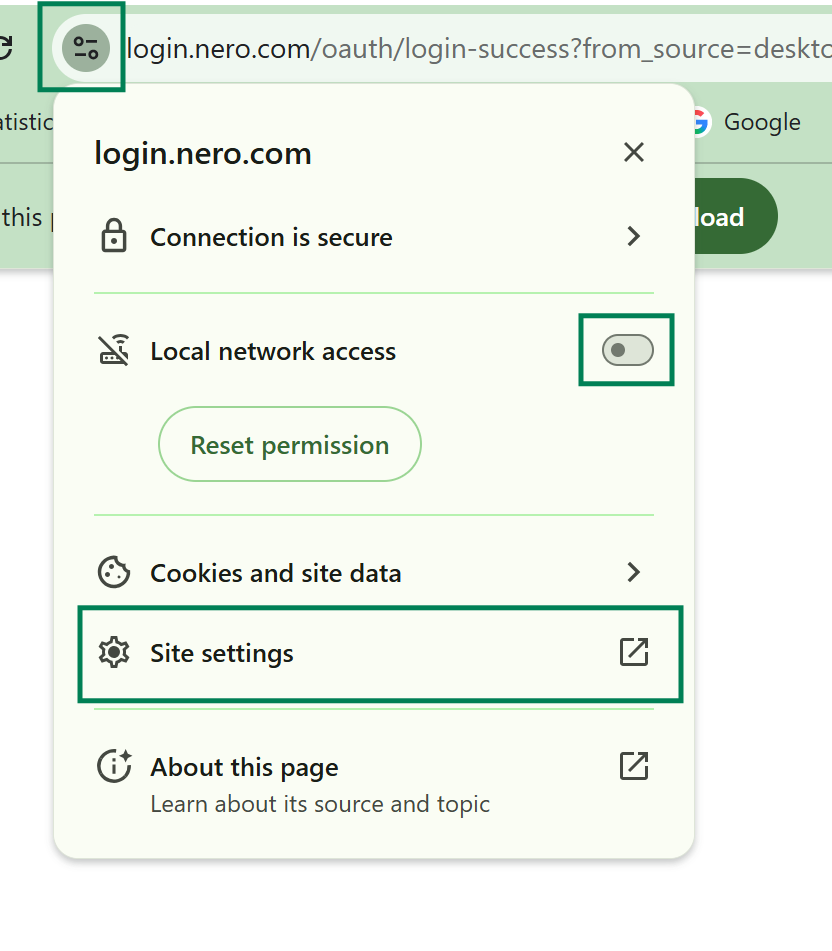
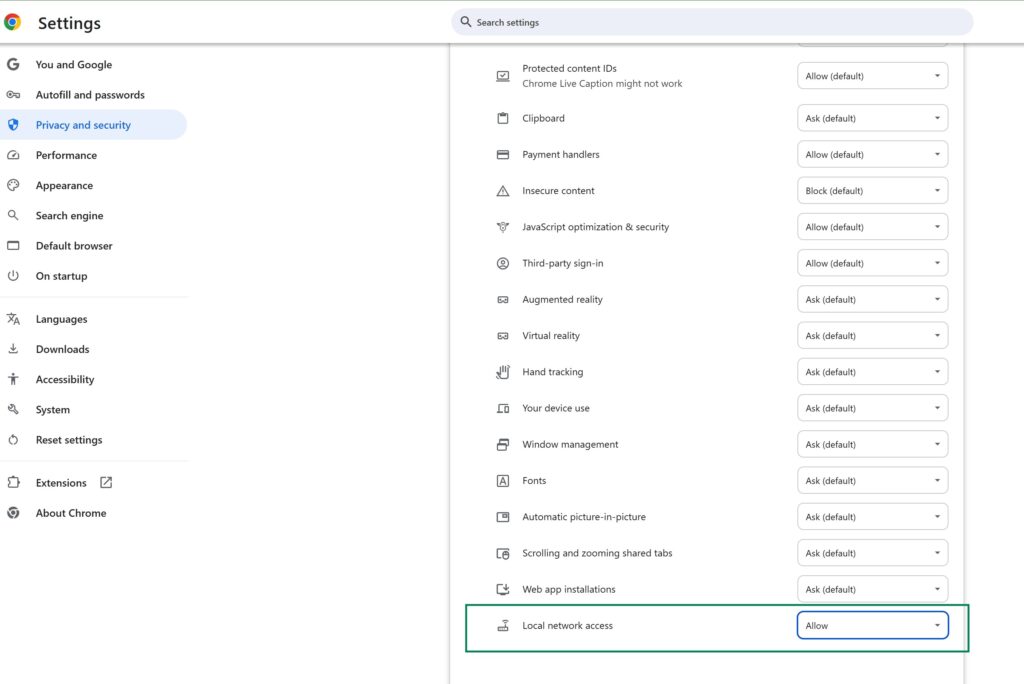
This error occurs when you attempt to activate a promotion code in a country or region different from where it was originally issued. Promotion codes are often region-locked and can only be redeemed in specific locations.
Possible Solutions:
Activate the product in the correct region
Ensure you are in the same country where the promotion code was issued before attempting activation.
If you are traveling or using a VPN, disable it and try again.
Contact the promotion channel or provider
Promotional codes are provided free of charge via media outlets like magazines and web sites.
Please reach out to the promotional campaign or the provider for assistance. They may provide a region-compatible code or further instructions.
Check the promotion terms and conditions
Review the promotion details to confirm any regional restrictions.
Need further help?
If the issue persists, please contact Nero Support with the following details:
The promotion code youâre trying to use.
The promotional campaign or link where you get the code.
The country or region where you redeemed the code.
In todayâs video enhancement landscape, fine-tuning your videoâs look is just as important as upscaling its resolution. With the latest update to Nero AI Video Upscaler, you can now adjust brightness, contrast, saturation, sharpness, and white balance directly within the appâall from a dedicated Adjustments tab. This guide will walk you through how to get the most out of these new features.
1. Getting Started
Launch the App: Open Nero AI Video Upscaler on your PC. If you havenât already, download and install the latest version from the official Nero website.
Import Your Video: Drag and drop your video file into the app. Once imported, youâll see a preview window with the original footage.
2. Navigating to the Adjustments Tab
Find the New Tab: After importing your video, look for the new âAdjustmentsâ tab in the main interface. This tab is designed to provide easy access to all the adjustment sliders.
User Interface Overview: The interface now displays a series of sliders labeled as follows:
Brightness
Contrast
Saturation
Sharpness
White Balance
A real-time preview window sits alongside these controls, allowing you to see the effects of your adjustments immediately.
3. Adjusting Video Parameters
Brightness
Purpose: Increase or decrease the overall lightness of your video.
Tip: If your video appears too dark or overexposed, gently adjust the slider until you achieve a balanced look.
Contrast
Purpose: Enhance the difference between light and dark areas.
Tip: Increasing contrast can add depth, but too much can cause loss of detail in the shadows or highlights.
Saturation
Purpose: Boost or tone down the intensity of the colors.
Tip: Adjust saturation to make colors pop or to create a more subdued, natural look.
Sharpness
Purpose: Improve clarity by enhancing edge definition.
Tip: Increase sharpness if your video appears slightly blurry, but avoid over-sharpening to prevent an artificial look.
White Balance
Purpose: Correct color temperature and remove unwanted color casts.
Tip: Use this slider to ensure whites appear neutral, which in turn balances the overall color accuracy of your footage.
4. Previewing and Finalizing Your Adjustments
Real-Time Preview: As you adjust each slider, monitor the preview window. This helps you decide whether to make further tweaks or stick with the current settings.
Export Your Video: Proceed to upscale your video (if needed) and then export the final version in your preferred format and resolution.
Tips for Best Results
Start Small: Make incremental adjustments rather than large leaps. Small changes can significantly impact the overall quality.
Monitor on Different Screens: If possible, view your preview on multiple displays to ensure consistent quality.
Final Words
The new Color Adjustment feature in Nero AI Video Upscaler makes it easier than ever to enhance not only the resolution but also the visual quality of your videos. Whether youâre correcting a dark indoor shoot or giving vibrant life to an old family video, these tools empower you to achieve professional-looking results with just a few clicks.
Embrace the new features, experiment with your settings, and let Nero AI Video Upscaler bring your videos to a whole new level of clarity and style.
This post is only valid for Microsoft Store Nero DVD Player.
Upcoming change: Nero DVD Player’s subscription prices will be increasing in Feb, 2025. Below is the new pricing plan. This decision wasn’t made lightly, and it comes after careful consideration of the value we provide and the ongoing enhancements we’re committed to delivering.
Our recommendation: Enable auto-renewal before the price change to keep your current subscription rate. This ensures you continue enjoying our service at the price you’re familiar with.
For the request to change media files on the timeline, Nero Video now features the replace mode to make it easier to use by only pressing “Ctrl” button when dragging media file from library to the timeline.
The only limitation of replace mode is that the replacing media file needs to be longer than the replaced segment.
Video and image file can replace the segment on the video track. Audio file can replace the segment on the audio/music/narration track. Effect can replace the effect segment on the master effects track.
Nero PhotoSnap has integrated the AI image processing services, which includes the popular Nero AI photo restoration series like scratch fix, colorize black & white photo, and face enhancement with other fixing tools like denoiser and background remover to help you processing photos in one-click.
Plus: Nero Video and Nero MediaHome are able to transfer images to Nero PhotoSnap and transfer the processed image back to the library. Now you can also enjoy the AI image processing in Nero Video and Nero MediaHome with Nero PhotoSnap.
*Buy Nero Platinum Suite 2025 permanent version/subscription version now and you will receive 100 Nero Credits for AI online services.