In case you want to install your Nero product on a new PC or if you have installed new hard drives in your given system, you can move your media library to the new system. This way you will have all your media assets and Nero MediaHome projects available and can use Nero MediaHome on the new system in the same way as before. We will show you how this can be achieved, easily.
Open Nero MediaHome and go to ‘Options’, ‘Library Copy’.
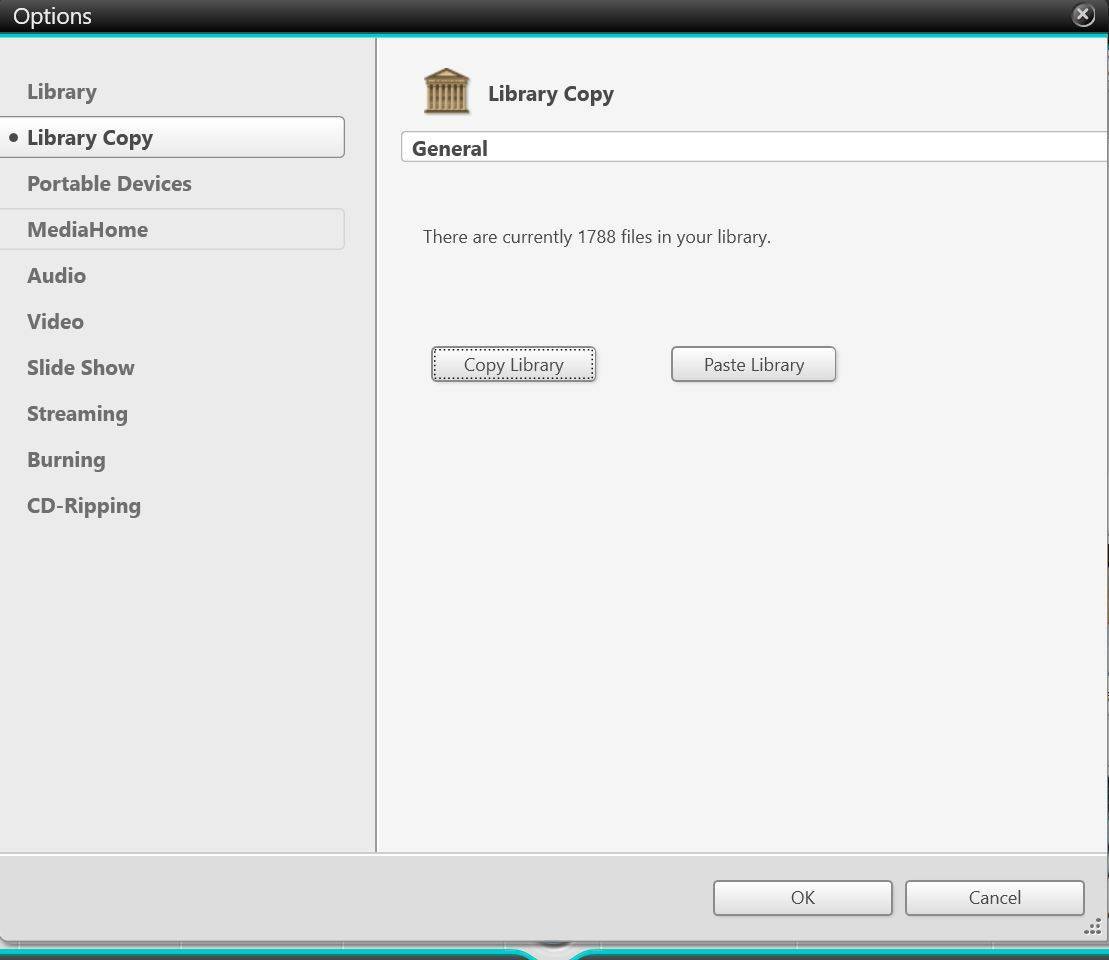
Connect an external hard drive to your PC and click the button ‘Copy Library’.
In the copy page you get an overview which types of files you have in your media library including overall file sizes. Select the external drive that you want to copy your media library to.
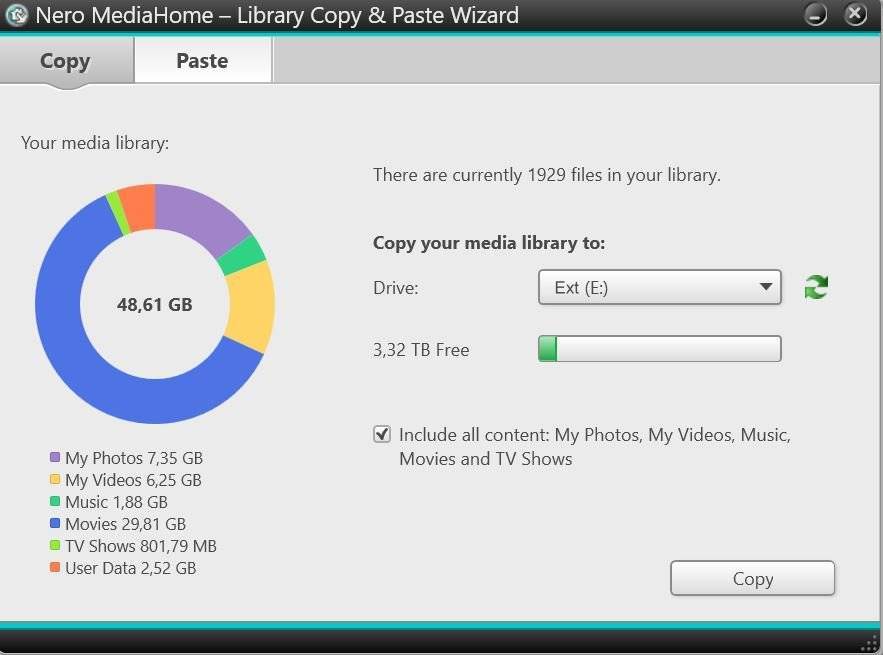
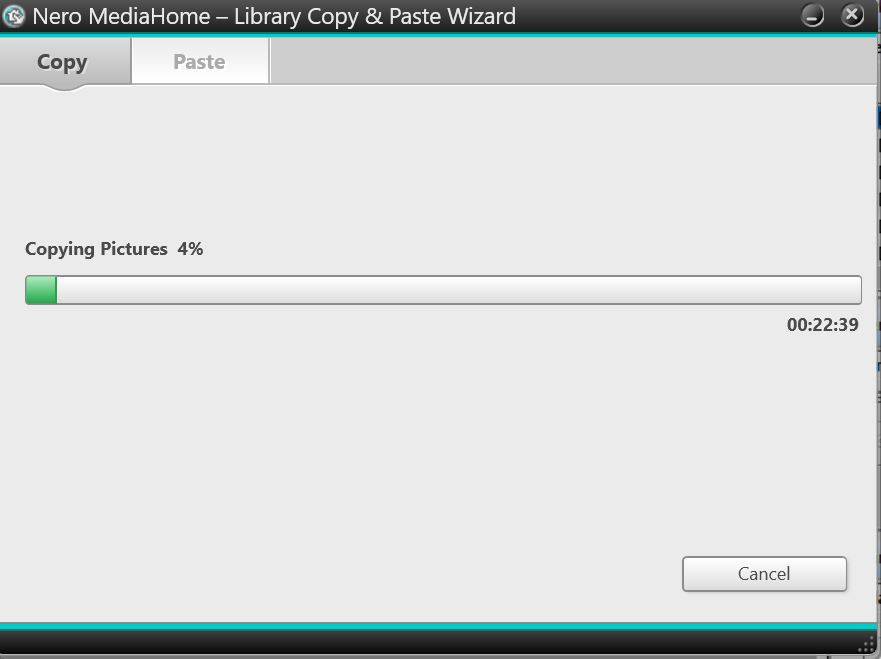
Then click ‘Copy’ and the media library will be copied to your target drive as specified. Depending on the size of your media library this may take some time.
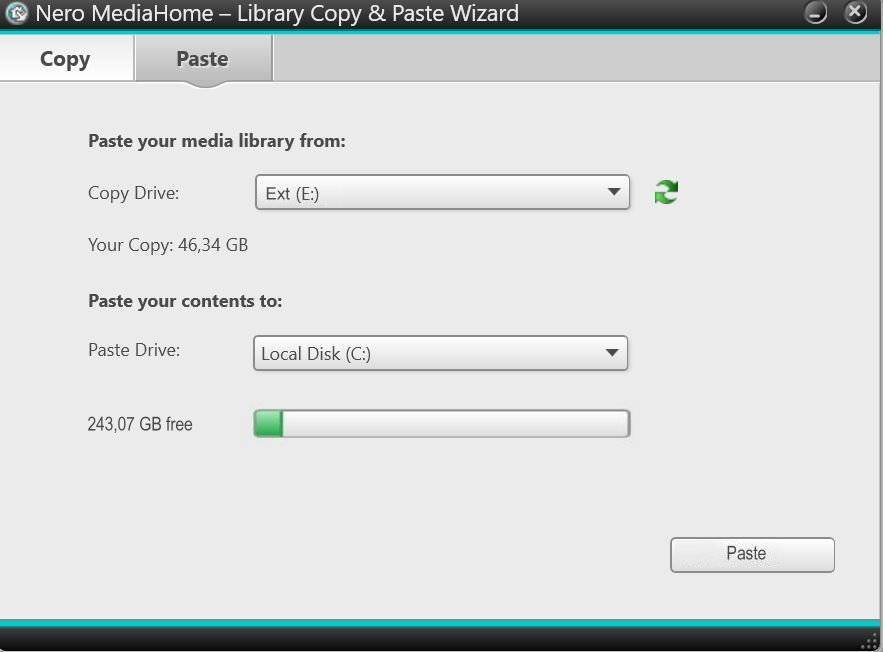
After having installed Nero on the new system, attach your external hard drive to your new system, open Nero MediaHome, go to ‘Options’, ‘Library Copy’ again, and click the ‘Paste Library’ button. In the ‘Paste’ page select your external hard drive and via ‘Paste’ copy the media library to your new location. Depending on the size of your media library this may take some time.
Once pasted, your configuration, all your media files, slideshow projects, tags, etc. are available in the same way as you were used to on your former system.
Nero KnowHow 00107