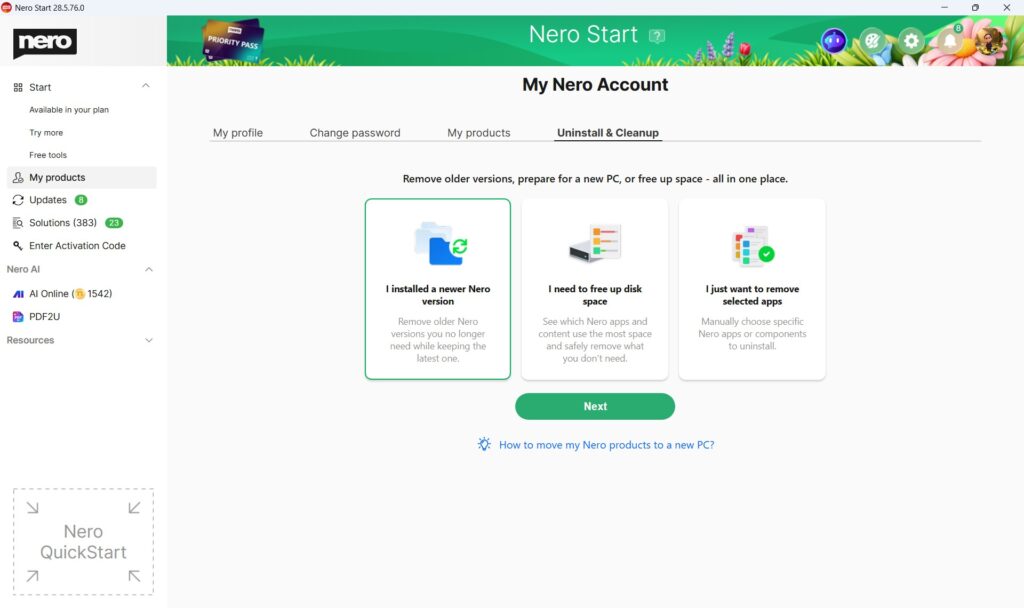
Users replacing, upgrading, or moving to a new Windows PC.
Can I use my Nero products on a new PC?
Yes.
Since Nero 2020, you usually only need to install Nero Start (or reinstall your Nero product) on the new PC and sign in with the same Nero Account used for purchase or activation.
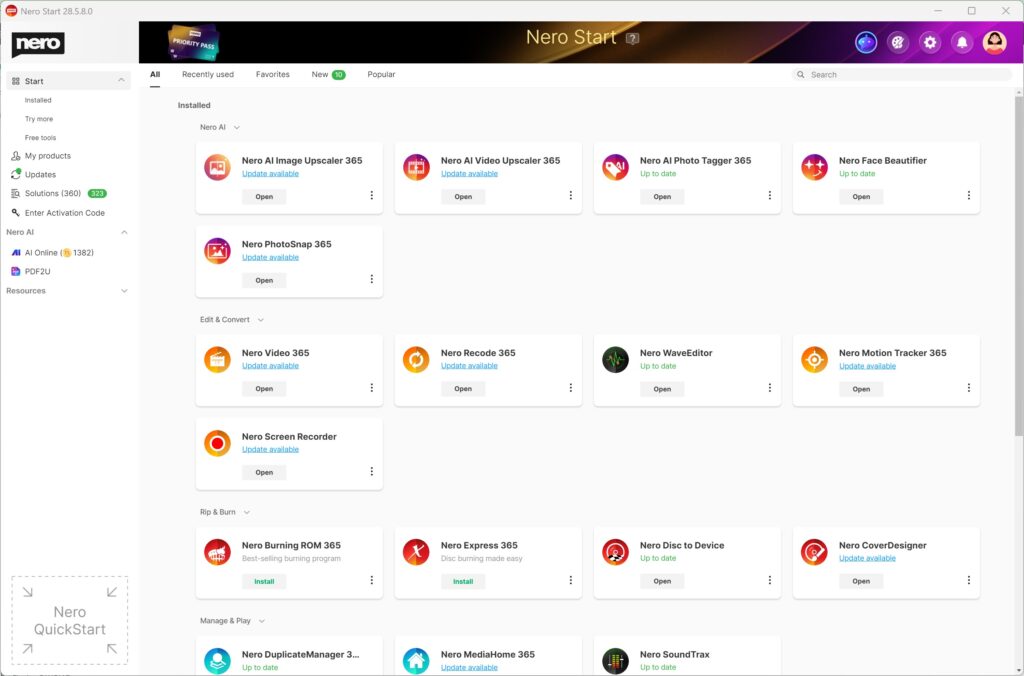
Your available products should appear automatically under Account > My products.
For older versions before Nero 2020, you need to install the product installer manually.
Recommended checklist before moving
On your old PC
Before changing PCs, we recommend:
Save all Nero projects
Copy your videos, photos, music, and other project files
Backup your important media folders
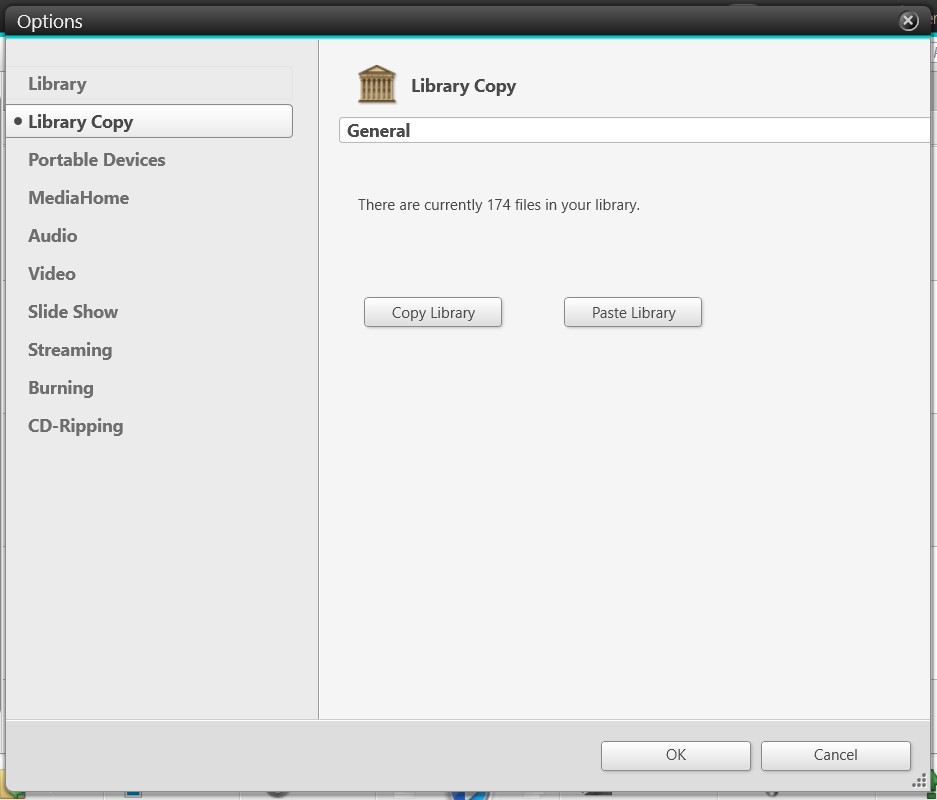
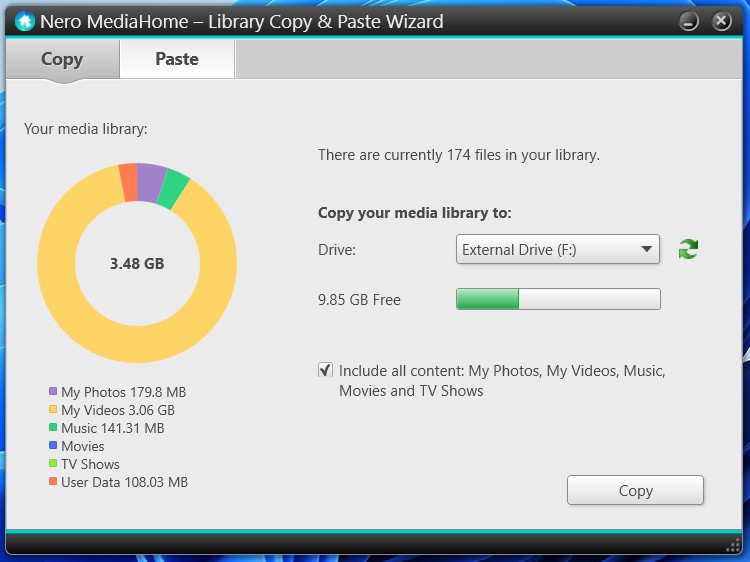
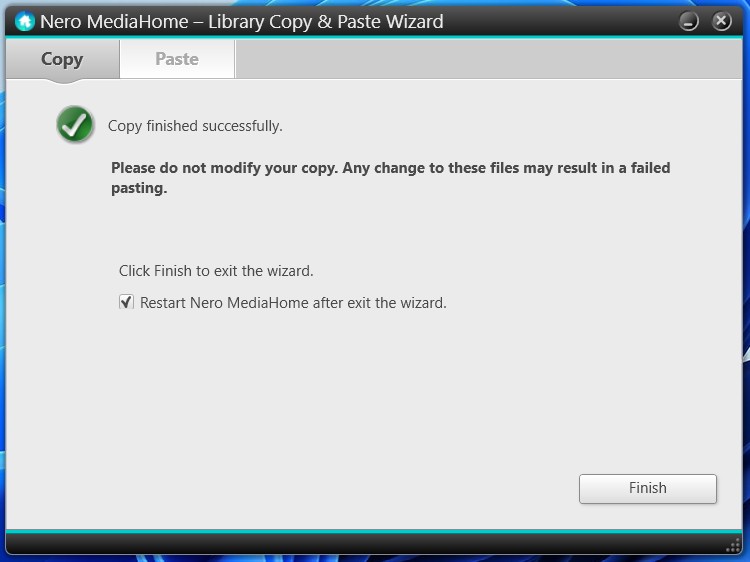
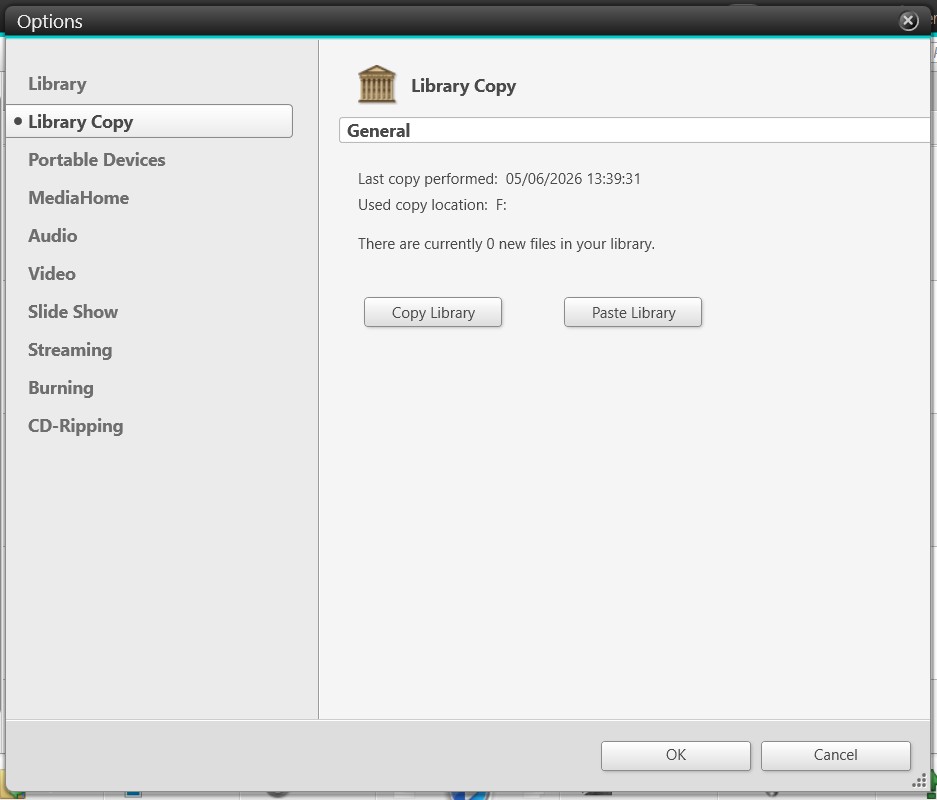
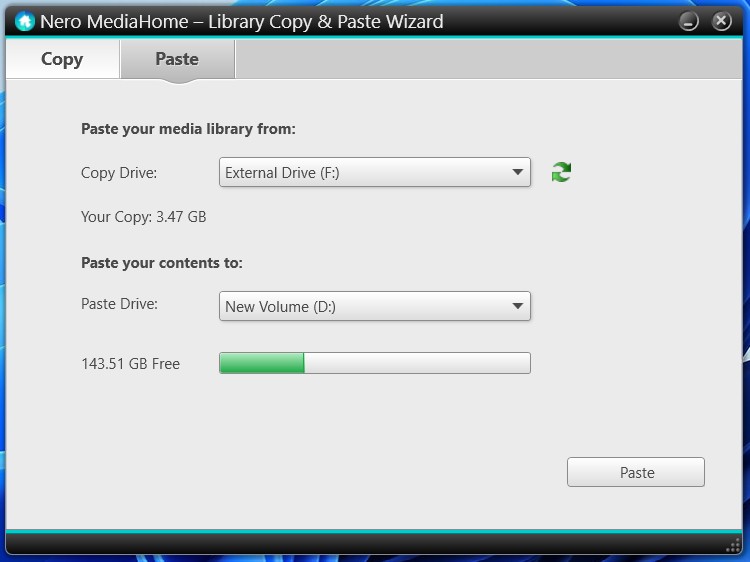
Copy your Nero MediaHome library to an external drive. We recommend including all media content.
Make sure you know your Nero Account email address and password
Optional: uninstall Nero after migration is complete
Important:
Do not delete your Nero Account when moving to a new PC. You need the same account to access your purchased products, active subscriptions, Nero Credits, and purchase/activation history on the new PC.
On your new PC
After setting up your new PC:
Install Nero Start or your Nero product
Sign in with the same Nero Account
Install your Nero applications
Copy your projects, media folders, and personal files to the new PC
Reconnect media folders or paste the copied MediaHome library if needed
How do I install Nero on the new PC?
Install Nero Start or your Nero product on the new PC
Open Nero Start
Sign in with the same Nero Account used previously
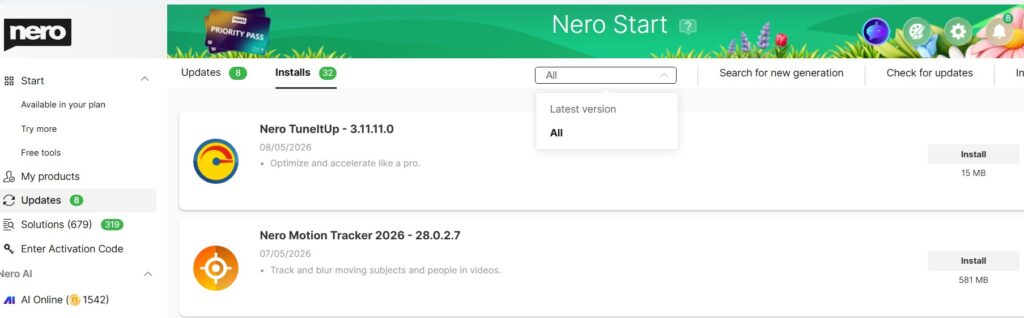
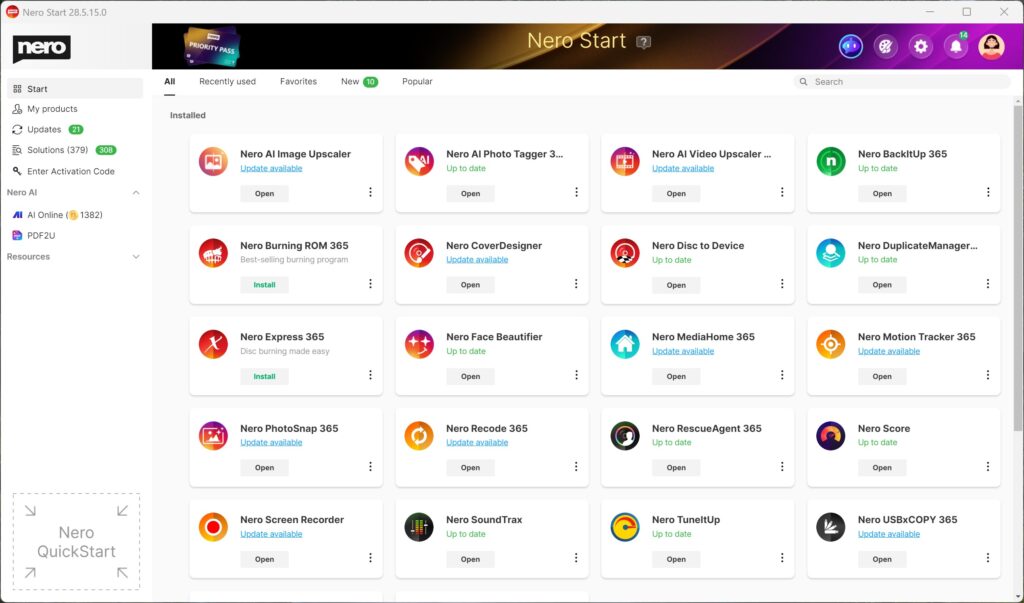
Go to Updates > Installs
By default, Latest version is selected. You also can switch to All to view all available versions
Install your available Nero applications
Notes:
Download the latest Nero Start installer from here.
Find all your products and installers in your online Nero Account here.
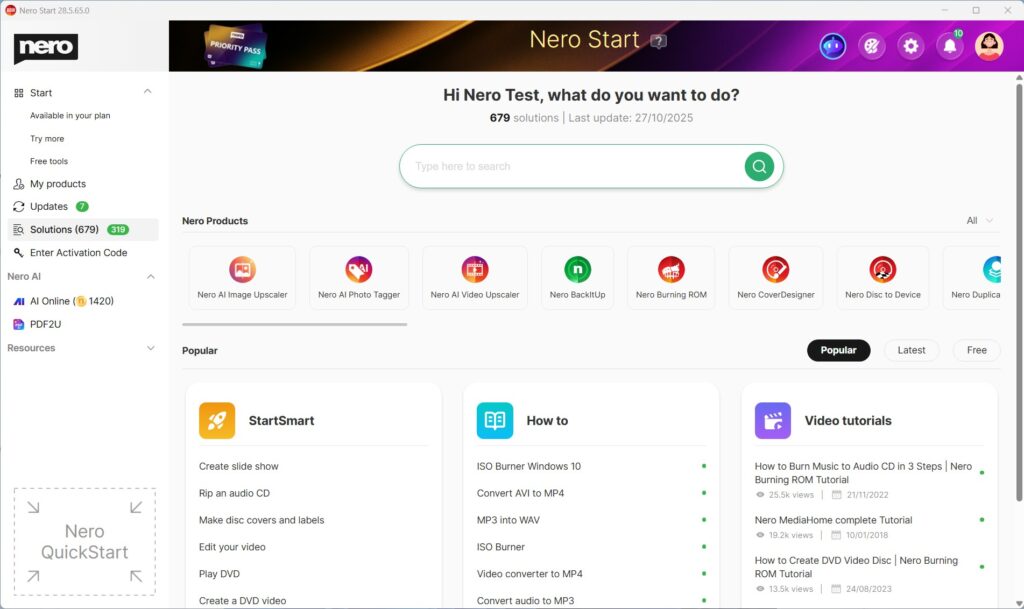
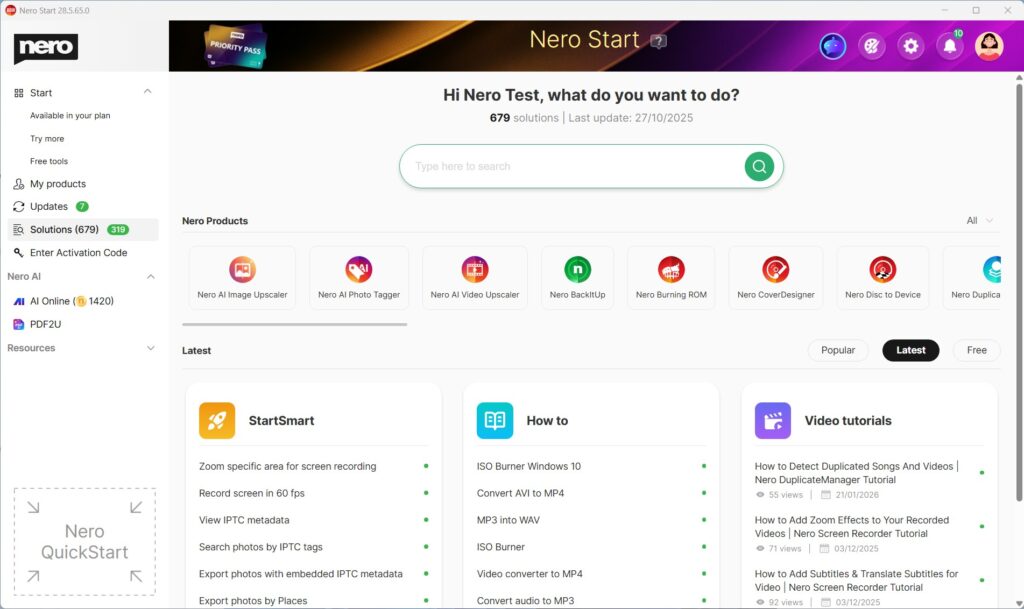
Solutions helps you complete common tasks by offering three types of help in one place:
StartSmart – Guided use cases that take you directly into the right Nero app to start your job.
How to – Step-by-step help articles for detailed instructions.
Video tutorials – Short videos that show the workflow.
When you search for a use case, Solutions can show all three (StartSmart + How to + Video tutorials) so you can choose what works best for you.
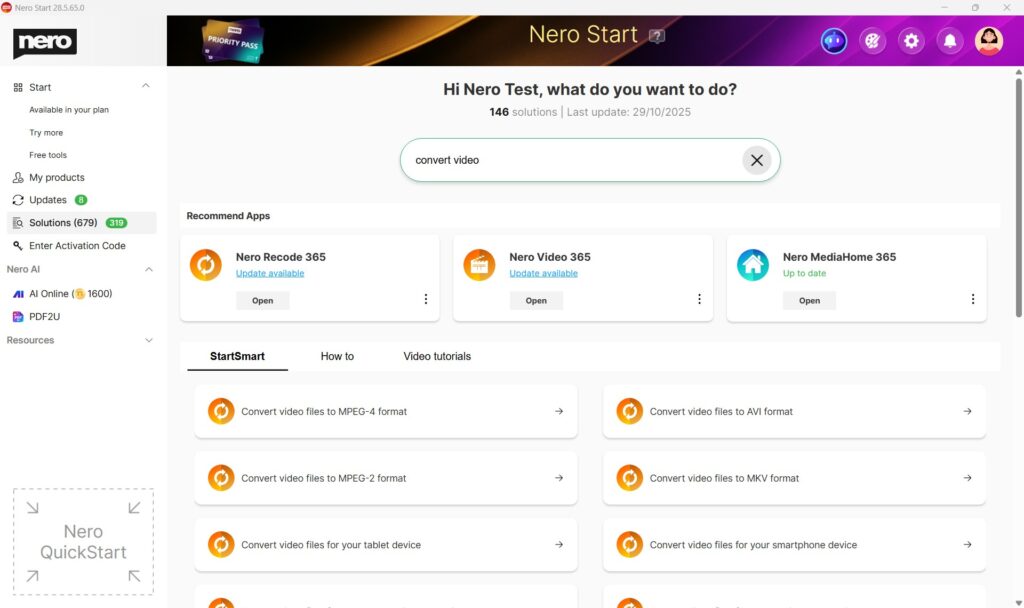
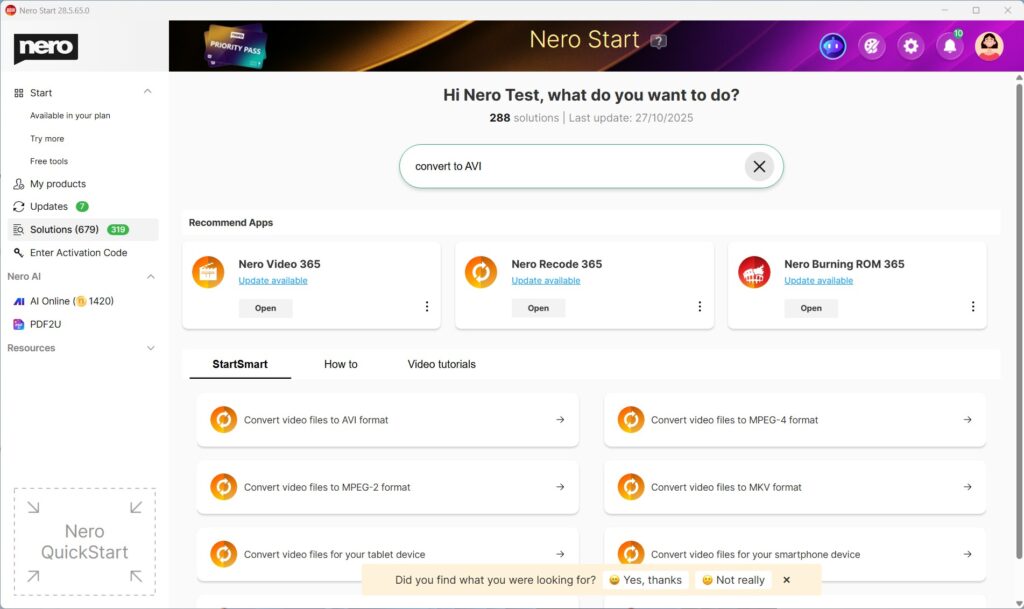
Find what you need with Search
Open Nero Start.
Go to Solutions.
Use the Search field.
Type what you want to do (e.g. convert video, rip CD, backup, edit)
Review results across:
StartSmart (start immediately),
How to (read steps),
Video tutorials (watch a demo).
Select the result you want.
Tip: The most relevant results are always listed at the front.
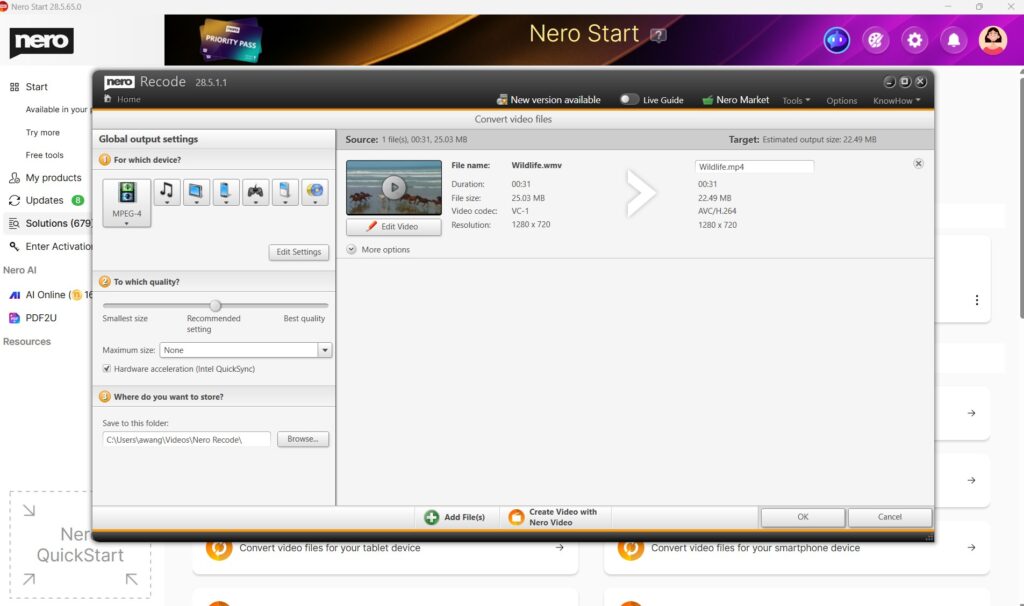
Use StartSmart to start a task right away
Open Nero Start > Solutions.
Choose a use case from StartSmart that matches your goal.
Select Open (or Install if the required app isn’t installed).
Follow the guided steps to begin.
Use “How to” for step-by-step instructions
Open Nero Start > Solutions.
From How to, choose an article for your use case.
Follow the instructions in the article.
Use Video tutorials to learn by watching
Open Nero Start > Solutions.
From Video tutorials, click a topic
You can start the watching of video demo.
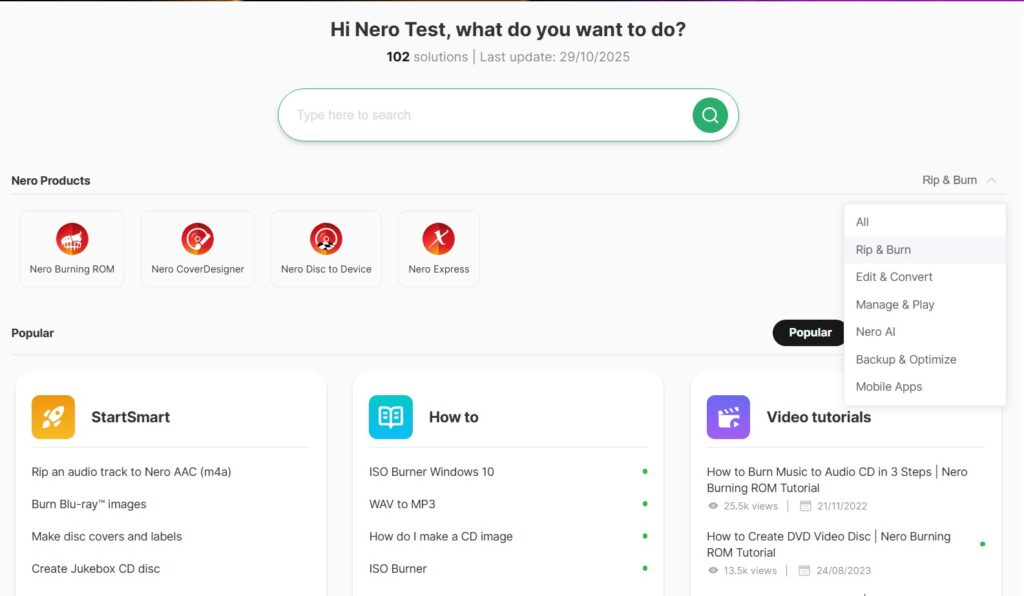
Refine results with Filters and Sorting
Apply filters
Open Solutions.
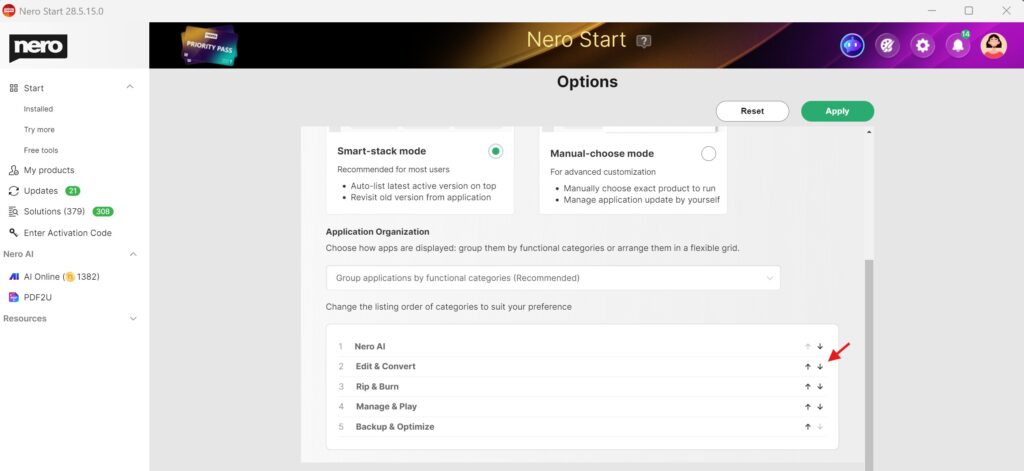
Select Nero Product Category
Or select a dedicated product
Change sorting
Open Solutions.
Select Popular, Latest or Free.
Solutions will list all info based on your requirement.
Troubleshooting
I can’t find what I need in Solutions
Try a simpler keyword (e.g., “convert” instead of “convert MP4 to AVI”).
Clear filters and search again.
In the feedback area, just feel free to submit what case you were looking for to Nero – we will collect your feedback and make improvements in future updates.
StartSmart doesn’t open the app
Make sure the required Nero app is installed.
If prompted, select Install and try again after installation.
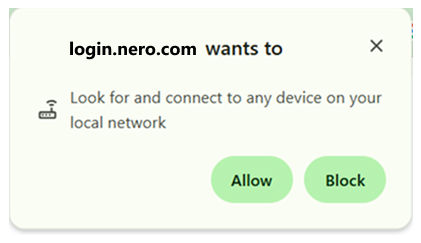
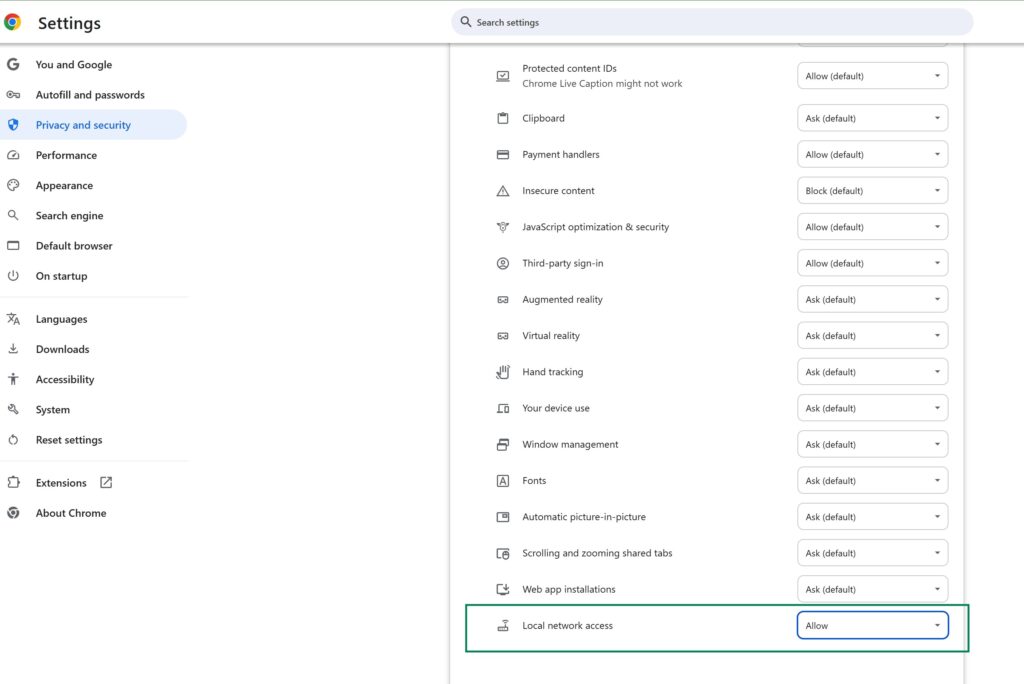
Why do I see a “Local network access” permission request?
When you sign in or sign out, the login page must send the “signed-in”/“signed-out” result back to Nero Start on the same PC (via a local connection such as localhost). Some browsers show this as ‘Look for and connect to any device on your local network‘ (or similar wording).
Example: local network access permission
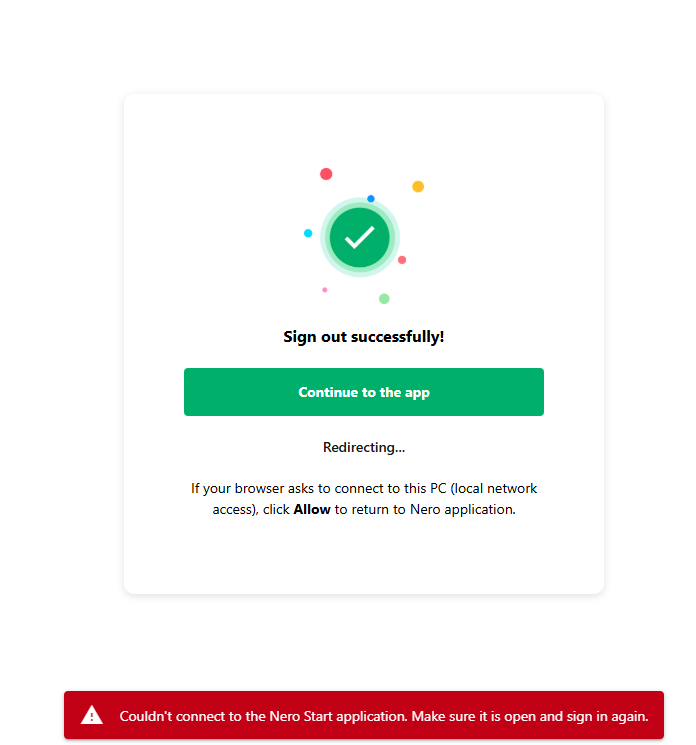
What happens if I block it?
If this permission is blocked, the browser cannot return the sign-in result to Nero Start, and the login may fail (for example: “Couldn’t connect to the Nero Start application…”).
Exaple: Error – couldn’t connect to Nero Start
Is it safe to allow?
Yes. This permission is used only to hand over the sign-in status to Nero Start on your device. It is not used to access your files.
How to allow it (Chrome, Edge, Firefox, and other browsers)
The setting name may vary by browser. Look for permissions related to Local network access, local connections, or connecting to this device/PC for https://login.nero.com/ .
Method A: Allow it when the browser asks
Start the online login from Nero Start.
When your browser asks for permission to connect to this PC / local network access, select Allow.
Return to Nero Start and complete sign-in.
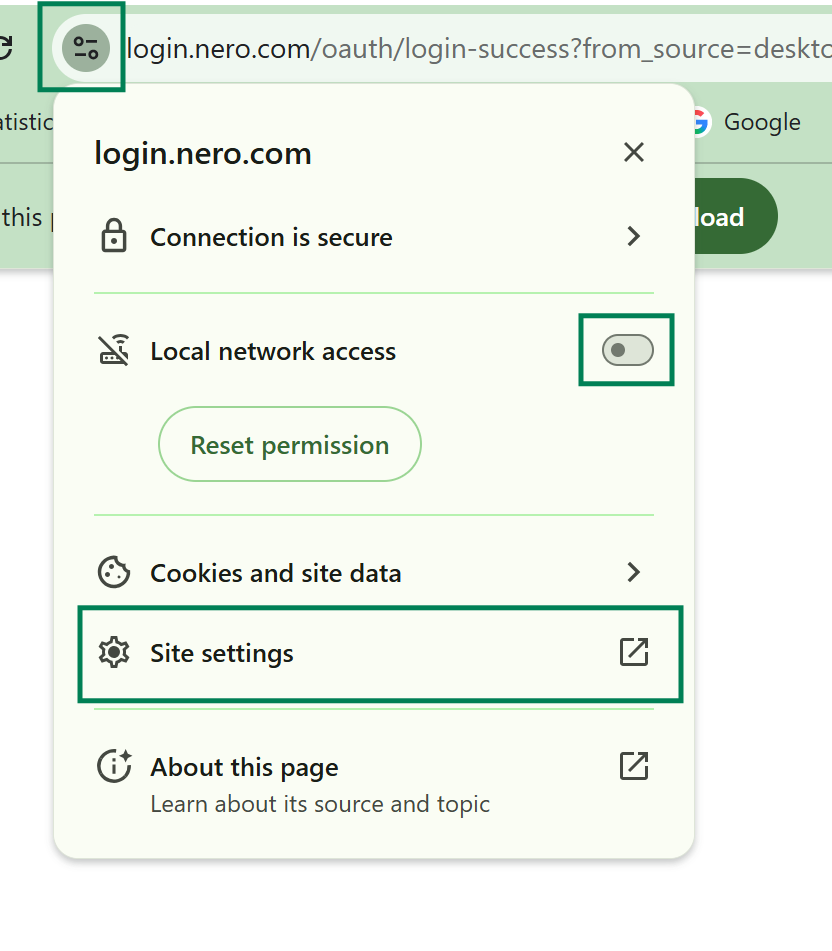
Method B: Change it in the settings of login.nero.com (if you previously blocked it)
In the Nero Account Login page which you got the error info, open your browser Settings.
Enable ‘Local network access‘ directly
Or clicking ‘Site Settings‘ and scrool to the bottom to find ‘Local network access‘(or equivalent), and set it to ‘Allow‘.
Close the settings tab, then return to Nero Start and sign in again (keep Nero Start open).
Method C: Change it in your browser site settings (if you closed login.nero.com)
Open your browser Settings.
Go to Privacy & Security (or Site permissions / Site settings).
Find site permissions for https://login.nero.com/.
Locate Local network access (or equivalent) and set it to Allow.
Close the settings tab, then return to Nero Start and sign in again (keep Nero Start open).
Quick checklist if it still fails
Keep Nero Start open while signing in.
After changing the permission, back to Nero Start and sign in again.