Your Nero Account consists of the email address you used when you first signed up or purchased a Nero product. It helps you to use your Nero applications and services securely and reliably.
With a Nero Account, you can store all your Nero products in a single account so you don’t have to remember all your serial numbers. With your Nero Account, you can store and keep track of all your purchases and subscriptions after logging into your software on your PC.
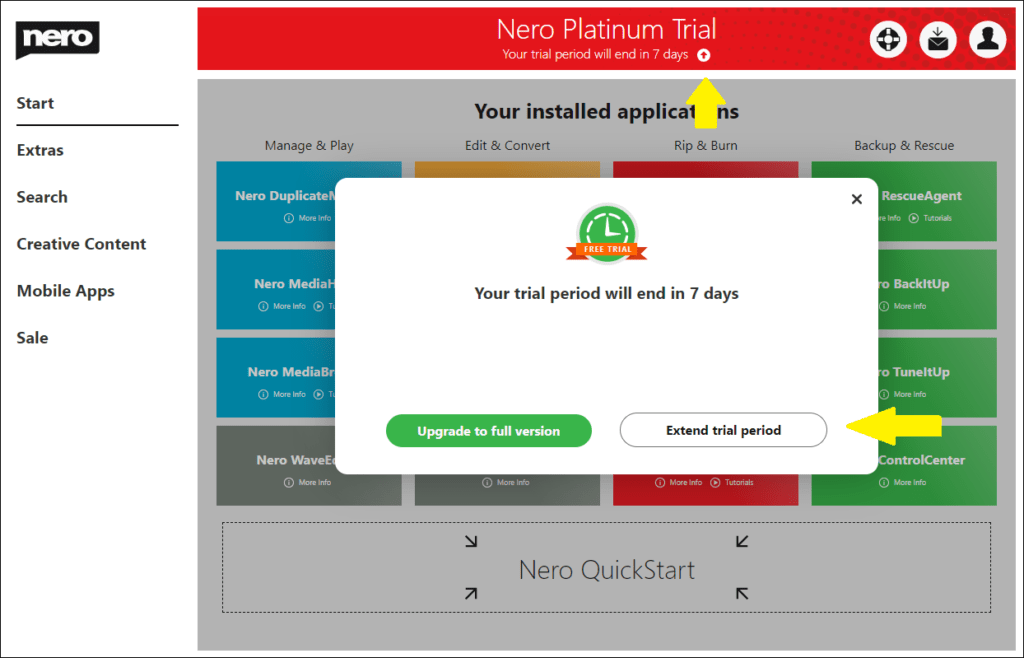
The trial version of Nero Platinum Suite allows you to test the software for seven days free of charge.
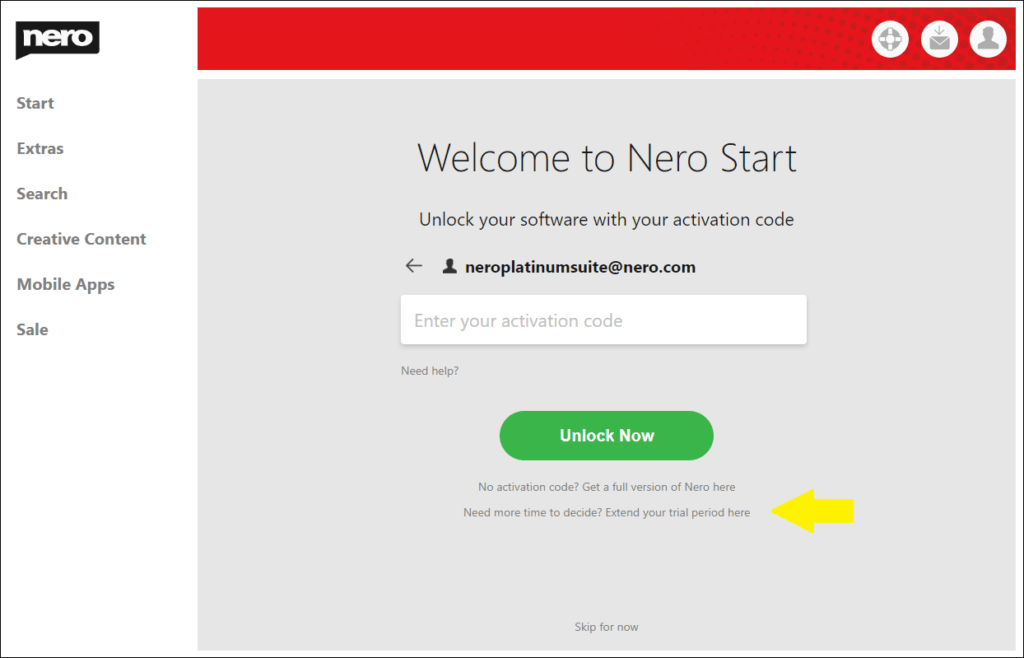
In Nero Start, you can also extend your trial period from seven to 30 days.
If you activate the 30-day trial version of Nero Platinum Suite, you will automatically switch to the full version at the end of the trial period. You can cancel your subscription at any time during the trial period or after upgrading to the full version.
Once you have registered a Nero Account, you can extend your trial period by selecting the “Renew your trial period here” option. There you can start the 30-day trial. Your trial period will then be extended from seven to 30 days.
After clicking on “Download full version now”, you can also extend your trial period in the pop-up window.
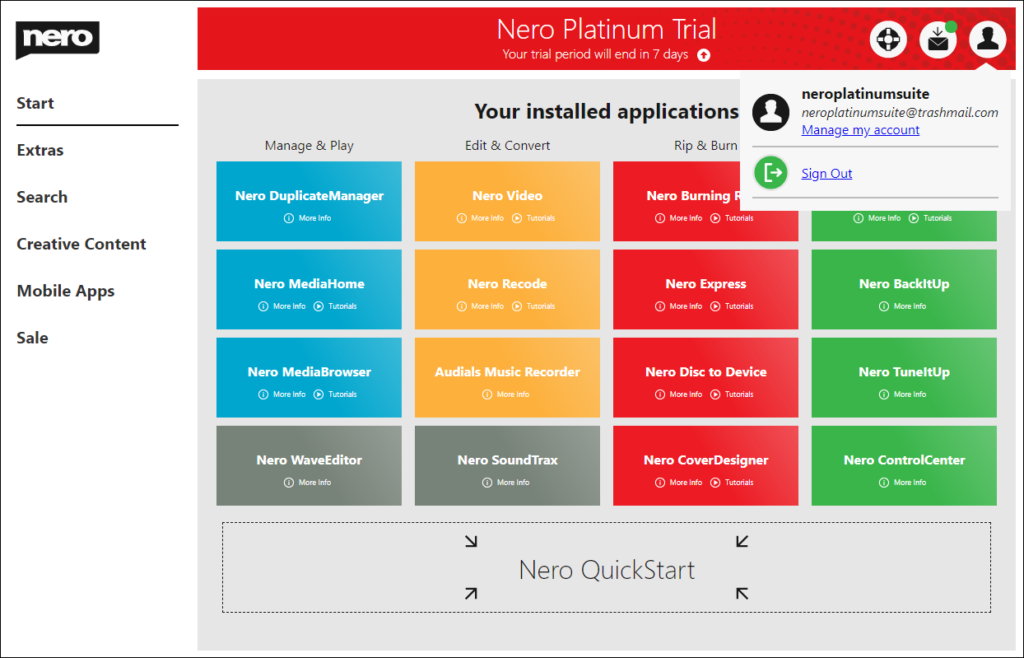
After you log in to Nero Start with your email address and password, you can manage your Nero account.
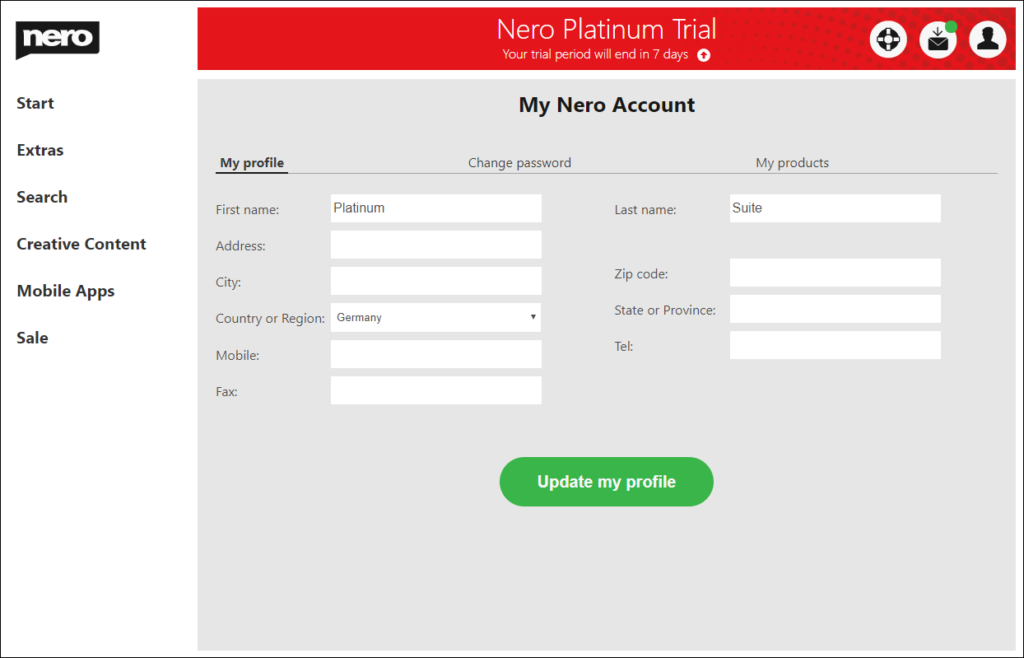
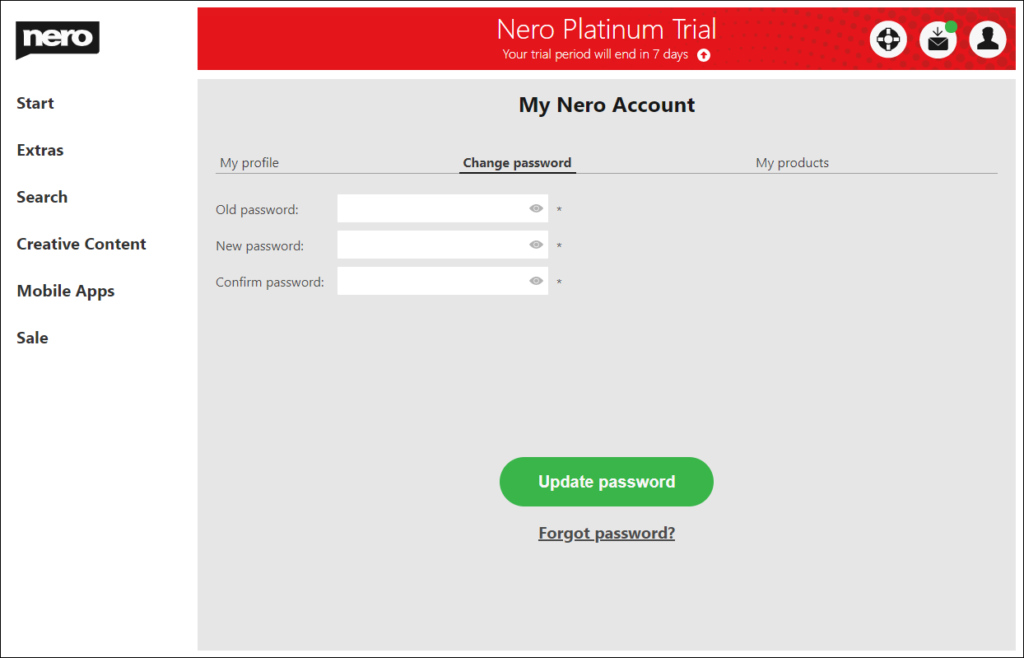
Click the “Account Settings” > “Manage My Account” button at the top right. Here you can review your Nero account and update your profile information. Account Settings
Click the Change Password tab to update your Nero Account password.
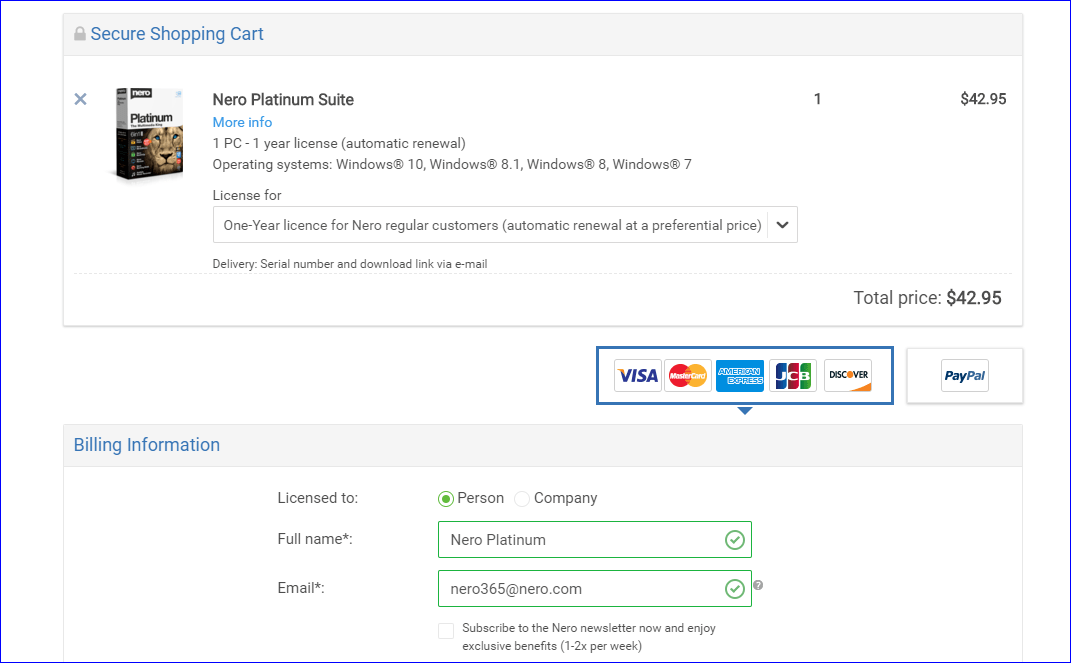
When purchasing the Platinum Suite directly via Nero
When purchasing the Platinum Suite, a Nero Account is automatically created based on the email address used for the online purchase.
Once your order is complete, you will receive an email with your password/activation code. With that you can unlock and use the software.
When purchasing the Platinum Suite from a third-party vendor
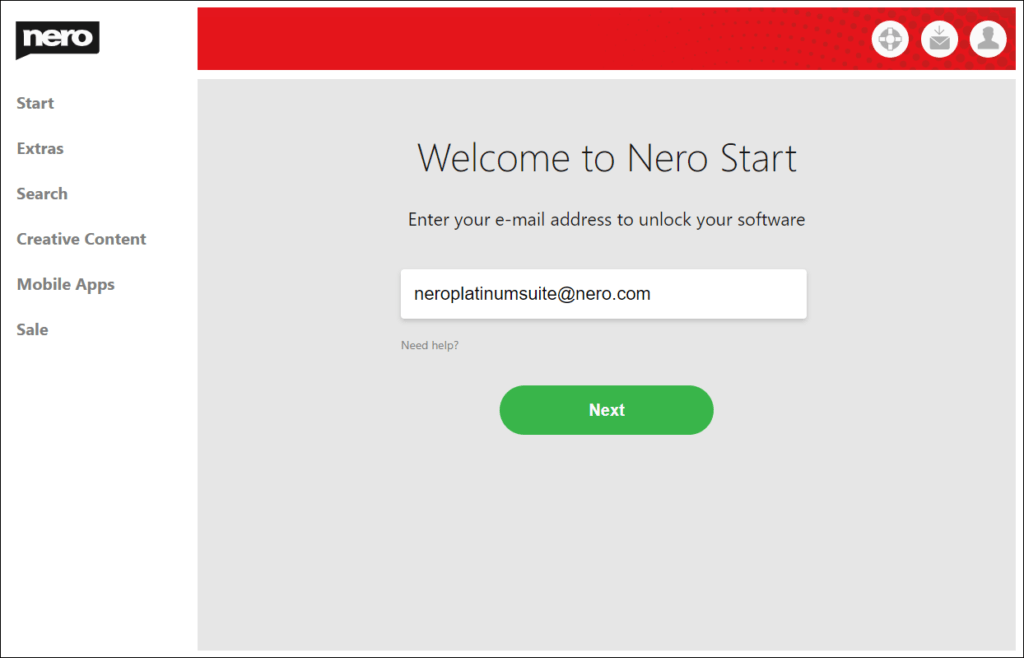
If you do not purchase Nero Platinum Suite directly from Nero (e.g. via Amazon, eBay, Software Store, etc.), you can create a Nero Account directly in Nero Start.
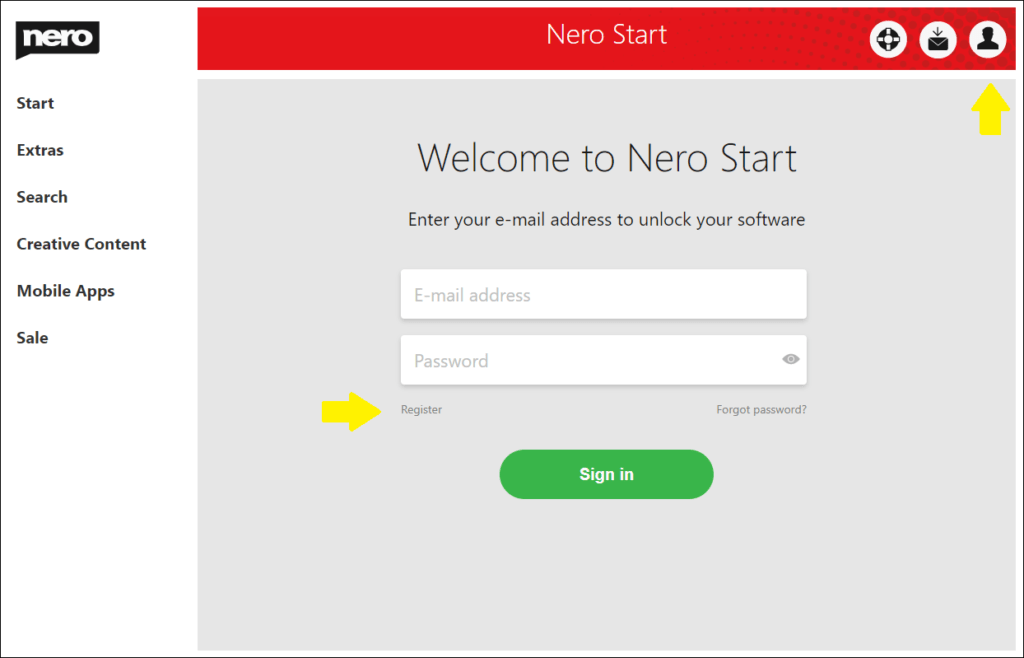
Launch Nero Start, enter your email address in the first screen, and Nero Start will check to see if a Nero Account is already registered with that email address. If no such Nero Account exists, Nero Start will help you create a new Nero Account.
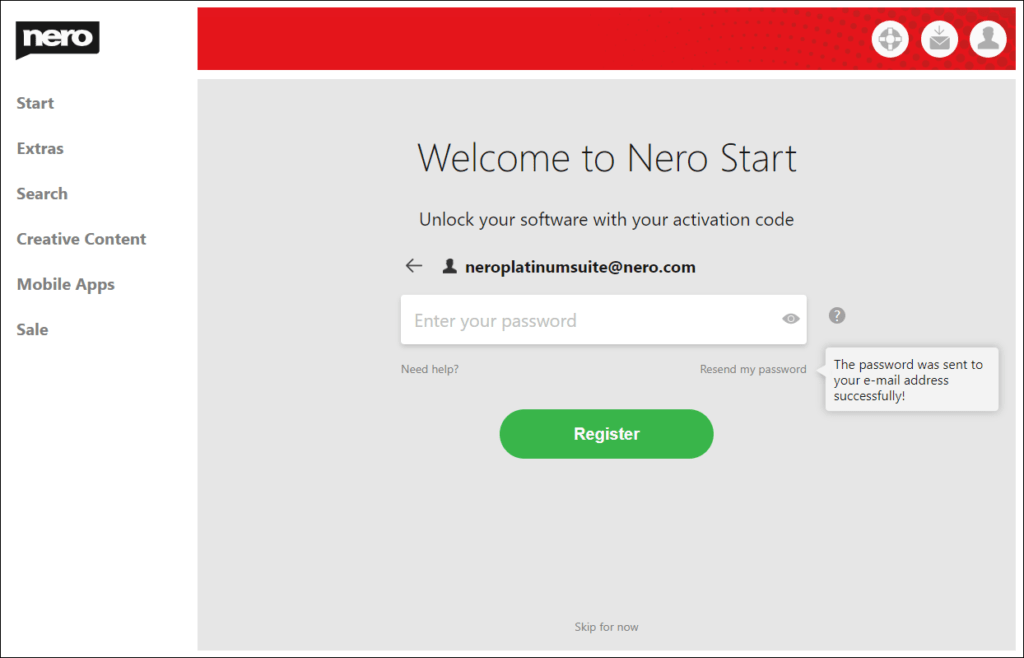
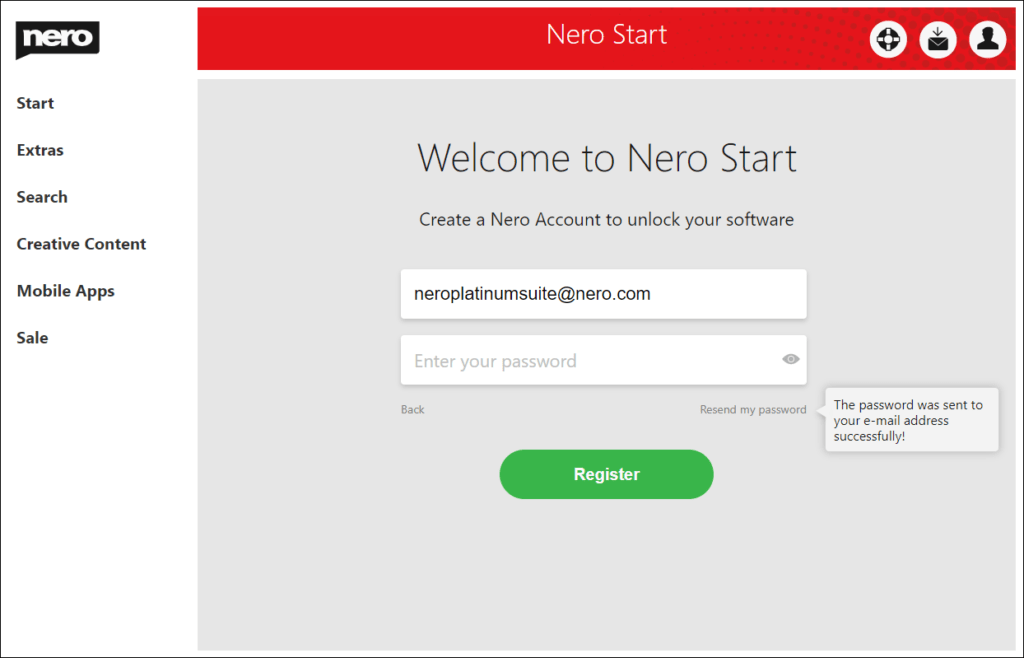
During registration, your password for the new Nero Account will be sent to the email address you provided. Enter the password in Nero Start to complete the registration of your Nero Account.
Account Settings
You can skip the registration during the first startup in Nero Start and do it later in the account settings.
To do this, click the account settings button in the upper right corner of Nero Start, and click “Register” to create a Nero Account.
In the Nero Account Registration window, enter your e-mail address, click the “Resend my password” link, and your password will be sent to the e-mail address you provided. Enter your password and click the “Register” button to complete the creation of your new Nero Account.
Info: If you did not receive the email with your password, please also check your spam folder.
If you already have a Nero account, use it to sign in or reset your password. Go back to the login screen to sign in.
Q1: I would like to trial the subscription features before I pay. How to do it? Will I be billed if I cancelled subscription in free trial phase?
If ‘3-day Free Trial’ is available for your subscription product, just clicking ‘Buy Now’ will start your subscription immediately and you will not be billed in your free trial phase. If you want to cancel your trial before be billed, you need to cancel the subscription at least 24-hours before your renewal date.
Q2: How do I cancel my subscription?
If you subscribed via one of your Android mobile apps, you must cancel your subscription through the Play Store.
In order to cancel your subscription, please follow the following steps:
1. Launch the Play Store app on your Android device
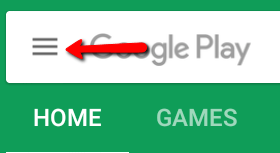
2. Tap on the Menu button in the top left of the screen
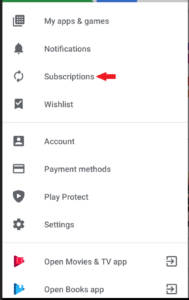
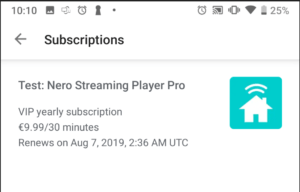
3. Tap on Subscriptions
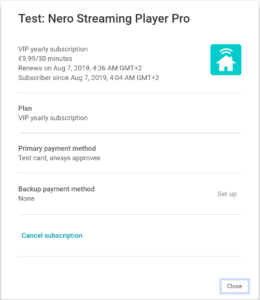
4.Tap Nero Streaming Player Pro VIP subscription. Below is a test example screen shot:
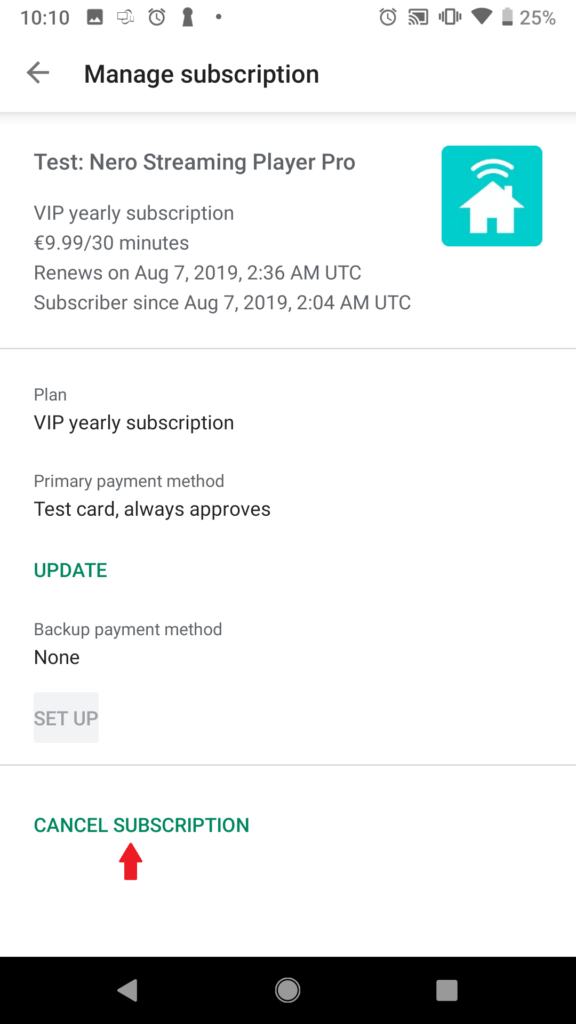
5. Tap Cancel Subscription.
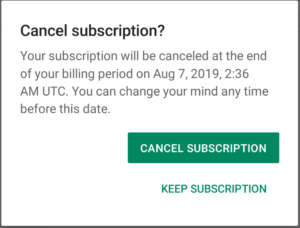
6. It will pop up a confirmation dialog. Tap Cancel Subscription again
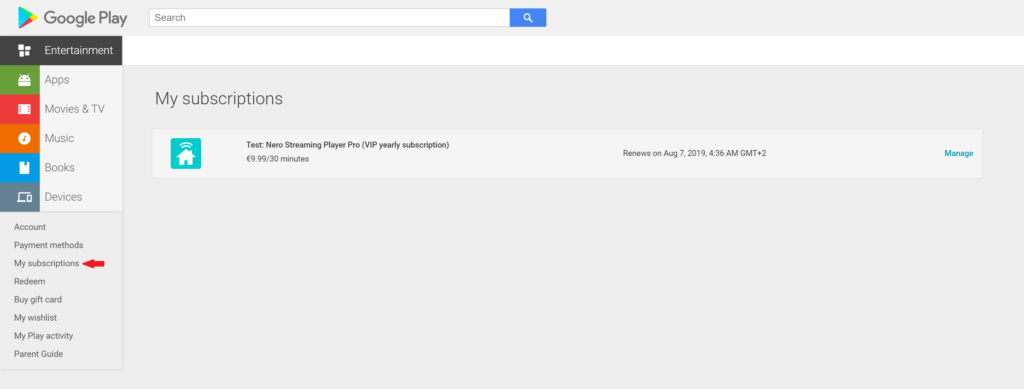
Alternatively, you cancel your Google Play subscription online without an Android device by following these steps:
1. Log in to Google
2. Go to https://play.google.com/store/account/subscriptions
3. Find the subscription you want to cancel.
4. Click Manage.
Note that if you follow these steps and only see options to re-subscribe, that means that you had already canceled your subscription.
5. Click Cancel subscription
Q3: Does deleting the app cancel my subscription?
No, uninstalling an app will not automatically stop your subscription. You must cancel your subscription to end your subscription. If you uninstall the app without canceling your subscription, you will still be charged. If an app you’ve purchased a subscription for is removed (discontinued completely) from Google Play, your future subscription will be automatically canceled but past subscriptions will not be refunded.
Q4: Where can I manage my subscription?
Being in control of your subscription is really easy! To view, end or cancel your subscription, follow these steps:
1. Open the Google Play Store app on your Android device
2. Tap the Menu button
3. Tap Account
4. Tap Subscriptions
5. Tap the ‘Nero Streaming Player Pro VIP subscription’
Here you can:
1. View your subscription details, including renewal date and price
2. Cancel your subscription. If you cancel, your subscription will stop at the end of the current billing cycle
If you have more questions, please contact us at support@nero.com