Nero KnowHow version 1.2 available as an essential Update!

Nero KnowHow version 1.2 comes with essential improvements and new features.

Install it now to benefit from the improved experience.

NEW

  • Via Nero Manuals access button you now can download Nero application manuals directly from the home screen per listed Nero application. Then print it via your device’s system printer support.
  • Via the new notification function you now will automatically be noted when new Nero KnowHow FAQs and new blogs on ‘Digital Life Made Easy’ have been posted. From there go to the new blog right away.

Improved

  • Now you can zoom into texts and images with two finger zoom gestures
  • A network loading indicator was added to the App and you will also experience an improved page loading time

Buxfixes

  • Version 1.2 includes several bug fixes


Nero KnowHow 00077

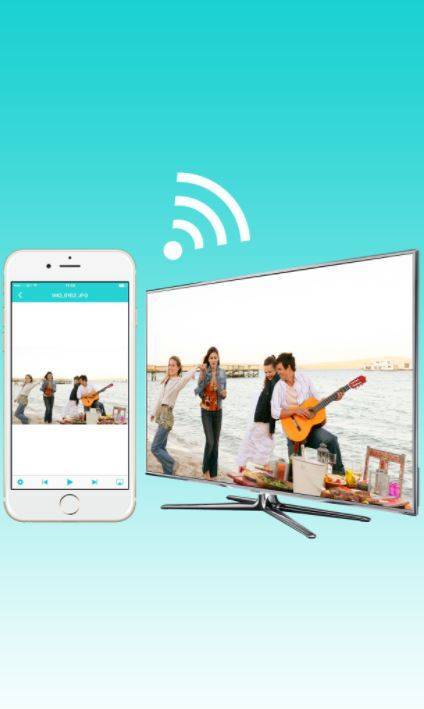
Digital Life made easy (2) – How can I play wirelessly and securely to my Smart TV using Nero?

Our digital life is meant to make things easier but in fact it is not that easy without knowing some of the fundamental concepts behind the digital world.

In this blog we try to answer the question: How can I play wirelessly and securely to my Smart TV using Nero?

In fact more and more customers put this question. On one hand it shows that streaming to Smart TVs has become extremely popular on the other hand it reflects that reports about being spied via your Smart TV have become a fear for many users. This blog will help you getting rid of this fear via some useful tips and continue enjoy streaming with Nero.

Growing Number of Smart TVs

Due their comfortable internet and multimedia functions Smart TVs have become really popular. Likewise the security aspect of such devices has become a matter of public concern. In the past, TV set vendors were accused of having enabled functions in their Smart TVs that would allow spying of customers by collecting user data and of having provided such data to third parties.

The vendors opposed to that, but nevertheless there is the thread of hackers trying to utilize special functions of your TV set. Given that Smart TV security implementations are close to not existing hacker attacks are a realistic scenario.

How can I protect myself?

The most simple way of protection is disconnecting your Smart TV from the internet, but this goes along with not being able to use those functions of your TV that make it smart: home network streaming and the ability to access content via the internet.

If you do not want to miss those functions here are some useful tips how to protect your Smart TV from unwanted third party access.

1. Set Filters in your Router

One of the most secure ways of protection from unwanted access is blocking special internet pages via the filtering options of your router.

Internet and LAN / WiFi access of your TV can be reduced to a few URLs that you control via the so called white list. Additionally your router allows you to limit the internet connection to dedicated devices – e.g. if you use the integrated ‘parental control’.

How to set these limitations depends on your router’s setting options. Via these you can decide which pages should be accessible at all or – via the opposite approach – can just block dedicated URLs.

2. Deactivate the built in Webcam and the Microphone

If your Smart TV has an integrated webcam we recommend deactivating it via the set up menu of your Smart TV. Additionally you should also deactivate the microphone. If you want to be totally safe you can also put some tape over the camera. This may sound a bit over the top but in fact it is known that hackers have options to remotely activate the camera again without the signal on the camera even showing that the camera is on.

3. Deactivate HbbTV Service

Deactivate the function ‘HbbTV‘ in the setup menu of your TV. Similar to ‘Teletext’ with ‘Hybrid broadcast broadband TV‘ broadcasters can show additional information on the screen. Different to ‘Teletext’ that is embedded in the TV signal, ‘HbbTV’ uses the internet connection of your Smart TV.

Consumer advice centers accuse TV vendors of misusing this function by collecting user data and handing these over to third party without the user’s agreement.

HbbTV

In case your TV set does not include this function yet, there are standalone add-on boxes available providing the HbbTV function. If you want to be on the safe side you do not need such a device. In general we recommend taking a look into the TV set’s menu or – if available – into the device manual to understand if your TV has this function included or not.

Deactivating this service needs a closer look into the setup menu of your TV set. Terms used here to describe the HbbTV function can be quite cryptic like ‘data service function’ or ‘interactive service’. Not each vendor activates this function by default. But checking it, is worth the effort, anyway.

4. Smart TVs with Android OS

As of today, vendors like Sony are offering their range of TV sets with fully integrated Android OS known from Smartphones. As Android is Google’s mobile operating system you should take a closer look into the menu of your TV regarding Google data services. For protecting your privacy, we recommend not allowing Google to collect data.

Android TV

We also recommend disabling the location option.

Location off

5. Regularly update your TV’S Firmware

Make sure that you keep your Smart TV’s firmware always up to date. Updates can be triggered directly via the TV set when connected to the internet. You can also use your (safe) PC connected to the internet for downloading the firmware update, save it on a USB stick, connect it to your TV, and execute the update this way.

6. Adapt your Surfing Behavior

Due to the fact that Smart TVs  largely lack security options make yourself aware of which web pages you need and want to access. Do not open pages that you cannot judge security wise. Only use apps und web pages from known source via a secured connection (https). Never type in sensitive data like your bank account into any page used with your Smart TV. If you do not use secure connections these data could even be sent unencrypted and hackers would have no problem accessing these.


Enjoy Streaming with Nero Streaming Apps

If you follow those above tips that suit best to your streaming behavior you will continue enjoying streaming with Nero Apps. With Nero MediaHome (PC) and Nero Streaming Player (free mobile App for iOS and Android) you have comfortable ways of making best use of your SmartTV with streaming your photos, slide shows, movies, and music, wirelessly to the big TV screen in the living room.

Installing Nero Receiver on your tablet (or smartphone) allows you to stream photos, movies, and music even without using your Smart TV directly to your tablet (smartphone), preferably.

Watch the video


Nero KnowHow 00076

Which Products does Nero offer?

Nero products include Nero Suite versions (Platinum/Classic/Standard) as a complete set of different applications on one hand and standalone applications for dedicated use cases on the other. There are also Nero Free Tools and free Nero Mobile Apps.

Nero Mobile Apps are extending functions of Nero PC products and in such cases are depending on an installed Nero PC application. But there are also mobile Apps like Nero KnowHow and Nero Streaming Player that work standalone, i.e. independantly from a Nero PC application.  Find more details on how Nero Mobile Apps and Nero PC applications interact in the table further down.

Trial versions of Suite and standalone products have a limited time span of 15 days for feature testing. They are also limited in regards to codecs like AVC and have a burning limit. Trial versions can be upgraded to a full version via upgrade offerings. When you purchased a serial for a full version product the trial version can be set to become a full version product via Nero ControlCenter. Find more details here. 

Below breakdown shows an overview of the Nero product portfolio.

 Nero Suite Products

  • Nero Platinum*
  • Nero Standard / Classic
  • Nero Trial

*Nero Platinum products are also available as 365 day subscriptions in two flavors. 

Nero Standalone Products

  • Nero Video
  • Nero Burning ROM
  • Nero Recode
  • Nero MediaHome
  • Nero BackItUp
  • Nero TuneItUp

Nero PC Products and included Applications

PC Products EN

Free Nero PC Applications & Free Nero Mobile Apps

PC & Mobile Apps EN

Upgrades & Updates

There is a general difference between an upgrade and an update.

A product upgrade is a paid version of a product for a lower price point than the full paid version replacing/renewing a former product and also extending a trial version to become a full featured new product. In general, product upgrades are available as special offers for a lower price than the standard sales product. So keep your eyes open for special offers on nero.com or in Nero newsletters!

A product update is a free new product version of the actual product lifecycle including application bug fixes or minor improvements. A product update comes as a download initiated via Nero ControlCenter.

Products & Use Cases – which Nero Product is the right one for me?

If you have serval use cases the most appropriate solution to buy is one of the two Nero suite products. Which one to buy depends on your wanted feature set. If you want it all, buy Platinum.

If you are mainly into video editing and video disc authoring with disc menus Nero Video will be your product of choice. Compared to the Platinum product there are only some minor limitations regarding the feature set. Note that Nero Video also includes Nero MediaHome as your media manager.

If you mainly want to consolidate and manage your media library, play and stream media form there, the most appropriate product is Nero MediaHome Unlimited. Nero MediaHome standard version is limited when it comes to DVD-Video playback, burning, and format support.

If your key job is burning in any aspect, you should get yourself Nero Burning ROM. Note that this does not burn video discs with menus – except that you have a disc image, or a video disc structure like Video_TS and BDMV available, already. So if it is video disc creation – depending on your wish list – get yourself Nero Platinum, Nero Video, or Nero Classic/Standard.

Use Cases EN

Nero KnowHow 00075

Digital Life Made Easy – Part 1

Our digital life is meant to make things easier but in fact it is not that easy without knowing some of the fundamental concepts behind the digital world.

This blog series deals with typical questions that may sound easy on first sight, but digging deeper into them there’s quite a lot to know and learn.

In this blog we try to answer the question: How do I get my movie on the TV?

This is in fact a good question and initially we should be clear about the fact that a digital movie is not made of celluloid. Anything we capture or play as a moving picture is just a file containing a digital video format. So answering the question, initially depends on the source of your video and the given video format. The next part of the answer  depends on what you are going to do with your souce video. Do you intend to fine tune it before watching it, or do you just want to watch it on your TV straight away?

Streaming

If your source is available in a format that can be played straight to your TV set the easiest way is streaming it wirelessly. In this case Nero has options to play it directly from your smartphone and also from your PC to your TV via Nero Straming Player. If you like to play it wirelessly from your PC to your TV without using an App you can do this directly via Nero MediaHome.

Video File or Video-Disc?

If you have video clips sitting on your PC that you want to fine tune before showing on your TV the key question is: which output format are you going to select? Will it be a video file or rather a video discs (DVD, Blu-ray) with menus to play on your DVD player or Blu-ray Disc player connected to your TV set? In both cases Nero Video ist the application of your choice.

Edit Video and export as File

Simply import some clips into a video editing project, arrange them in a time sequence, trim them and apply effect filters. No matter if you are a beginner or advanced user Nero Video offers a great range of options to achieve best quality results. Pre-designed movie theme templates allow creating videos and slideshow for as a polished movie, easily, and Nero Video provides state of the art high quality export formats for you to select from.

Create a Video Disc

If you are planning to burn your video or several videos to a disc with menus you will do that in Nero Video, too. Either start in the editing mode and switch to the disc authoring module, or if you do not need to fine tune your clips but just intend putting them on a disc with menus, you can start in the content screen right away. This is the home screen for disc authoring and allows you to import your clips and arrange the order. Then just switch to the disc menu template selection before you finally burn it to disc.

Videos to Disc without a Menu

Another way of burning is adding your video files to a disc project without menus and create a data disc in DVD-ROM (UDF) and Blu-ray (UDF) format that includes just your video files. In this case the application of your choice will be Nero Burning ROM. Note that such a disc is not what you would call a video disc. It is just a disc containing video files, and in case your Blu-Ray Player may be able to read and play the formats as pure video files without menus. Essentially, this type of disc is a good choice for archiving your footage and edited clips, especially if you use a Blu-ray Disc with high capacity storage.

Videos on a USB-Stick

Last but not least you may also be looking for an option to put your videos  on a USB stick or external hard disk and attach this to your TV set for playback. A great tool for encoding all of the clips you plan to load to your USB stick to a best matching format is Nero Recode. Very easy to use it provides you with dedictaed video format templates to select from. Just encode to the attched USB stick or hard disk – batch encoding and hardware acceleration via your graphics card for transcoding included.

Overview of Use Cases

Overview EN


Nero KnowHow 00074

Why do my pictures in a Nero Video project not all shift to the left when I shorten the clip duration?

Since Nero 11 Suite, Nero Video has an integrated very easy yet powerful ‘Express Editing‘ mode. Since then, ‘Advanced Editing‘ with a multi-track timeline has been co-existing side by side with ‘Express Editing’ in Nero Video. Both are switchable within one project.

In the case asked for here, advanced editing was used. The advanced editing mode with a multi-track timeline is the versatile manual editing mode in Nero Video and gives you the full range of editing options. When shortening the duration of a clip  that exists in the first position of a sequence of clips in your timeline – say trim it down from 7 to 4 seconds – a gap will show on the right side, i.e. between the new end of your trimmed clip and the next clip in sequence you will have a gap of 3 seconds.

A simple way of getting rid of that gap is to just move the standard arrow tool over the white space and right click on it, then select ‘Remove from Track and close Gap’.  When executed this tool will align all associated clips located right of the gap to the end of your trimmed clip (your new mark-out), or if there is no other clip left of the gap, it will put the project to the timeline start position. I recommend using this tool with care as this action will delete anything on all associated tracks within the existing timeline gap.

There are also standard ways of closing a gap via multi-selection and dragging your project content to the wanted position.

NV emtpy space_1

In advanced editing you can also modify the duration of an image clip within an existing arrangement of clips in your timeline via the context menu. Select a clip and right click on it. In the context menu select ‘Set Duration’. A window will open. If you want to change the duration – e.g. extend it from 7 to 9 seconds – just type in the new value or use the up and down arrows. When ‘Shift’ is selected (default selection) it assures that none of your clips are touched but just the duration of this one clip is going to be extended and the other clips will all line up in sequence in your track as before. The project will just be the amount of seconds longer that you added (in this case 2 seconds). If you select ‘Overwrite’ instead, the beginning of the clip right next to your prolonged clip will be overwritten (in this case by 2 seconds) while your project will not change its duration.

NV emtpy space_2


Express Editing

Express Editing

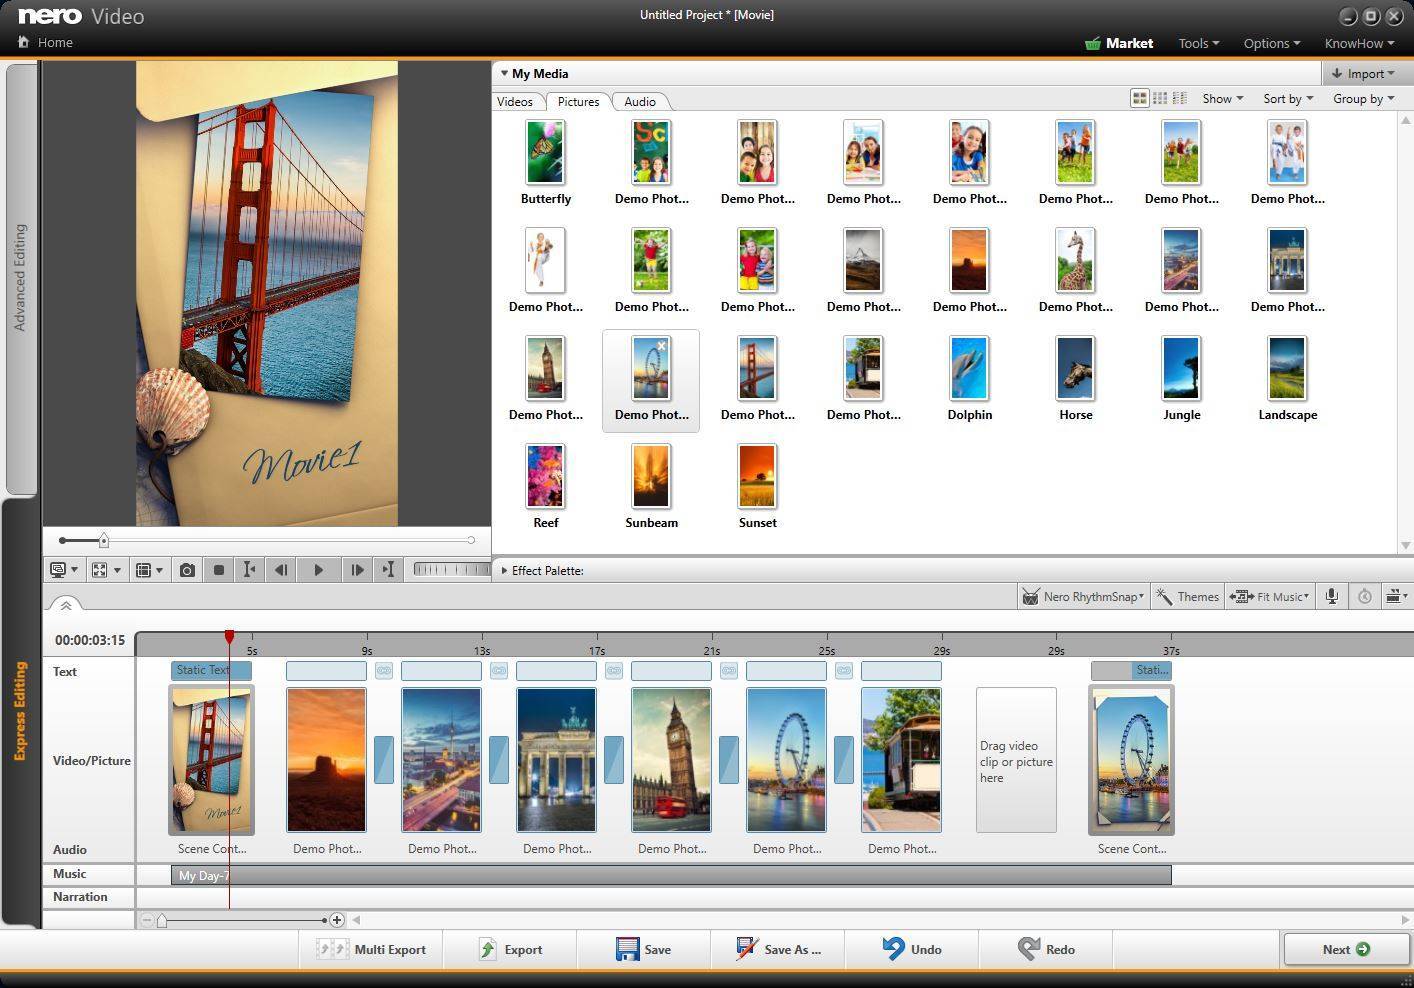
In ‘Express Editing‘ mode – in favor of ease of use  – the editing handling is mostly automated. Although you have less editing options and only one video track at hand you can do all the regular editing, and can even utilize some advanced automated options.

In express editing you do not have to bother about empty spaces as Nero Video takes care of that, deletes gaps when you delete clips automatically, automatically aligns your clips when trimming, and automatically shifts your project when you extend or shorten the duration of clips within your project.

Just select the clip in the storyboard that you want to extend or shorten. Put the mouse over the clip and two icons will appear. Select the trim icon most right.

NV emtpy space_3

A window will open that lets you easily modify the clip duration by typing it into the fields or by using up and down arrows.

NV emtpy space_4

You can even type in a duration for single frame editing and this way create a stop frame animation project.

If you have several image photo clips in your project and plan to do a stop frame animation project, just select any single clip in your project and set the duration to 1 frame or 2 frames using the above method.

Then simply change the duration for all photos by using the context menu as below.

set duration express

Your project will then show single frames in sequence. Below we have 5 photos with a total project duration of of 5 frames.set duration stop frame

Note that switching from advanced editing to express editing is no option if you already have done a project in advanced editing. By design advanced editing has much more editing options that do not match to express editing.

The regular and conceptually implemented way of using express and advanced editing is starting in Express (1) and switching to (2) Advanced Editing. When switching from express to advanced editing your complete arrangement including all trim marks and effects will automatically be taken over to advanced editing mode.  If you switch from advanced editing to express editing or vice versa, your given project is auto-saved and this way ready for continuing work on that any time later.

Tip: ‘Nero KnowHow 00027’ – more details on Nero Video Express Editing and Advanced Editing 


Nero KnowHow 00073