Is it possible to burn video discs from Nero Recode converting jobs?

Sure, this works as described below.

You can burn discs from your ‘Nero Recode’ job list by directly sending your project over to ‘Nero Video’ Disc Authoring.

On ‘Nero Recode’ home page add clips to the drop zone or open an already existing job. Your clips will be listed in the converting page. If you don’t want to convert such videos but send them directly to DVD-Video or Blu-ray Disc burning click on ‘Create Video in Nero Video’.

NR burn_EN 1 00041

Then select the disc format you prefer. Now all your videos are instantly taken over to the disc content window in ‘Nero Video’. In this windows you can now preview your titles and even add chapter marks for your disc menus.

NR burn_EN 2 00041

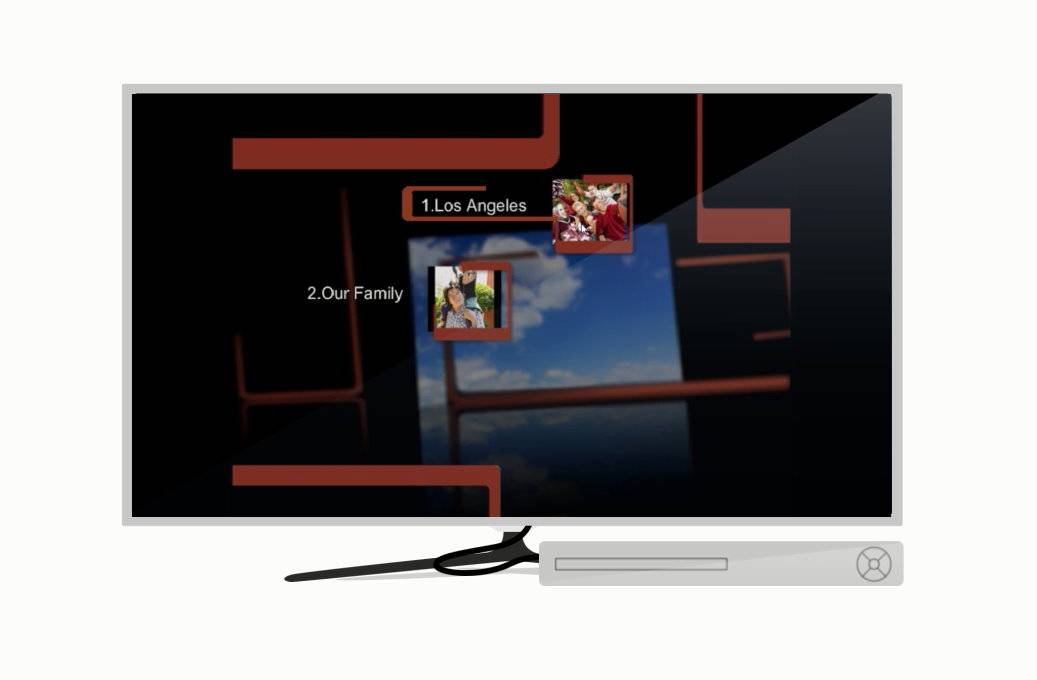
Click ‘next’ and select a suiting menu from the high quality templates. In the menu preview you can now check your menu structure. When all is o.k. click ‘next’ to finally burn your videos to DVD.

Also check out the video tutorial.

Nero KnowHow 00036

How can I convert MP3s with Nero Recode?

Besides converting video files and video discs ‘Nero Recode’ allows you to convert audio file formats to mp3 files quickly and easily.

Drag & Drop auido files via ‘Windows Explorer’ to ‘Nero Recode’ drop zone. ‘Nero Recode’ will read the format and open the job window.

Most left under number 1 ‘for which device?’ click on the music button and  select MP3. Here, you also have a choice of other high quality audio formats.

NR MP3 EN 00043

The audio bitrate will be set automatically. For manual selection of a preferred quality open the drop down list. Finally, you just need to specify the storage location and click ok.

Your job will be displayed on the home screen. Click ‘Start Encoding’ and your jobs will be processed rapidly.

Via ‘Browse’ go to the location on your hard disk or press play to listen to the encoded song.

Also check out the video tutorial.

Nero KnowHow 00037

What is the meaning of Background Rendering? When would I use it?

If you are working on a Full HD Project with many tracks and a number of video effects applied your system may not be performant enough to play your preview in realtime. Also 4K projects can suffer from perfomance in preview.

For such cases ‘Nero Video’ has a special function called ‘Background Rendering‘. With this function enabled Nero Video will render your project in the background whenever your project is idle so that you can even watch complex projects in realtime.

BR set EN_00029_1

To switch on ‘Background Rendering‘ in ‘Nero Video’ go to ‘options > application settings > editing’ and ‘Enable Nero Background Rendering’.

BR live EN_00029_2

‘Nero Video’ will show a percentage indication. When this is finished (100%) ‘Nero Video’ is ready for a realtime preview.

Nero KnowHow 00030

What is the easiest way to rip an Audio CD to my mobile device?

In three easy steps ‘Nero Disc to Device’ allows you to transcode your complete Audio CD or selected music files on it to single music files straight onto your Mobile device*.

Connect your device to the USB port. Insert a disc into your PC drive. When the ‘Windows auto-start menu’ opens select ‘Nero Disc to Device.’

EN D2D 1 00045

Select all titles or dedicated single files you want to play on your device.

EN D2D 2 00045

Then select your target device to convert your disc to.  Press ‘send’. That’s it.

EN D2D 3 00045

‘Nero Disc to Device’ will provide your disc content as single music titles on your mobile device in the best quality for each device, automatically. The music titles will also include album art so that you can browse and play based on albums. ‘Nero Disc to Device’ also supports converting your discs to PC folders and online storage services like ‘Dropbox’, ‘SkyDrive’ and ‘GoogleDrive’.

*Note: works for supported mobile devices, only. Audio CD ripping to iOS mobile devices not supported. 

Also check out the video tutorial.

Nero KnowHow 00038

How can I preview Nero Video editing projects via Dual Monitor?

If you prefer doing video editing on a laptop it is very useful to have a second larger video monitor for your project preview. This way you also have the advantage of enlarging the project workspace on your laptop.

Make sure your second monitor is attached. In Nero Video click on the dual monitor button underneath the preview screen. Now your preview is shown on the second monitor simulateneaously.

EN 00031 NV Multi_2

For adjusting the preview quality click on the respective button in the left hand side of navigation bar underneath the preview screen and make use of the quality slider. Select ‘Best Quality’ most right for Full HD preview.

EN 00031 NV Multi_1

If your system lacks perfomance you can also set the slider more to the left hand side and reduce resolution in favor of having more real time performance.

Finally you can adapt the layout of your main screen to gain more space for your project work.

EN 00031 NV Multi_3

Your layout will be auto saved with your project and loaded automatically next time you start Nero Video.

Check out the video tutorial

Nero KnowHow 00031