If you purchase our product via nero.com, you can look up:
your order history
reference number
order confirmation
invoice
etc.
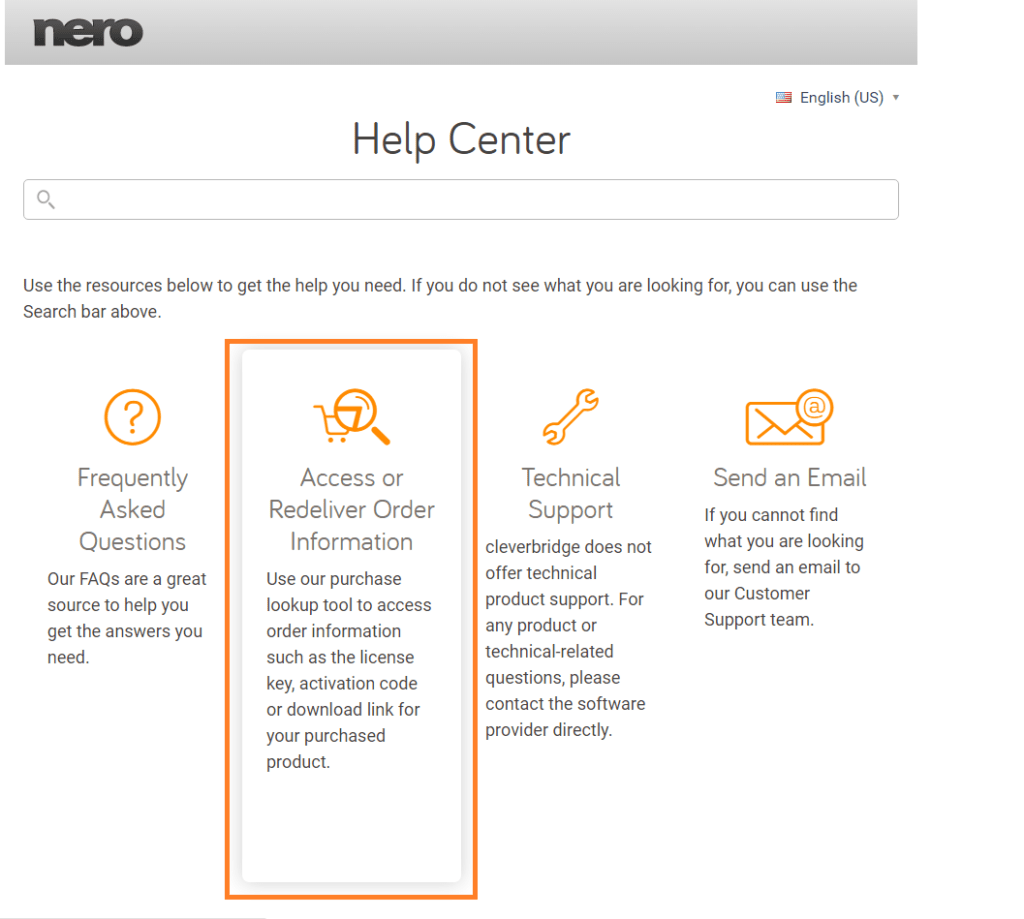
Go to onlineshop.nero.com and click on “Access or Redeliver Order Information”.
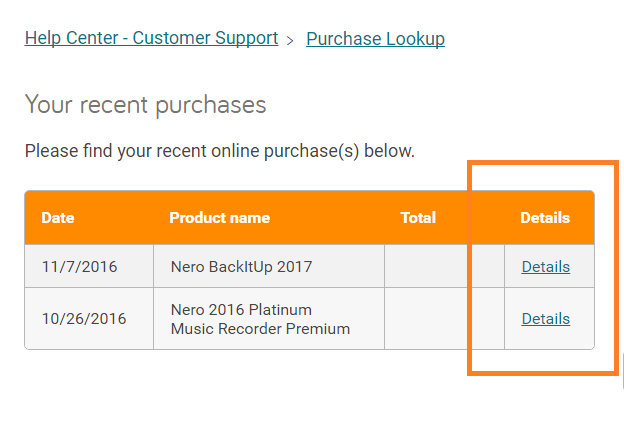
If you are logged in, the next page will show your recent purchases on the next page.
Click on the “Details” link to check your order details, including the purchase serial number.
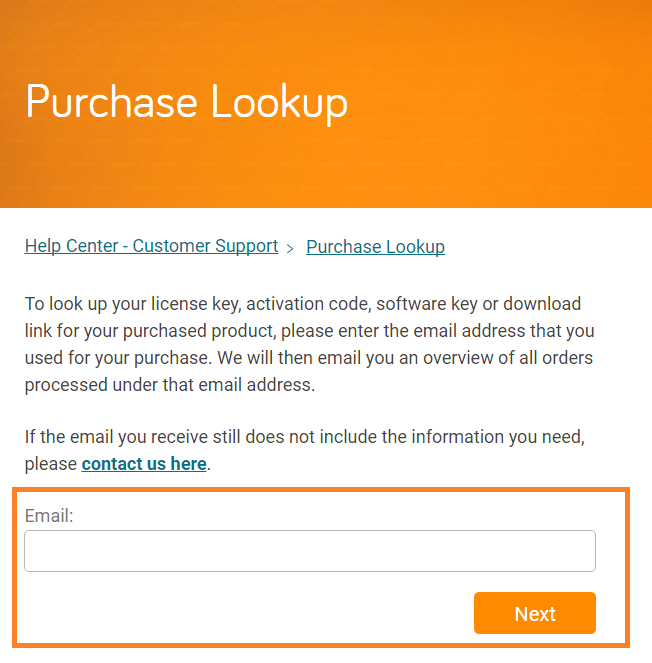
If the page does not show your recent purchases, enter your Email address that you used for your purchase. Your purchase history and detailed information will be sent to you by Email.
Please be noted that, this help center is managed by our cart provider and product or technical questions will not be read, forwarded, or answered.
Where can I find previous (older) versions?
Go to www.nero.com and select the versions you are looking for,.
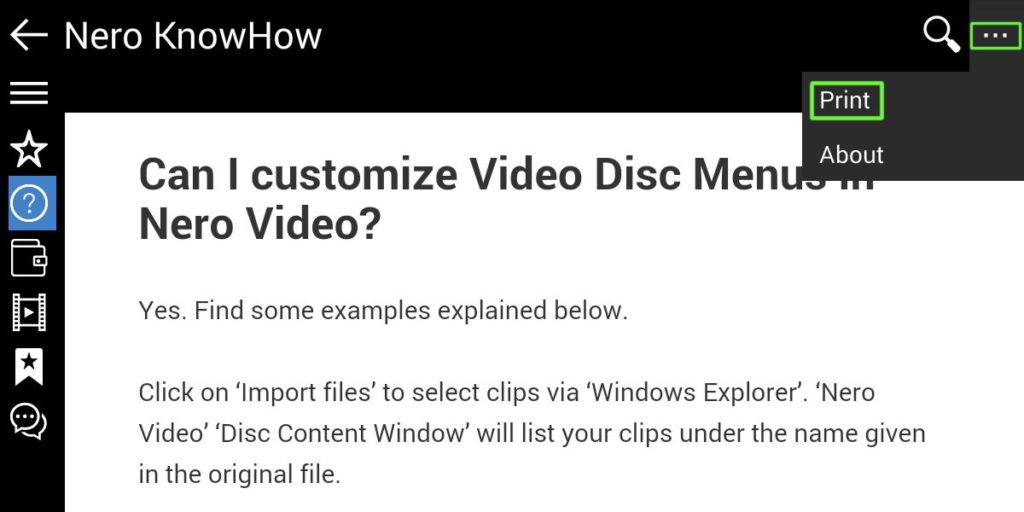
Starting from Nero KnowHow App version 1.0.11 you can print documents and pages. The printing function is available within the following modules: Nero FAQ, Nero Manuals, and Nero Glossary.
Make sure you are viewing content from one of the three modules mentioned above. To print out a special FAQ topic click on the FAQ headline to open the related page only.
To activate printing go to the top menu and select the three dot icon. Then select ‘print‘.
Depending on your used device an internal printing dialog or a web browser based printing dialog will open. Follow the instructions and settings within the dialog to continue printing.
Please note that Nero KnowHow only opens the printing interface availabe on your device. Selection of printing options is owned by the given printing interface of your device. Please make sure to understand the printing functionality and options of your device and in case check the availability of a network printer before making use of the print button in Nero KnowHow App.
Via the print function you can also print documents to PDF. For printing documents to your preferred cloud service you need to set up a cloud service accees point accordingly.
Note: when printing via a cloud print service you may see a message like ‘Print Spooler not available’. This may be caused by a faulty cache handling of your device. With the following steps you can do a workaround:
1. Open Settings > Apps
2. Find the application ‘Print Spooler’
3. Click the button ‘Clear data’
4. Open ‘Nero KnowHow App’ and try to print again
Once ‘Music Recorder’ was installed with your Nero Platinum product and you open ‘Music Recorder’ you will see ‘Enter activation code’ at the bottom of the user interface. Type in your activation key here and ‘Music Recorder’ will automatically become ‘Music Recorder Premium’ with all Premium features enabled.
If you have an earlier version of Nero Platinum that already included ‘Music Recorder’ installed on the same PC, and your ‘Music Recorder Premium’ account is already activated, you do not need to do this again for a later version.
In some cases it may happen that ‘Music Recorder’ will still show ‘Music Recorder Premium’ advertising. In this case please proceed with the following steps.
Click the ‘Upgrade’ button within ‘Music Recorder’ user interface. An upgrade page will open
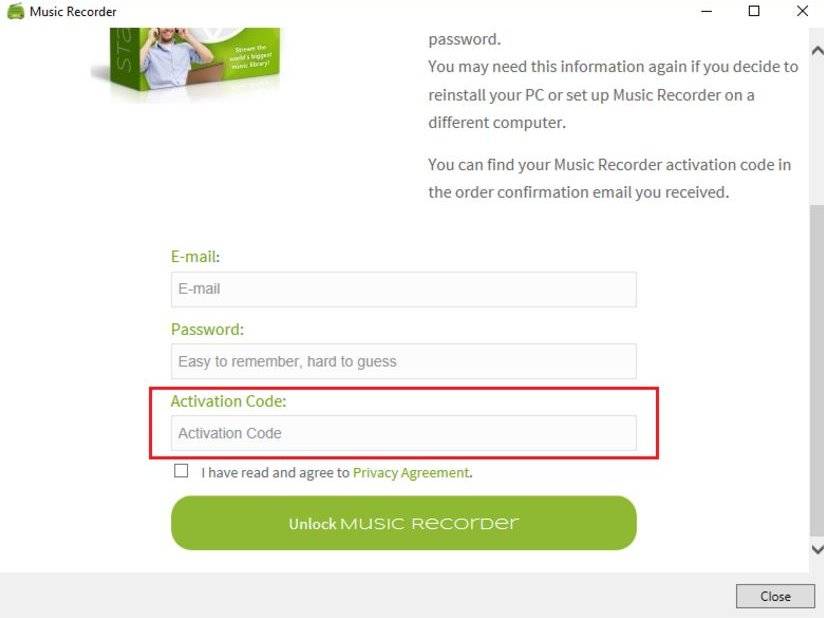
On this page click the link ‘I purchased Nero Platinum and have a Music Recorder activation code’. The ‘Unlock Music Recorder now’ page will open
Enter your e-mail address and password to register the activation code
Now, enter your activation code into the ‘Activation Code’ box
Then, click the ‘Unlock Music Recorder’ button to connect ‘Music Recorder Premium’ to your e-mail address.
Once you unlocked ‘Music Recorder’ will automatically become ‘Music Recorder Premium’ with all Premium features enabled.
In case the auto-login does not work, simply sign in manually, using the same e-mail address and password you provided to register your activation code.
Nero KnowHow App is an easy to use digital learning guide that helps you make best use of your Nero products. It combines individual learning modules into one unique Nero learning toolkit. It is available for the PC (Windows 10) and all mobile device platforms.
You can make use of the following modules:
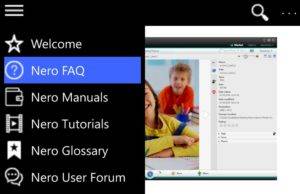
‘Welcome’ – latest and greates Nero product news ‘Nero FAQ’ (frequently asked questions) – answers, tips and trick for your use cases ‘Nero Manuals’ – full manuals for your Nero applications ‘Nero Tutorials’ – more than 50 video tutorials easily accessible for indidivual applications ‘Nero Glossary’ – explains individual terms and related use cases ‘Nero User Forum’ – access to Nero End User Forum
Nero KnowHow can be used indpendantly of having a Nero product installed, but full value will be gained when the latter is the case. Having a Nero 2017 product installed (suite & standalone) you can access Nero KnowHow via Nero Launcher as well via the ‘KnowHow’ menu in the individual applications.
Once the app was launched it gives you a selection for the modules on the left hand side. This can be extended or just used in icon view. In small mobile UIs this menu bar can be made visible by touching the three lines top left.
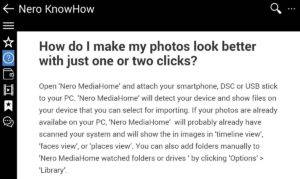
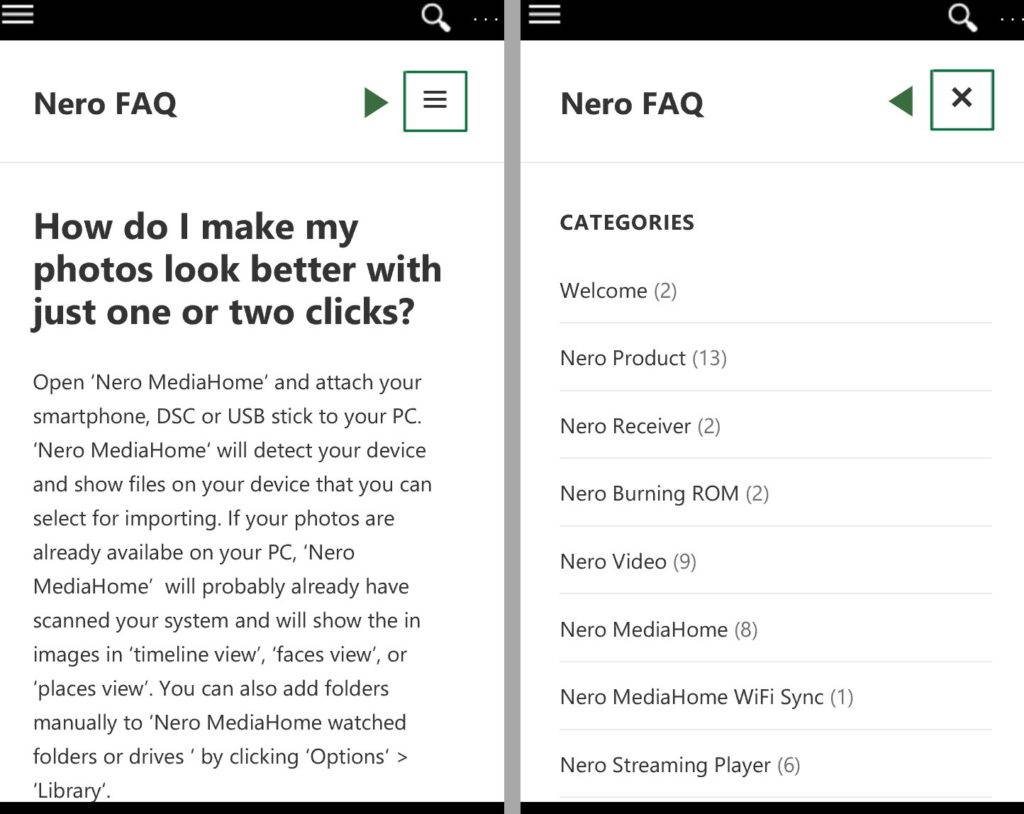
A great new resource is the FAQ section. In here you find individual blogs per application which are grouped to categories. Recent post and top ten posts give you an idea of latest and most viewed blogs. In the mobile app UI you need to touch the ‘three line icon’ top right to open the browser with such entries. To go back to the blog list jsut click on the ‘X’.
The search field can also be used for typing in a so called ‘web code’. Each FAQ blog has a dedicated web code. So if you find a Nero ‘web code’ mentioned in a ‘Nero User Forum’ entry, in magazines or other public pages just type in this code and Nero KnowHow will get you straight to the answer you are looking for.
Please note: you need to be connected to the internet to make use of Nero KnowHow App.