Are you worried that your important files could get lost or might be unusable on your local PC due to hard disk errors, or hazardous events like storm or fire? Do you want to schedule backups of several folders or files in different locations, or want to restore files from your online storage to the local PC?
From version 2019 Nero BackItUp supports to backup and restore via Google Drive online storage. The new online copy feature, will easily backup your local files to Google Drive or restore from Google Drive.
This FAQ deals with the Google Drive online backup feature. For the restore feature, please check Nero KnowHow…
Backup to Google Drive works similar to the existing backup job process.
- Select a backup job type for the backup job
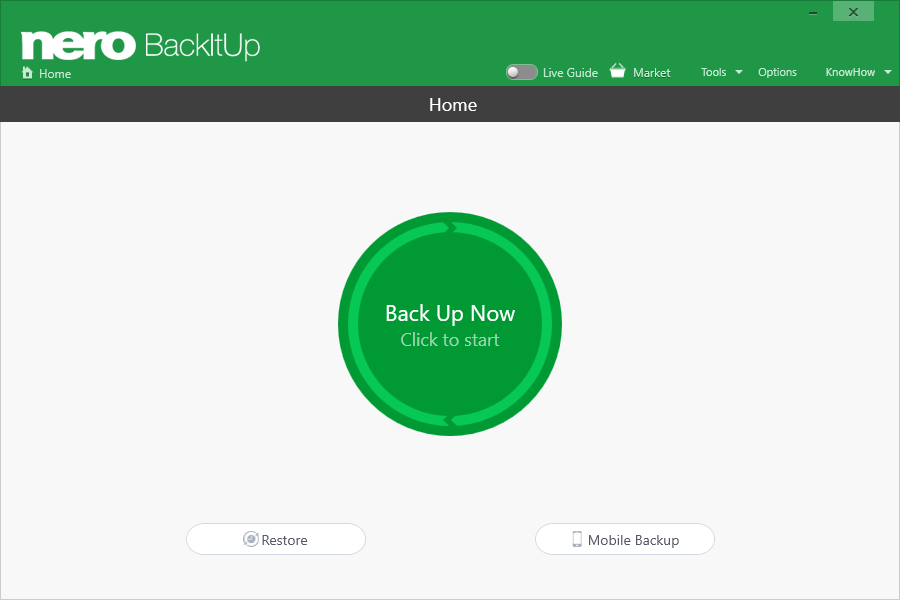
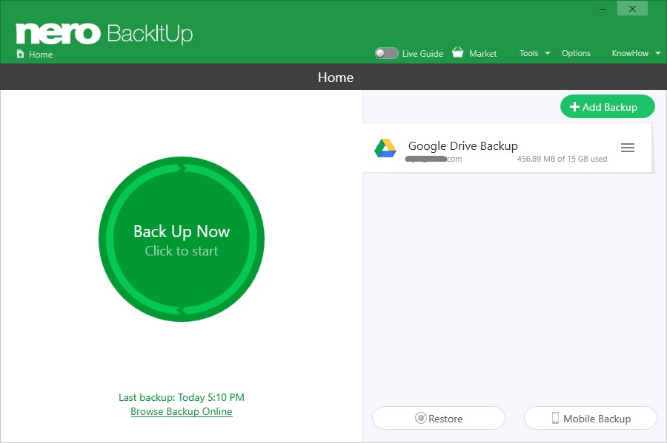
Open Nero BackItUp main screen. If you have never created a backup job, click the big green button “Back up Now”. If you have already had backup jobs, then click the button “Add backup” at the top-right, and start to create a new backup job.
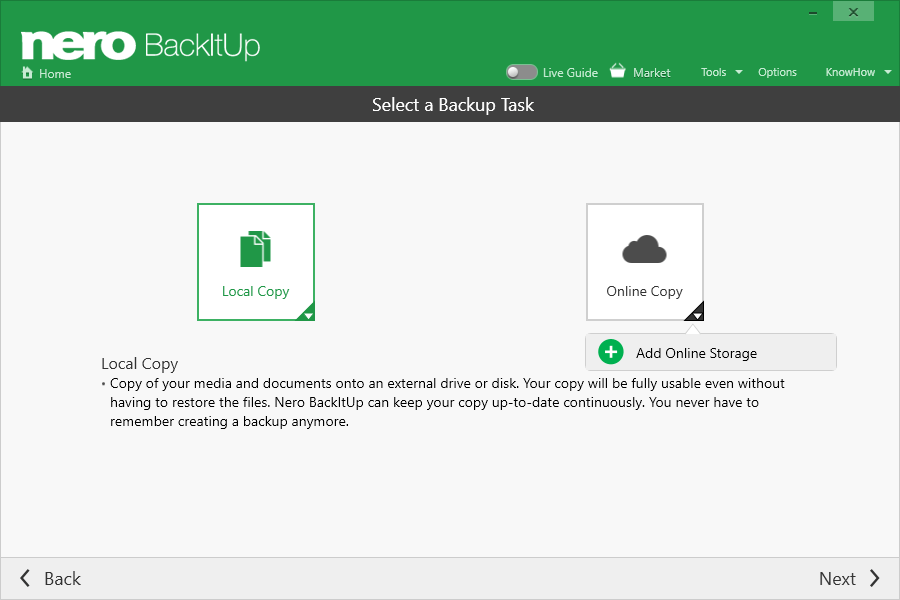
Select “Online Copy”, in the pop-up menu. It will show the online storage account to which you are currently logged in. You can also login to a new account via “Add Online Storage”.
For the time being, Nero BackItUp supports the two most prominent online storage services: Microsoft OneDrive and Google Drive.
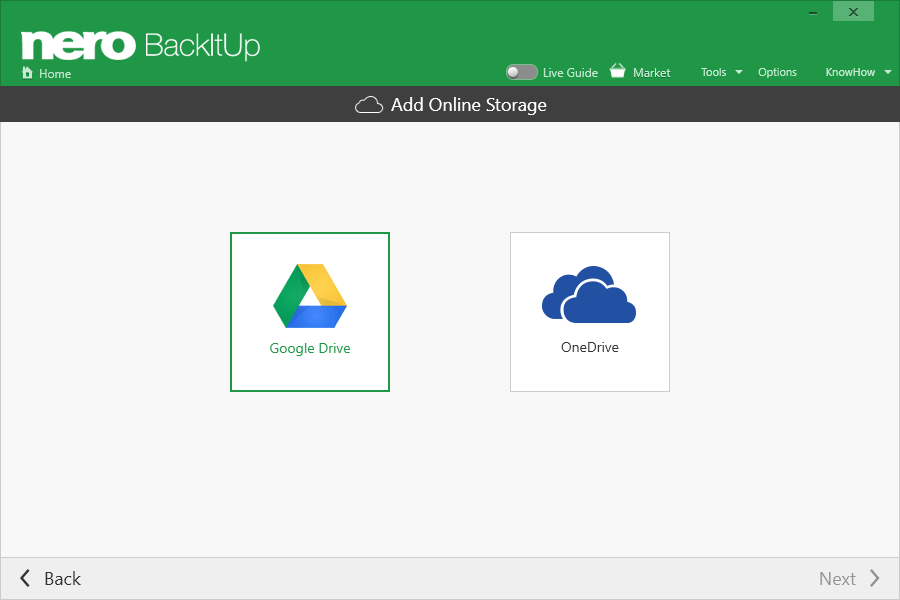
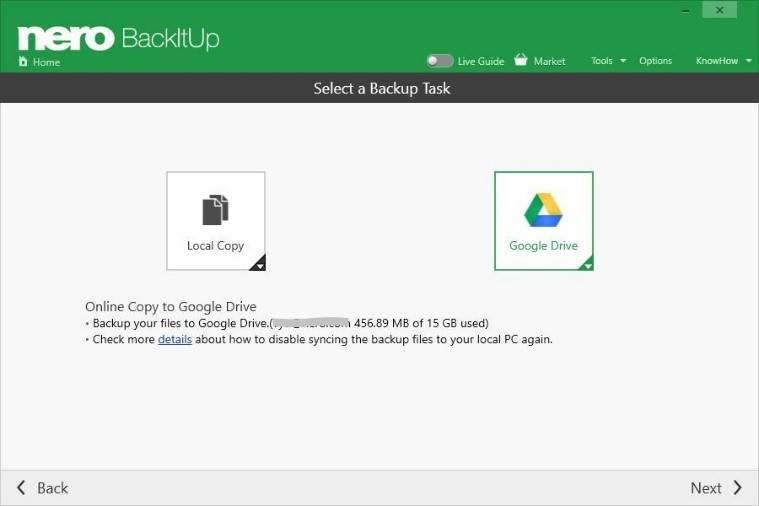
Click the button “Google Drive” to select Google Drive as the backup target.
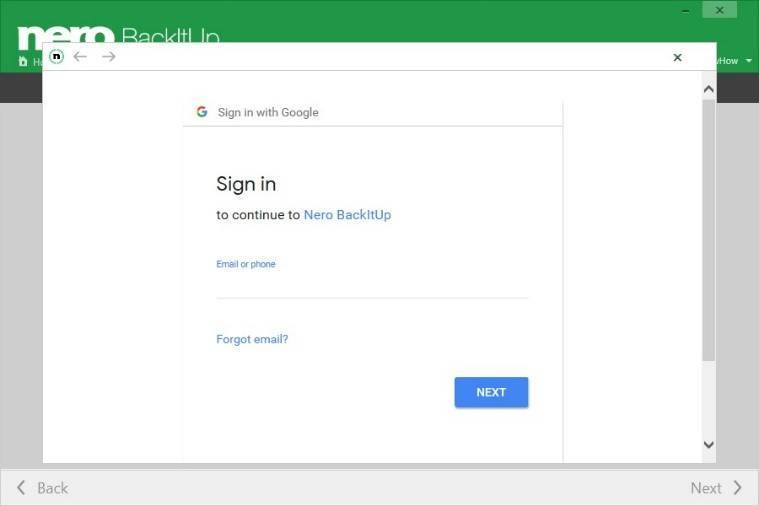
- Login and accept the related request for permission
In the pop-up dialog, please input your Google Drive account login and password.
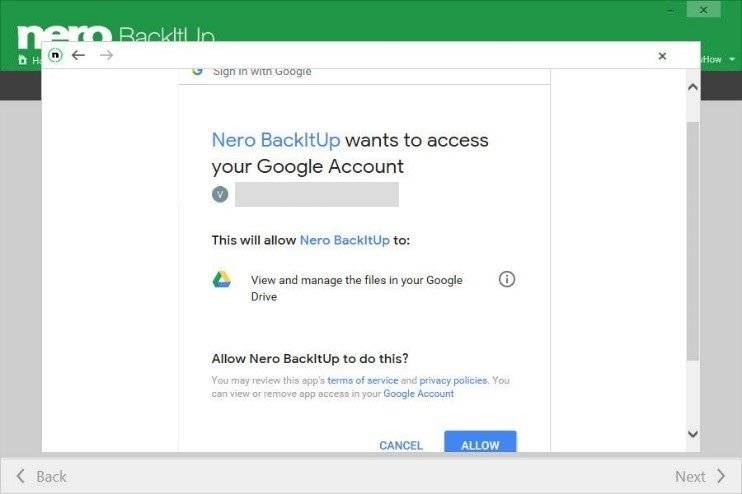
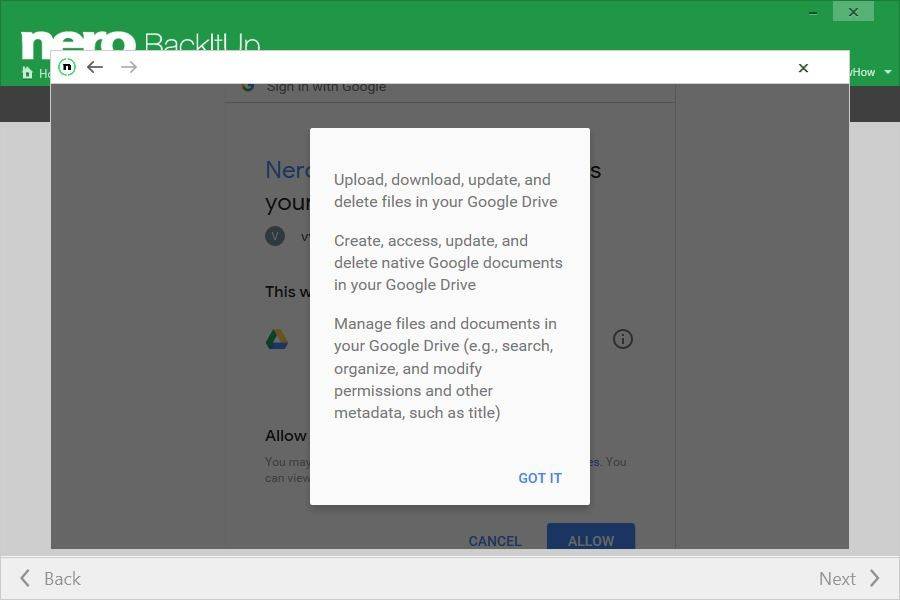
After having logged in successfully, you will see a request for permission, which you need to approve by clicking on the “Allow” button.
Once this is done, Nero BackItUp will switch back to the “Backup Task” screen. Your account info, and storage information will be shown in the screen.
- Select your backup source for the backup job
Click “Next” and you can select your backup source for the backup job.Nero BackItUp provides two types of backup source selection: Automatic Selection and Customize Selection.
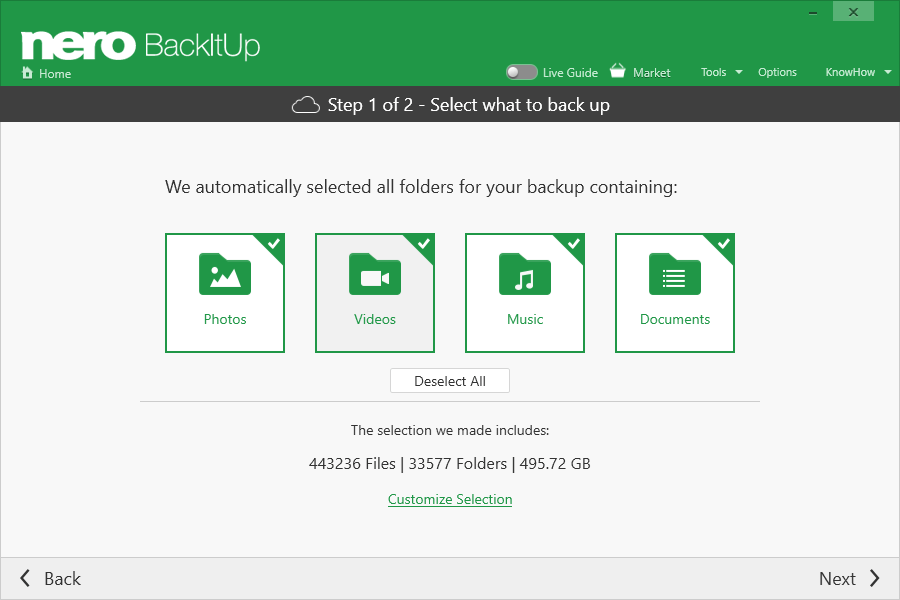
In Automatic Selection mode, Nero BackItUp will quickly scan your PC, and auto-select the folders based on the media types, that you can select via the four selection boxes. After the scan is done, Nero BackItUp will calculate the total number of files and folders, and at the same time calculate the total file size. This type of selection mode is easier to use with higher efficiency for beginners, or for users who want to do a full backup.
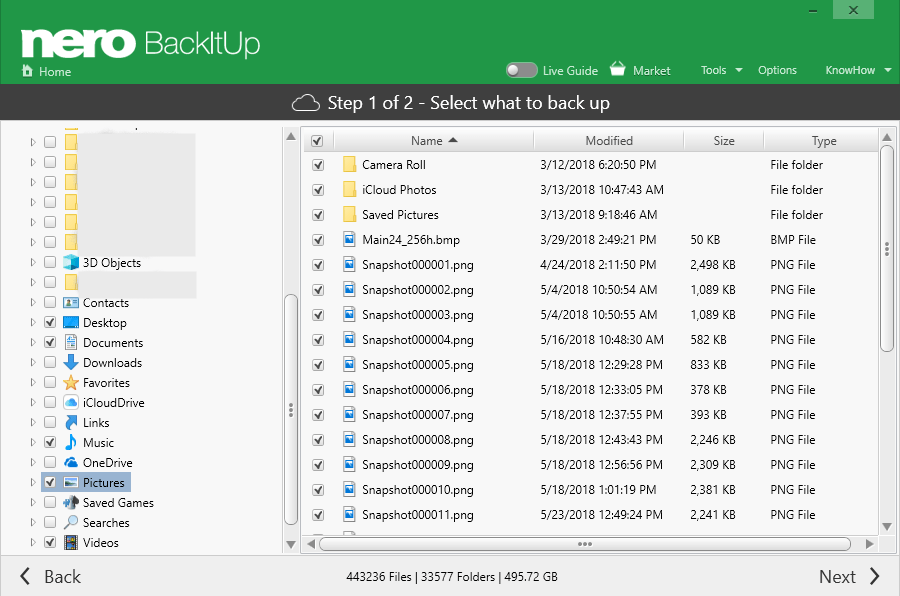
If you want to customize your backup source, click on the “Customize Selection” link below, where you can manually select your backup source(s).
- Change backup timing option for the backup job
After you have selected the backup source, click “Next” and change the timing option for the backup job.
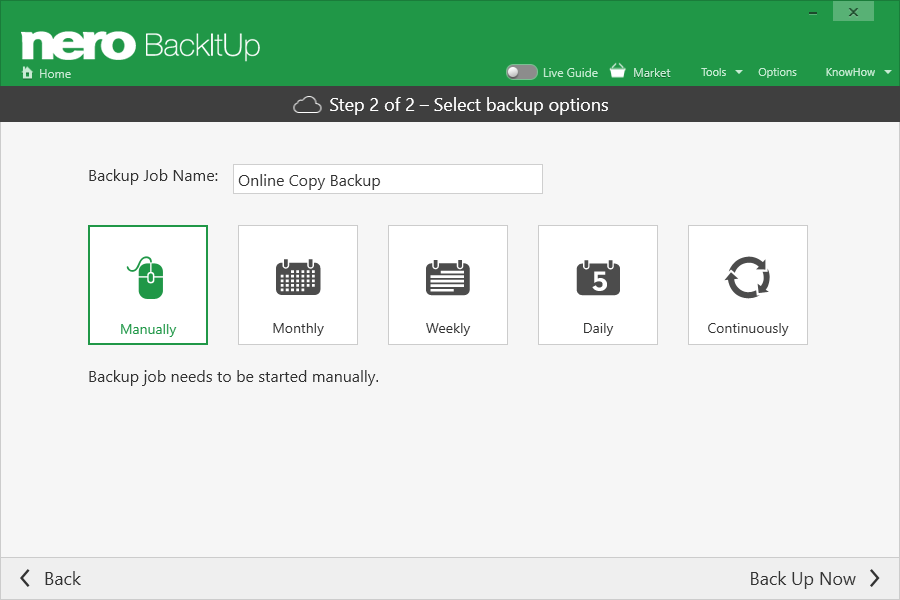
You can enter a dedicated name for the backup job and can select between five different types of scheduled backups.
Tip!
If you want to make sure to always backup the latest files to Google Drive, it is better to select “Continuously”.
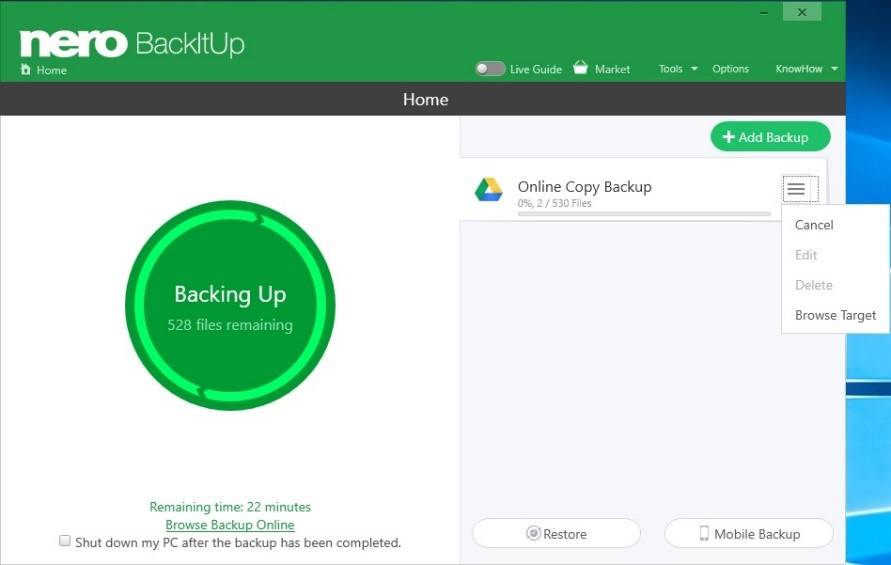
- When everything is set, click the button “Back Up Now”. Nero BackItUp will switch back to the Home Screen, and the newly created job starts immediately.
Tip!
Nero BackItUp only supports backing up to or restore from one Google Drive account at a time, but in fact you can create multiple backup jobs for one Google Drive account. So if you have created several jobs for one Google Drive account, these will be processed sequentially.
If you want to backup to or restore from a different Google Drive account, just click on the Google Drive button again. In the pop-up menu click “Log Out”, and the current login account will be disconnected. Then login to another Google Drive account and repeat the above procedures.
Nero KnowHow 00128