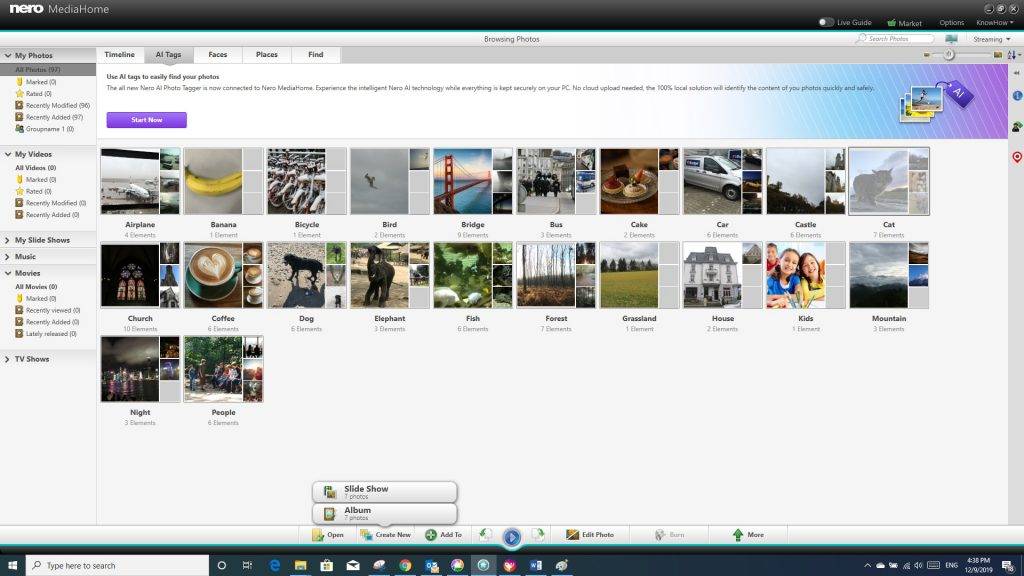
AI tags will help you to find the right image from many snapshots, fast and easy.
- Nero MediaHome can make your AI tags even more powerful.
The all new Nero AI Photo Tagger is connected to Nero MediaHome. Now, via AI tags, you can more easily manage your photos in Nero MediaHome. All of your information are saved at local, securely.
You can start Nero AI Photo Tagger inside of Nero MediaHome. Nero AI Photo Tagger will analyze all photos in your MediaHome library. Nero MediaHome also will load the AI analysis result for all photos automatically. Now you are not only able to browse photos by different AI tags, you can also create slide shows, albums, etc. by AI tags.
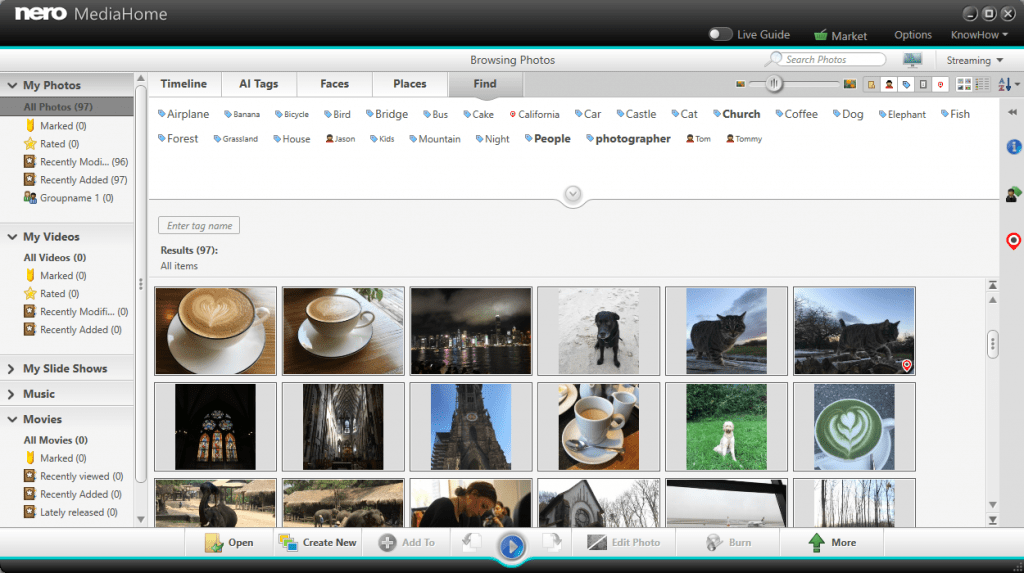
In Find view, you will find out your photo extremely easy if you combine AI tags with existing Face and Place information. For example, I captured some photos for a little cat during my trip to California. Now, I would like to find them. I only need to:
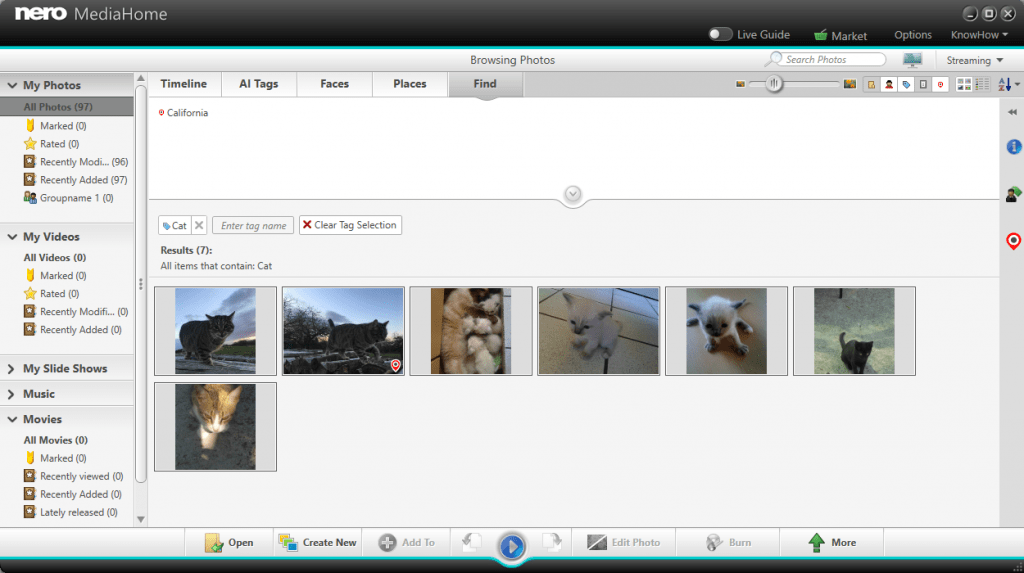
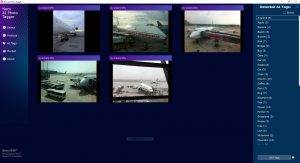
1. Select the ‘Cat’ tag in Find view > Nero MediaHome will list all photos which are tagged as Cat:
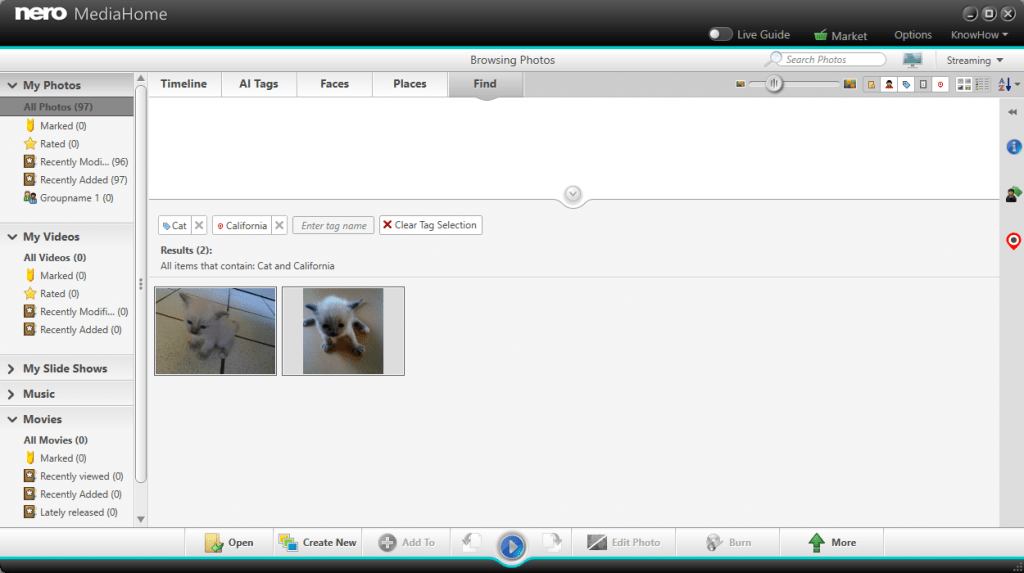
2. Select the Place of ‘California’ – now I find the photos!
You also can directly view your photos via AI Tags at mobile phone. From Nero Streaming Player, AI Tags view is available for Nero MediaHome streaming server now!
1. Start Nero MediaHome at your PC. Start Nero Streaming Player at your mobile. Please make sure that your PC and mobile are connected to the same Wi-Fi network.
2. Your Nero MediaHome will be listed under ‘Play from PC & NAS’. Select ‘Nero MediaHome’.
3. ‘Timeline’ is the default view for your Nero MediaHome. Clicking the ‘Timeline’ title bar will list all views for your selection. (iOS & Android)

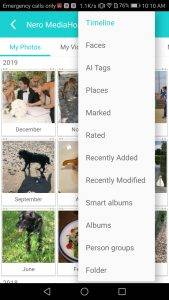
4. Clicking ‘AI Tags’. (iOS & Android)


Now you can view your photos based on AI Tags and stream them to big screen to share with your families.
- In Windows Explorer, how to use AI tags to find the right photo from many files?
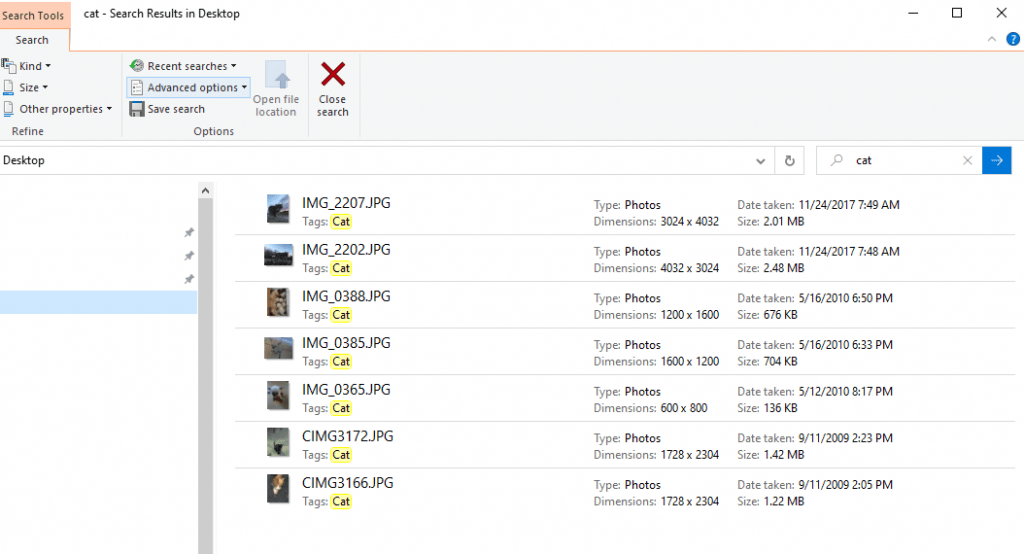
After you got the analyzed AI Tags, you can save all or some of them to your JPEG/JPG photos. Then in Windows Explorer, you will see the saved AI tags are listed:
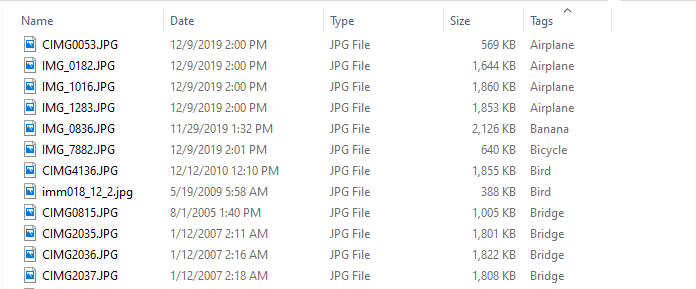
If the ‘Tags’ is not by default enabled, please enable it from Windows Explorer title bar.
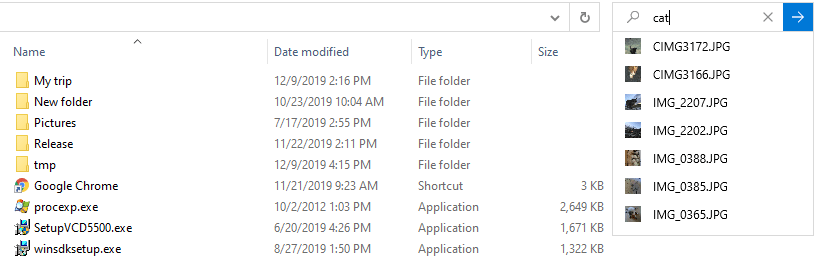
Now, you can input the AI tag as keyword to search photos. For example, if I would like to find one photo with ‘cat’, I just need to input ‘cat’ into Windows Explorer ‘search’ area. Windows Explorer will list all photos with ‘Cat’ tag.
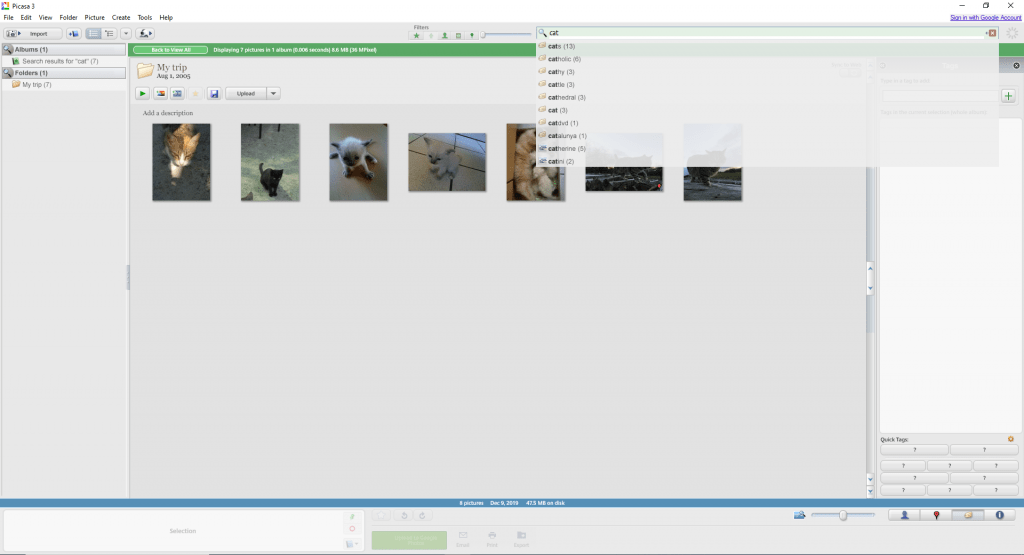
- AI tags also bring convenience to other photo management software
If you saved the AI tags to your JPEG files by Nero AI Photo Tagger, it will also bring convenience while you are using other photo management software. For example, if you are using Picasa to manage your photos, you can input ‘cat’ in the search area, then all your ‘cat’ photos will be listed:
Nero KnowHow 00215