Yes, this is possible with some workaround. By default, Nero Video cannot support customized menus created with Nero Vision in Nero 9. Please follow the steps mentioned below. This should work identically for self-created menu templates from Nero Vision Xtra (Nero 10).
Copy your customized Disc Menu from Nero 9 located in folder “C:\Users\<User>\Documents\NeroVision\Templates\CE” to “C:\Users\<User>\Documents\NeroVideo\Templates\CE” which is used for Nero Video 2019
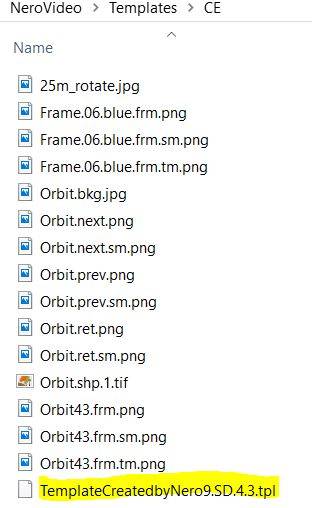
1. Navigate to each disc menu folder, and find a file with extension “*.tpl”. (below example shows folder “This PC\Documents\NeroVideo\Templates\ CE \ 1\ TemplateCreatedbyNero9\SD.4.3”)
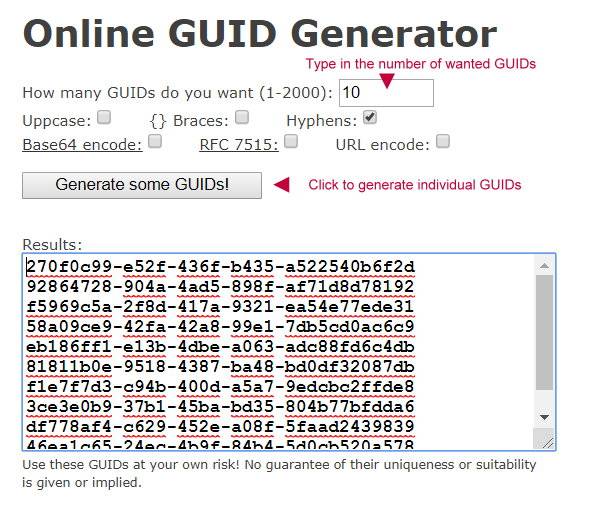
 2. The *tpl file is an xml file where you need to add a global unique identifier (GUID) so that you can open it in Nero Video. Please access this website https://www.guidgenerator.com/online-guid-generator.aspx, follow the two steps in the screenshot below, and copy one of the GUIDs (each line below represents a GUID).
 3. Right click on the *tpl file of the menu that you have moved into “… NeroVideo\Templates\CE” before and select to edit it with Windows text “Editor”.
4. Click on an empty space after the entry “<metadata>” (4th element in the line).
5. Insert a new string “<GUID>{******}</GUID>”
6. Paste your GUID into the brackets {******}. This will read like e.g.:
 7. Save the file and restart Nero Video
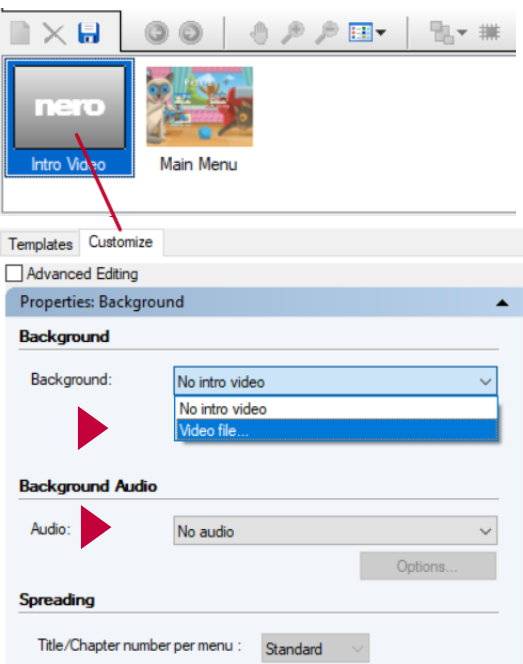
8. Open the template in Nero Video menu selection page under “My menu templates”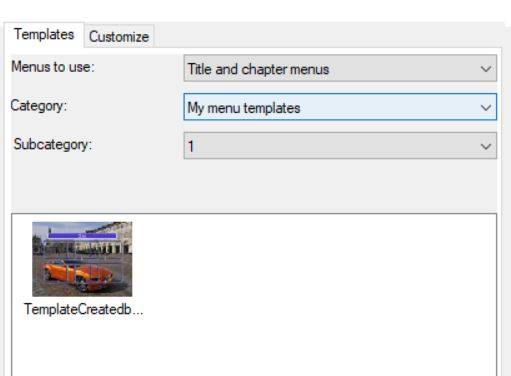
9. Do this for each menu you want to handover from Nero Vision to Nero Video
Nero KnowHow 00162

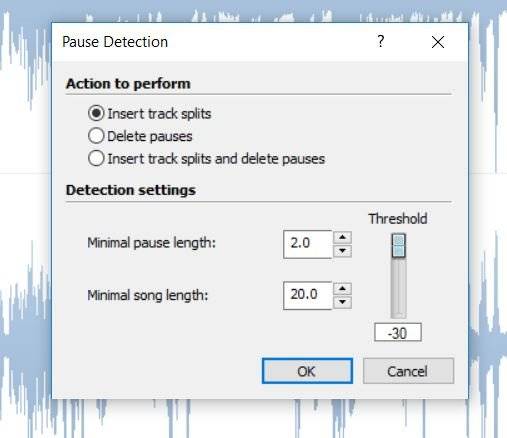 2. Do it manually
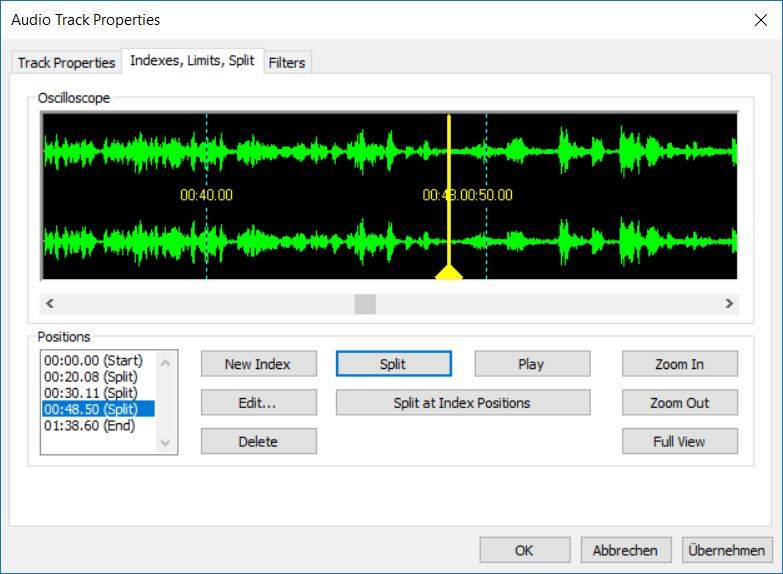
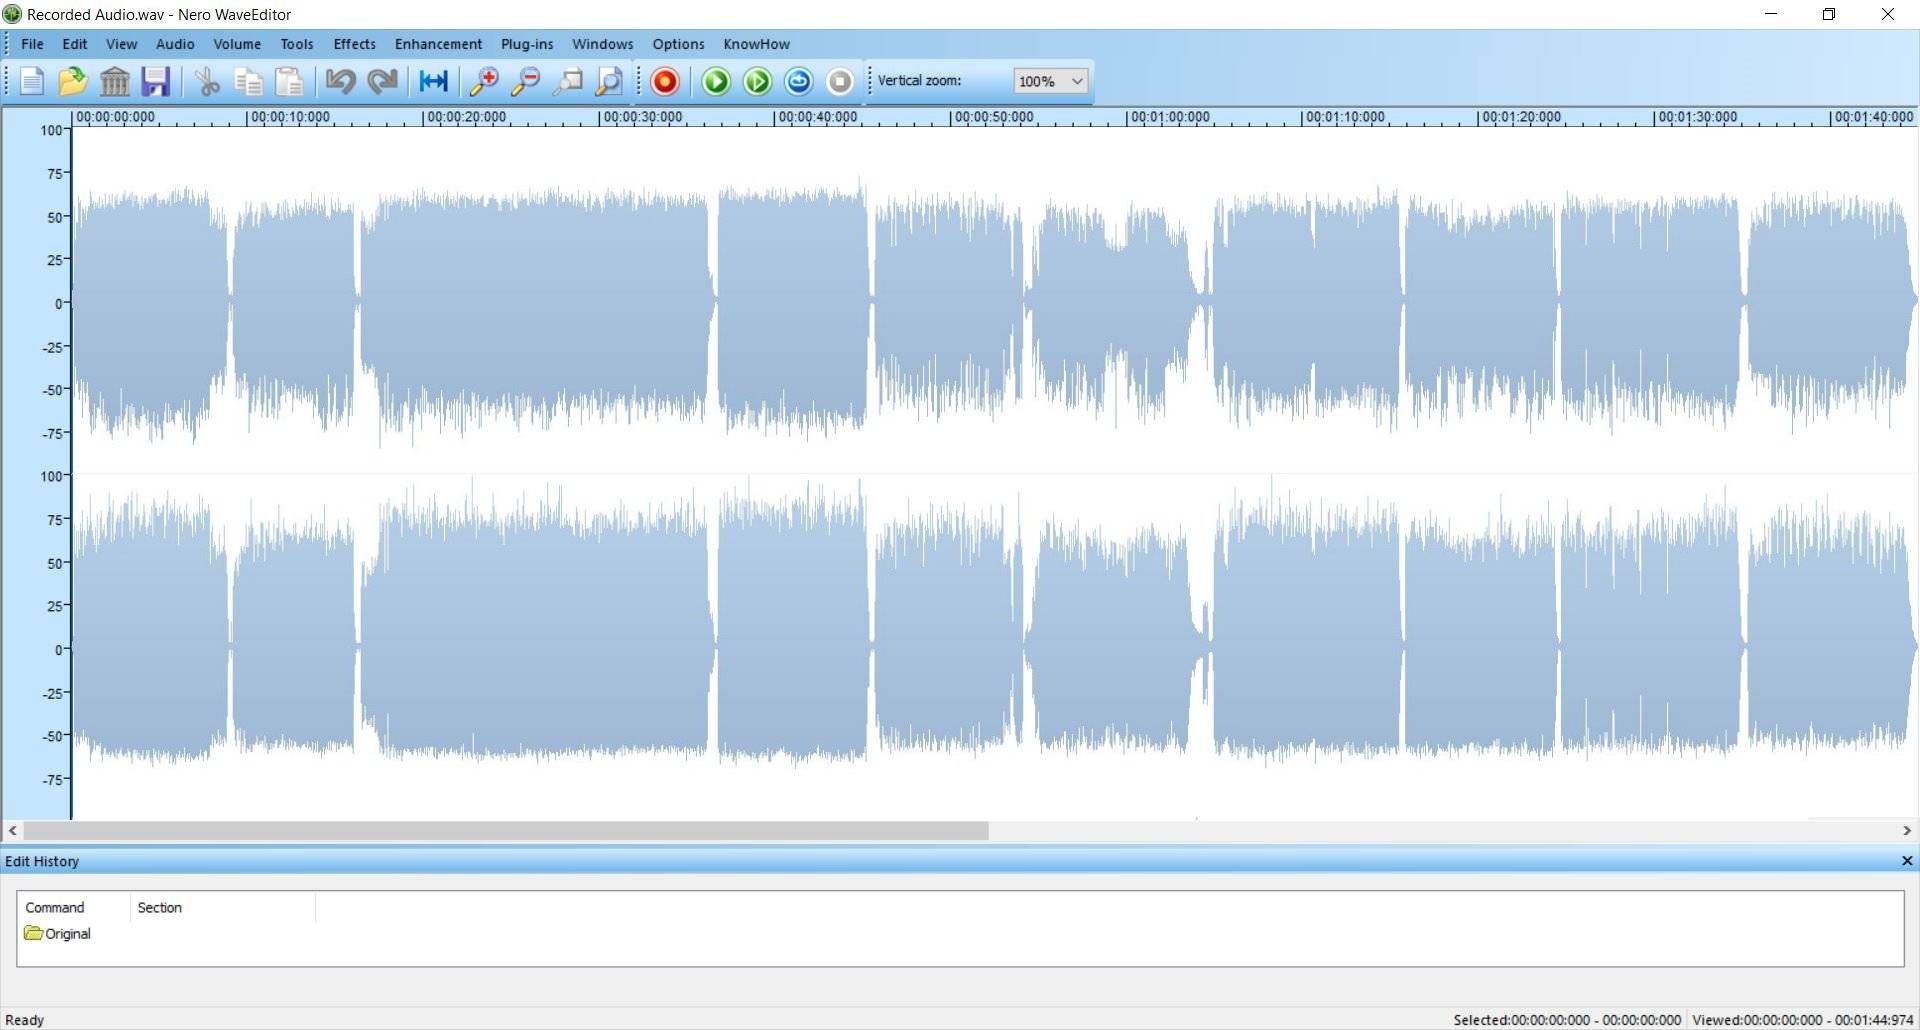
 For checking each split, zoom in to see the detailed waveform view. If you are not satisfied with the position, just touch the set track split with the cursor and move it slightly left or right. You can also use this function after you have added track splits automatically.
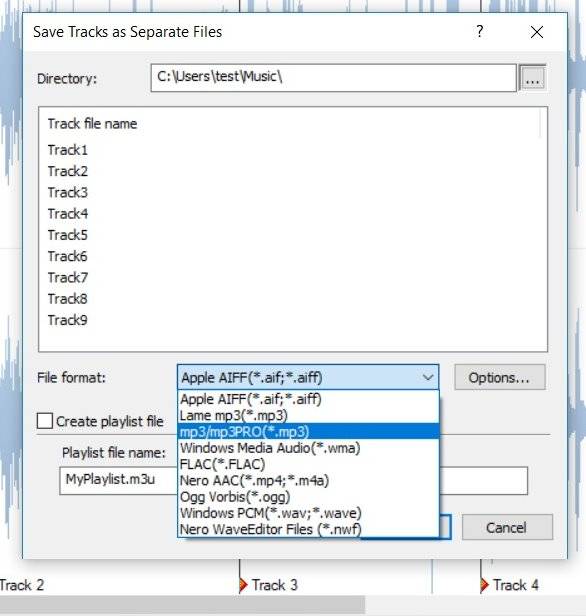
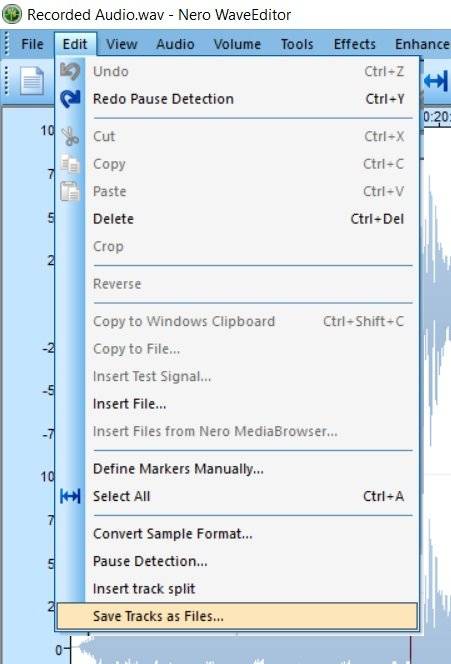 In the coming up window, you can rename your tracks manually. Within the selectable audio file formats for export, you have many options: besides MP3 and AAC even lossless formats. Select the folder where you want to save your files and click ok.