I want to create a 16:9 DVD but my Movie shows black Bars at the Top and Bottom. What can I do?

You are probably making use of a CinemaScope movie format in 21:9 or similar, but the regular DVD widescreen format is 16:9.

In order to be able to create a DVD and watch this format without black bars at the top and bottom, you need to scale this to your 16:9 format via Nero Video editing, first. Just be aware that you will cut off some image information at the left and right rim of the image.

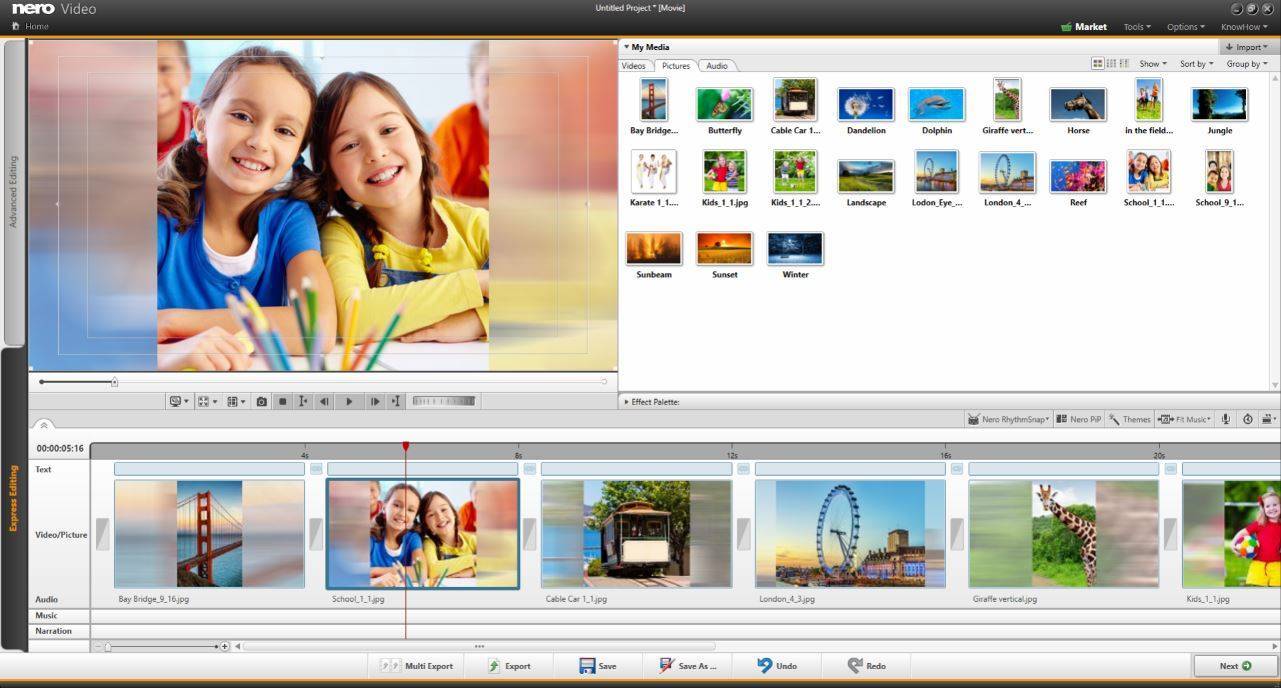
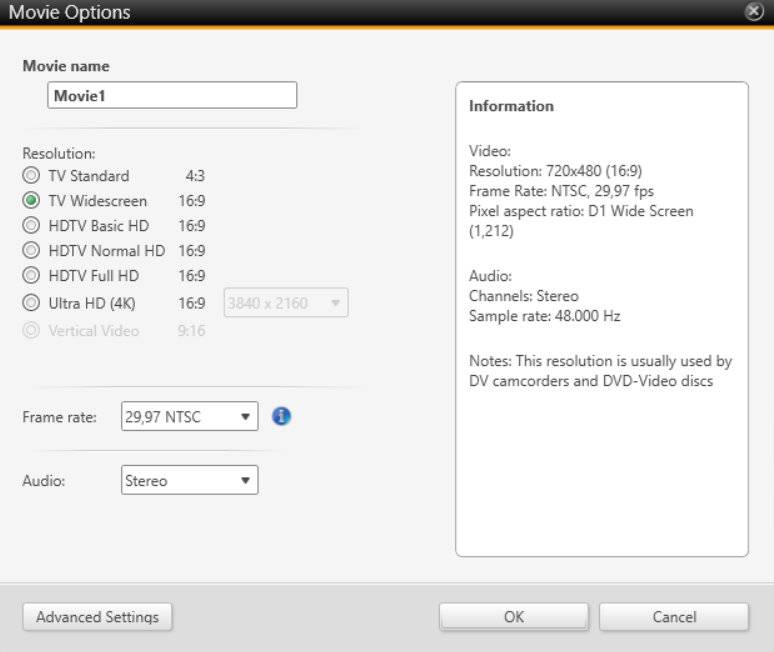
Open an editing project via ‘Make Express Movie’. Check your project format under the top menu ‘Options > Movie Options’, and select ‘TV Widescreen’.

Movie Options

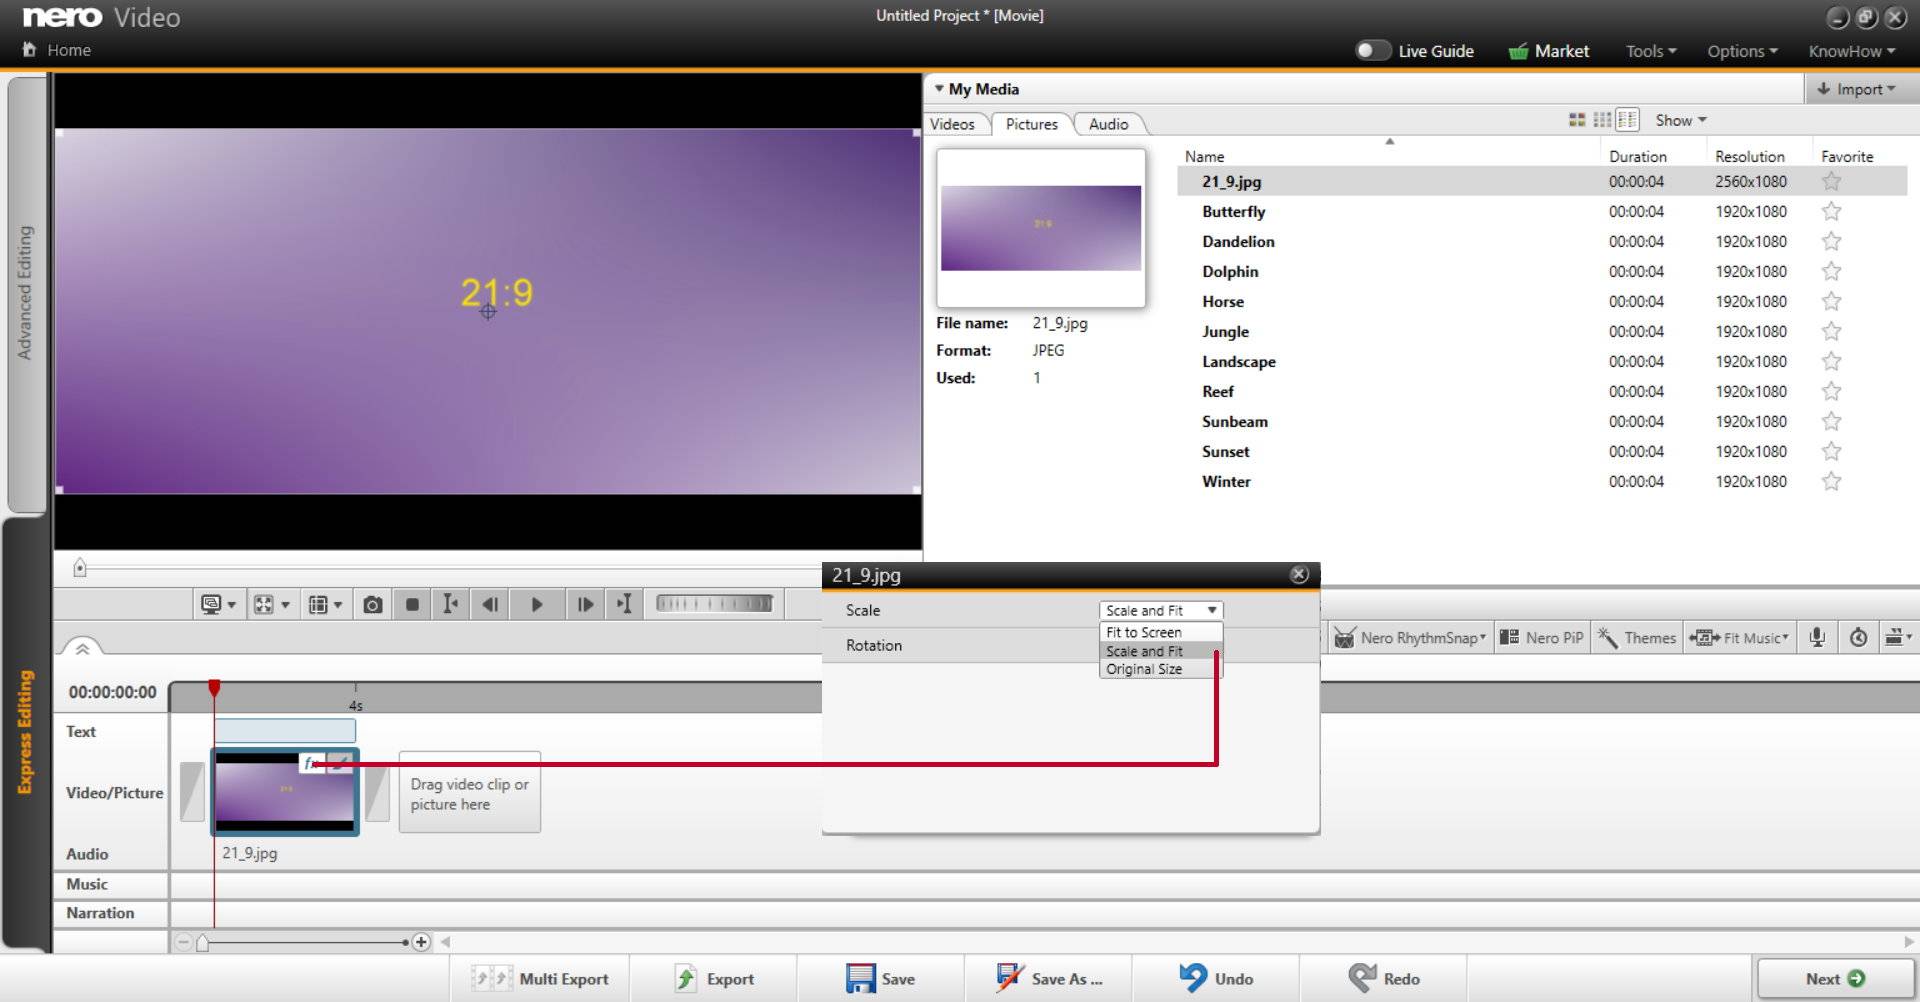
Import your movie and add it to the timeline. Put the mouse over the timeline thumbnail and a hover selection will open. Click on ‘fx’ to open the Express Effect window. In there, select the drop down menu under ‘Scale’ and select ‘Scale and Fit’.

change aspect ratiio_1

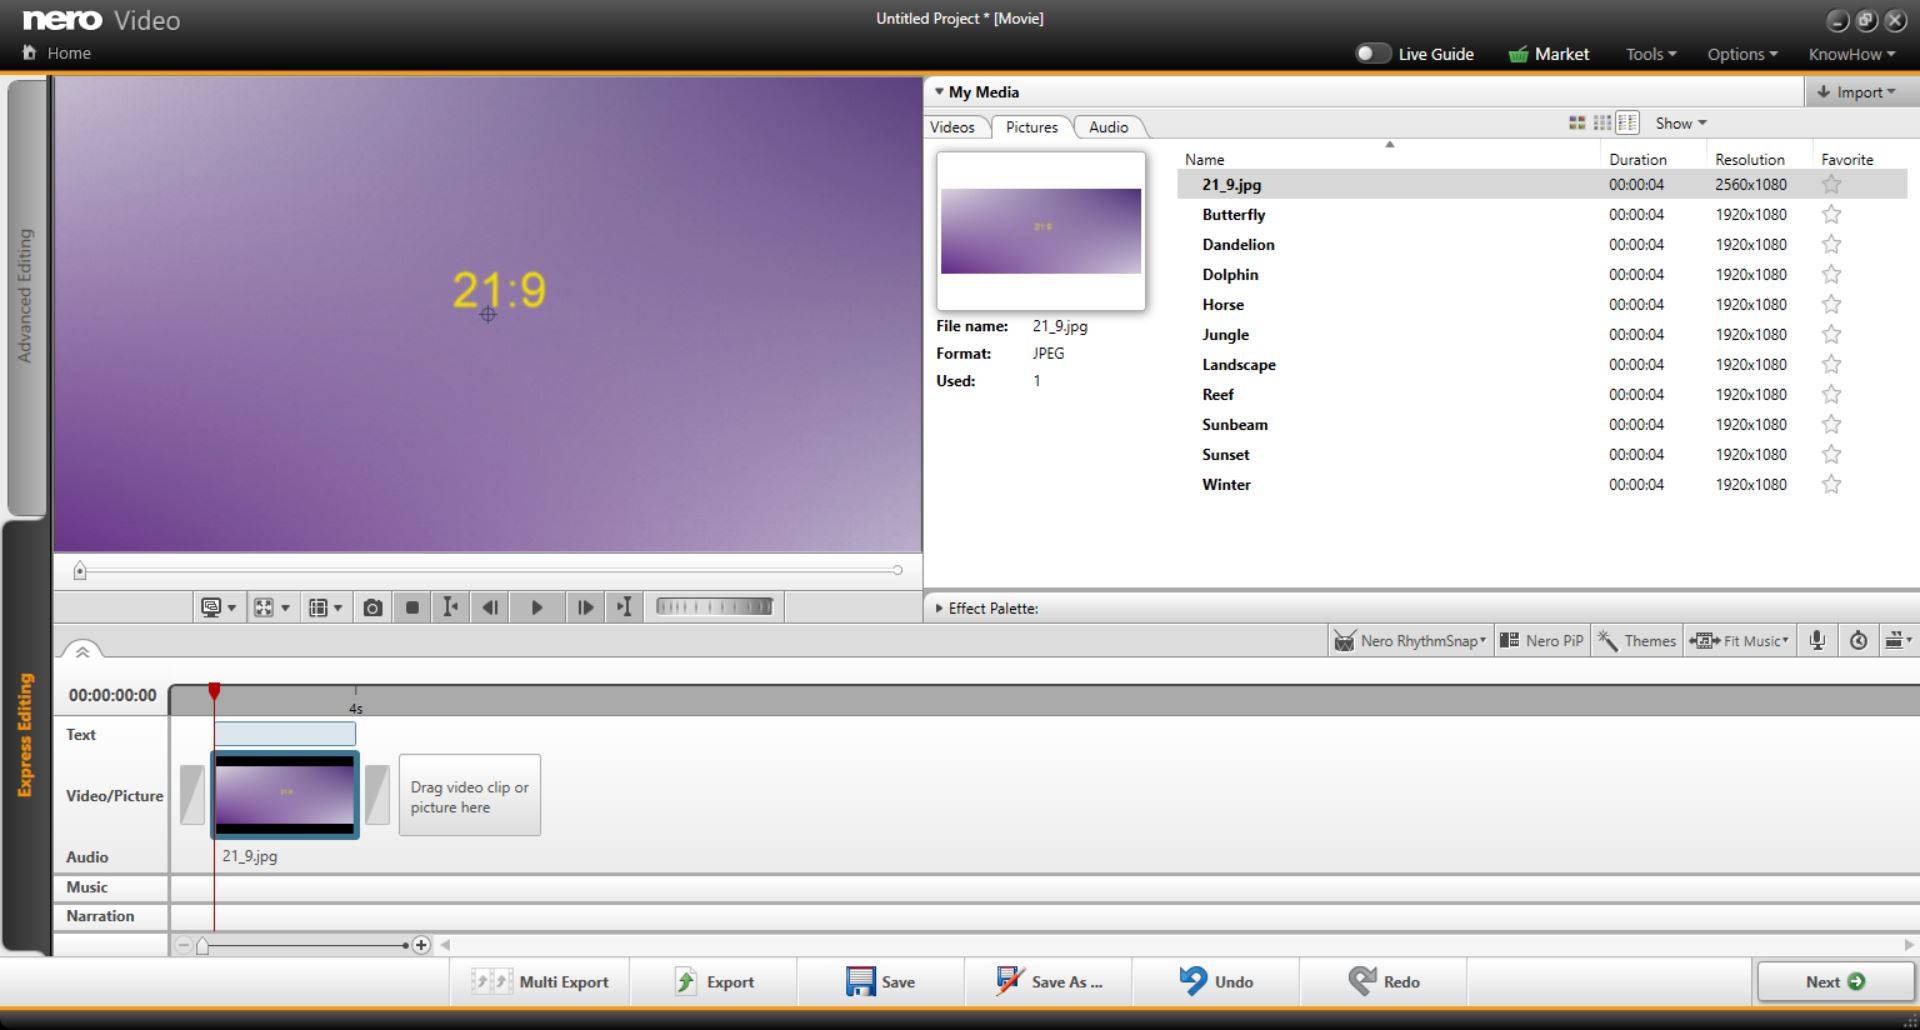
Now your video will match the aspect ratio of your 16:9 widescreen project (just be aware that you will have cut off some image information at the  left and right rim of the image).

change aspect ratiio_2

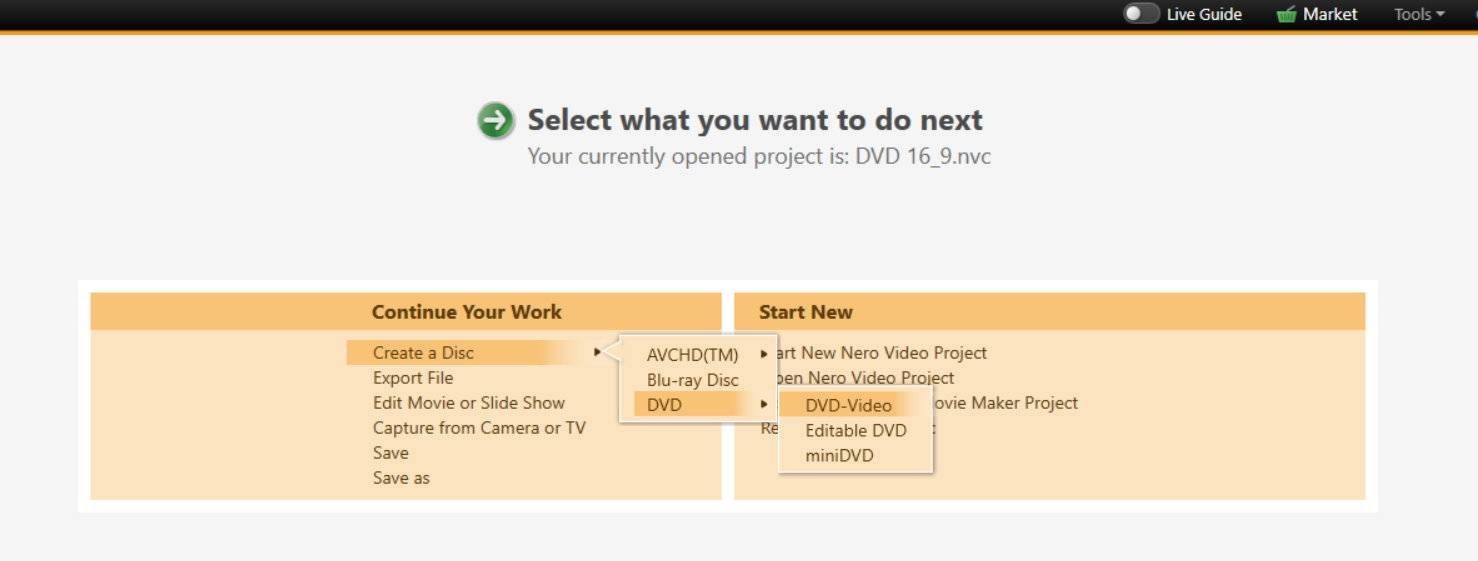
To create a DVD click ‘Next > DVD > DVD-Video’

Create DVD

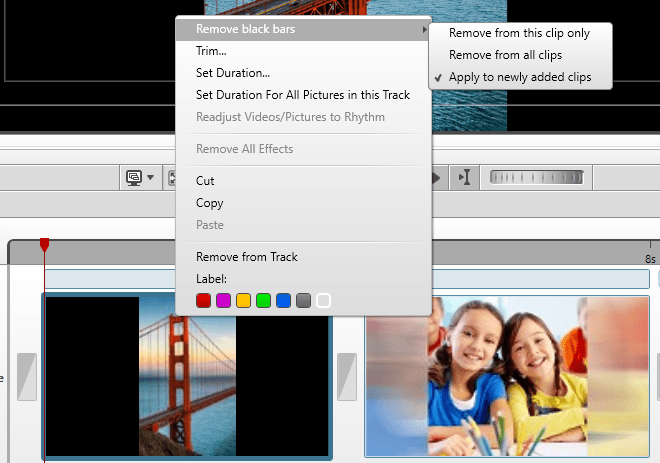
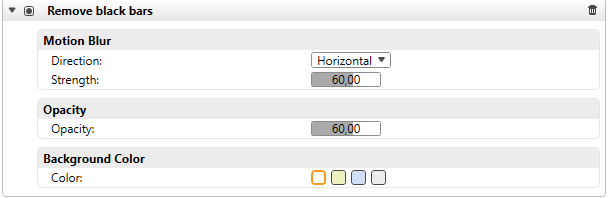
Tip: If you happen to import 4:3 images or videos into a 16:9 project, Nero Video will automatically remove the black bars with auto content generated from your video or image.

aspect ratiio_4_3

Nero KnowHow 00159

In my video projects, I make use of image formats like 4:3, 3:2, 9:16, and 1:1. Does Nero have a solution to fill black bars?

Indeed, it can happen quite frequently that one uses a variety of image and video formats within a 16:9 widescreen video project which do not cover the full width of your video. This way you will see those ugly black bars left and right of your video image.

If you import source clips into a 16:9 Nero Video project that do not have an aspect ratio of 16:9 – like images from your DSC or smartphone in 4:3, 3:2, 1:1, or 9:16 aspect ratio – and you drag & drop these clips to the timeline of Nero Video, now all black bars will be automatically replaced with a mask image taken from the content of your source clip. This great effect is introduced with Nero 2018.

BlackBars_1

This way, all of the clips in your project will have a consistent and nice look and feel. Within the context menu options of each clip (right mouse click), you can decide if you want to have black bars removed from any clip in your project or only for the given one. You can also ‘undo remove black bars’ for each clip individually via button or context menu.

Black Bars3

In advanced editing mode you also have the option to modify shape and color of the mask per clip. Just select a clip and place the timeline cursor over it. Then check the properties windows and open the listed effect ‘Remove black bars’ via the arrow. This window will let you set advanced options.

Black Bars2

Nero KnowHow 00081