In most of the cases, you may buy Nero products directly from Nero official online store including the Nero Start in-app cart. Products will be delivered to your Nero Account when you complete the order automatically. You just need to sign in to your Nero Account and you are ready to go enjoying the products and services immediately.
However, you still have some chances to deal with activation code. E.g., you might buy Nero software in the local retail store. You might subscribe to some PC magazines where we promote Nero software regularly. Or you might subscribe to our Facebook channel where we also promote our software regularly.
In these cases, you will receive the activation code in your email inbox, product packaging covermount or our promotion campaign landing pages.
All you need to do is that sign in to the Nero account in Nero Start. Go to the activation code page where you can enter the activation code manually to redeem the corresponding products.
Remember that such unlock behavior with activation code needs to be done manually.
Followings are the detailed flow for your reference:
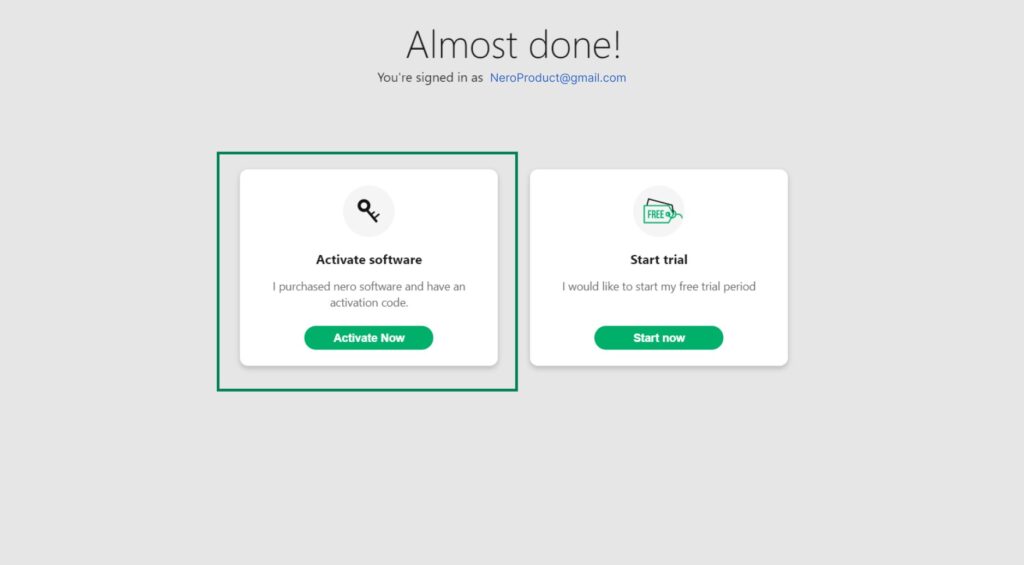
Redeem the activation code right after creating your Nero Account
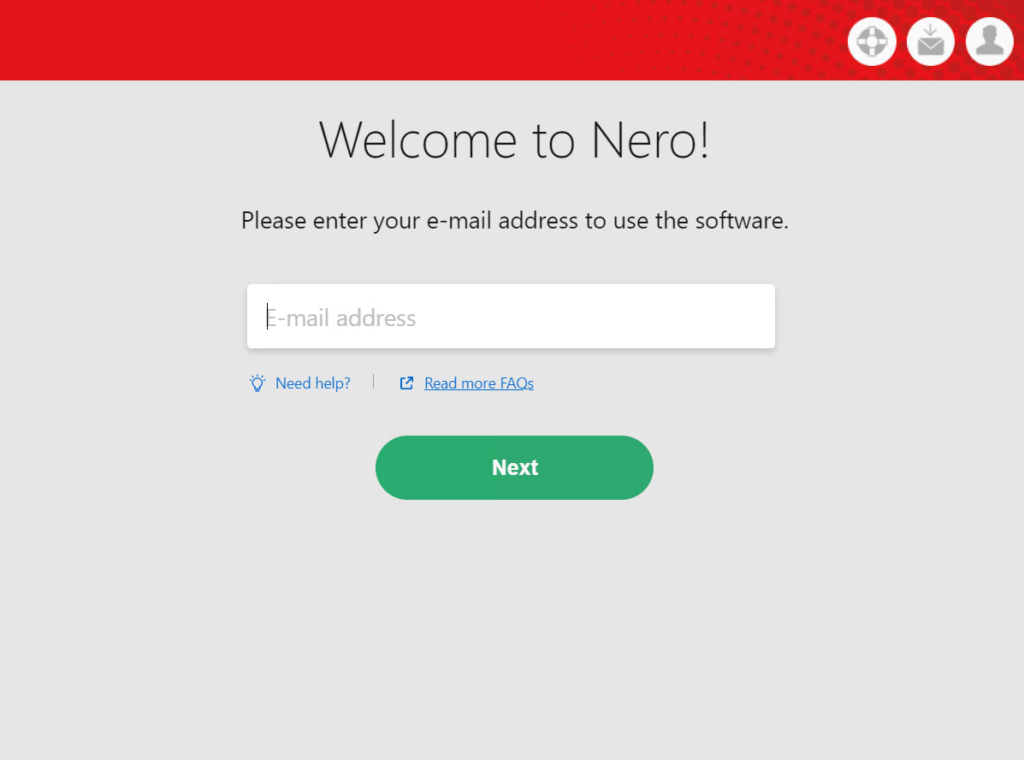
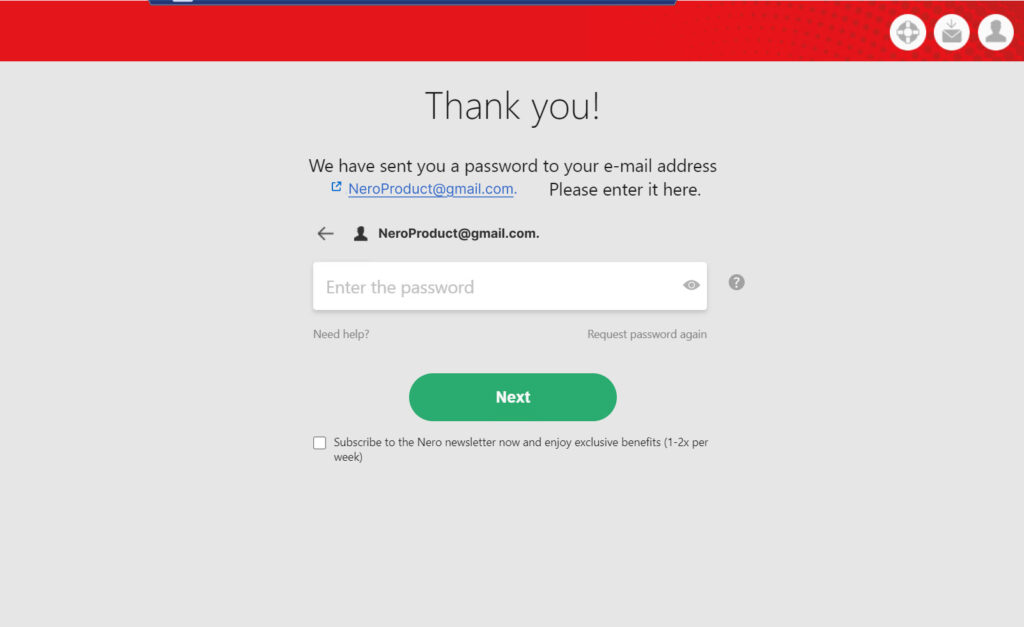
After registering a Nero Account in Nero Start for the first time, you will be guided to the page where you can enter the activation code and unlock the applications and features.
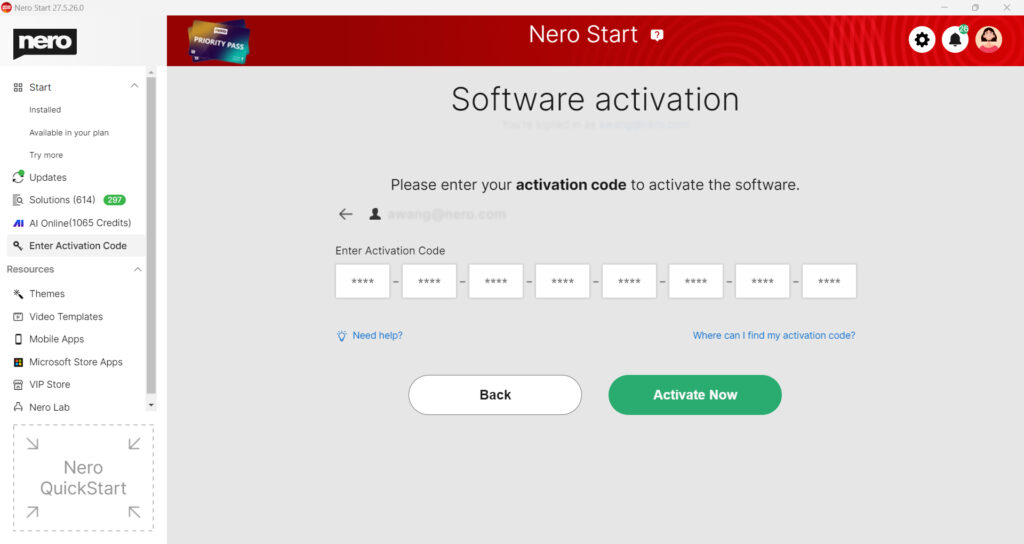
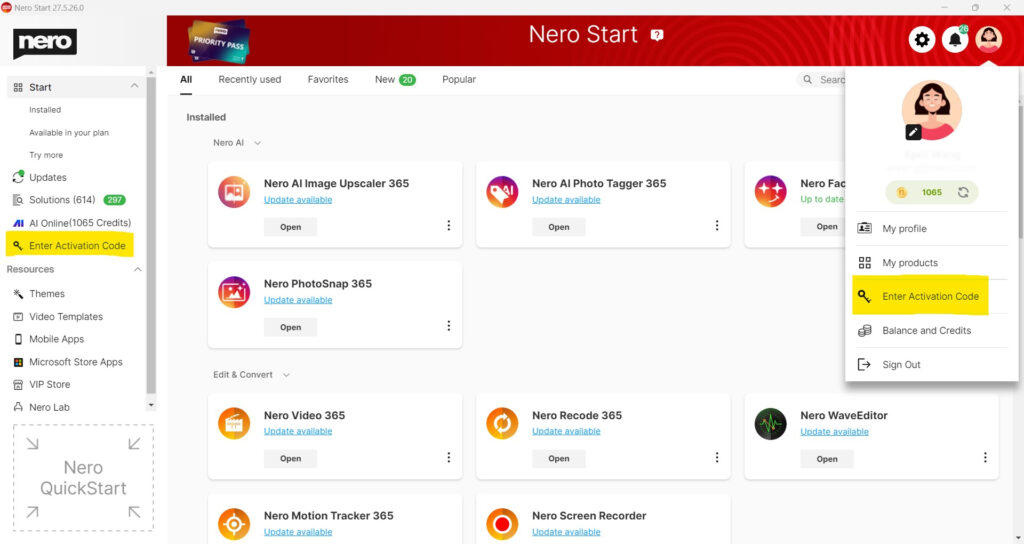
Redeem the activation code in your account settings
You can go to My Nero Account page by clicking on “Enter Activation Code from left panel or Account Settings menu.
Then you can enter the activation code to redeem the product and service. Click on “Activate Now” button to complete.
Checking for Online Updates will get the updates for
The basic components, free applications or Content Packages.
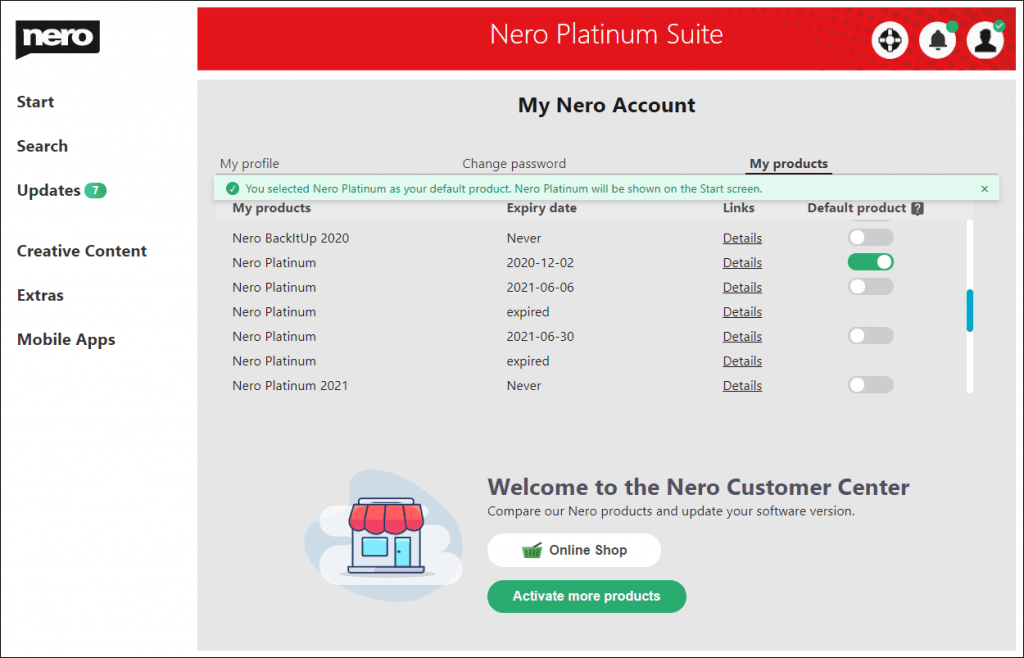
The applications in the product which are selected in the Nero Account -> My product page.
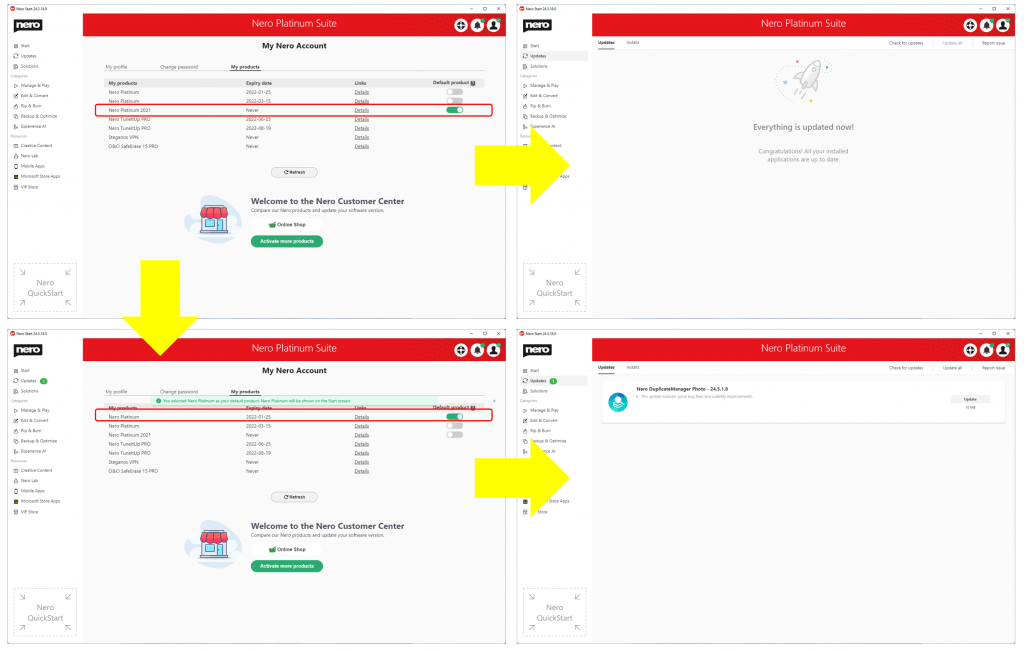
Here is one map guide for you to understand the whole working flow.
Let’s say you have both Nero Platinum Suite subscription and Nero Platinum 2021 available in your Nero Account.
Select Nero Platinum 2021 as the default product.
Then only the updates for installed applications in Nero Platinum 2021 will be listed in the Updates screen.
If you switch to Nero Platinum subscription as the default product.
Then only the updates for installed applications in Nero Platinum will be listed in the Updates Screen.
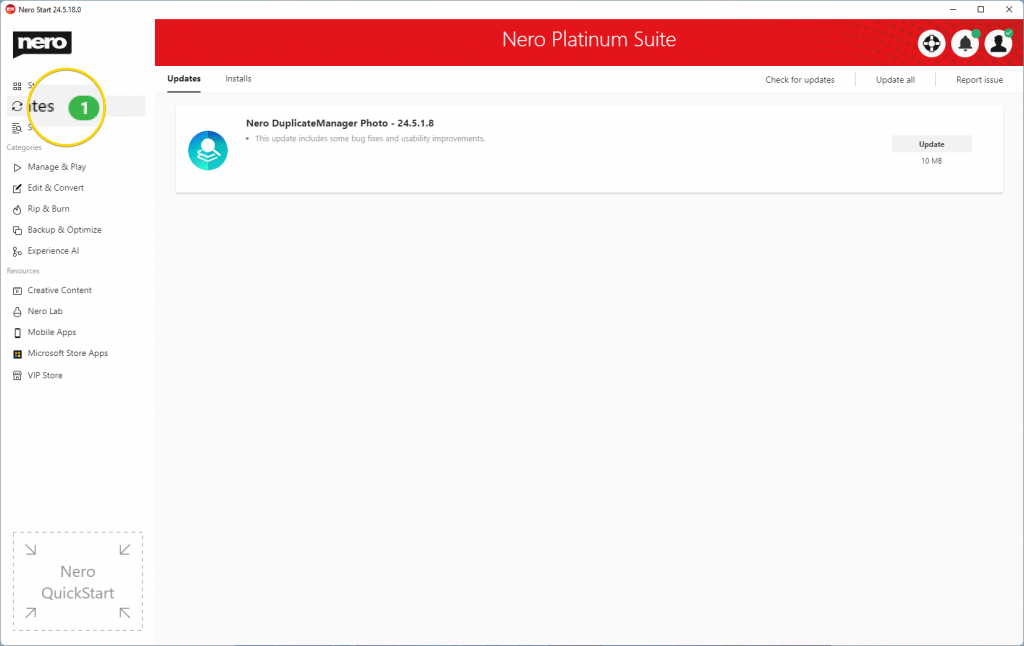
After the check, a number badge will be shown in ‘Updates’ tab in the sidebar menu to indicate that how many applications are available to update.
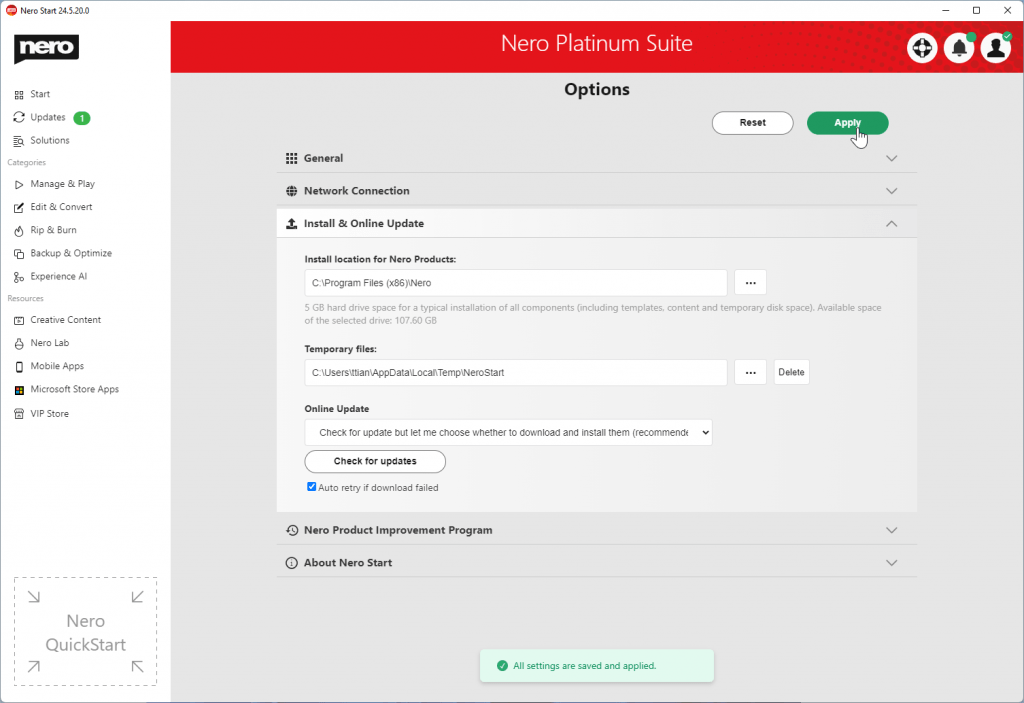
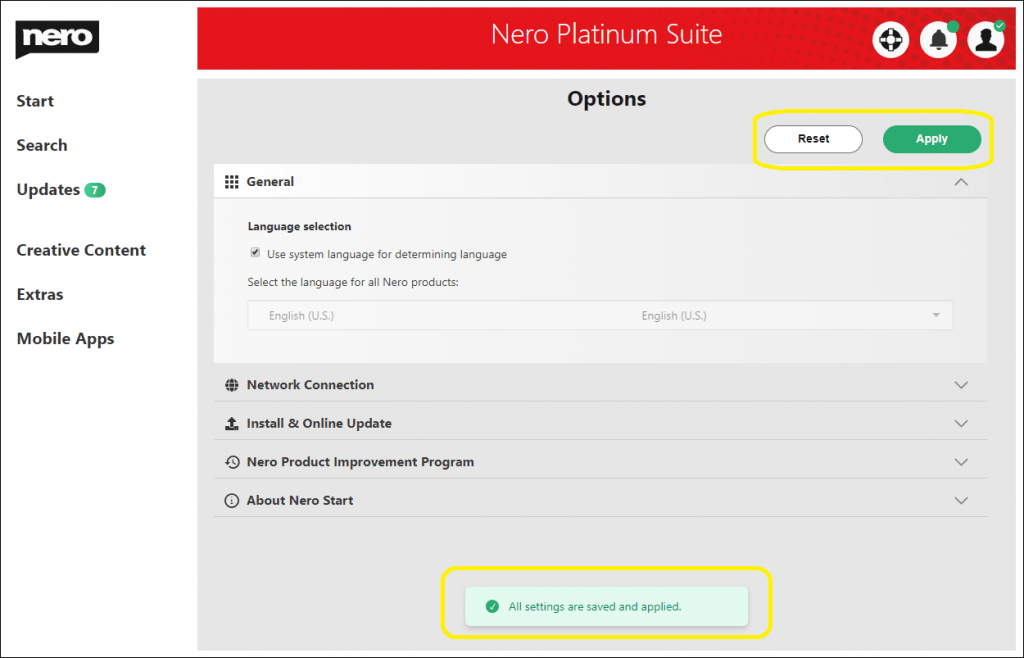
To update the Install & Online Update configuration, click ‘Apply’ in the Options screen for the updated configurations to take effect. For installing or updating, the applications need to run in administrator mode, so a UAC dialog will pop up to get permission while the installation is in progress.
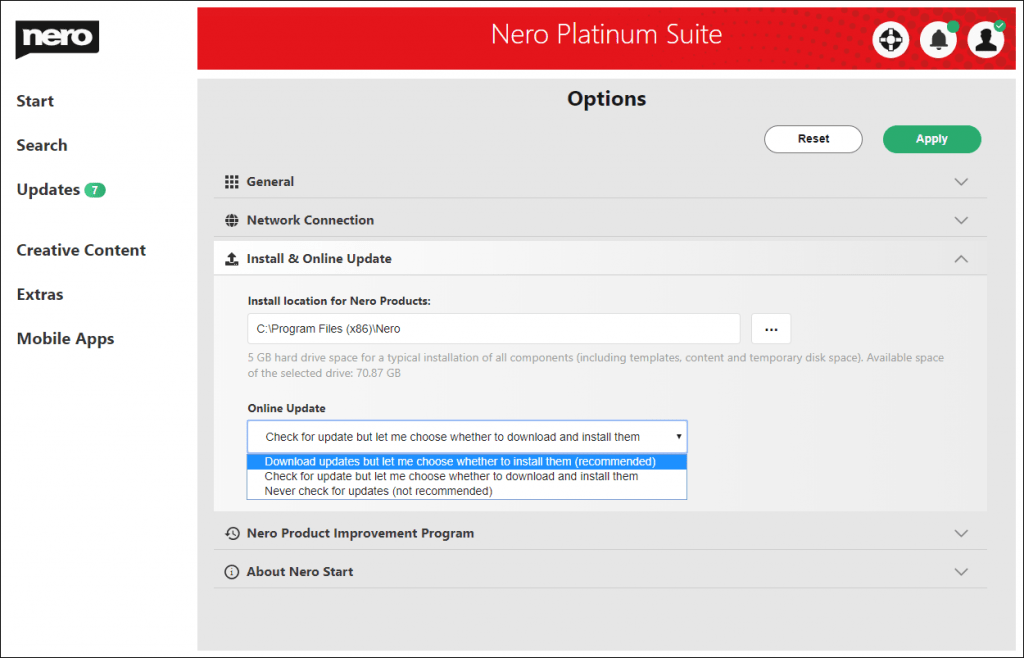
How to configure Install and Online Update
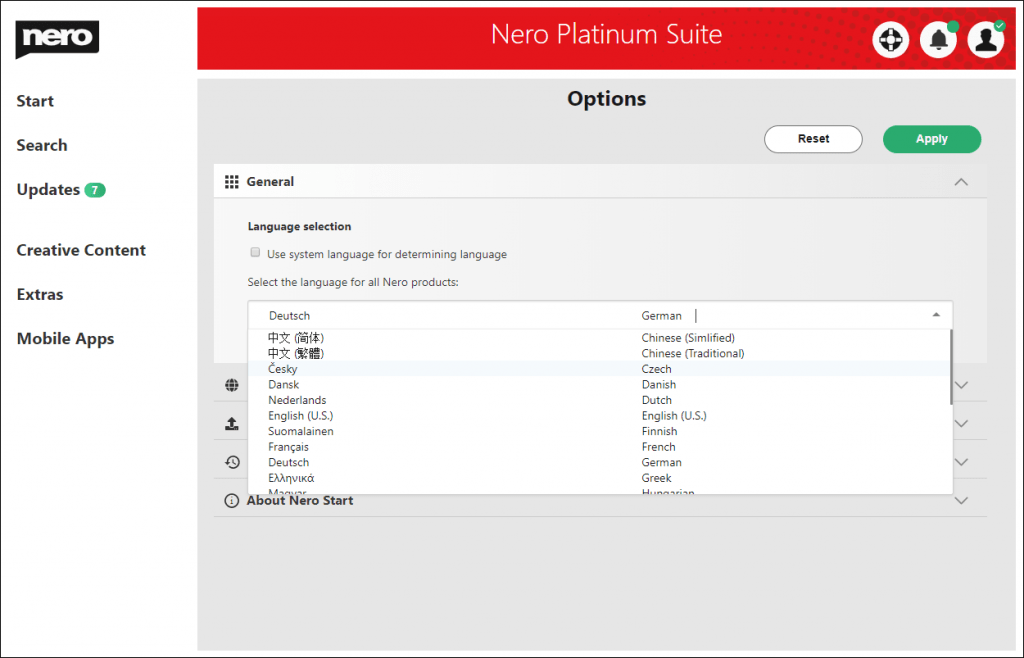
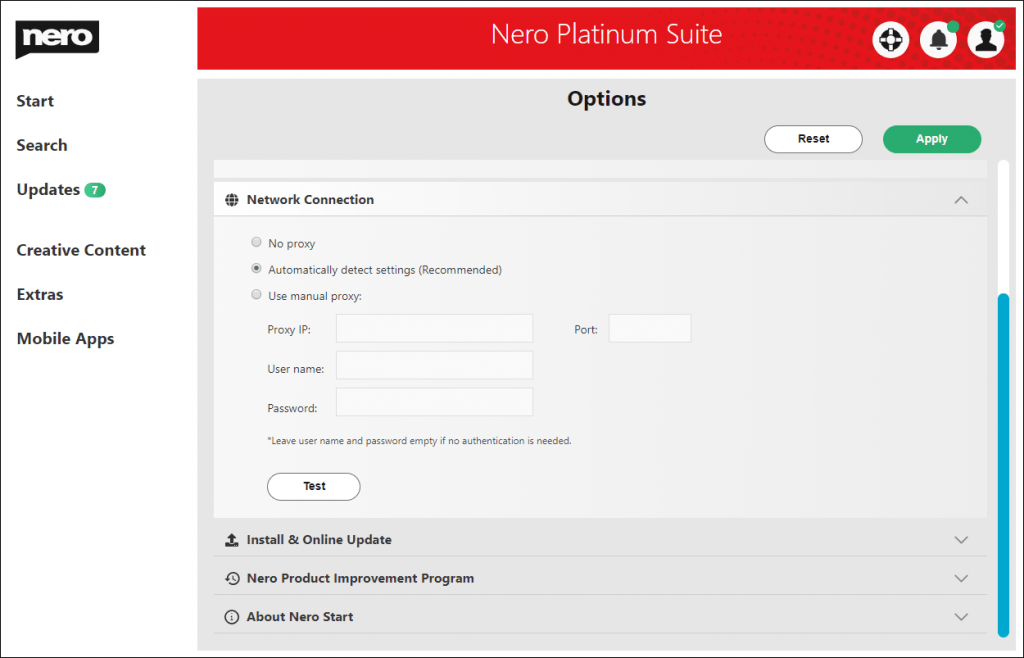
In the Options screen under section ‘Install & Online Update’, it is possible to set the Install and Update configurations.
Install location for Nero Products:
The root folder in which Nero Start will install all Nero products or applications.
• Change the install location setting will only apply to the next installation or update.
• The space size of the target drive for installations should exceed 5GB or more available space.
Temporary files
The folder used to store the temp downloaded files. Click the button ‘Delete’ to remove the whole folder and files.
The space size of the drive for storing temporary files should exceed 5GB or more available space
Online Update
Online update policy for Nero Products.
Click the button ‘Check for updates’ to skip the current modification in Option screen and open the ‘Updates’ tab to check the latest updates for installed applications in the selected product.
Download updates but let me choose whether to install them
While Nero Start launches, check and download the latest updates for the installed applications. After the installer packages have been downloaded, a notification will appear. Click the notification to continue with the installation.
Check for update but let me choose whether to download and install them (recommended)
While Nero Start launches, only check if there is any update for installed applications with selected product. The badge number will update at the same time.
Never check for updates (not recommended)
Never check updates for the selected product any more.
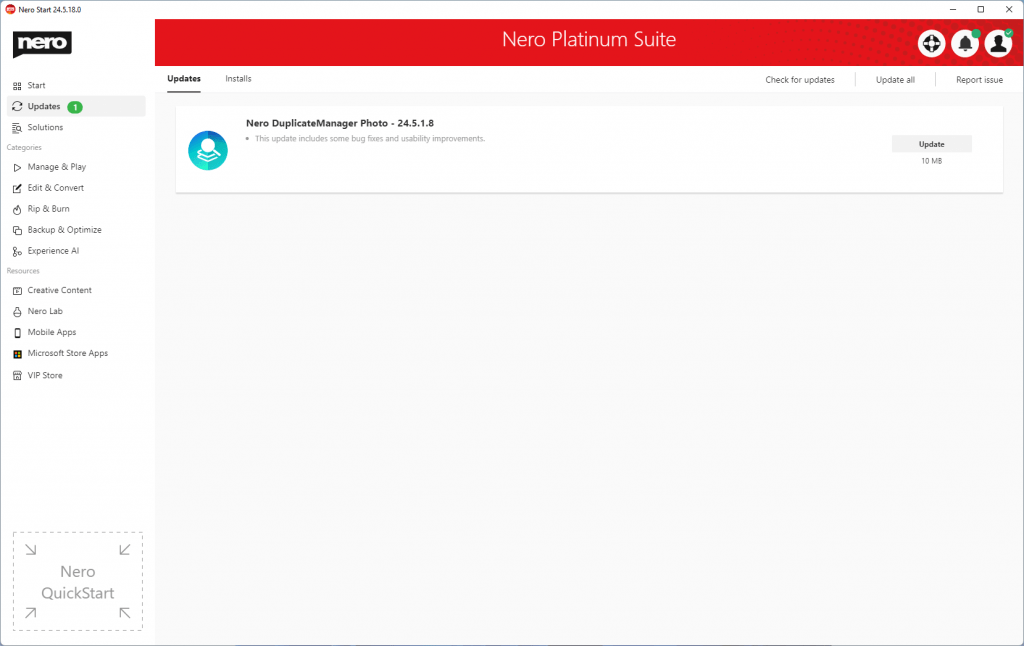
How to update or install applications in ‘Updates’ page
When the auto update check for the Nero Application is set, every time Nero Start launches, the application will check if there are any updates for the selected product.
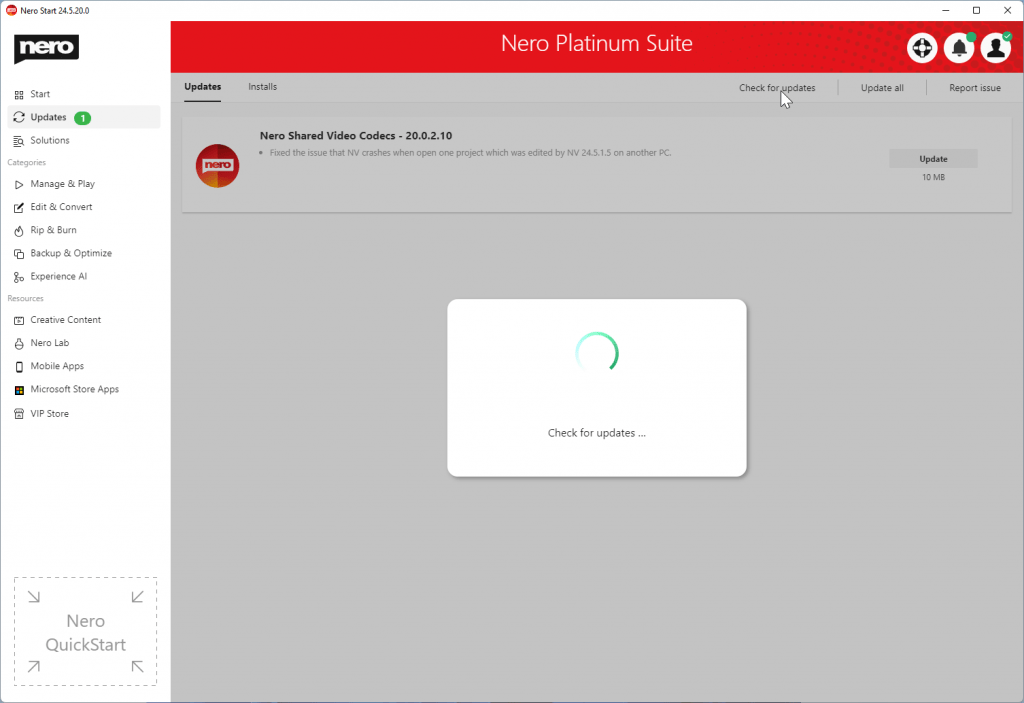
In addition, you can check manually in the ‘Update’ tab by clicking ‘Check for updates’ button.
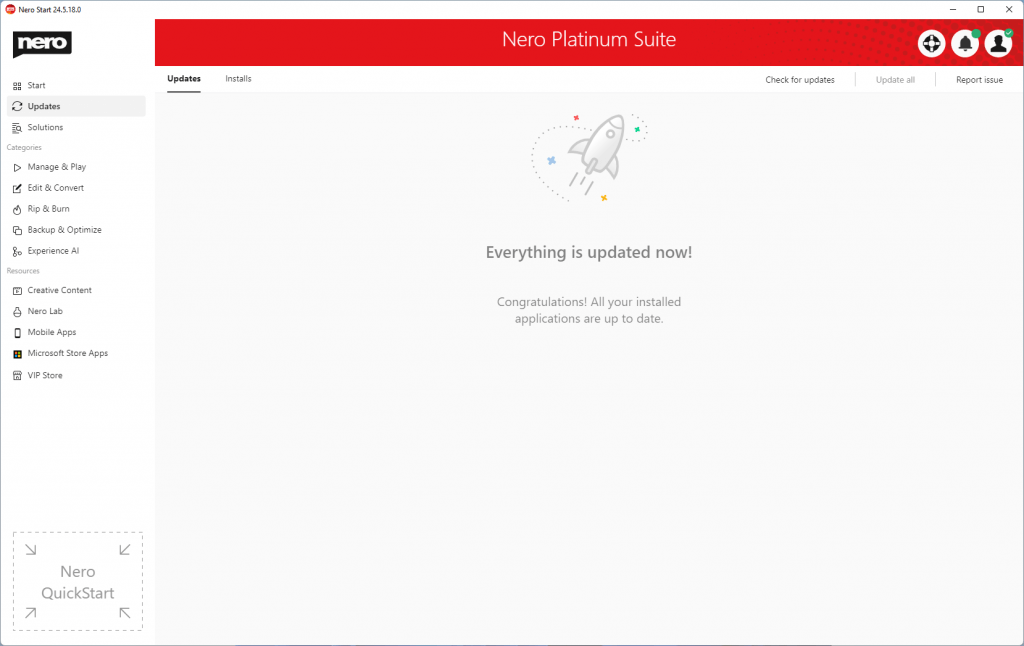
Below screenshot means that all applications are updated to the latest version.
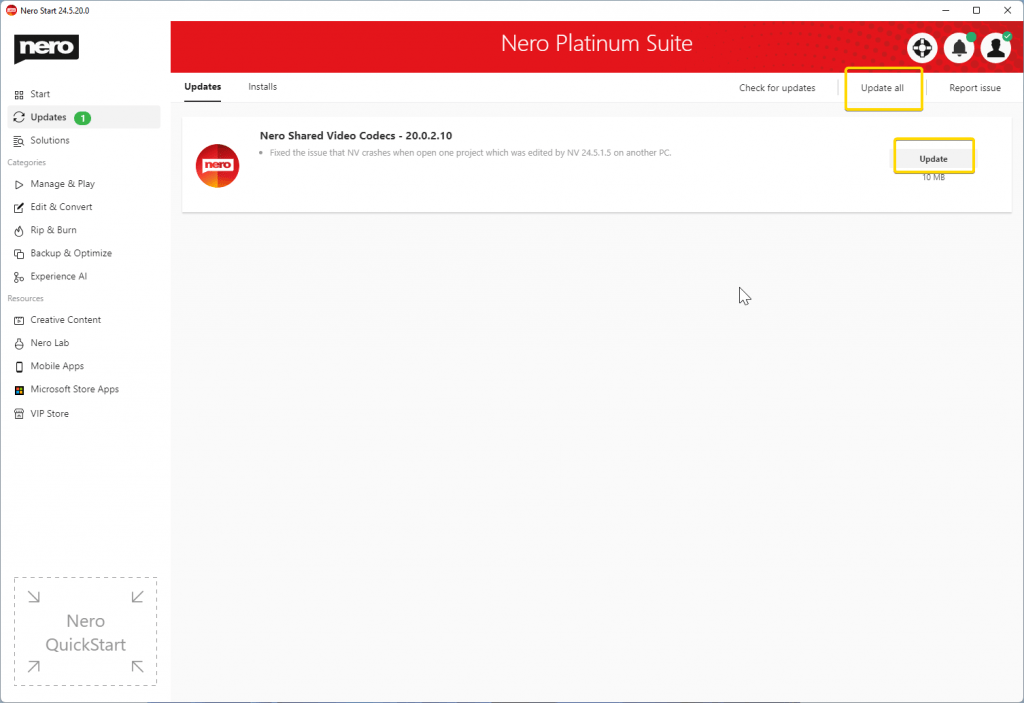
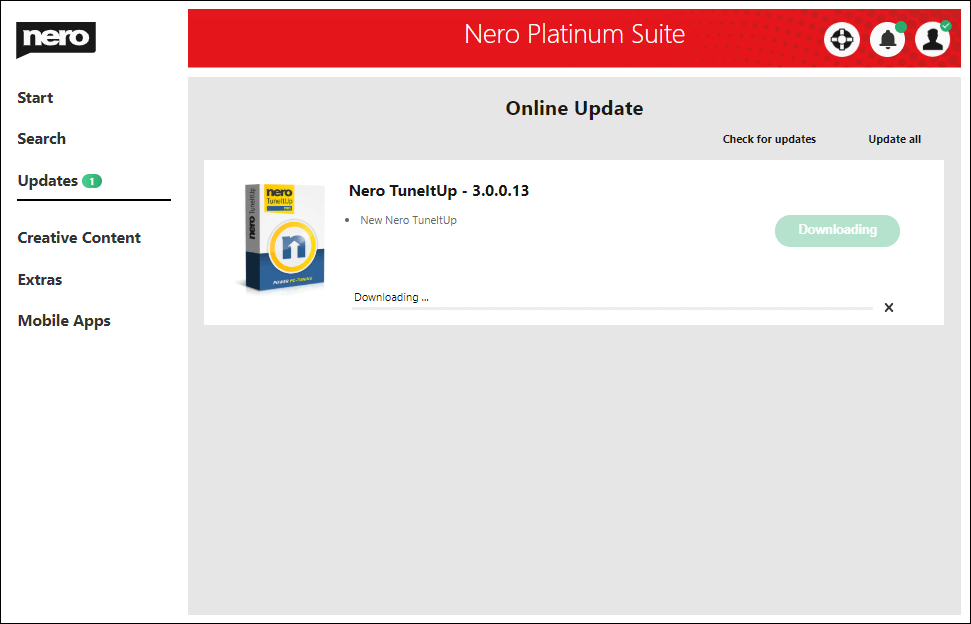
If there is any application available to update, it be listed up. You can click ‘Update’ button on each application or click on ‘Update all’ button.
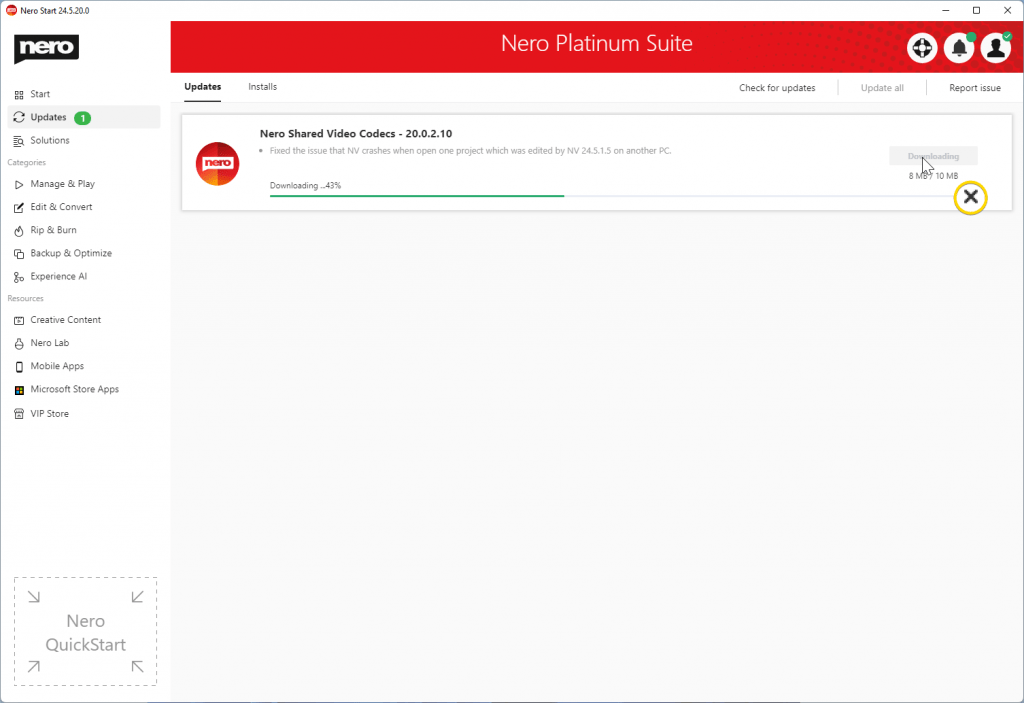
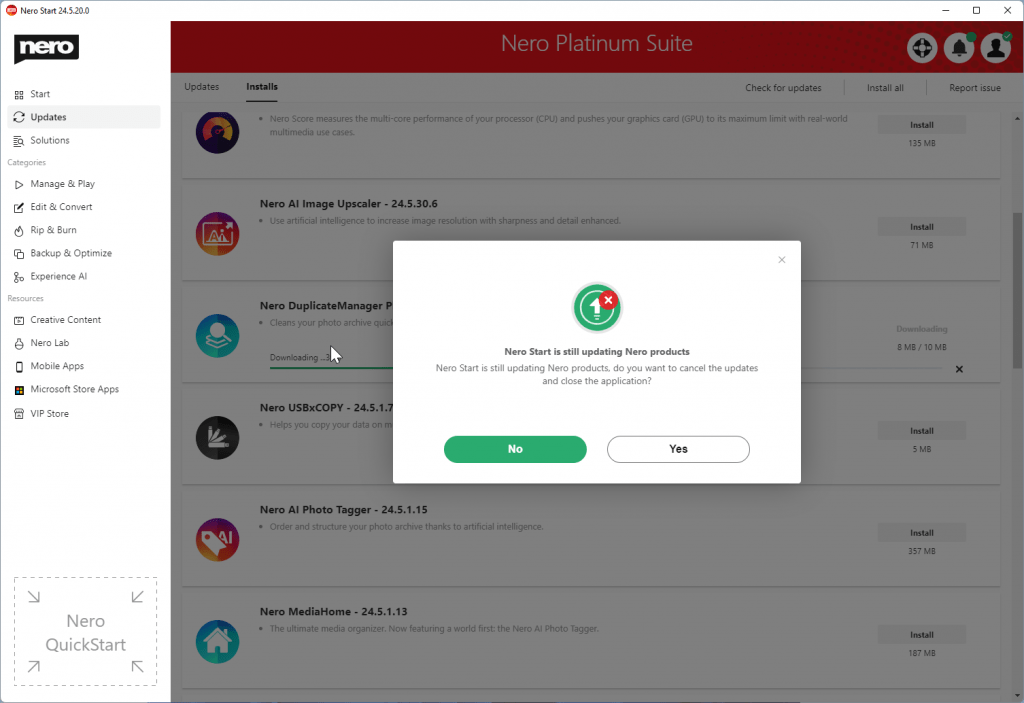
Click the button ‘Update’ will start to download. A progress bar will indicate the whole process. At the same time, the downloading can be canceled by clicking the button ‘X’. While the application installing/updating begins, the whole process cannot be canceled any more.
You can also click the button ‘Update all’ in the top-right to update all available applications to the latest version.
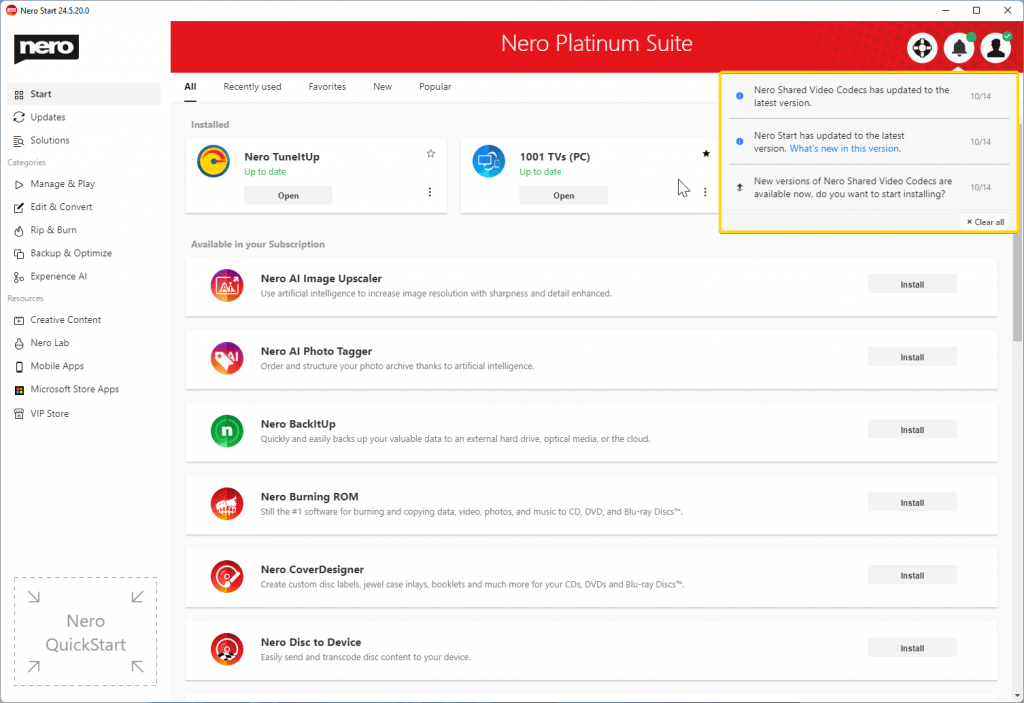
While the Nero application updating begins, you can leave the Updates screen. Nero Start will handle the whole process in the background, and you will be notified once complete.
If you exit Nero Start during updating or installing, a warning dialog will pop up.
Exiting Nero Start will cancel updating and installing. You can restart the update process by clicking ‘Update all’ or ‘Install all’ when launch Nero Start again.
If you failed to update application, you can click ‘Try again’ to try to download and install the application again.
In most cases it will fix the issue.
If the issue still exists, click the button ‘Send ticket’ to create a support ticket and our engineers will check and fix the issue.
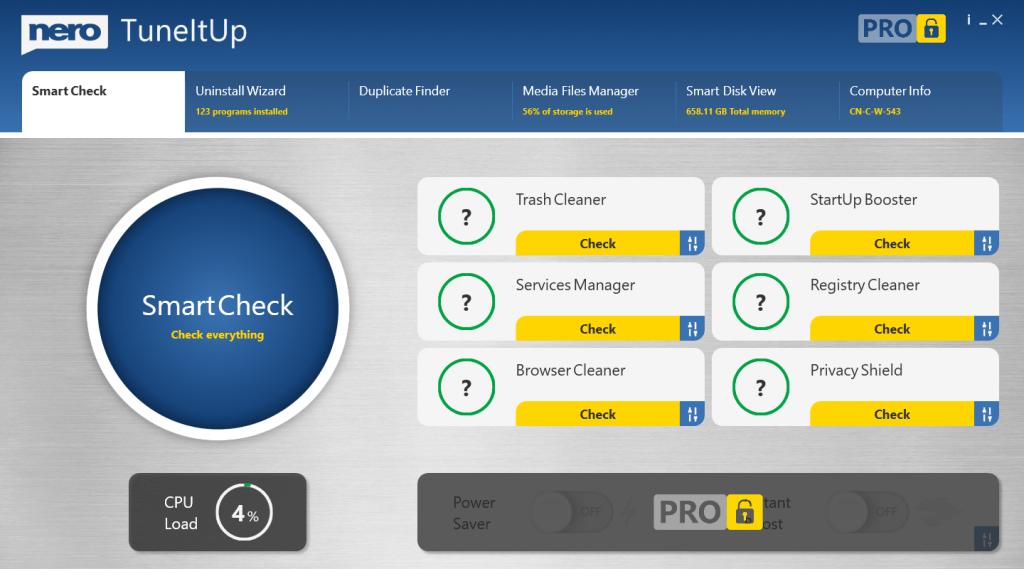
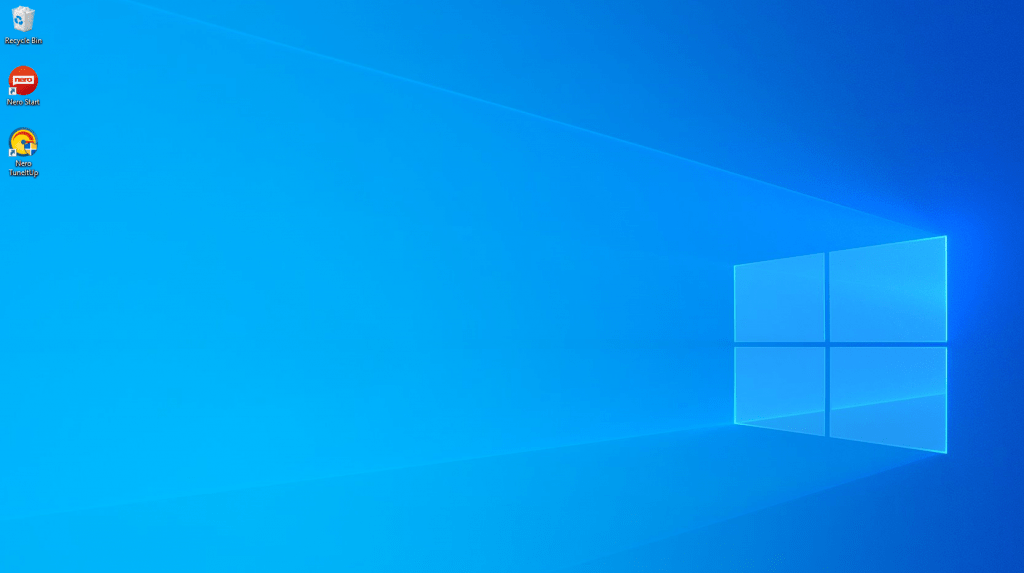
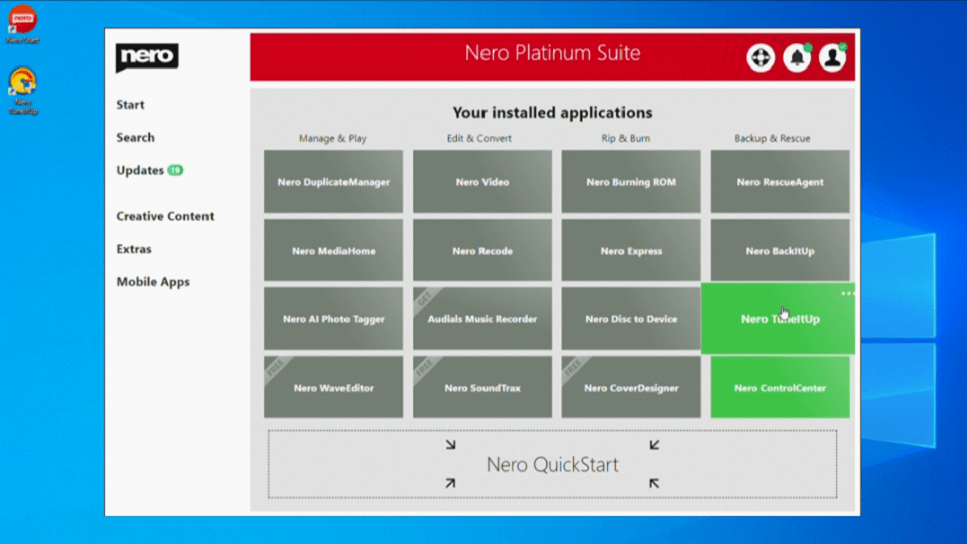
If Nero TUneItUp is not yet installed, you can click the application button in the Start screen to start installing Nero TuneItUp.
After a successful installation, Nero TuneItUp Free version is available.
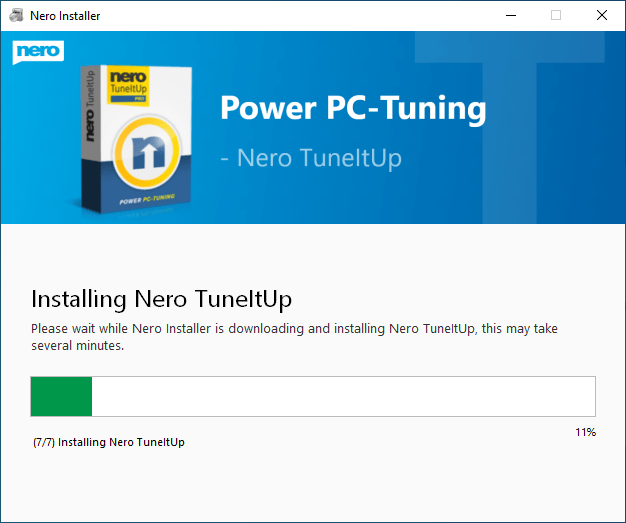
Install Nero TuneItUp via Installer
Click the Nero TuneItUp installer to download and install the latest available Nero TuneItUp and all necessary Nero components.
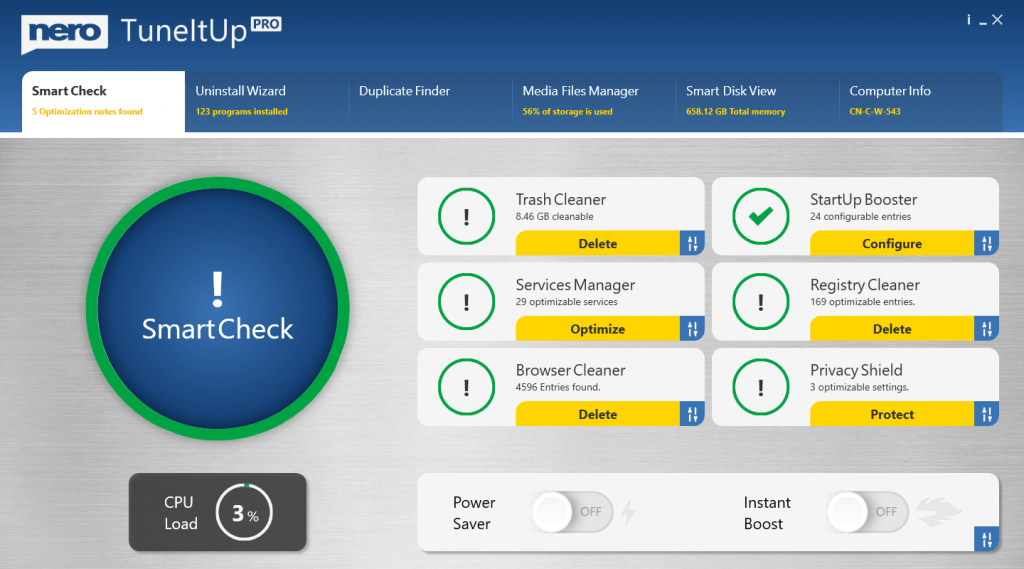
Unlock Nero TuneItUp PRO after Installation
The new Nero TuneItUp will not use any serial numbers to activate the PRO feature. Instead, the software needs to sign in to your Nero Account to unlock the PRO feature.
After you have installed Nero TuneItUp, launch Nero Start and sign in to your Nero Account.
After the account/product was unlocked successfully, Nero TuneItUp will auto enable the PRO features.
Info: In Nero Start, you can also download and try the latest Nero Platinum Suite – Subscription
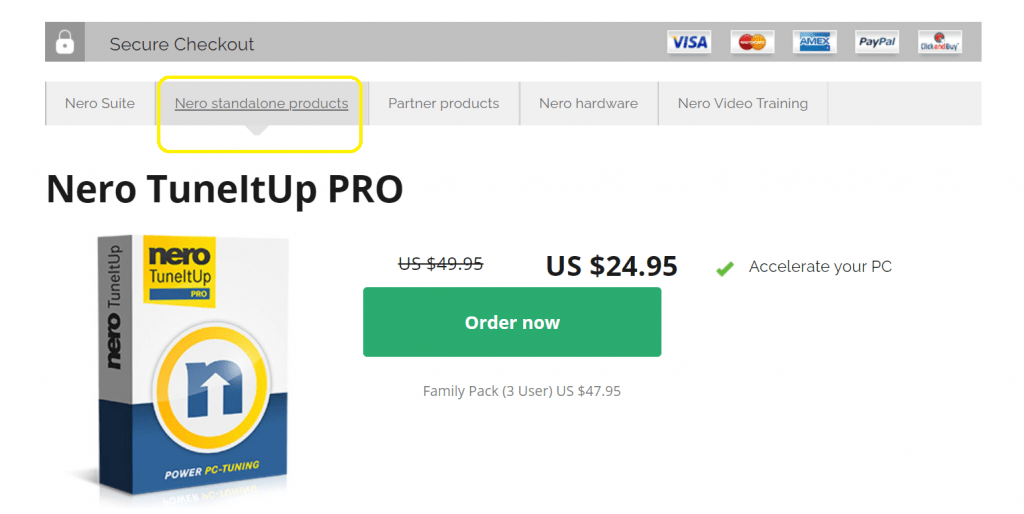
How to Purchase Nero TuneItUp PRO
You can Purchase the Nero TuneItUp PRO from www.nero.com
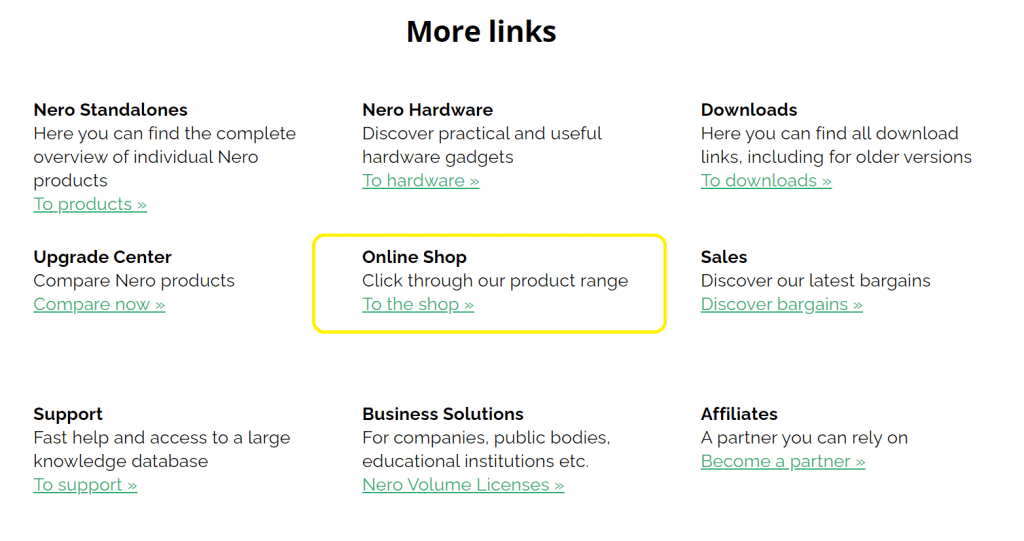
Access the Online Shop in the www.nero.com, find the Online Shop entry point in the bottom,
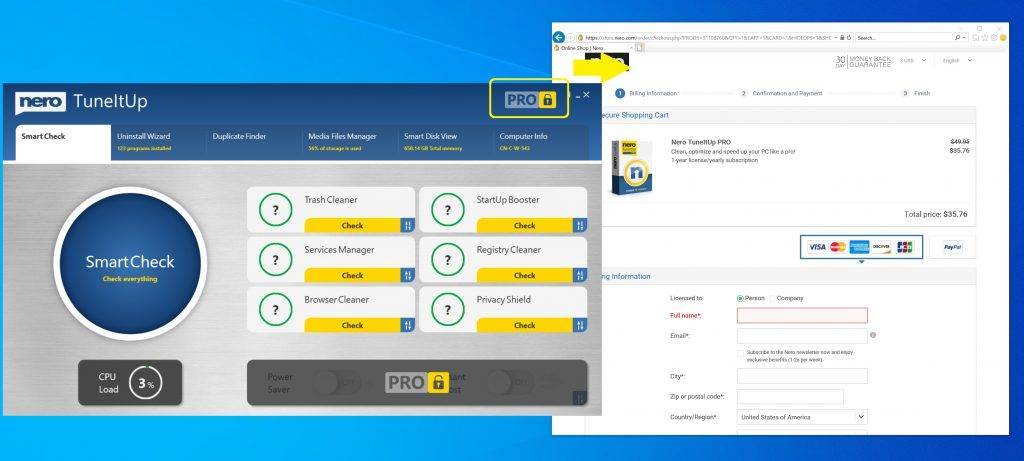
You can click the “PRO” button in Nero TuneItUp, to place an order for Nero TuneItUp PRO
* The Nero Account will be created based on the input email address.
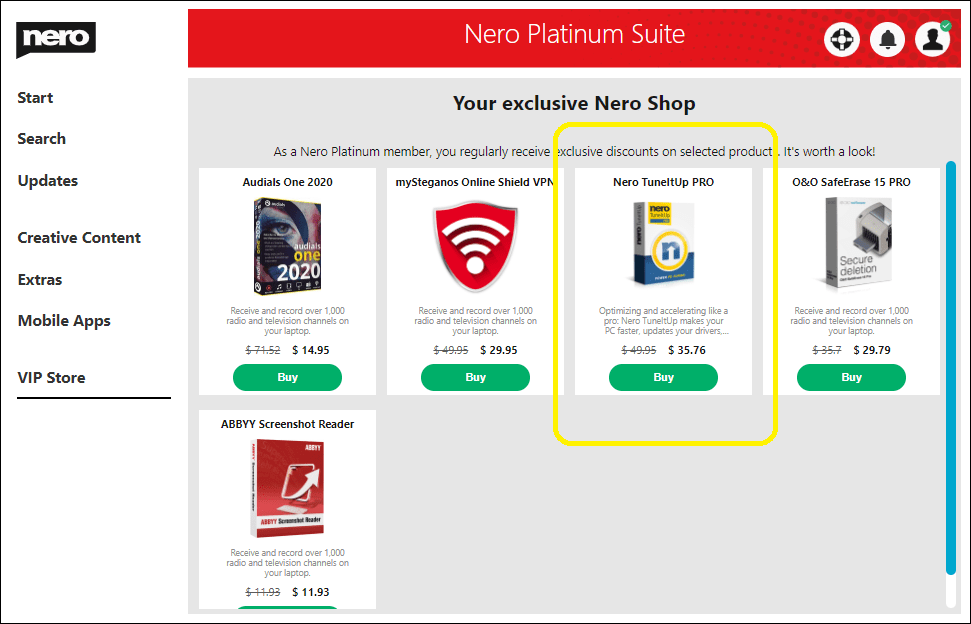
You can purchase from the VIP Store in Nero Start
* Only for Nero Platinum Suite Subscription Customers
Nero Platinum Suite subscription customers can purchase Nero TuneItUp PRO in the VIP Store. Click “Buy” to place an order in Nero Start. If the order of Nero TuneItUp PRO is ready, just launch Nero TuneItUp to use the software.
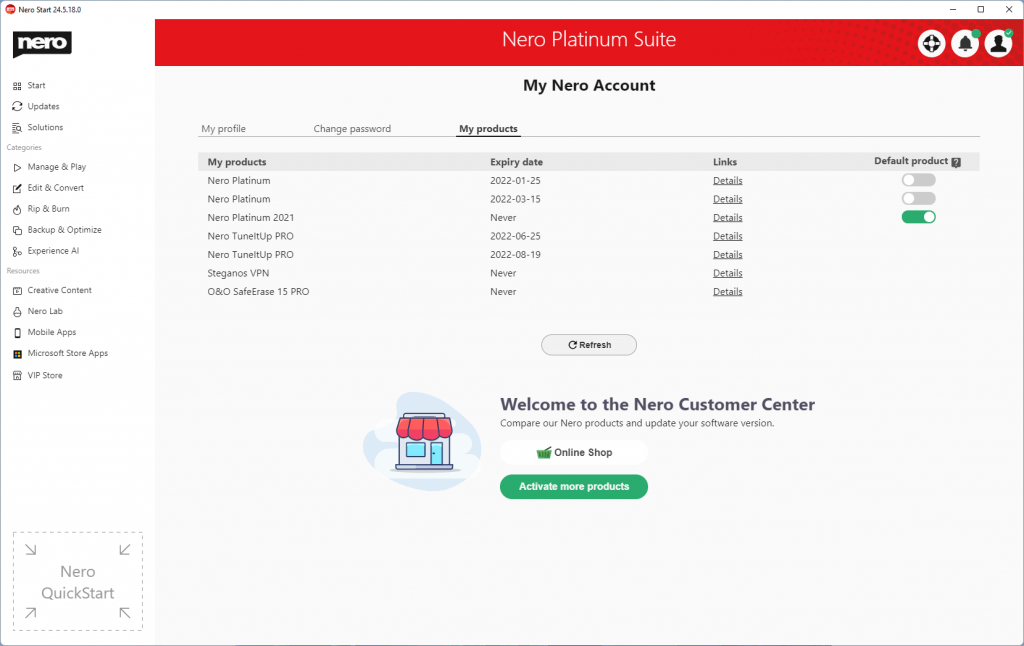
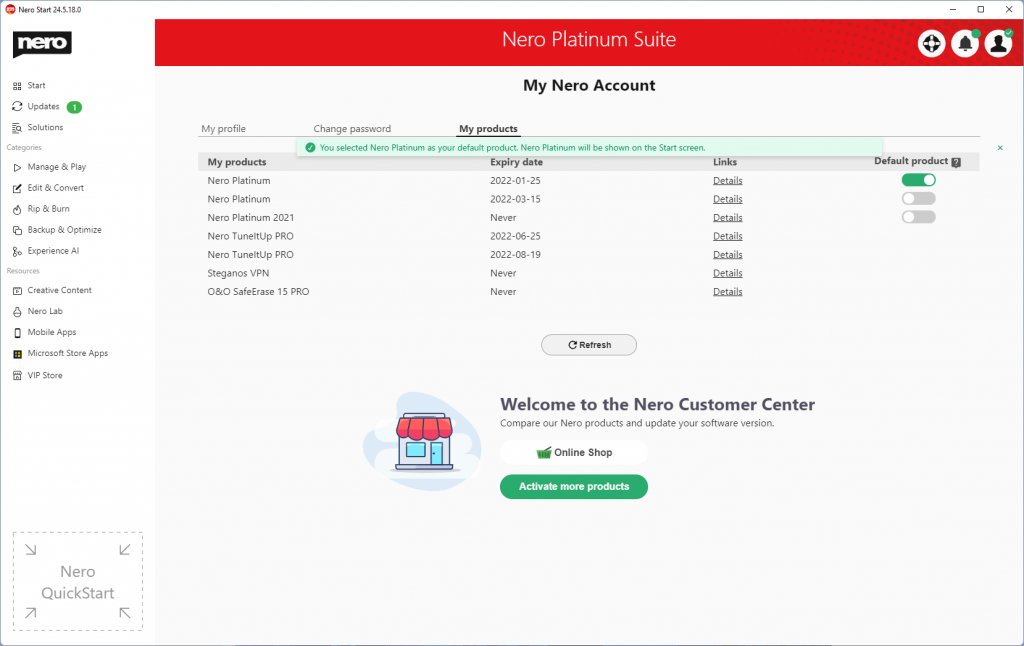
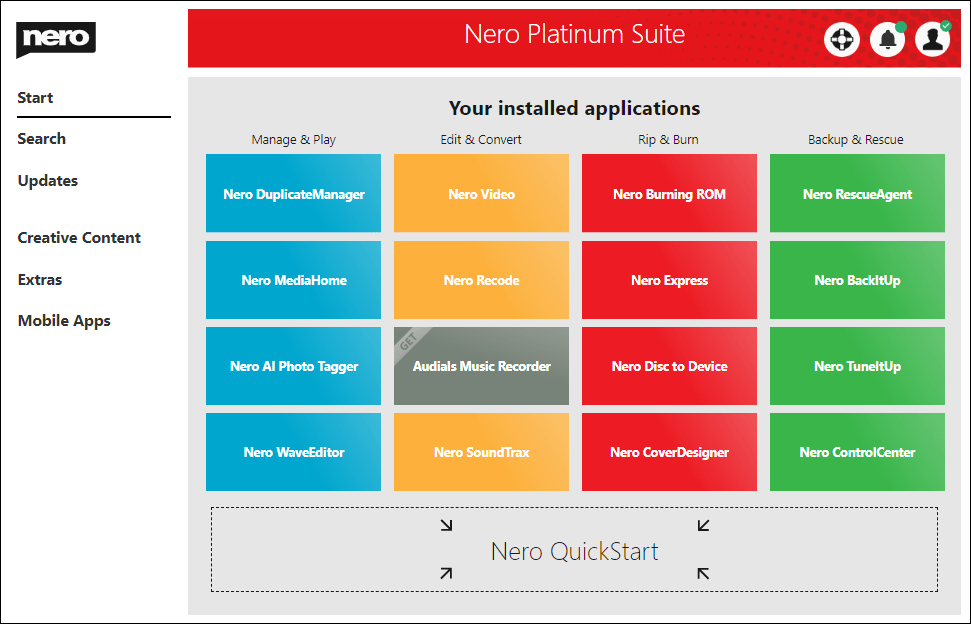
If you have multiple products in your Nero account (e.g. Nero Platinum 2021, Nero Platinum 2020, or Nero Platinum Suite), Nero Platinum Suite is usually the default product and all applications on the home screen point to the individual applications in the product.
But if you prefer to switch the default product, you can open the My Nero Account page, and activate the My products screen to change it. After the default product is changed, (e.g. change from Nero Platinum to select Nero Platinum 2021), you can find all applications in the Start screen point to the applications of Nero Platinum Suite 2021. What’s more, the updates also change to the given default product.
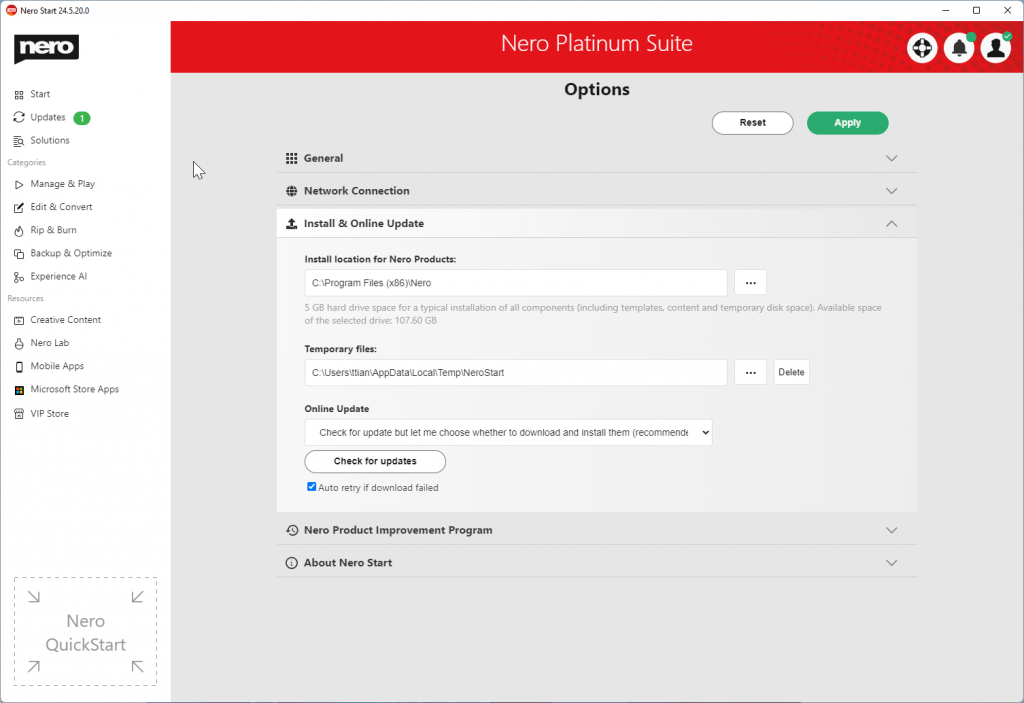
Install location for Nero Products: The location used for installing or updating Nero Products. You should keep 5GB of disk space available for the partition.
There are 3 types of updates check policy:
Download updates but let me choose whether to install them (recommended)
If updates for the applications are detected, Nero Start will automatically download the update in the background. You will be notified upon completion.
Check for update but let me choose whether to download and install them
While Nero Start launches, it will check for updates for the applications, and show the number available updates.
Never check for updates (not recommended)
Nero Start will not check for any updates.
Click the button “Check for updates” to immediately leave the Options screen and start an online update check in Updates screen.
Info: Make sure to click the button “Apply” to save the configuration update before leaving the Options page.
Nero Product Improvement Program
You can participate in the Nero Product Improvement Program to help improve the quality, reliability, and performance of Nero products.
 .
.