We always improve our product based on your feedback and suggestions continually.
6th May, 2020
Nero MediaHome
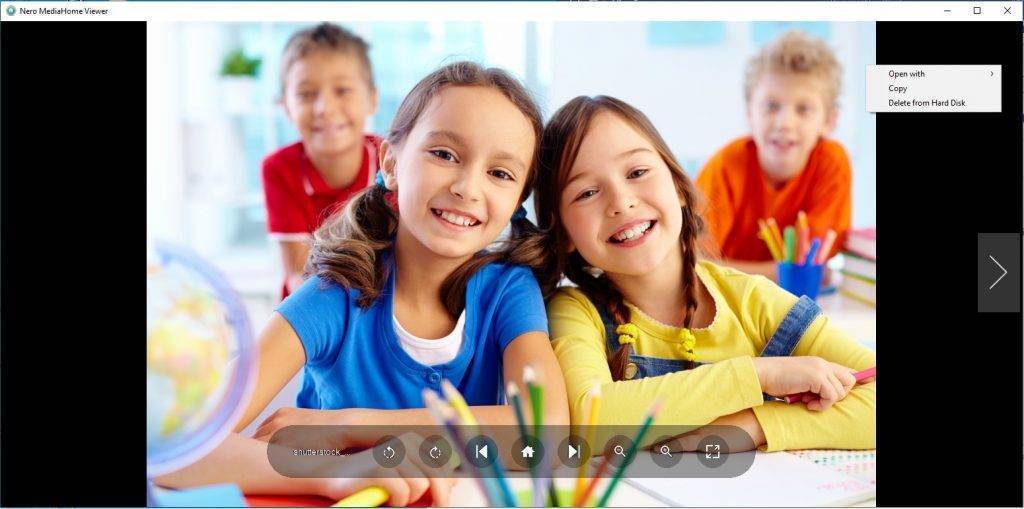
We have optimized the user experience of Nero MediaHome Viewer for you, update and try it now ~
- [NEW] Brand new UI with a more modern translucent panel
- [NEW] You will find more functions in the right-click menu – open with system applications, copy and delete from hard disk.
14th April, 2020
In this update we have improved below parts:
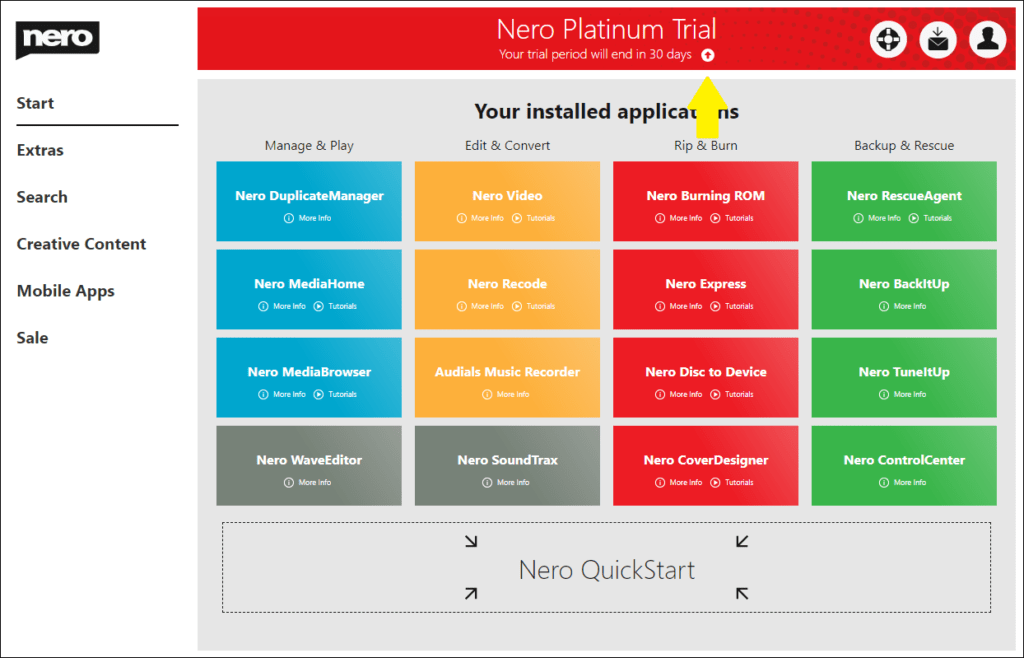
Nero Start
- [NEW] Nero Start now can configure its Network proxy settings. With this new feature, Nero Start not only can directly apply and use the System proxy setting, but also can configure its own HTTP/HTTPS network proxy setting which can be different with the current system proxy setting. Read more …
Nero MediaHome
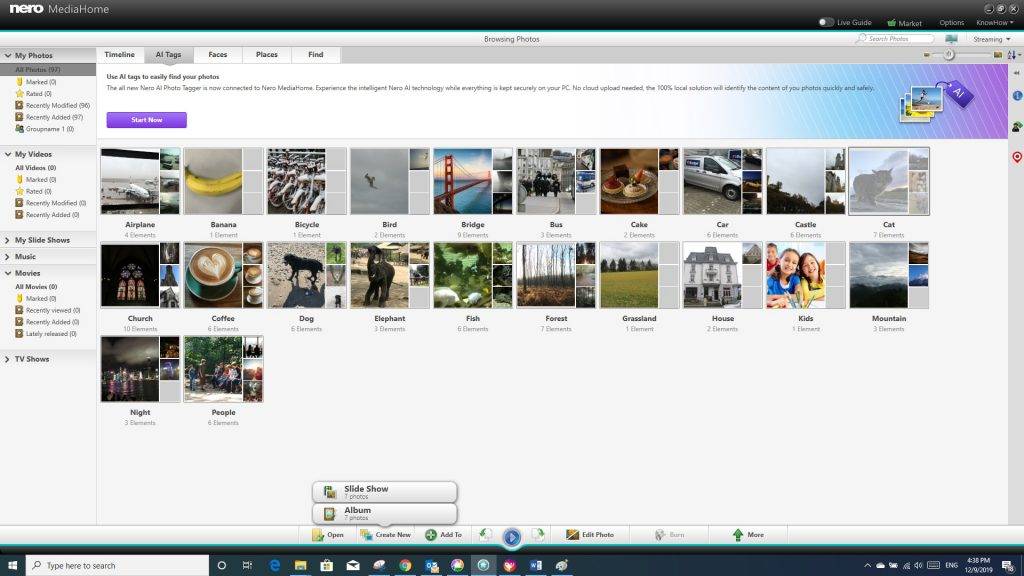
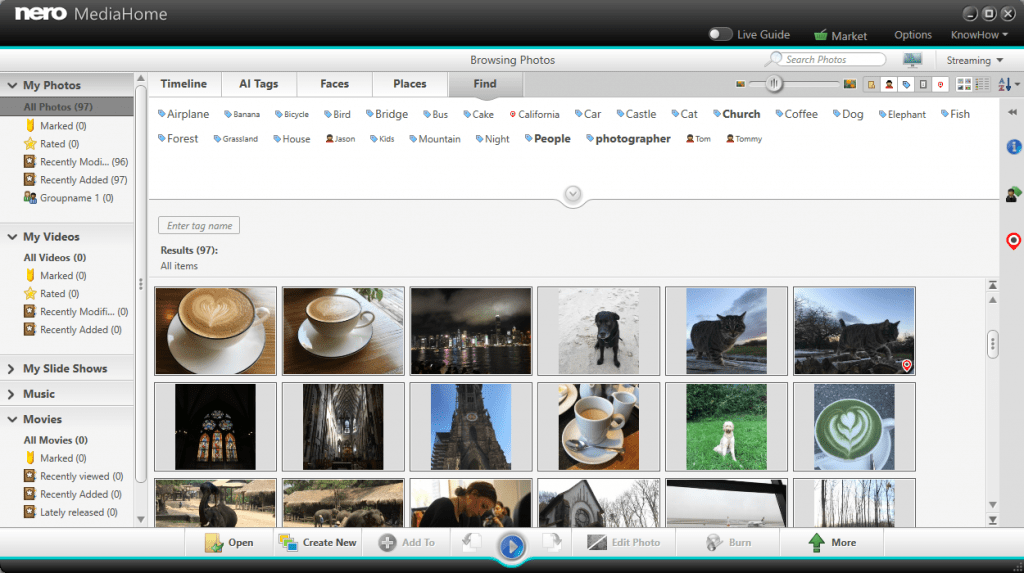
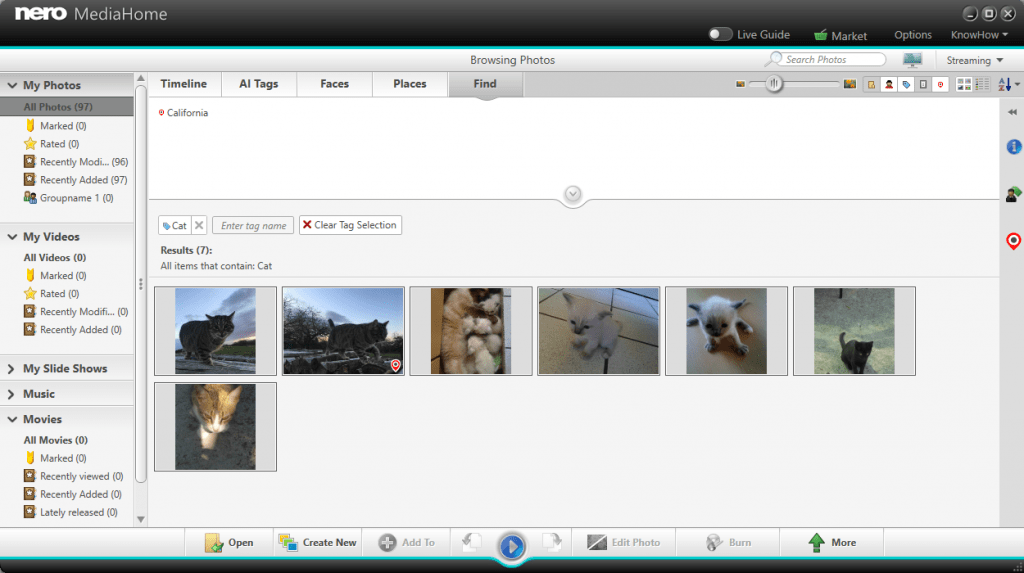
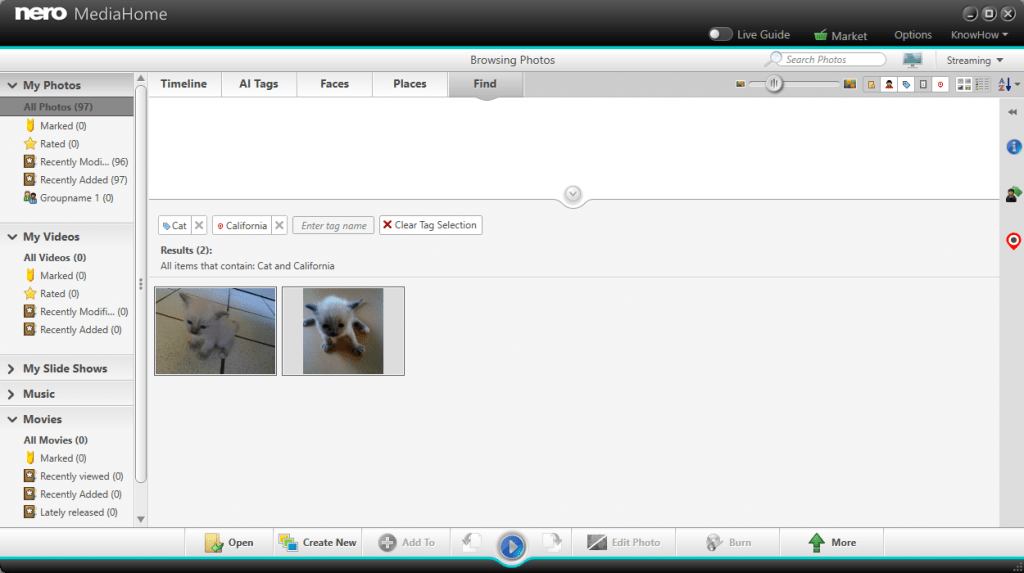
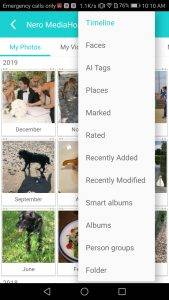
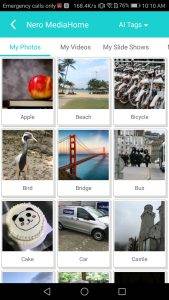
- [NEW] AI Tags detected by Nero AI Photo Tagger can now be managed in Nero MediaHome perfectly. Your PC is more powerful than you think: with the brandnew Nero AI Photo Tagger! Get your photos tagged – automatically. Experience artificial intelligence on your local PC – with stunning quality!
11th March, 2020
In this update we have improved below parts:
Nero Start
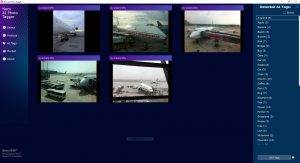
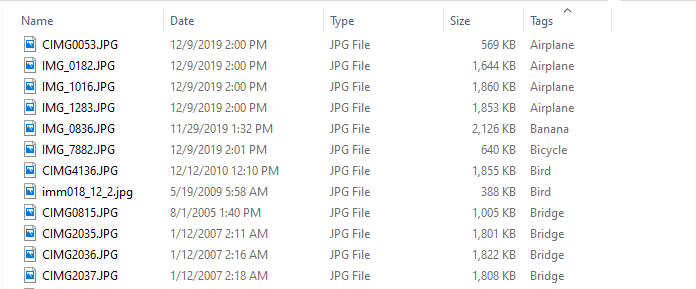
- [NEW] From Extra screen, new application “Nero AI Photo Tagger” is downloadable, it is totally FREE! With the brand new Nero AI Photo Tagger! Get your photos tagged – automatically. Experience artificial intelligence on your local PC – with stunning quality!
- [IMPROVEMENT] The use case search now improved the search algorithm, match more result.
- Fix several bugs to improve the application performance, stability.
- Fix bug that if make the Windows Text Bigger, the Nero Start not show the screen correctly.
Nero MediaHome
- [NEW] Nero MediaHome has improved the user experience and performance of playing videos from network or NAS drive. Now the playback from network is much more smooth.
- This update also includes some bug fixes.
Nero Video
- With powerful graphics capabilities, you will find previewing the imported Ultra HD video files in Nero Video much more smoothly than before.
- Fixed some templates in disc menu no audio output in pre-render.
- Fixed no audio output in pop-up trim dialog in project editing.
- Fixed crash issue in some cases.
Nero Burning ROM
- Fixed display issue in Disc Compilation screen.
Nero Express
- Fixed crash issue in creating Audio CD.
Nero Recode
- Fixed audio lost in convert from MPEG-2 to WMV in some cases.
- Fixed output maximum size not work in some cases.
Nero KnowHow 00203