NEW: User Interface
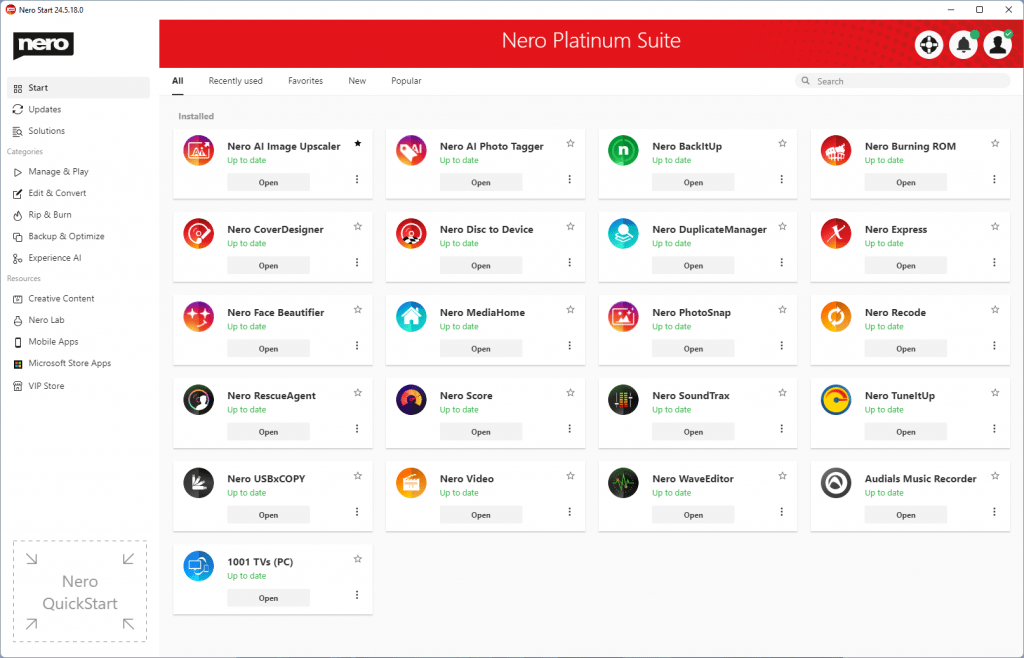
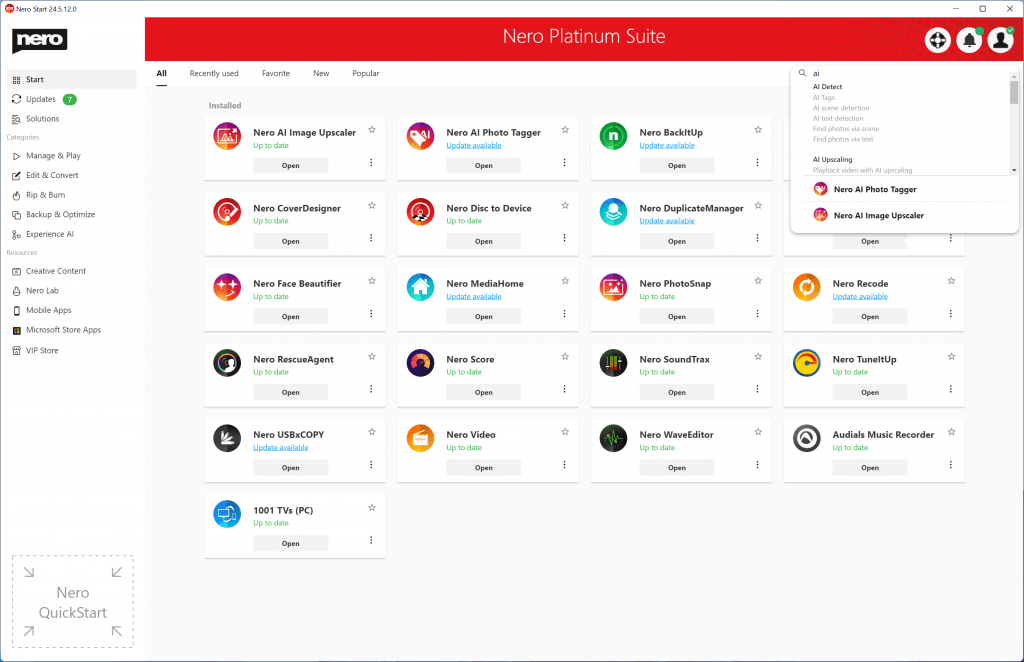
The new user interface provides you with dynamic and customized tabs such as Recently used and Favorites.
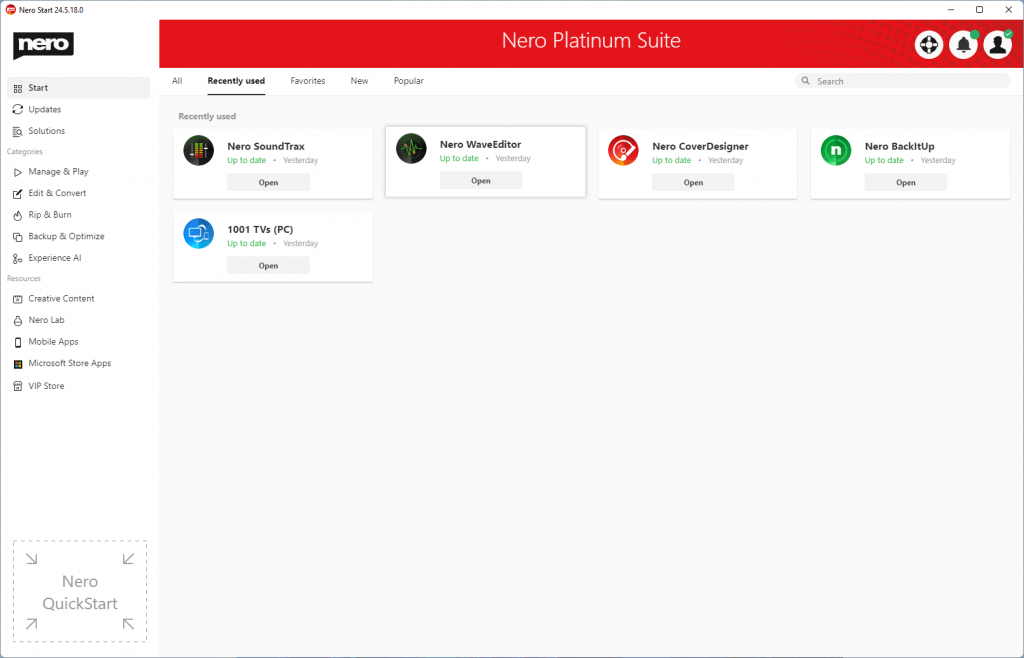
Your recently used apps will show up in the Recently used tab.
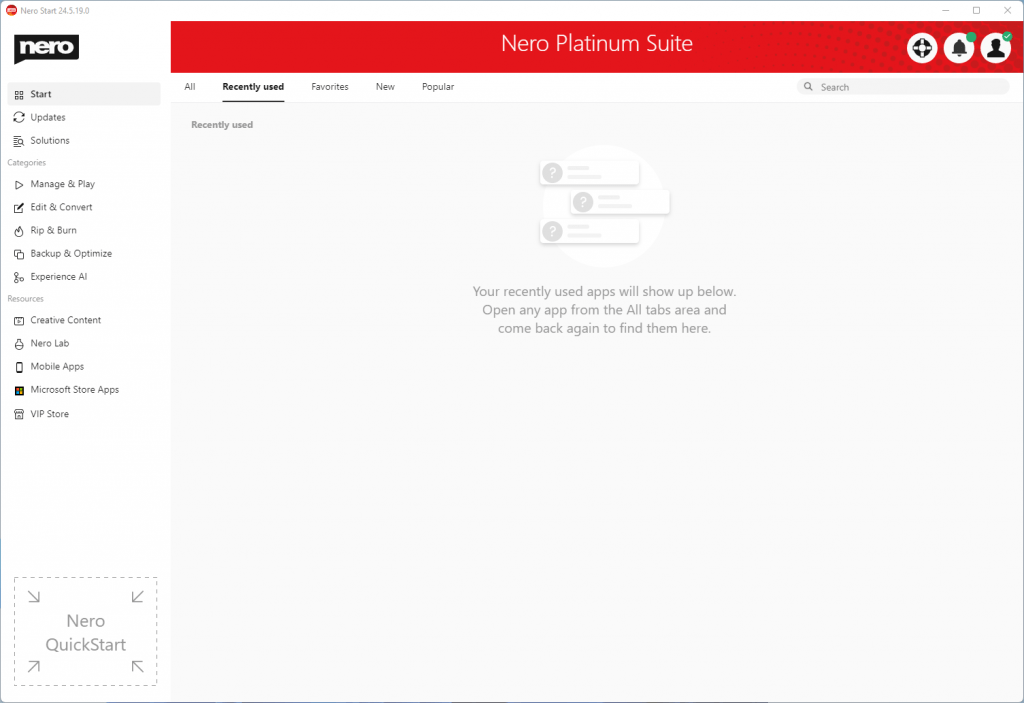
Open any app from Nero Start and come back again to find the history here.
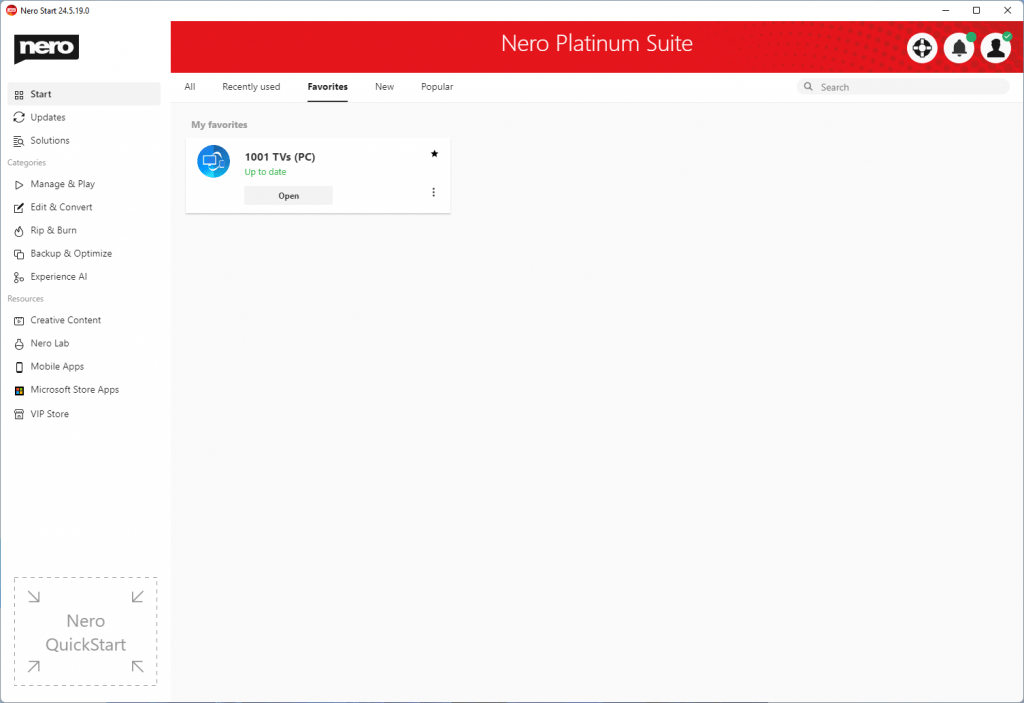
Your favorite apps will show up in Favorites tab.
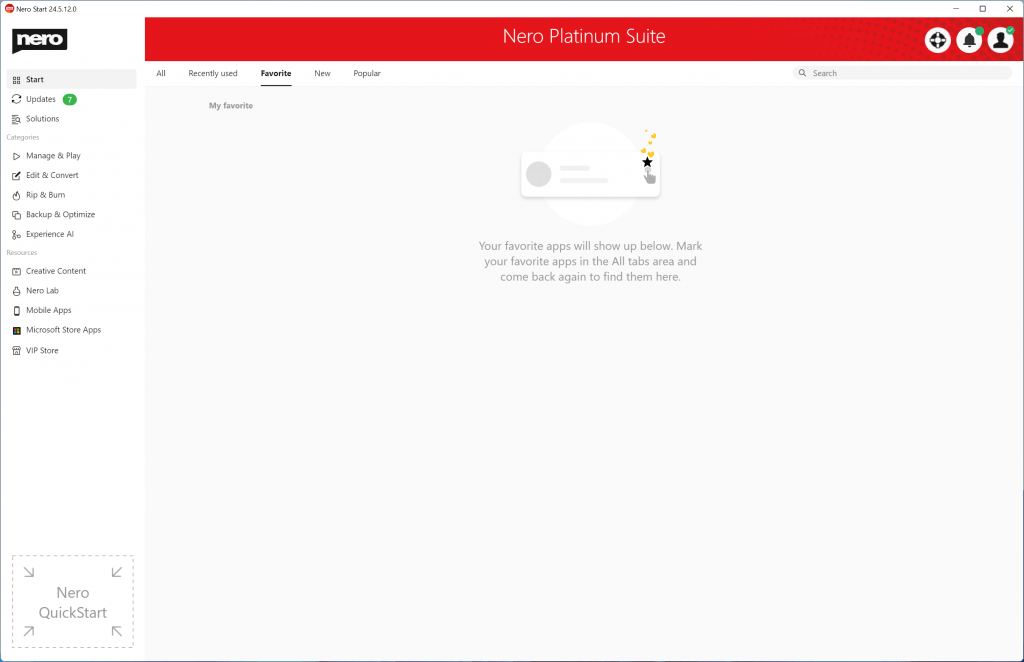
You can mark your favorite apps in All tab area and come back to find them here easily.
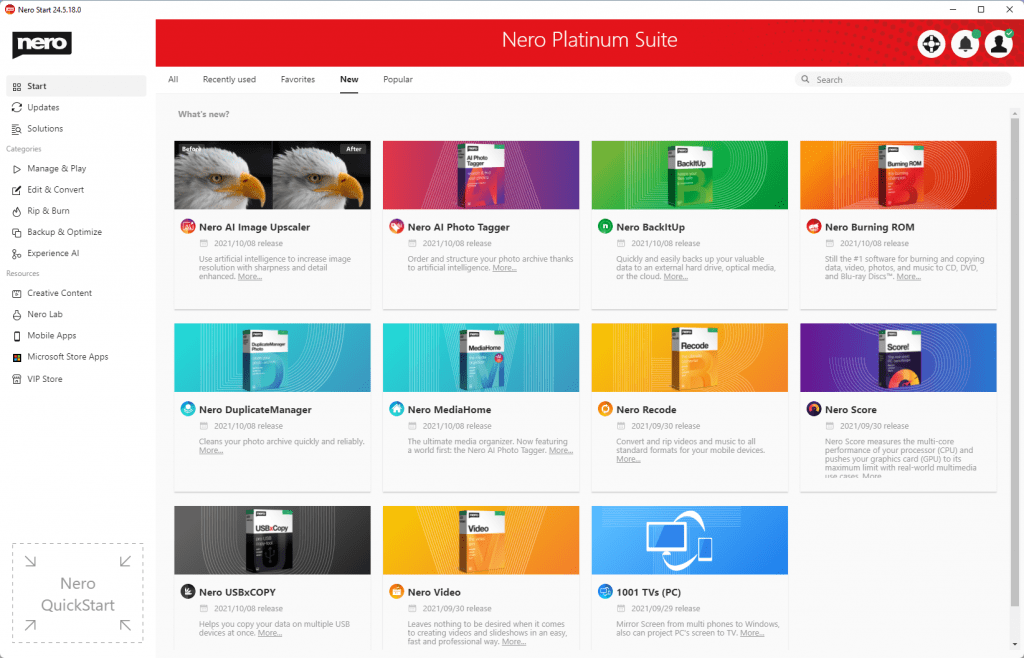
See the latest released apps and most popular apps from users all over the world.
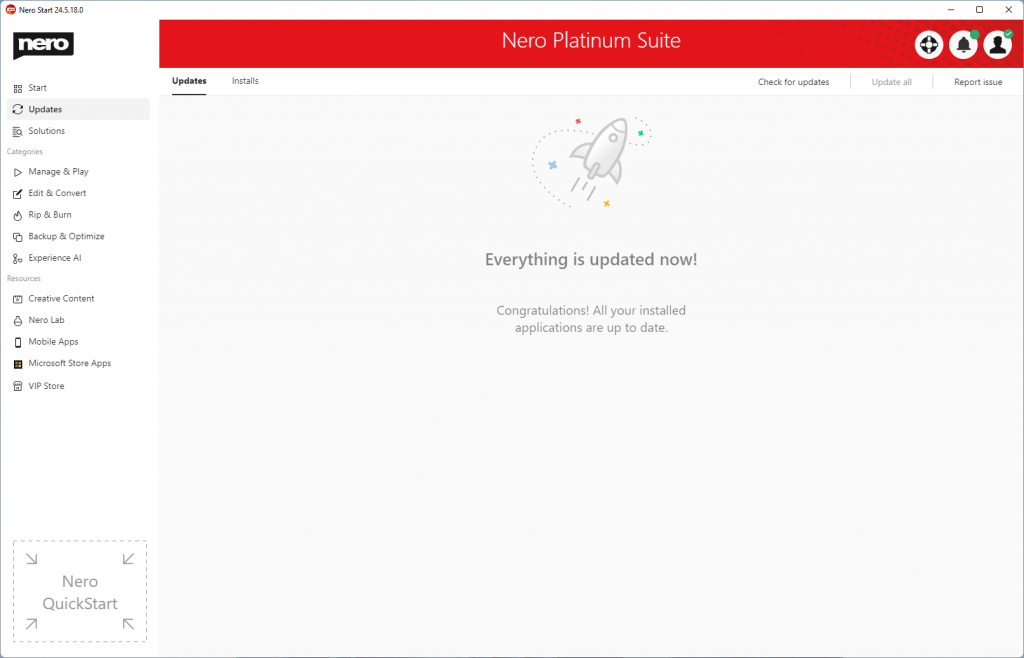
Dedicated Updates tab keeps you focus on the apps you have installed.
You will receive update notifications only for what you installed.
Provides more than 200 solutions for mobile and PC with easier and faster accessibility and a Search bar on the Start page.
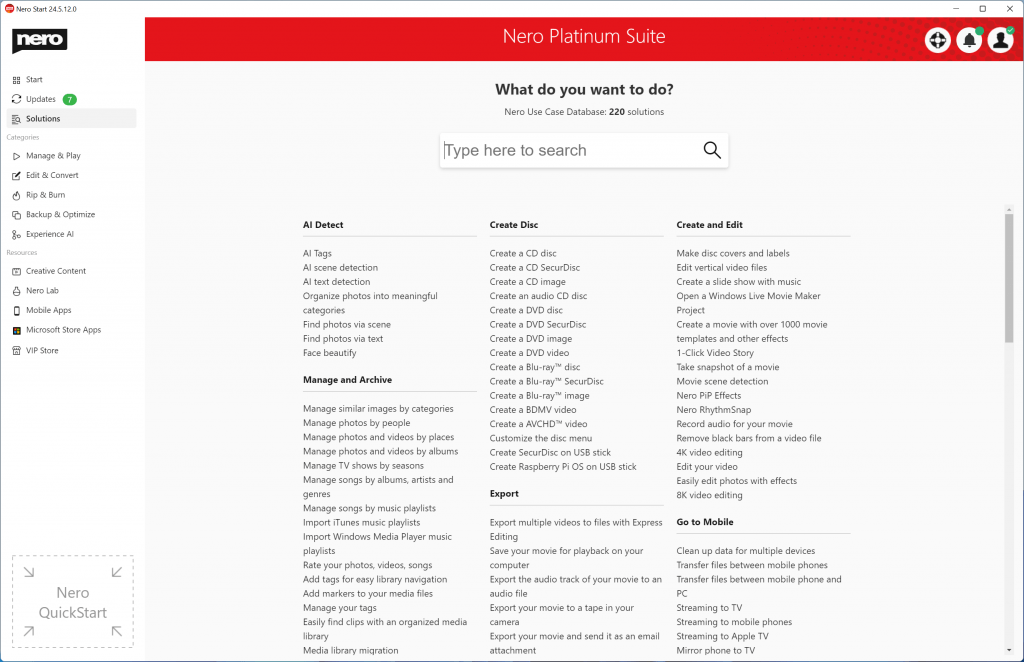
You can easily search for solutions and launch apps from the Search bar area on the Start page.
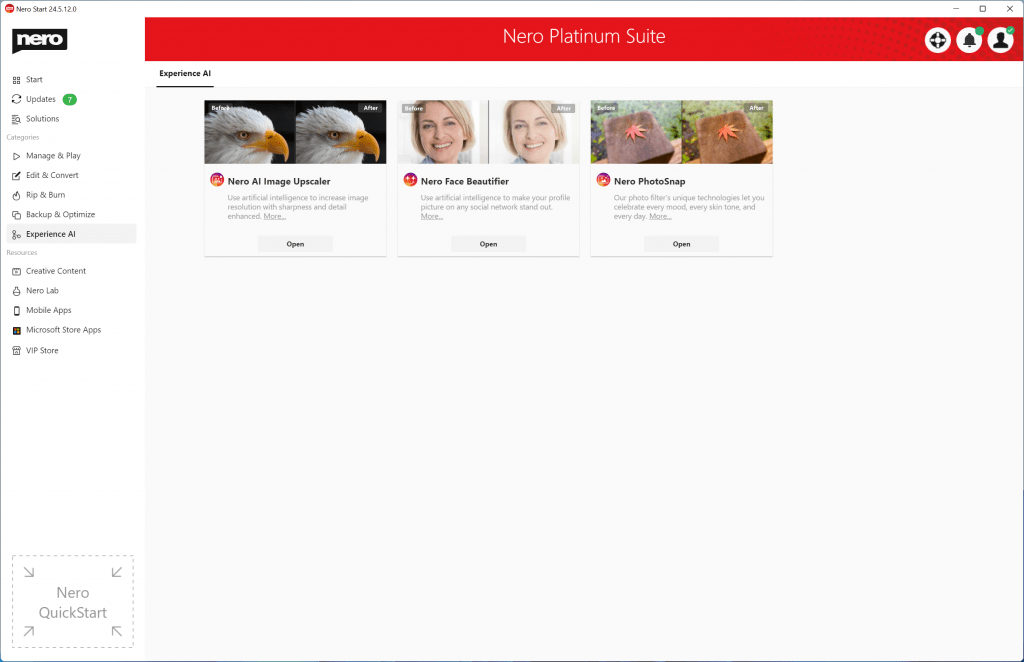
A brand-new category Experience AI provides easy access to apps that are powered by AI.
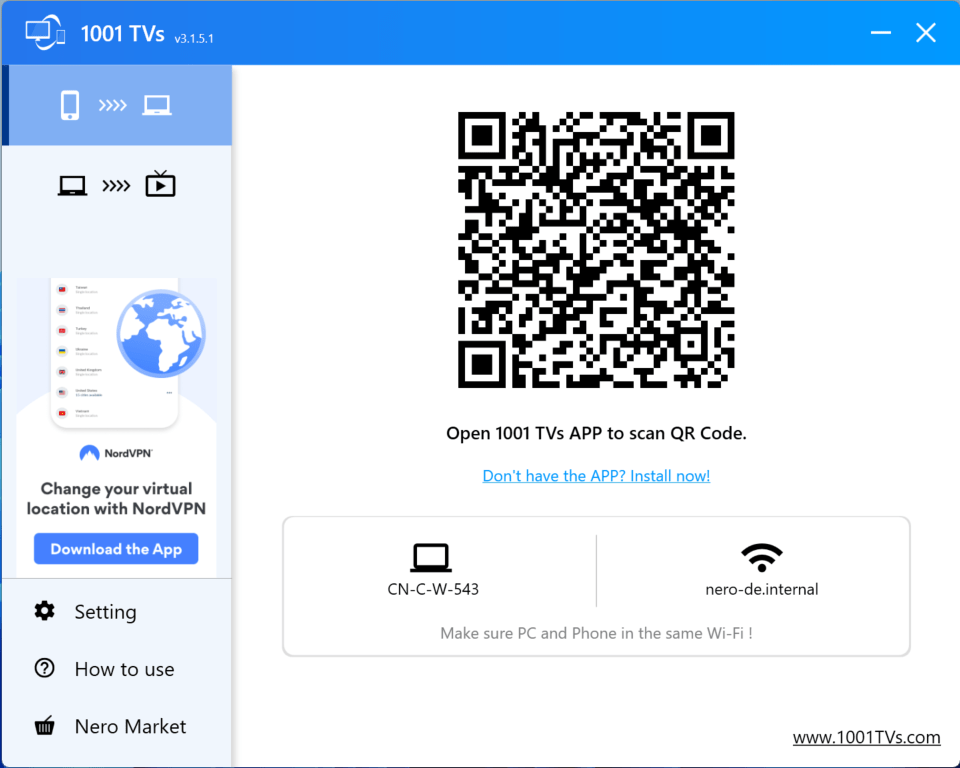
[NEW] 1001 TVs (PC)
1001 TVs – mirror screen from multi-phones to your Windows PC and mirror your Windows desktop to TV.
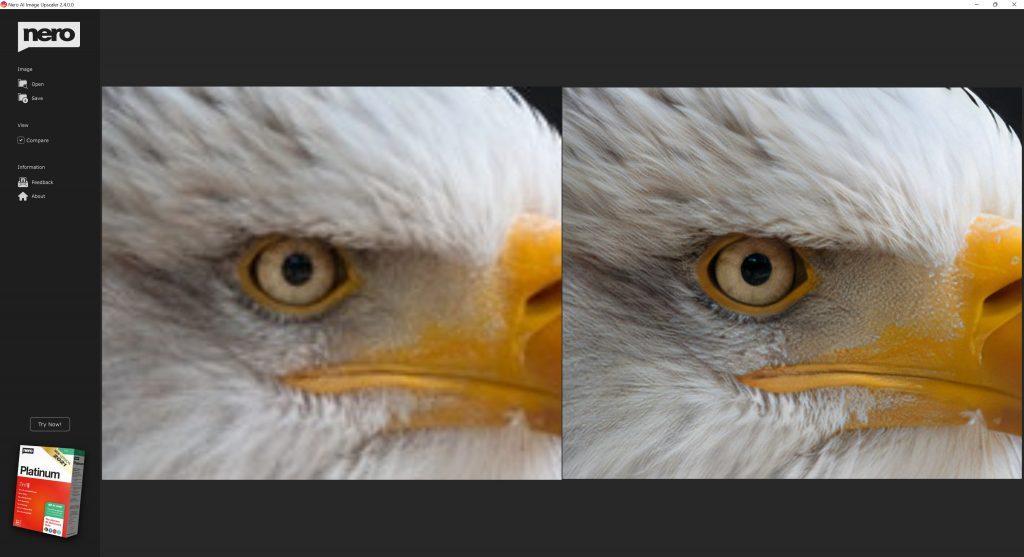
[NEW] Nero AI Image Upscaler
Nero AI Image Upscaler – use artificial intelligence to increase image resolution with enhanced sharpness and detail.
[NEW] Nero Score
Nero Score – the real-world PC benchmark. Nero Score measures the multi-core performance of your processor (CPU) and pushes your graphics card (GPU) to its maximum limit with real-world multimedia use cases.

Nero KnowHow 00185