You are probably making use of a CinemaScope movie format in 21:9 or similar, but the regular DVD widescreen format is 16:9.
In order to be able to create a DVD and watch this format without black bars at the top and bottom, you need to scale this to your 16:9 format via Nero Video editing, first. Just be aware that you will cut off some image information at the left and right rim of the image.
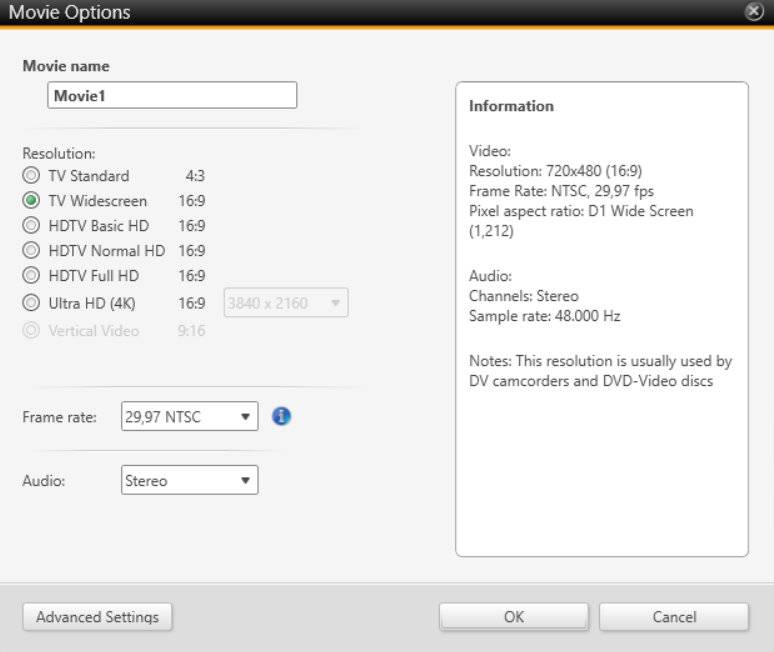
Open an editing project via ‘Make Express Movie’. Check your project format under the top menu ‘Options > Movie Options’, and select ‘TV Widescreen’.
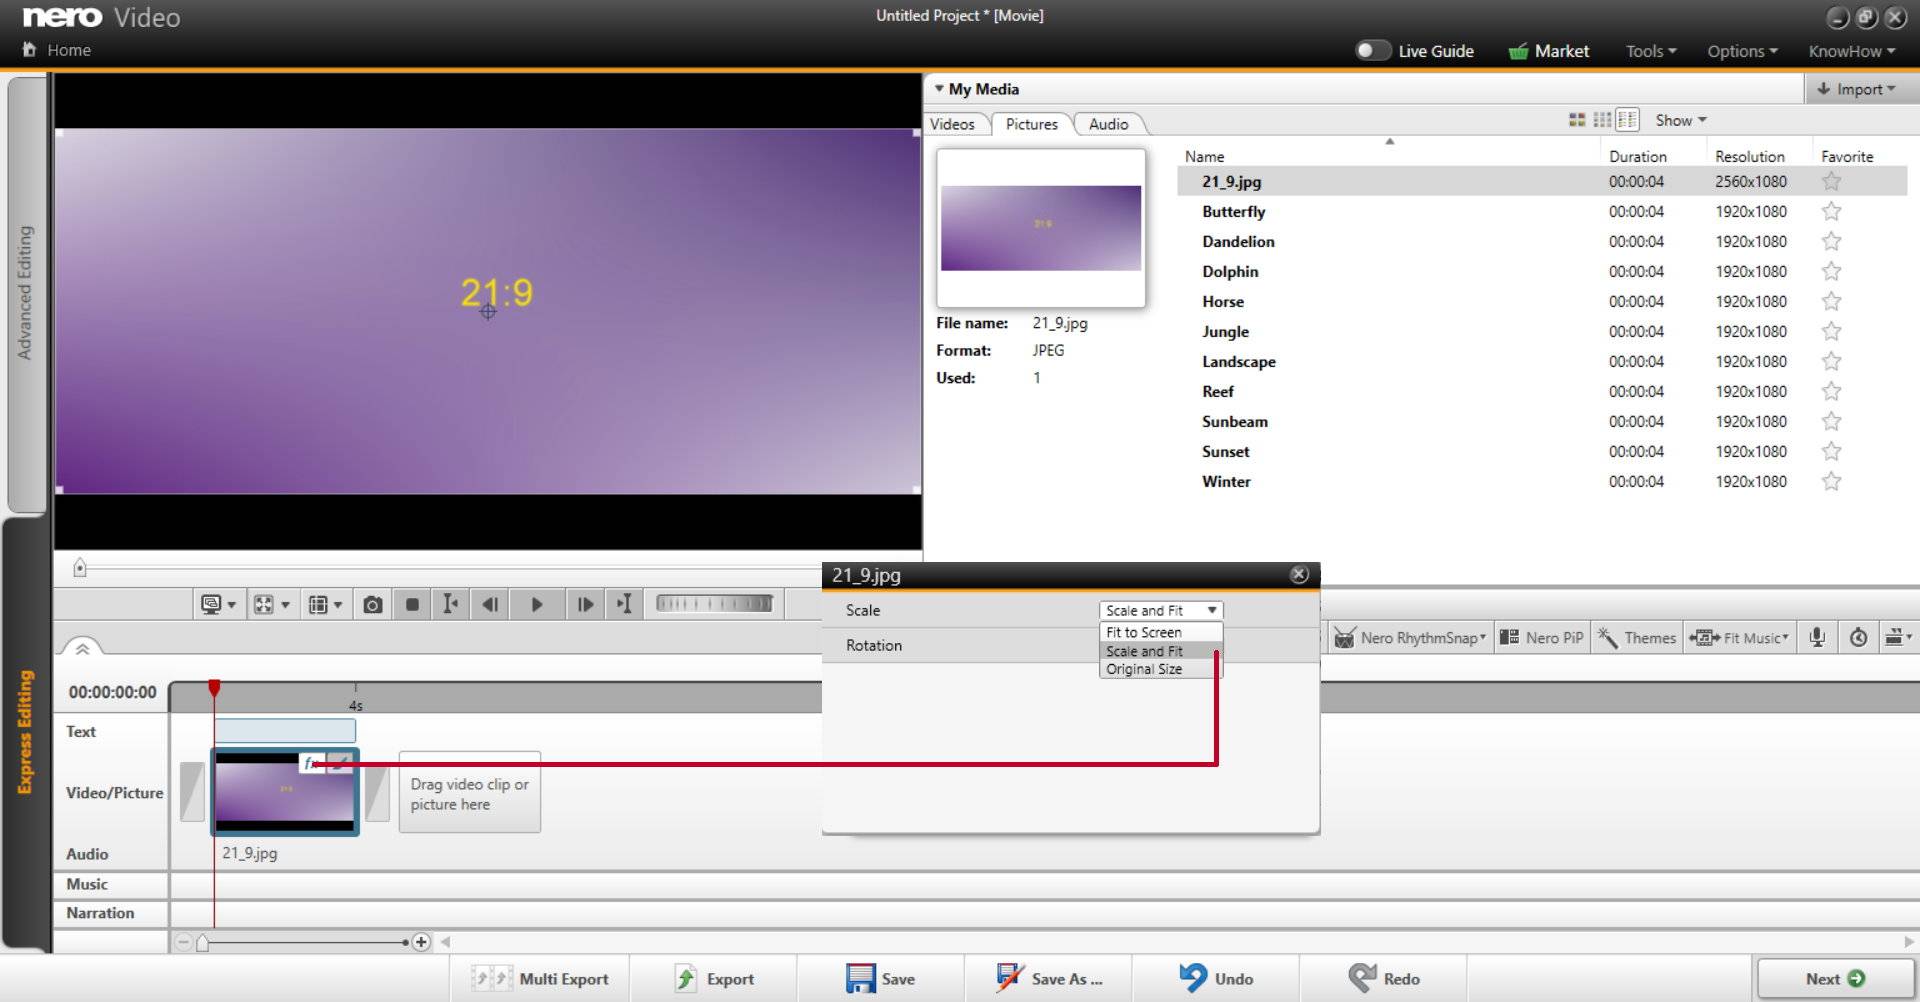
Import your movie and add it to the timeline. Put the mouse over the timeline thumbnail and a hover selection will open. Click on ‘fx’ to open the Express Effect window. In there, select the drop down menu under ‘Scale’ and select ‘Scale and Fit’.
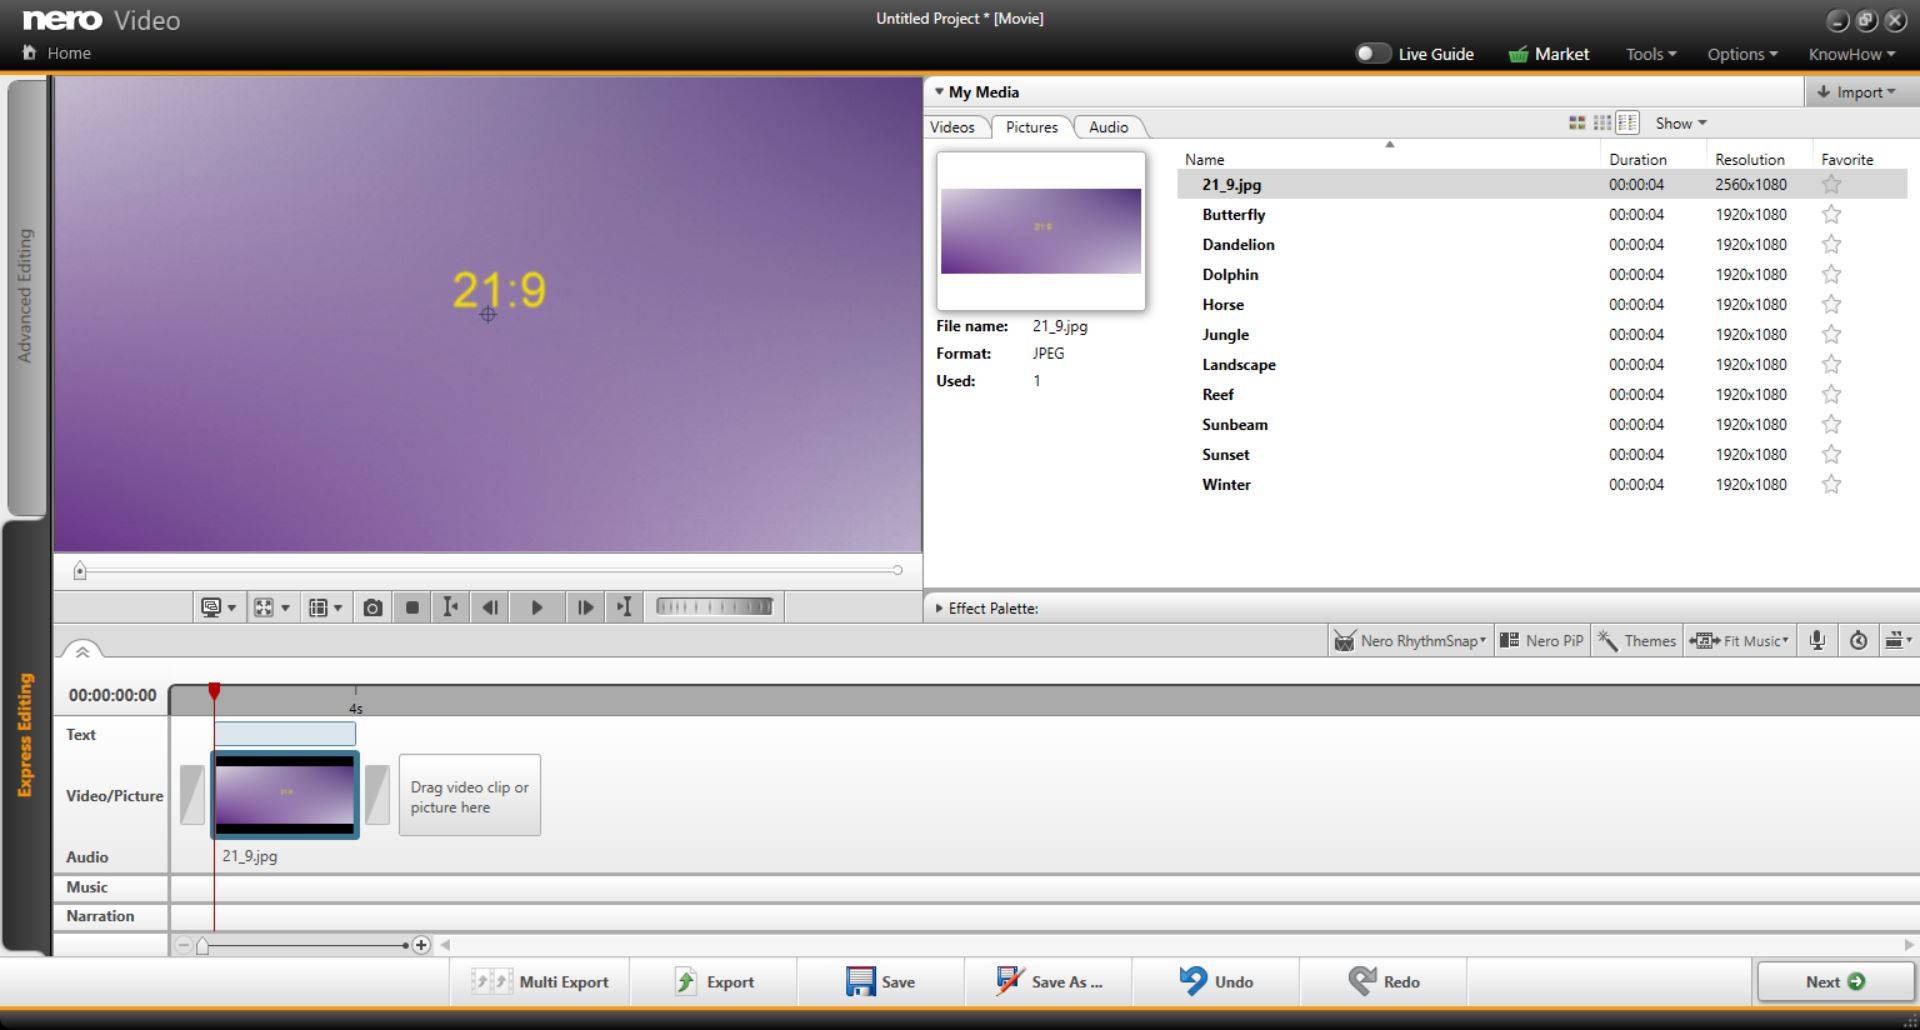
Now your video will match the aspect ratio of your 16:9 widescreen project (just be aware that you will have cut off some image information at the left and right rim of the image).
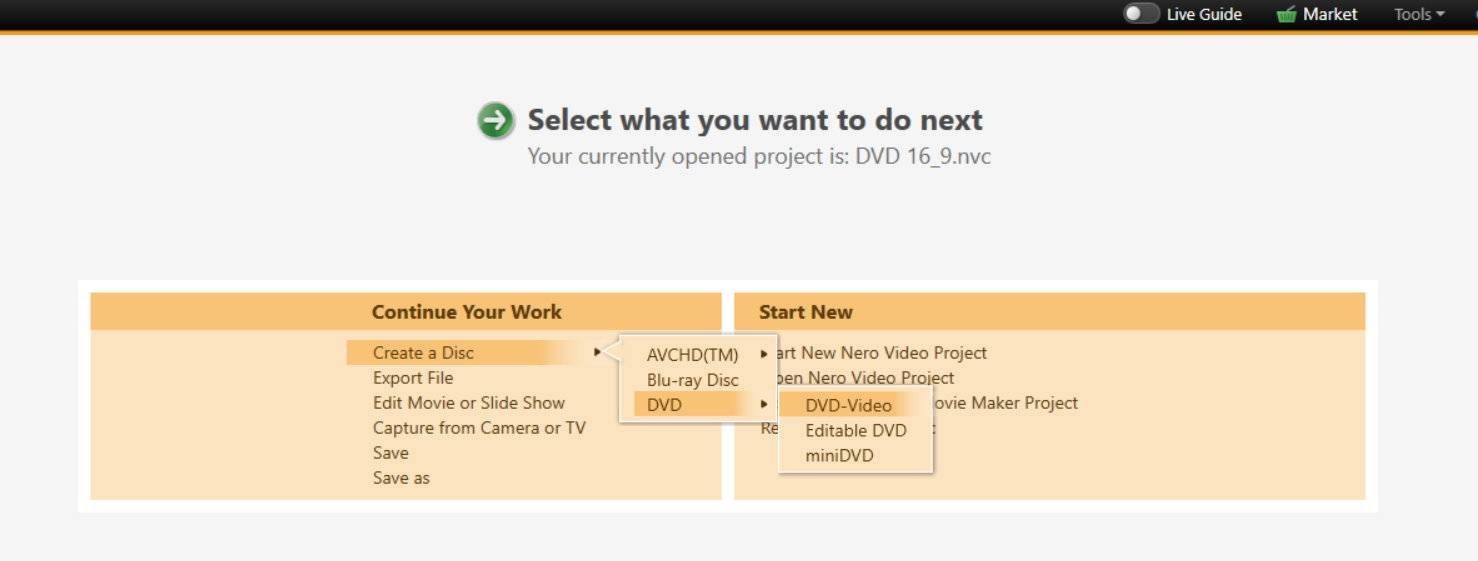
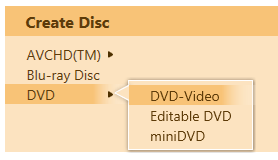
To create a DVD click ‘Next > DVD > DVD-Video’
Tip: If you happen to import 4:3 images or videos into a 16:9 project, Nero Video will automatically remove the black bars with auto content generated from your video or image.
When you want to create a DVD that plays on your DVD player you initially need to understand which kind of format needs to be present on your DVD disc.
There is a fundamental difference between a DVD data disc and a DVD-Video disc.
A DVD data disc can be filled with any kind of data content whereas a DVD-Video disc consists of a defined disc format structure that lets you navigate through DVD disc menus and lets you play your files via these disc menus. Also the video file formats that you use (in your case mp4 and .avi) need to be made compatible as a DVD-Video disc only accepts MPEG-2 video codecs*.
*For more details check the Glossary in Nero KnowHow
Step 1 – Select the DVD-Video creation option
Nero Video is the application of choice within Nero Suite that provides easy yet powerful high-quality DVD-Video creation.
Launch Nero Video
On the start screen (“Home”) select “Create Disc > DVD > DVD-Video”
Step 2 – Import and sort your content
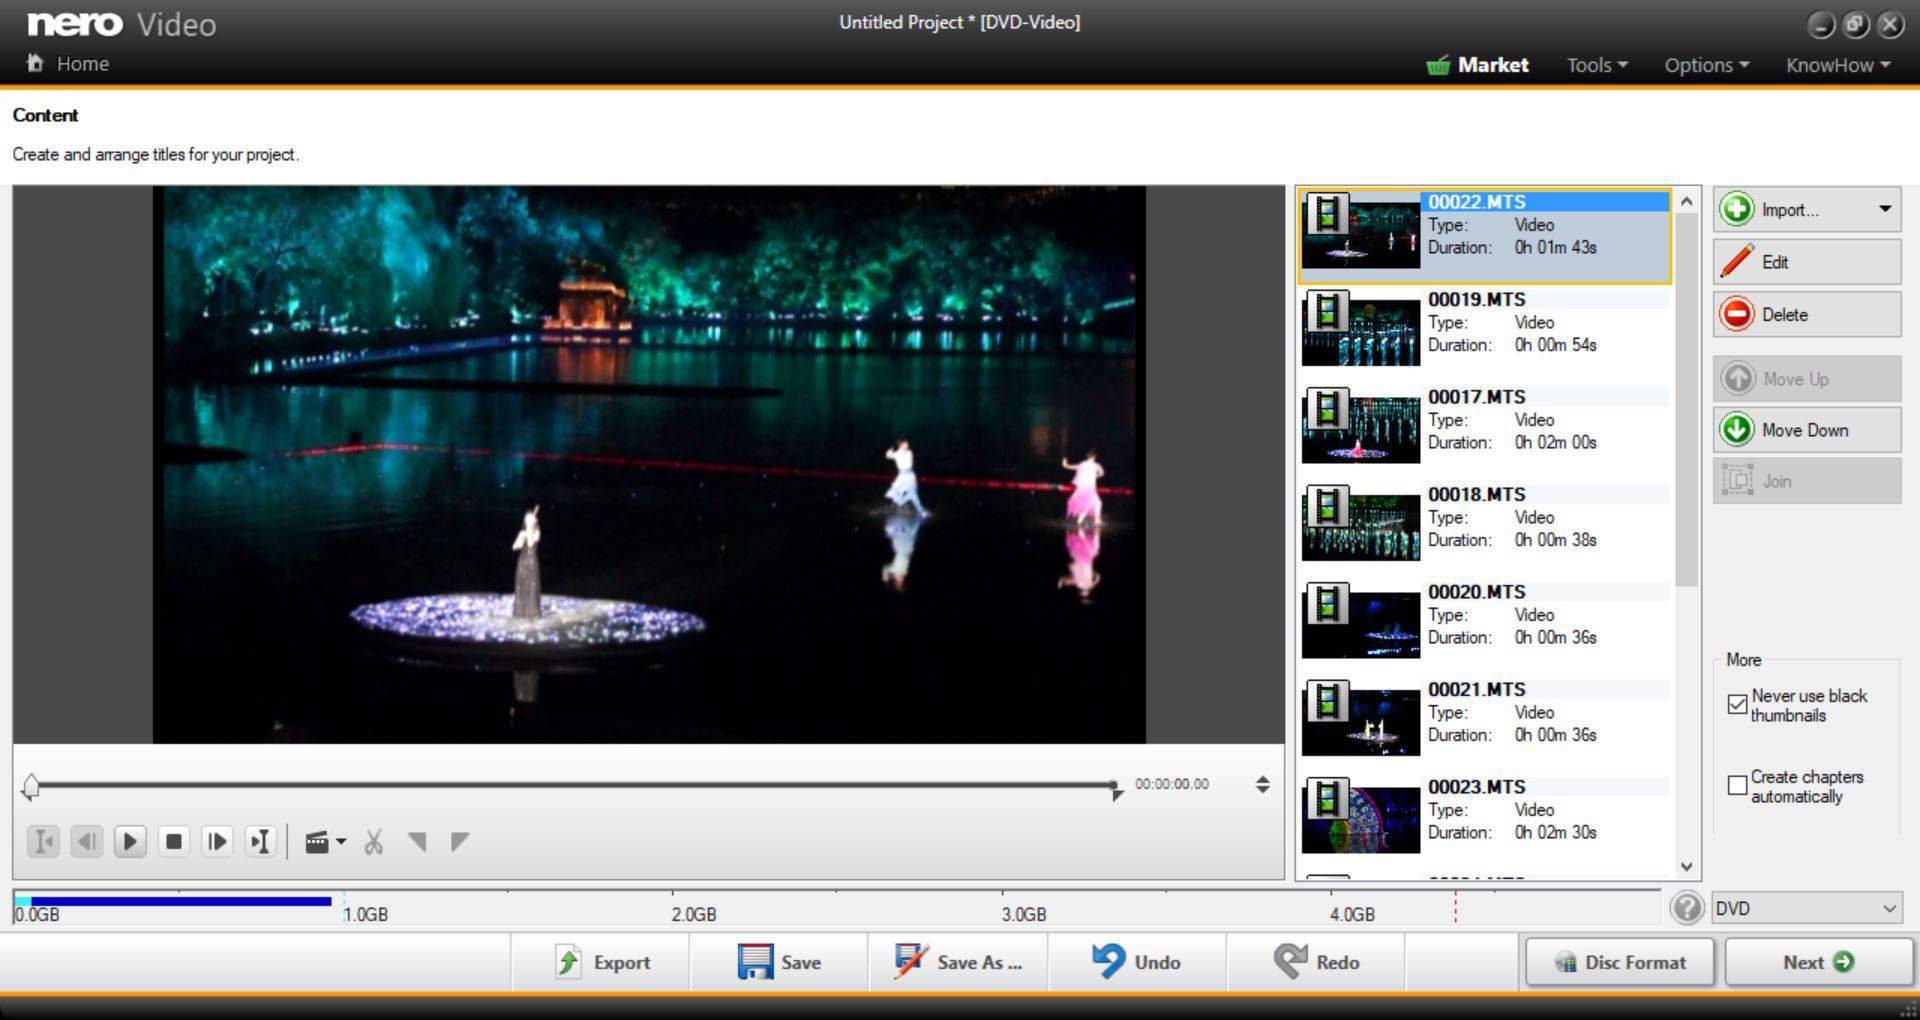
You will see the content screen for your disc project, now
Click on “Import > Import files” to add your video files to your disc project
Within the explorer view browse and select the videos you want to add, and press “Open”
The videos will be imported and listed
Note that the videos will be listed in the given order from top to bottom, and this will also translate into the order of clips being shown in your DVD menu
If you want a different order, just drag and drop the clips to the corresponding position within in the window (in the screenshot you can see that clip 00022 and 00019 have been dragged to the top of the list)
when all is good, click next
TIP: You cannot insert images or image sequences directly into a DVD-Video project. If you plan to do so, make sure that you have none of your video clips in the actual list selected. Then click ,Edit’. Within the editing mode simply drag the wanted images to the timeline and click ‘Next’. Your image sequence will now be present as an individual video within the clip list of your DVD project and be available as a regular video for playback via your DVD-Video disc navigation menu.
Step 3 – Select a suiting disc menu
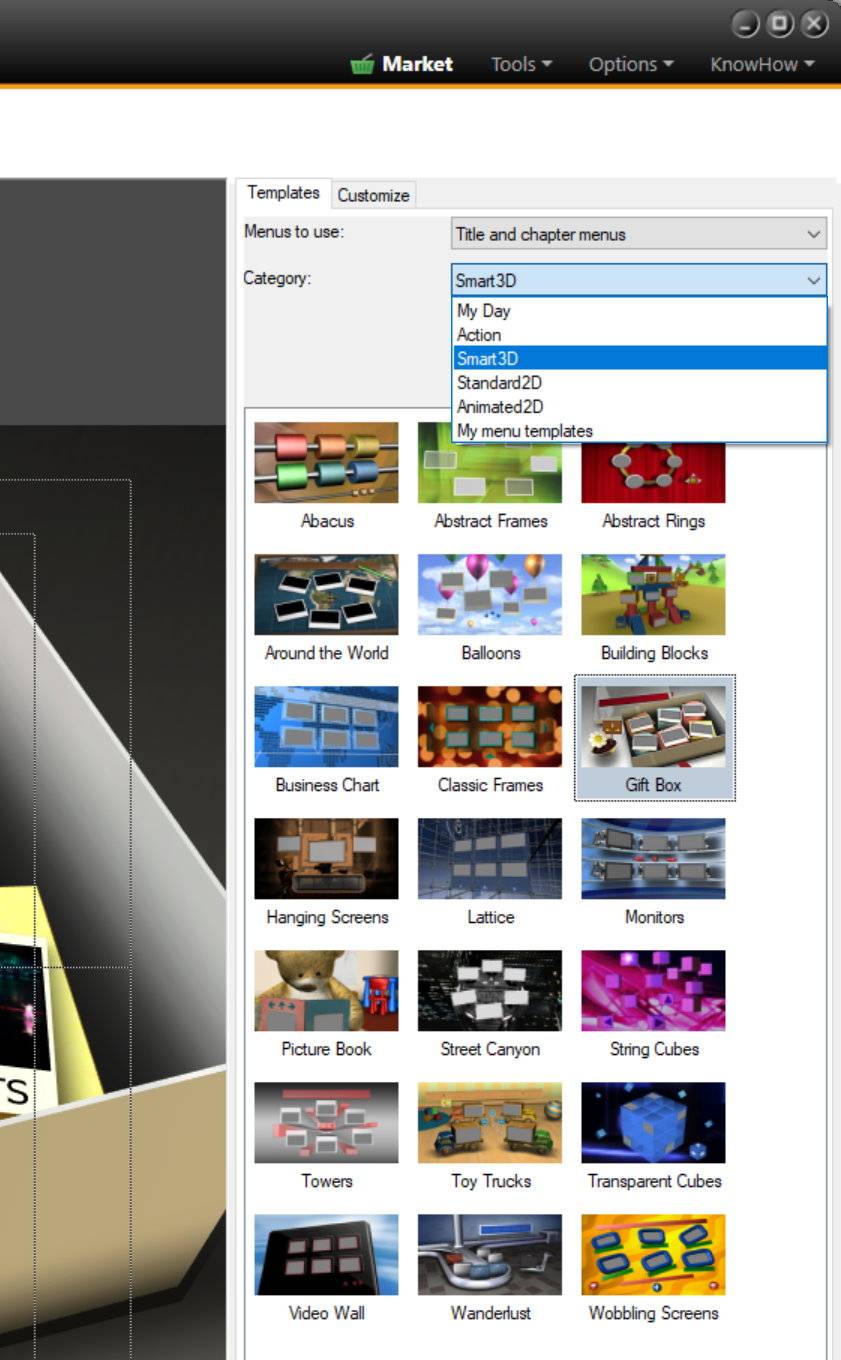
In this screen you can select between a number of categories and numerous templates inside of the individual categories. As you can see in the screenshot, we have selected a disc menu template from the ‘Smart 3D’ category.
Click “Next” to get to the preview function.
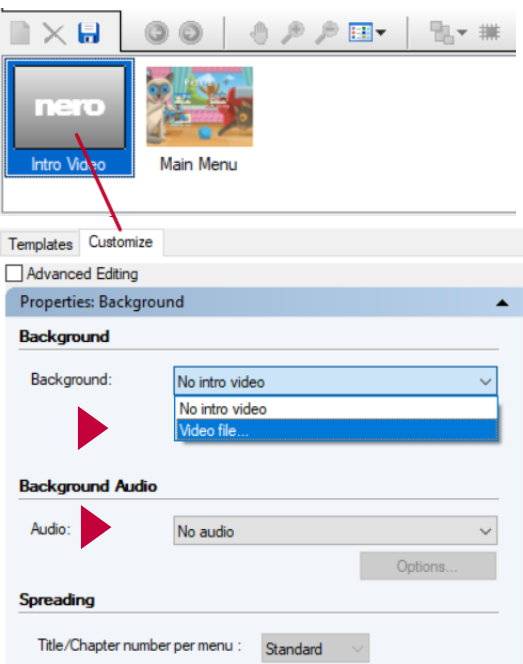
TIP: You can also customize DVD-menus and create your very own templates to use over and over gain. For more details on how to customize disc menus in Nero Video check Nero KnowHow 00033
Step 4 – Preview your disc
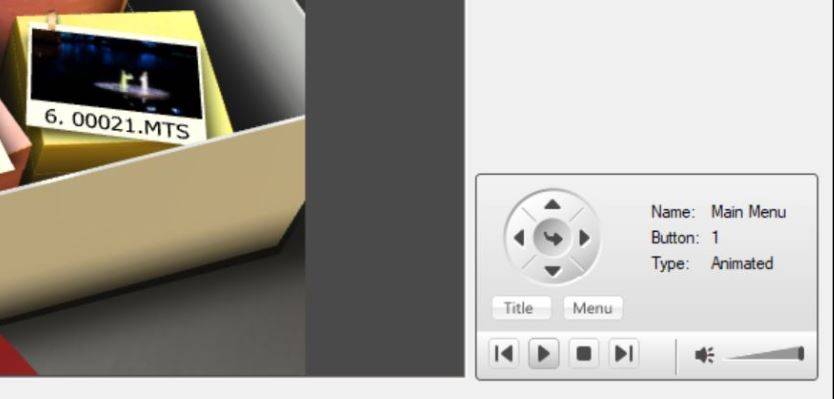
In this screen, you can realistically preview your disc with all menus and all pages in exactly the same way your DVD player will show it. Give yourself some time for checking before you click on ”Next”.
Step 5 – Burn your DVD-Video disc
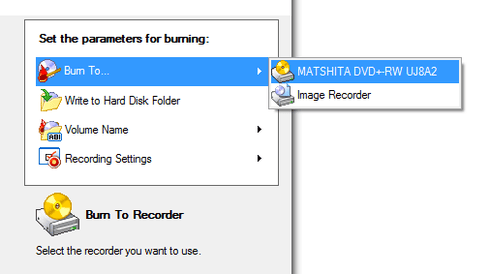
Within this screen select your recorder under “Burn to…”
Insert a blank DVD disc into the recorder (DVD±R or DVD±RW or DVD±R DL)
Click “Burn”
Now, a windows opens showing you the status of the final processing – initially rendering of the disc menus and the video titles, before switching over to the status of the final burning process. No further action is required here.
You will be notified when the burning is finished.
TIP: There is a dependency between the content that fits onto your disc and the quality setting within ‘Recording Format Options’. Find more on that topic under NeroKnowHow 00022
Sure you can. To do so create a so called ‘Slide Show’. In there you can automatically create a movie consisting of photo only, video only, or a combination of photo and video and then burn that to a DVD Video with menus.
In ‘Nero MediaHome’ select your photos or videos from which you are going to create a themed slideshow. ‘Nero MediaHome’ has a whole variety of automatic design templates.
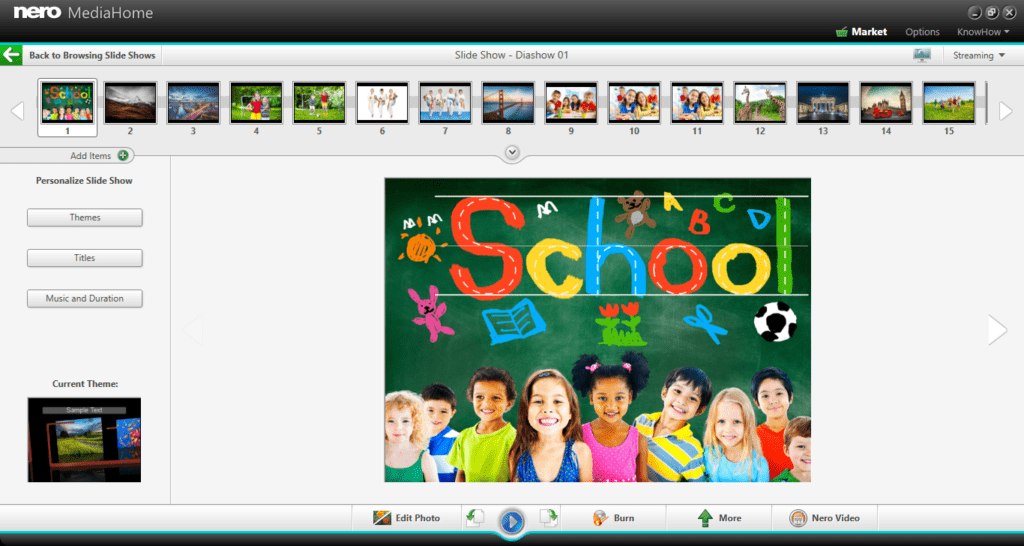
Click the button ‘Create new’, select ‘Slide Show’ and type in a name. Your slide show including all elements is shown in the storyboard at the top of the window.
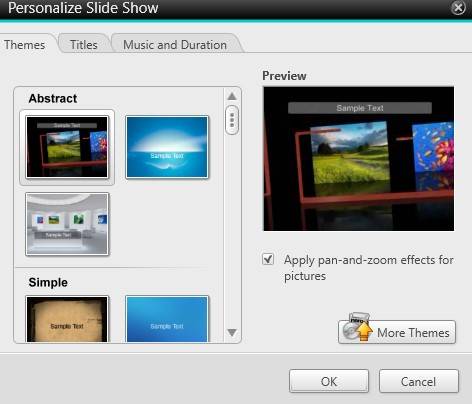
On the left hand side you can select themes like ‘Abstract’. Within the tab ‘Title’ your slide show name appears and will be used for the intro sequence. You can modify captions for intro and outro sequence by typing in new names.
Clicking the tab ‘Music and duration’ allows you to set the duration of single images and to select the wanted music track. For example: you can chose between the music that comes with the template or your own music.
Do a preview of your project to get a first impression. If you prefer other themes just click on the ‘Themes’ button again and select a different one.
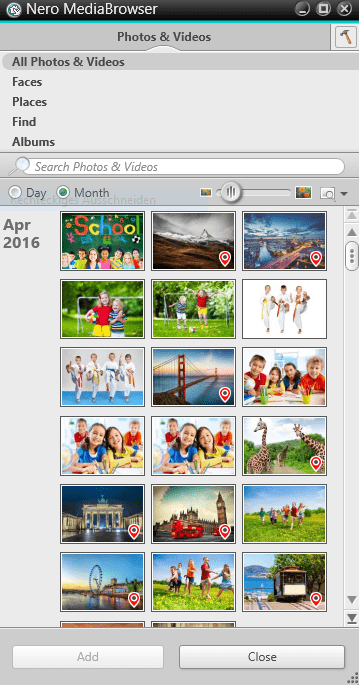
In the storyboard you can add more images and videos. Click on the ‘+’ area and ‘Nero MediaBrowser’ will open.
This is a minature view of ‘Nero MediaHome’ with access to all your media.
Your slide show will be auto saved and is ready for burning, now. In case you want to burn several slide shows (videos) to a single DVD-Video just repeat the described process several times, then go to ‘All Slide Shows’, and select the wanted slideshows on the main screen.
Now click on the burn icon bottom right and select ‘DVD-Video’. Menus based on your theme will be added automatically.When finished each of your videos can now be selected for individual playback via the menu buttons on your DVD that will play in any standard DVD player.


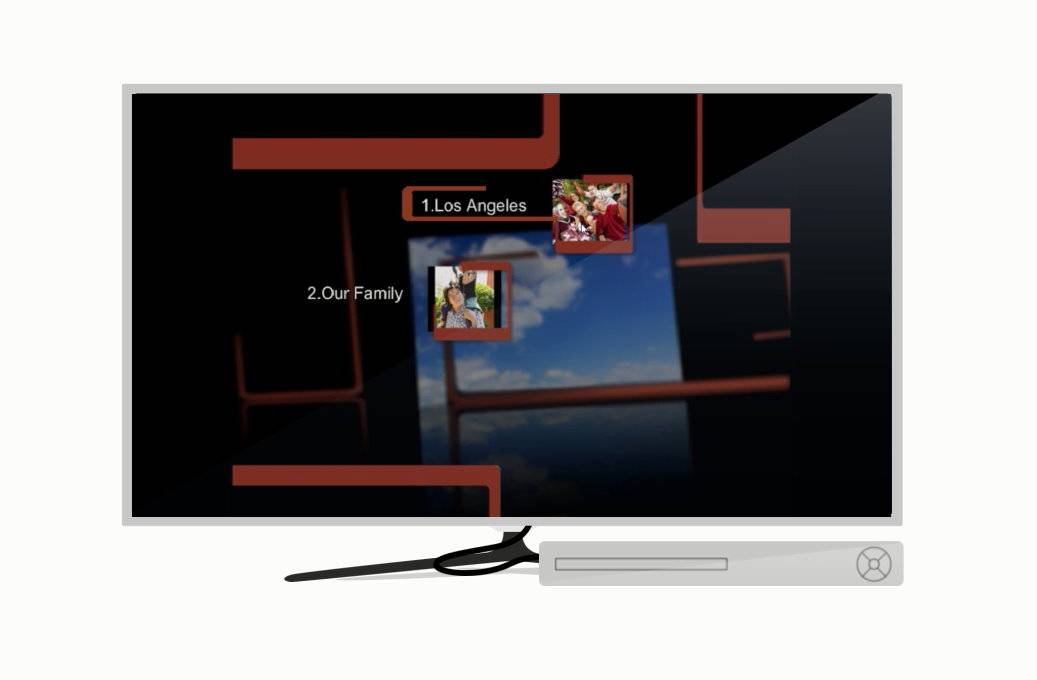 When finished each of your videos can now be selected for individual playback via the menu buttons on your DVD that will play in any standard DVD player.