What is the difference between Express Editing and Advanced Editing, and when would I use it?

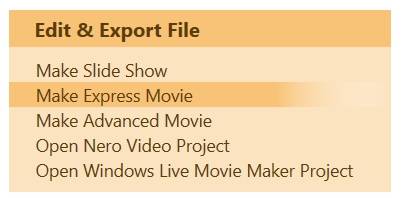
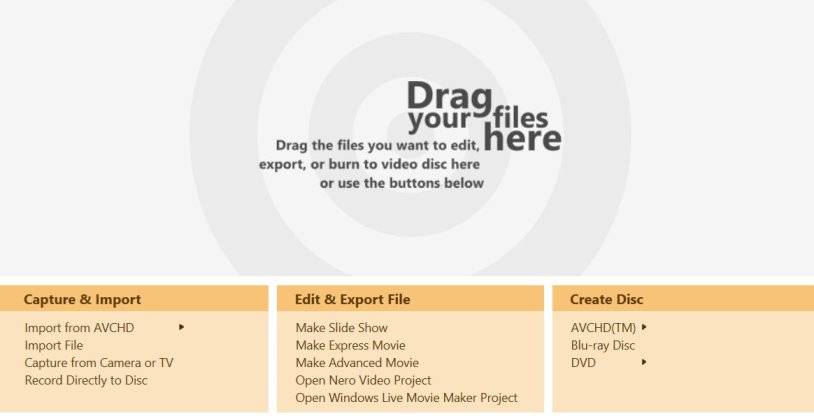
You have the choice of selecting ‘Make Express Movie’ or ‘Make Advanced Movie‘ within ‘Nero Video‘ ‘Home Screen‘ as well as in the project itself.

Home_en

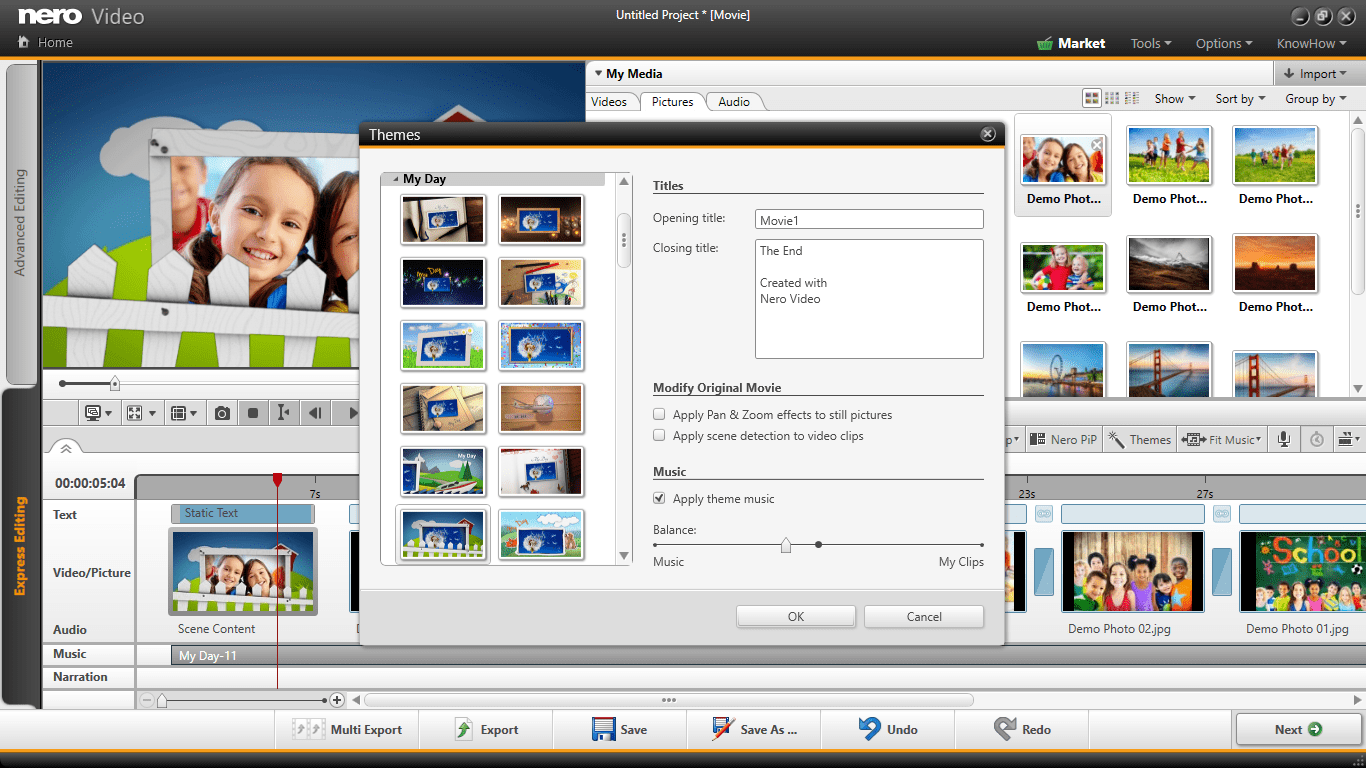
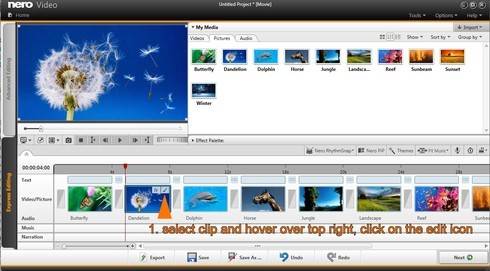
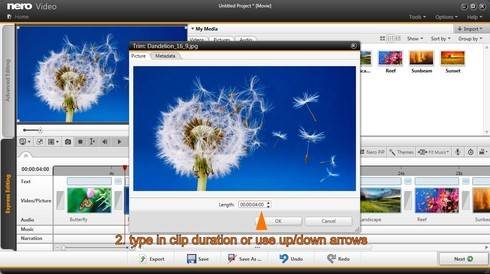
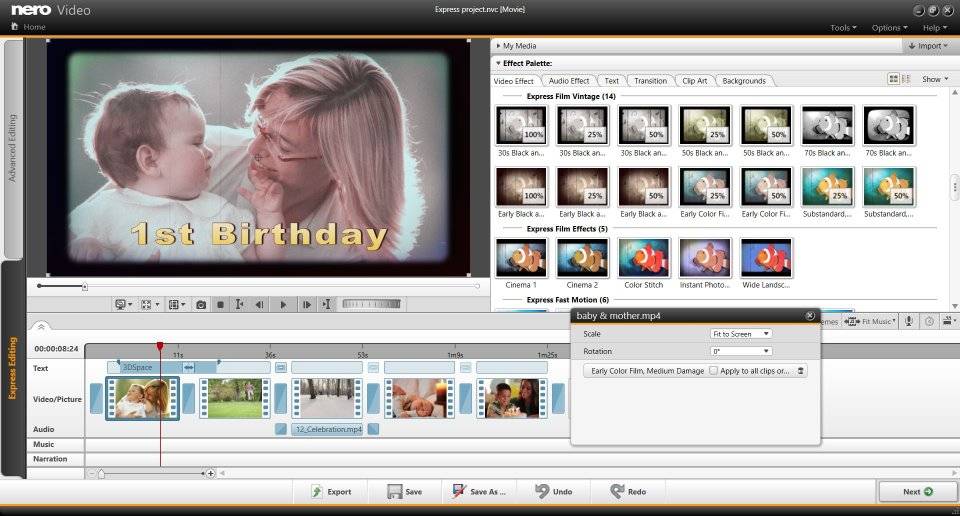
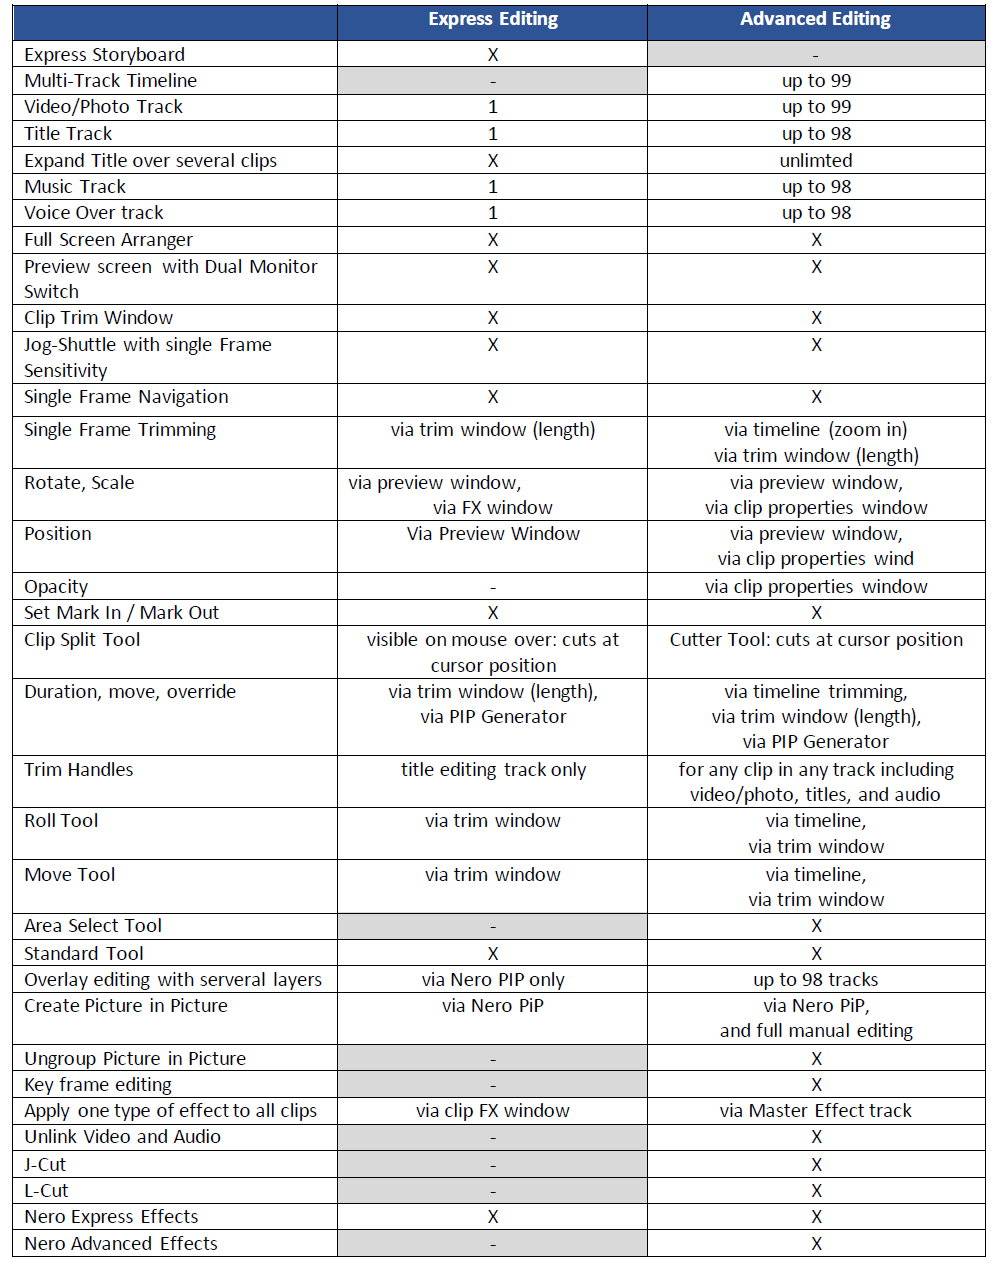
‘Express Editing‘ is optimized for quick results. ‘Nero Video‘ express mode is very easy to use, still you will realize that probably 90% of your jobs can already be done here. Compared to ‘Advanced Editing’ you have some limitations: no multi-track editing, no aditional trimming options, no keyframing, no advanced video and audio filters.

Also for users with higher ambitions Nero Video ‘Express Editing‘ is the perfect choice for rough cuts and quick trimming. You also have dedicated preset ‘Nero Express Video Effects‘ templates that you just drag and drop to your clip.

Express Project_en

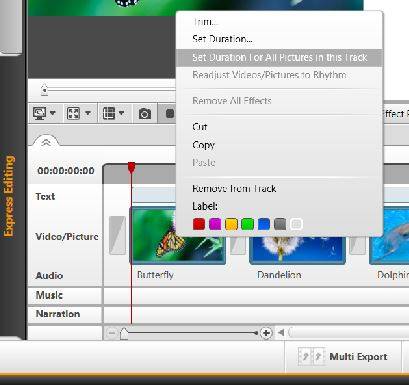
Starting with Nero 2017 you also have a great function called ‘Multi Export‘ in ‘Express Editing‘. This allows you to export individual clips within one project in only one export process. This way you save a lot of time.

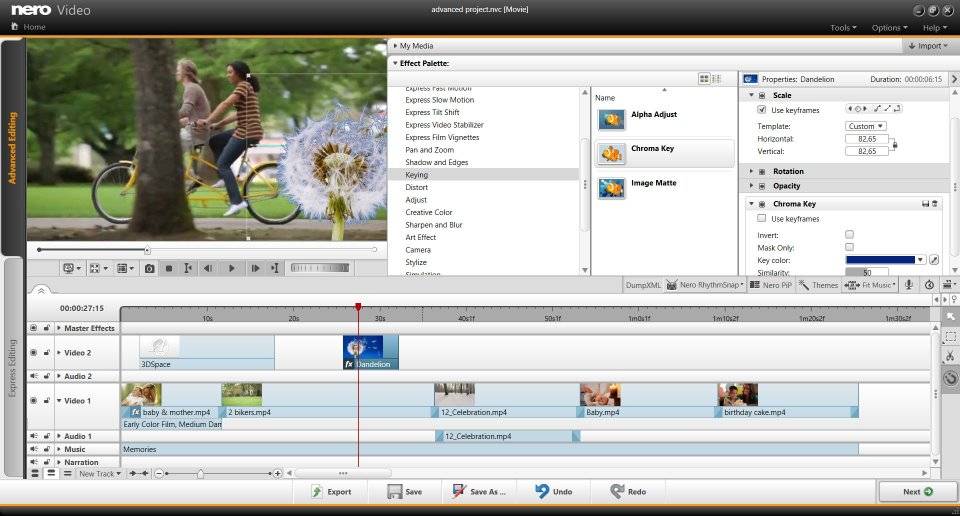
Nero Video ‘Advanced Editing‘ comes into place when you want to create video projects with all the bells and whistles of a pro movie. ‘Advanced Editing’ gives you timeline based multi-track editing with numerous layers, a higher varitety of trimming tools, more video and audio filters. A key differentiator is the availability of keyframe editing that you can utilize for moving path animations, picture in picture overlays, and also for almost all of the advanced video effects. In here you also have the option of customizing video effects and save them as your personal drag & drop effect template for frequent re-use. Such newly created personal drag & drop effect templates will also work in your ‘Express Editing‘ projects.

Advanced Project_en

Once started a project you also have the option of hot switching from ‘Express Editing’ to ‘Advanced Editing’ so that you can further fine tune your project started in ‘Express Editing‘.

Check out below table for a detailed comparison.NV Compare_EN

Tip: Get to know more about Nero Video Express Editing and Advanced Editing in ‘Nero KnowHow 00073’

Nero KnowHow 00027

What is the meaning of Background Rendering? When would I use it?

If you are working on a Full HD Project with many tracks and a number of video effects applied your system may not be performant enough to play your preview in realtime. Also 4K projects can suffer from perfomance in preview.

For such cases ‘Nero Video’ has a special function called ‘Background Rendering‘. With this function enabled Nero Video will render your project in the background whenever your project is idle so that you can even watch complex projects in realtime.

BR set EN_00029_1

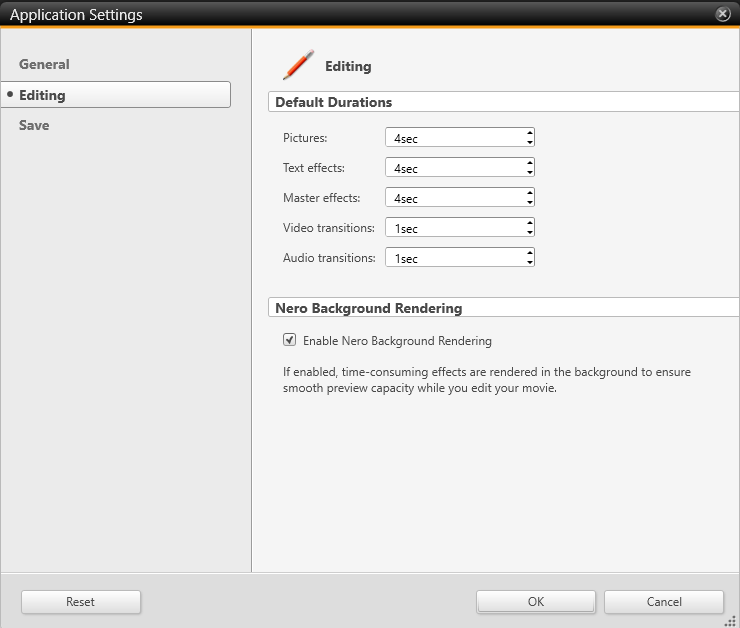
To switch on ‘Background Rendering‘ in ‘Nero Video’ go to ‘options > application settings > editing’ and ‘Enable Nero Background Rendering’.

BR live EN_00029_2

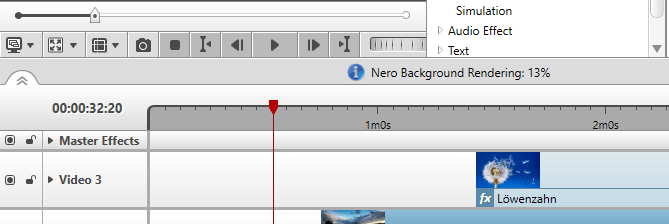
‘Nero Video’ will show a percentage indication. When this is finished (100%) ‘Nero Video’ is ready for a realtime preview.

Nero KnowHow 00030

How can I preview Nero Video editing projects via Dual Monitor?

If you prefer doing video editing on a laptop it is very useful to have a second larger video monitor for your project preview. This way you also have the advantage of enlarging the project workspace on your laptop.

Make sure your second monitor is attached. In Nero Video click on the dual monitor button underneath the preview screen. Now your preview is shown on the second monitor simulateneaously.

EN 00031 NV Multi_2

For adjusting the preview quality click on the respective button in the left hand side of navigation bar underneath the preview screen and make use of the quality slider. Select ‘Best Quality’ most right for Full HD preview.

EN 00031 NV Multi_1

If your system lacks perfomance you can also set the slider more to the left hand side and reduce resolution in favor of having more real time performance.

Finally you can adapt the layout of your main screen to gain more space for your project work.

EN 00031 NV Multi_3

Your layout will be auto saved with your project and loaded automatically next time you start Nero Video.

Check out the video tutorial

Nero KnowHow 00031

How much video can I burn on one DVD? Which settings do I have to select?

This depends on one hand on the type of disc on the other on the video quality (compression rate) you prefer.With standard quality (5073 kbit/s) you can have 2 hours of video onto a DVD-5 (4.38GB).DVD Set EN_1 00033With high quality (8000 kbit/s) you will be able to burn about 1 hour to the same disc.DVD Set EN_3 00033

Quality settings are available in ‘Options > Recording format options’

The Tab ‘General’ lets you select your regional TV standard under ‘Video mode’ to PAL (Europe, etc.) or NTSC (North America, etc.). Per default it is set to be in sync with the language of your operating system. Also ‘SmartEncoding’ is set to ‘automatic’ by default, and we recommend to keep this. So, in a normal case, there is nothing to be set within the tab ‘General’.

TIP: Check Nero KnowHow Glossary if you want to learn more about PAL/NTSC or SmartEncoding.

Quality #1

In the tab  ‘DVD-Video’ under ‘Recording format options’ you have ‘Quality settings’ available to select from.

Quality #2

You can also have ‘Nero Video’ compress your quality automatically so that your content fits on one disc. Lots of content on one disc can lead to a high compression resulting in a lower viewing quality, though.In such a case we recommend using a ‘DVD-9 Disc’ (double layer disc with 8.5 GB). This will roughly double the space on your disc and increase recording time based on above mentioned quality levels.For ease of use ‘Nero Video’ has disc format switch that allows hot format switching from within a project’s content screen and within the final burning screen.

DVD Set EN_4 00033

TIP: Learn how to create a DVD-Video with menus in Nero Video via Nero KnowHow 00112

Nero KnowHow 00032