When ripping a DVD with Nero Recode, you may want to keep the original subtitles without permanently embedding them in the video. With the external SUB/IDX subtitle export option, you can save selected DVD subtitle tracks separately from the video, giving you more flexibility when watching your ripped movies.
This guide explains how to select DVD subtitles, export them as external SUB/IDX files, and troubleshoot common issues.
What Are External SUB/IDX Subtitles?
SUB/IDX is a subtitle format commonly used for DVD-style image-based subtitles. Unlike text-based formats such as SRT, these subtitles preserve the original subtitle appearance as images, including styling and positioning.
The format consists of two companion files:
- SUB file (
.sub): Contains the subtitle image data. - IDX file (
.idx): Contains subtitle index information, including timing and information needed to select and display the subtitles.
Both files are needed for proper playback. Keep them together and use a compatible media player.
Exporting subtitles separately allows you to retain the subtitle track without burning the subtitles directly into the video image.
How to Export SUB/IDX Subtitles in Nero Recode
Follow these steps to export subtitles while ripping a DVD.
Step 1: Import Your DVD
- Launch Nero Recode.
- Import the DVD you want to rip.
- Select the title you want to convert.
- Open the title’s Audio & Subtitles settings.
Nero Recode displays the available audio and subtitle tracks for the selected title.
Step 2: Open the Subtitles Tab
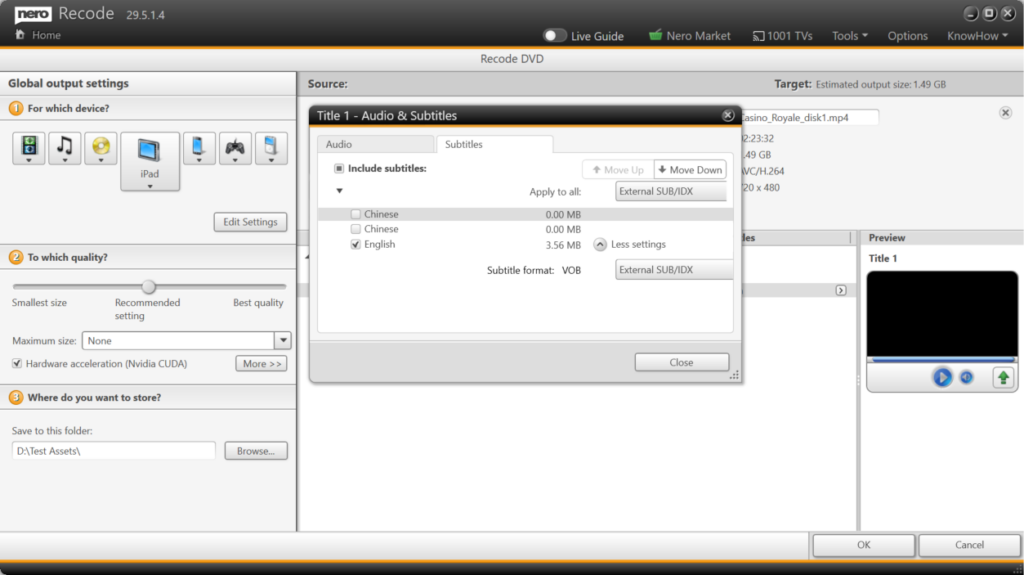
In the Audio & Subtitles window, select the Subtitles tab.
Enable Include subtitles to include subtitle tracks in your output settings. The available subtitle tracks are listed with their language names and, where applicable, their estimated sizes.
Step 3: Select the Subtitle Tracks You Need
Select the checkbox next to each subtitle track you want to export.
For example, if the DVD contains Chinese and English subtitles, you can select English only or choose both languages if you want to keep multiple subtitle options.
Consider the following when choosing your tracks:
- Select the language you intend to use during playback.
- Keep multiple languages if you need them for different viewers.
- Check the estimated size of each track when managing storage space.
Step 4: Choose External SUB/IDX as the Subtitle Format
Locate the Subtitle format setting and select External SUB/IDX.
If you want to apply this setting to multiple titles, use the Apply to all control where available and choose External SUB/IDX for the subtitle format.
This setting tells Nero Recode to export the selected DVD subtitles as external SUB/IDX files instead of relying on subtitles being permanently embedded in the video.
Tip: Confirm the format for the selected subtitle track before proceeding. If your DVD contains several titles, check that the intended subtitle settings apply to each relevant title.
Step 5: Configure the Output and Start Ripping
- Close the Audio & Subtitles settings window.
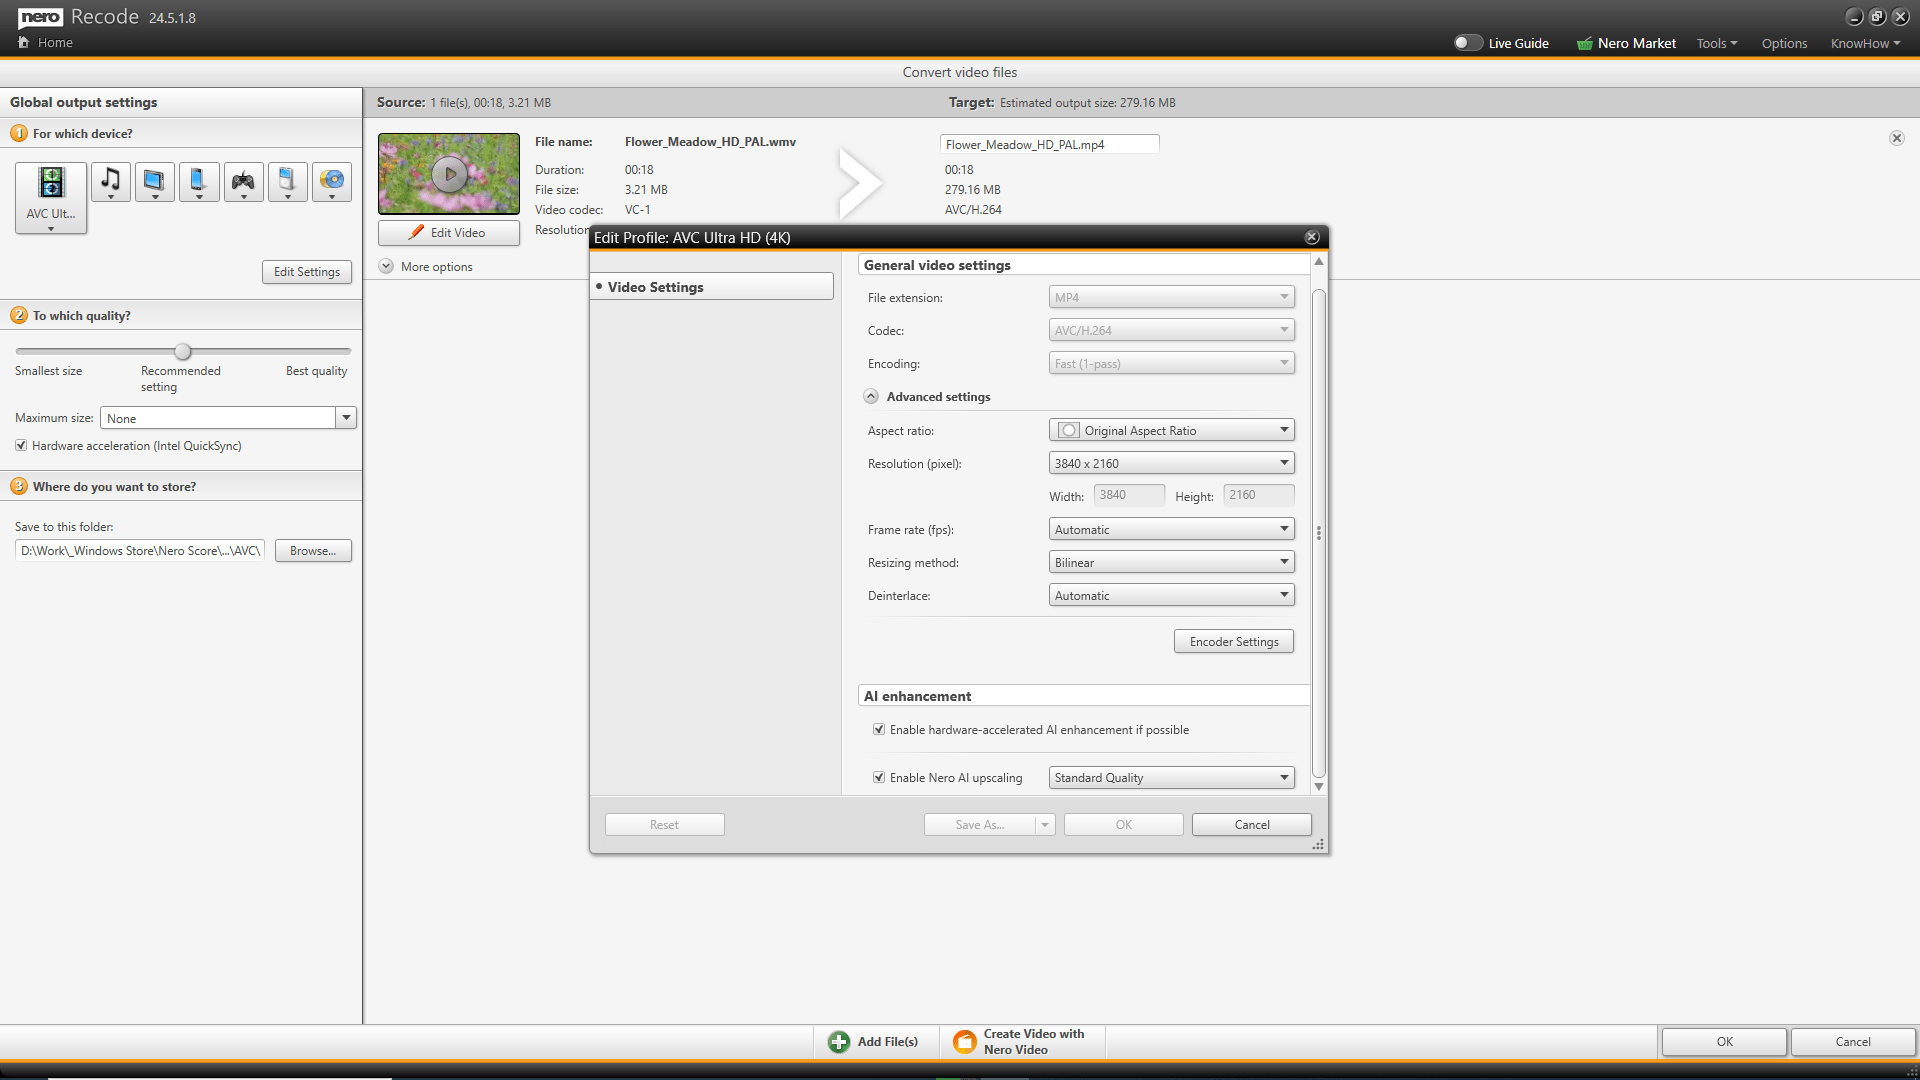
- Review the output device, quality, maximum size, and destination folder.
- Confirm your selections.
- Click OK to start the ripping or conversion process.
When processing is complete, open the output folder and check for the exported subtitle files.
For each exported subtitle track, look for the corresponding .sub and .idx files. Keep both files together with clear, matching filenames so that you can identify the correct subtitle track later.
Step 6: Test the Exported Subtitles
Open the converted video in a media player that supports external SUB/IDX subtitles.
If the subtitles do not appear automatically, use the player’s subtitle menu to load the corresponding IDX file. Confirm that the subtitles display correctly and remain synchronized with the video.
Why Export Subtitles Separately?
External subtitles are useful when you want more control over how you watch your videos.
- Flexible playback: Turn subtitles on or off in a compatible player.
- Multilingual viewing: Keep separate subtitle tracks for different languages.
- Preserved appearance: Retain image-based DVD subtitle styling and positioning.
- Cleaner video output: Avoid permanently burning subtitles into the video when a separate subtitle track is preferred.
- Reusable subtitle files: Keep subtitle files alongside the video for later playback on compatible devices and applications.
Keep in mind that subtitle support varies by media player and device. Not every player supports SUB/IDX files.
Frequently Asked Questions
1. What is the difference between SUB/IDX and SRT?
SUB/IDX is an image-based subtitle format commonly used for DVD subtitles. SRT is a text-based format that stores subtitle text and timestamps.
SUB/IDX is useful when preserving the appearance of DVD subtitles is important. SRT is generally more convenient when you want to edit subtitle text or use it with a wide range of applications.
2. Why are there two subtitle files, .sub and .idx?
The two files contain different parts of the subtitle information. The SUB file stores the subtitle images, while the IDX file contains the index information needed to locate and display them.
Both files are required. If either file is missing, the subtitles may fail to load or display correctly.
3. Will the subtitles be permanently embedded in my video?
No. The purpose of choosing External SUB/IDX is to export the selected subtitles separately rather than permanently burning them into the video image.
The resulting video and subtitle files are separate, allowing compatible media players to display or hide the subtitles during playback.
4. Can I export multiple subtitle languages from one DVD?
Yes. You can select multiple available subtitle tracks in the Subtitles tab, provided those tracks are available for the selected title and the export settings support them.
Each exported language should be identifiable by its associated subtitle files. Keep the files organized so you can select the correct language during playback.
5. Can I use SUB/IDX subtitles with any media player?
No. The player must support external SUB/IDX subtitles. Some players support SRT but not image-based subtitle formats.
If your subtitles do not appear, check the player’s subtitle-format support and load the IDX file manually if necessary.
6. Can I edit the text in a SUB/IDX subtitle file?
Not as easily as an SRT file. SUB/IDX subtitles store text as images rather than ordinary editable text.
If you need to change dialogue, correct spelling, or translate subtitles, a text-based format such as SRT is generally more convenient. Converting image-based subtitles into editable text may require optical character recognition (OCR).
7. What should I do if the exported subtitles are missing?
First, check the output folder for both the .sub and .idx files. Make sure the files were not moved or deleted and that the output settings were configured to export the subtitles externally.
If the files are missing, review the selected subtitle track and format settings, then try the conversion again.
8. Why are the subtitles out of sync with the video?
Synchronization issues may arise if the subtitle timing does not match the converted video, or if the subtitle files are being used with a different video version.
Check that the subtitle files belong to the correct video and title. Test them in a compatible media player and use its subtitle-delay controls if necessary.
9. Can I export subtitles from every video file using SUB/IDX?
The workflow described here is specifically for DVD subtitle tracks. SUB/IDX is associated with image-based subtitle data commonly found on DVDs, and the available export options depend on the source and Nero Recode’s supported settings.
For other video sources, check the subtitle formats supported by Nero Recode and choose the format that best matches your playback or editing requirements.
Conclusion
Nero Recode makes it possible to keep DVD subtitles separate from the converted video by selecting External SUB/IDX in the Audio & Subtitles settings.
By choosing the required language tracks, checking the output format, and keeping the paired SUB and IDX files together, you can preserve DVD-style subtitles for flexible playback in compatible media players.