If you would like to create a slide show in Nero Video after your vacation or for the annual holiday, you may have a very large collection of photos to choose from. The new AI and smart detection features in Nero Suite make Nero Video easier to find and create personalized slide shows to bring your memories to life.
As you know, Nero MediaHome is the universal media center in the Nero suite for archiving, organizing, creating and playing files. Previously, however, you couldn’t make use of these already-archived media information outside of Nero MediaHome and Nero MediaBrowser. Now it is different – from 24.x and higher versions you can make use this information directly in Nero Video.
Easily find your photos with new AI and smart detect information
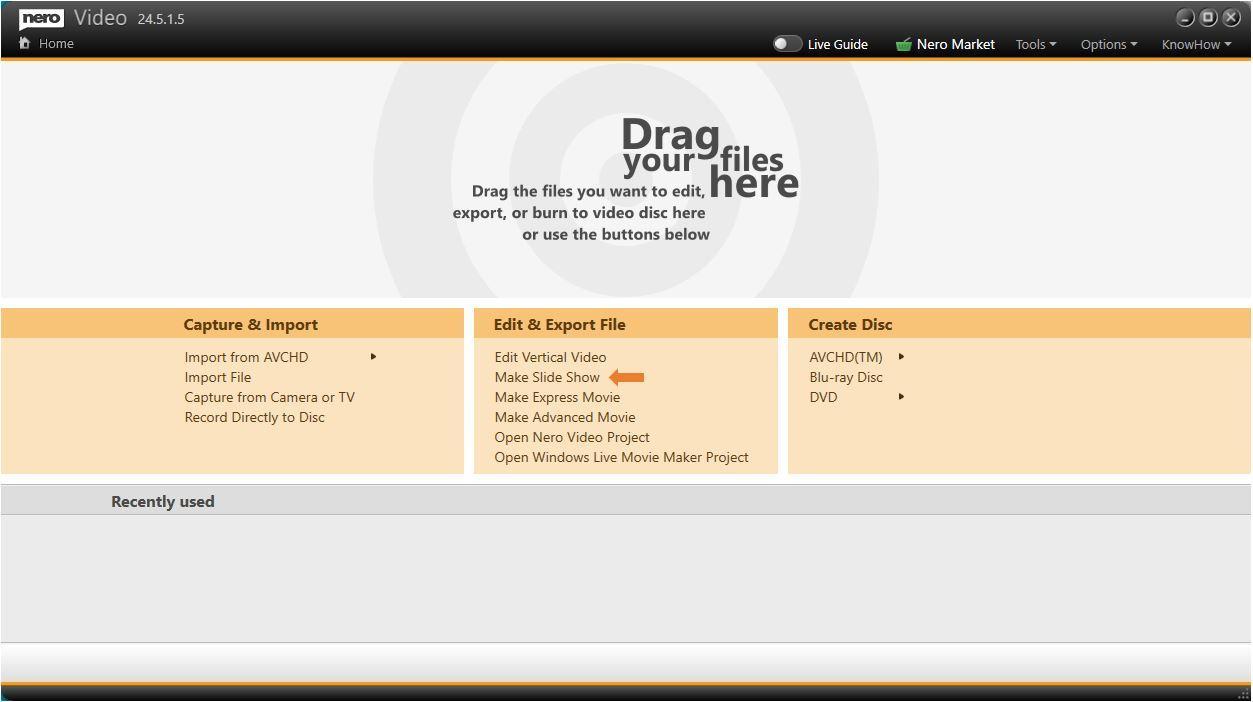
Let’s start Nero Video and Make Slide Show.
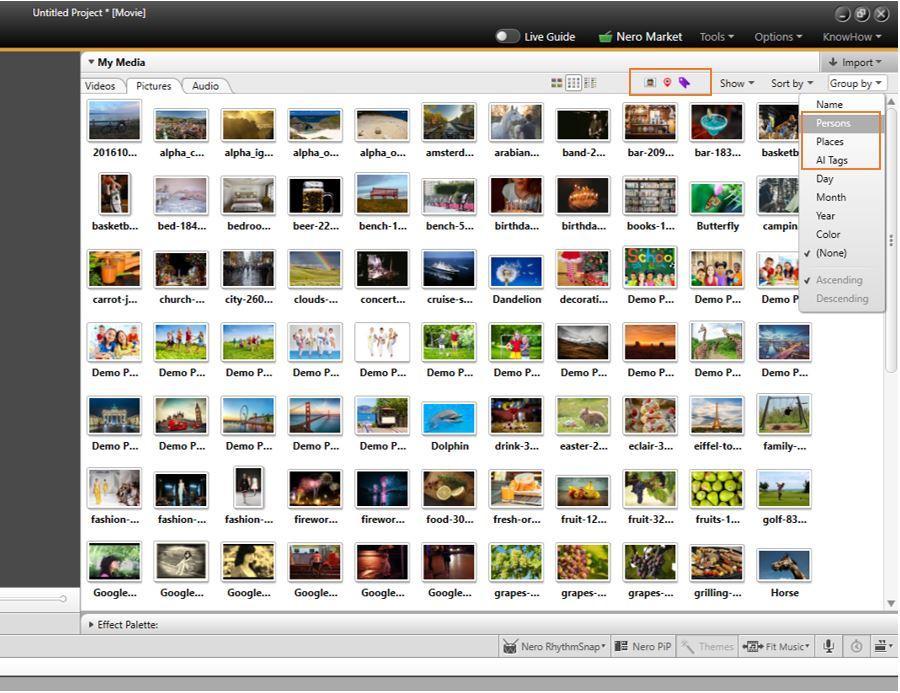
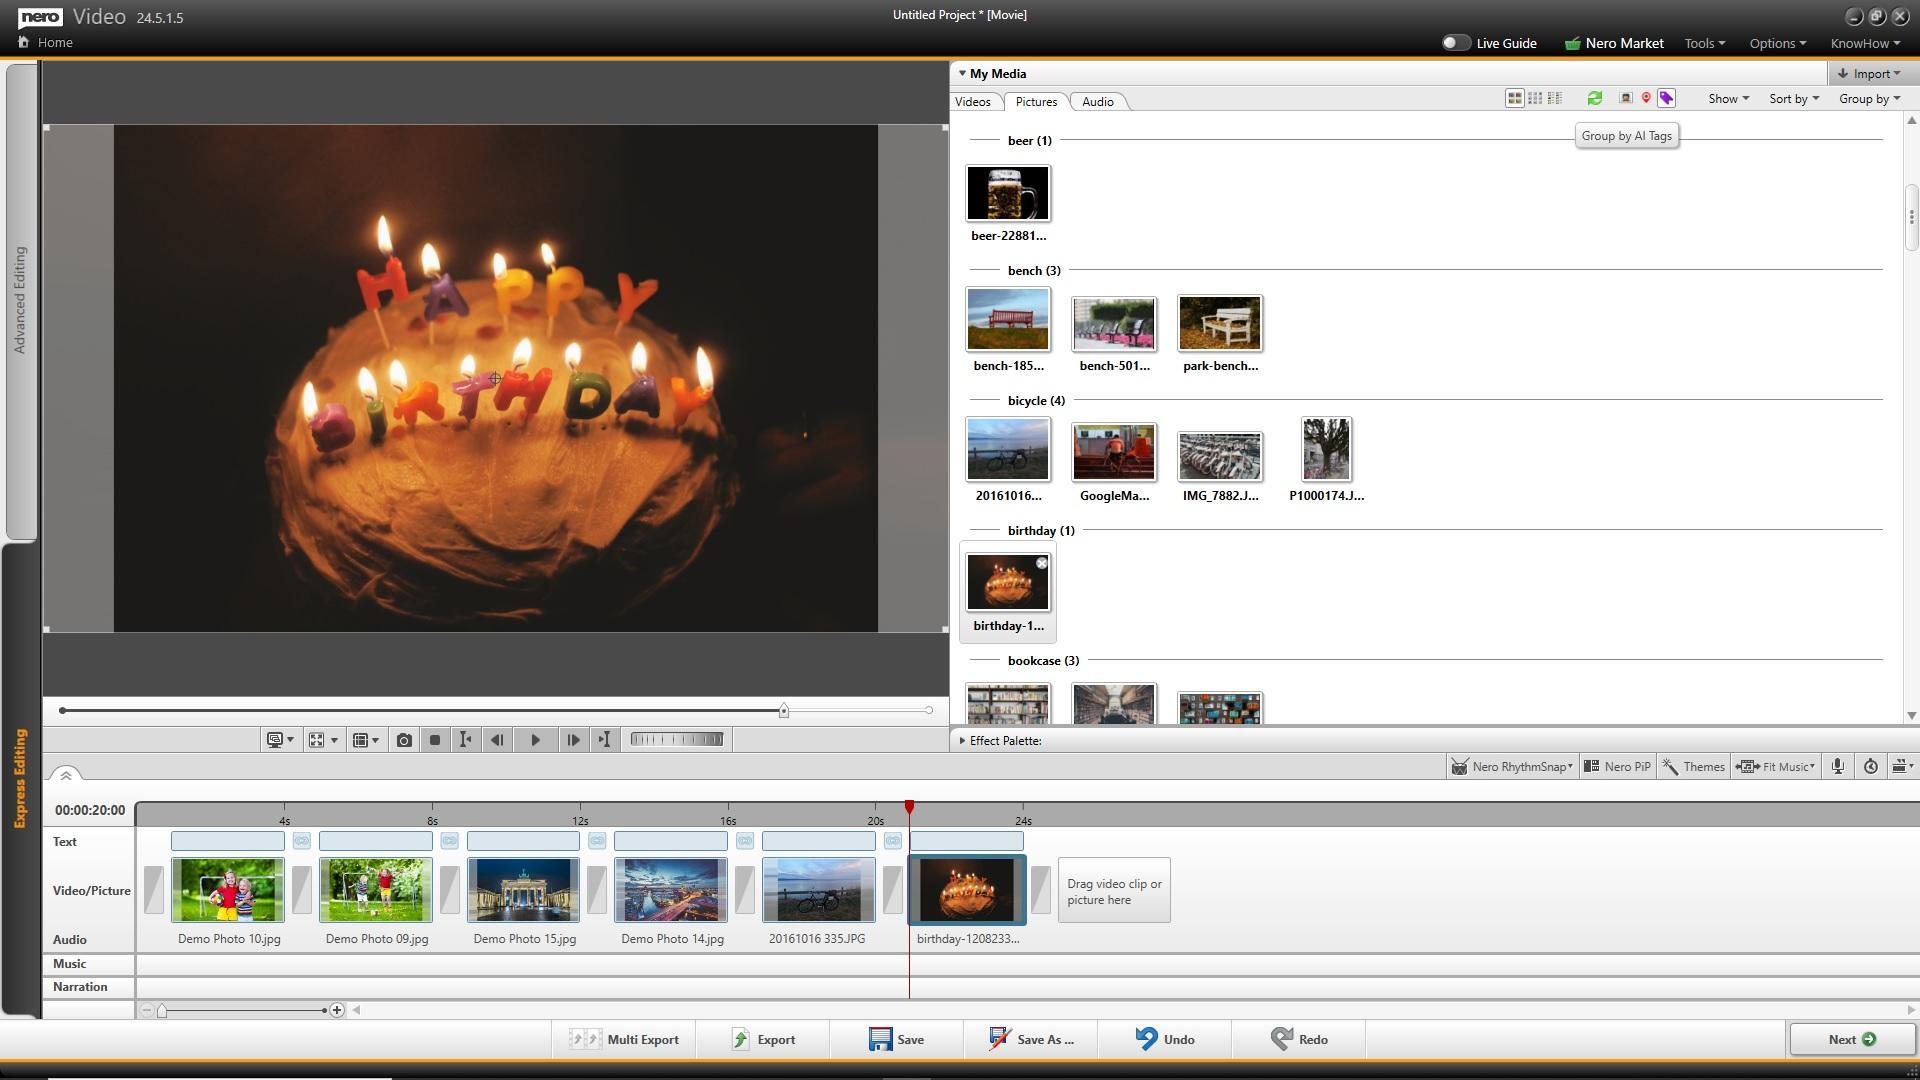
Do you already have your media well organized in Nero MediaHome? Nero MediaHome has an easy way to group photos by people, places or AI tags. Now, in Nero Video, in v.24.x or higher version, just click on the “Group by” drop-down menu and new “Person”, “Places” and “AI Tags” will appear. There are also shortcuts for them on the My Media toolbar.
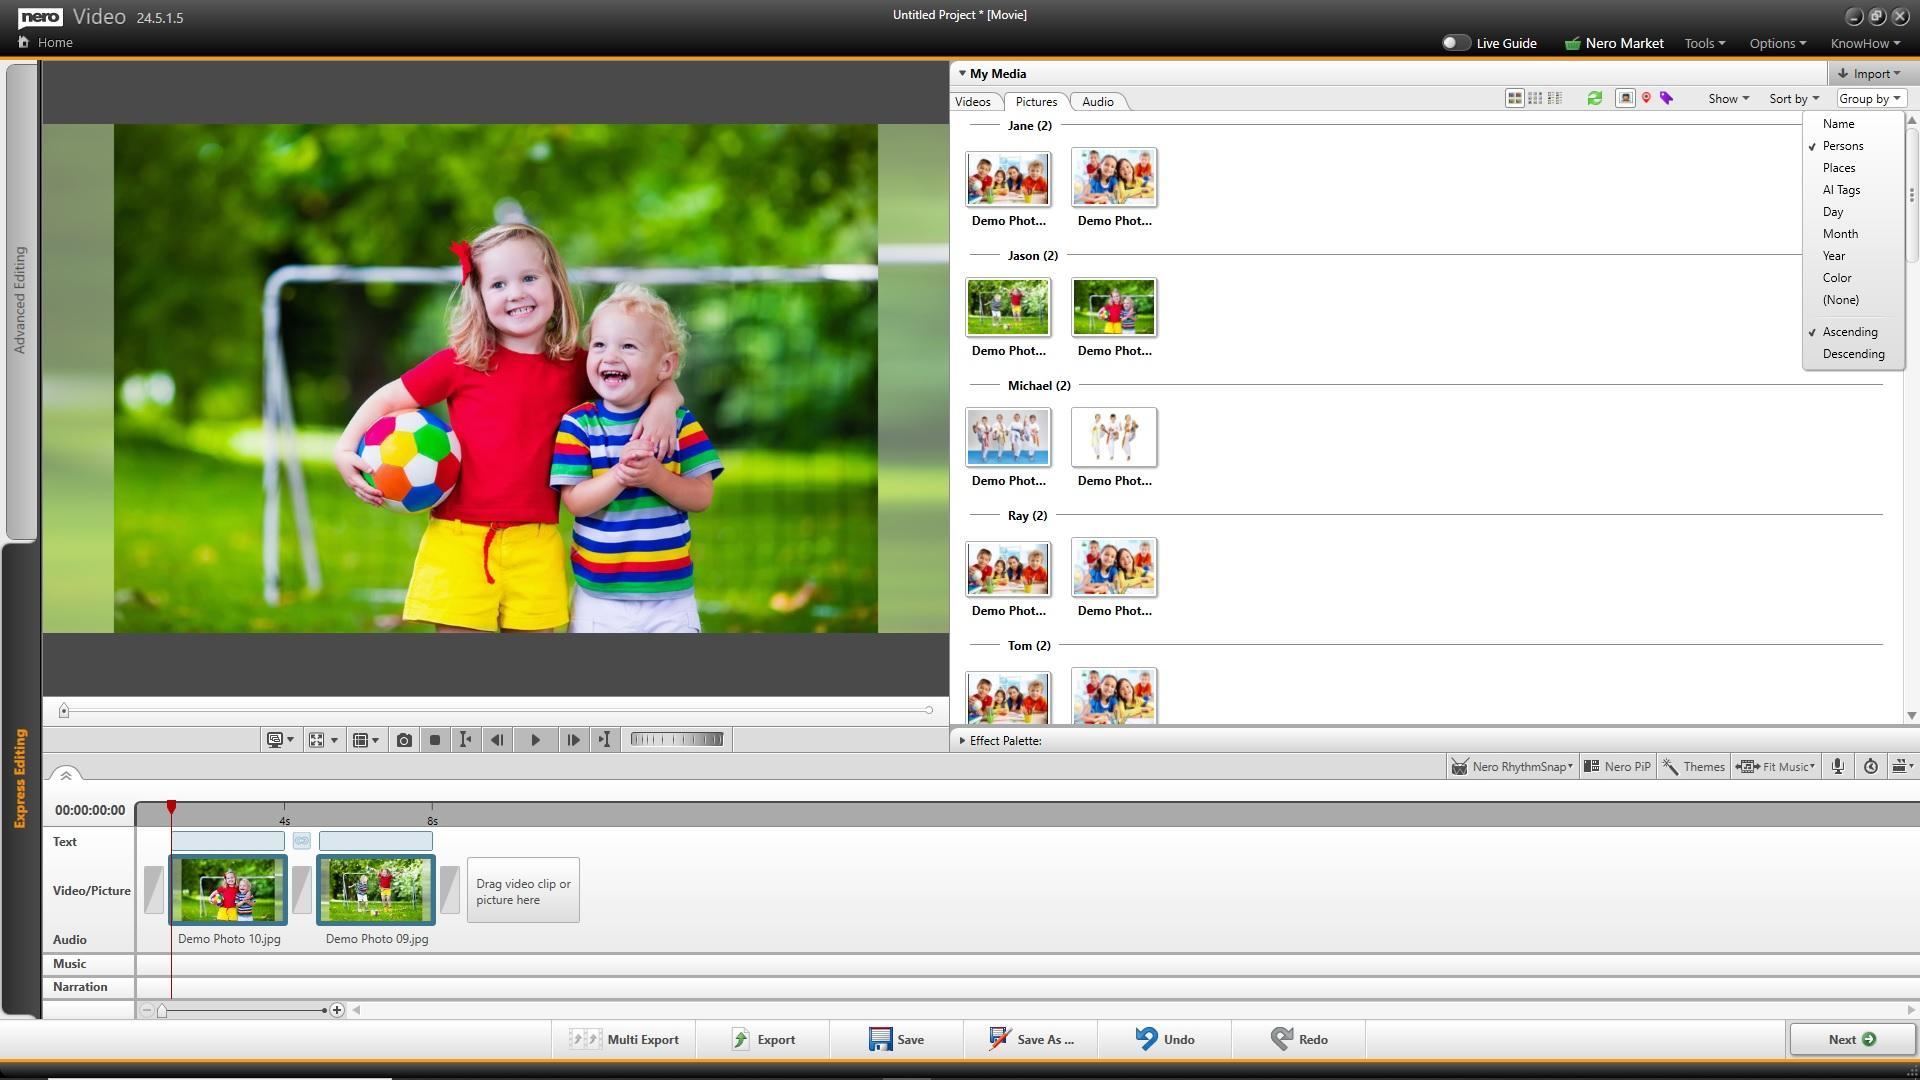
If you know exactly who you want to create a slideshow for, select “Person” and your photos in My Media library will be grouped by person so you can find photos that belong to the person you’re looking for.
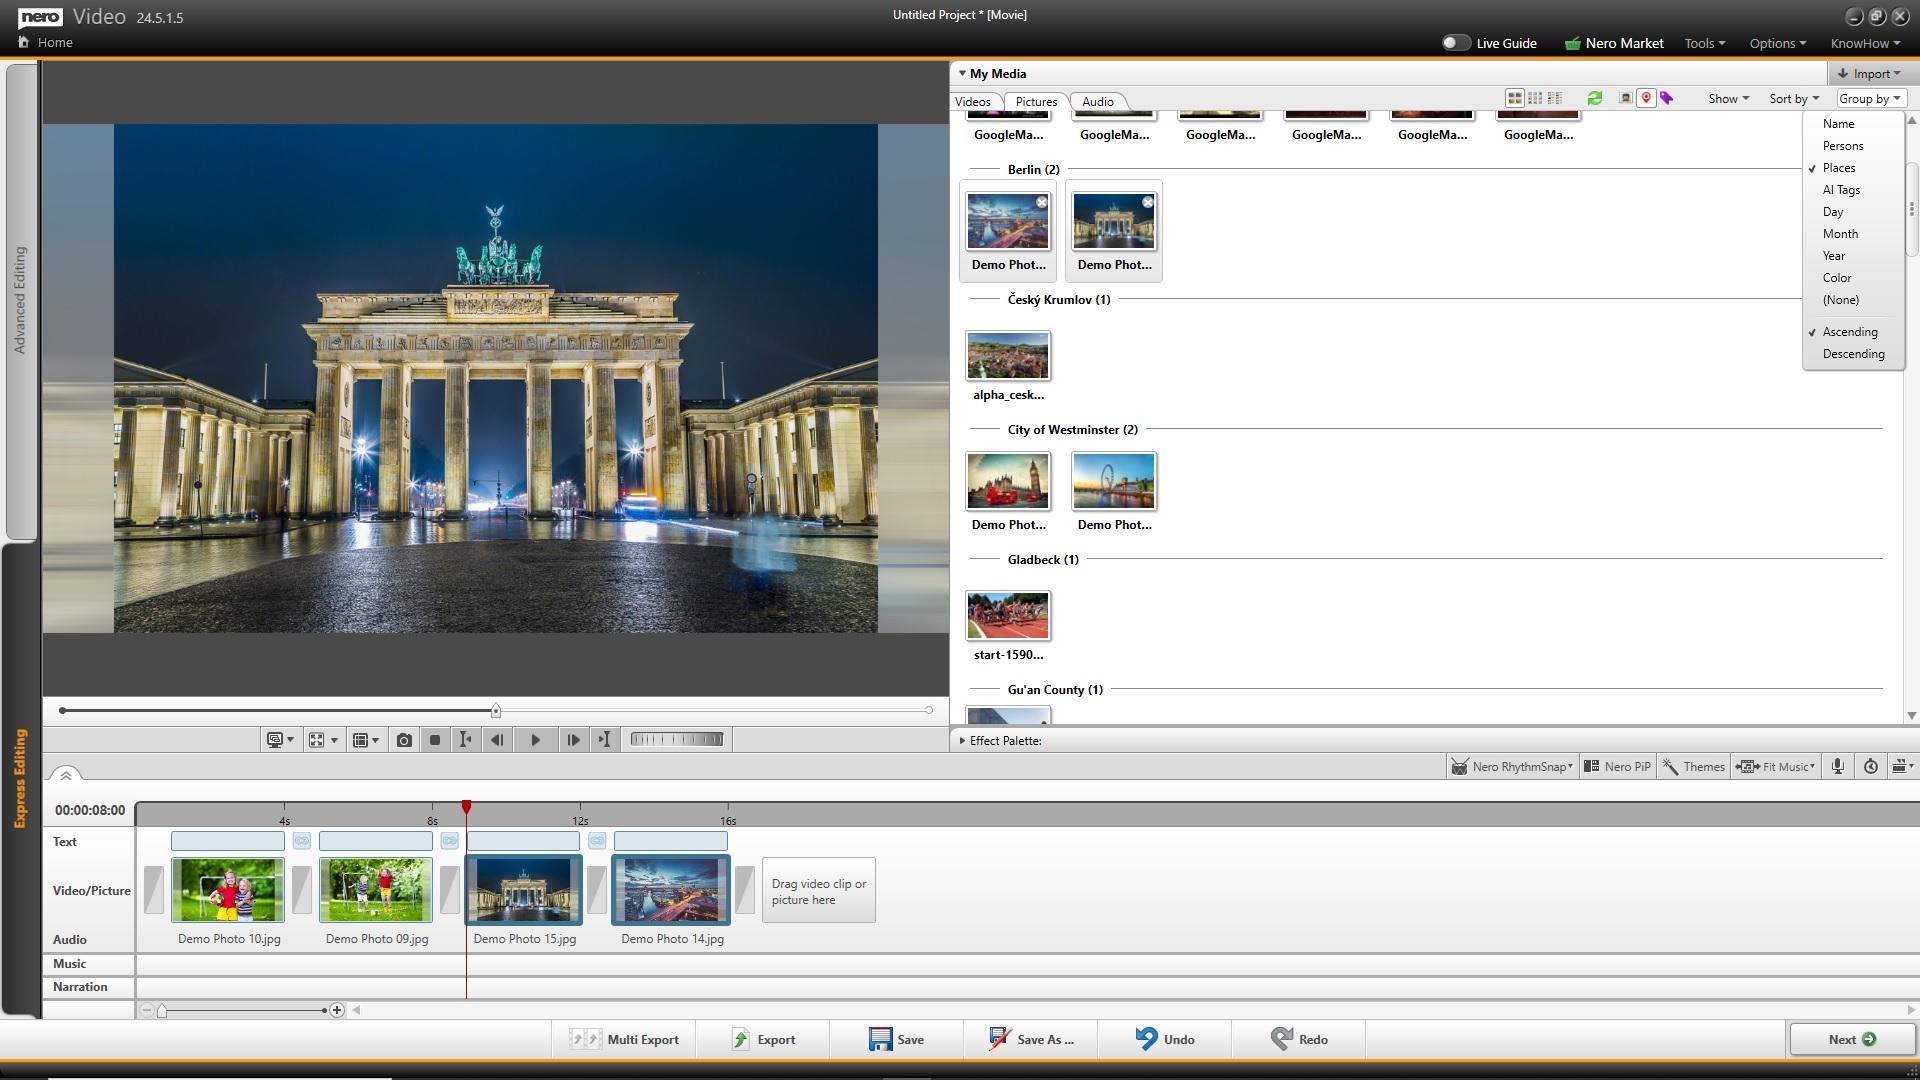
If you’re coming back from a vacation somewhere, you can also group your photos by “Places”.
If you only remember the general content of a photo, rather than the exact time, person or place, such as a photo on a playground, a certain old bike, or a photo for the birthday party at last year, just press ‘AI Tags’, and the photos will be grouped by content and what they were tagged with.
All of these are done for you automatically, without any work on your part.
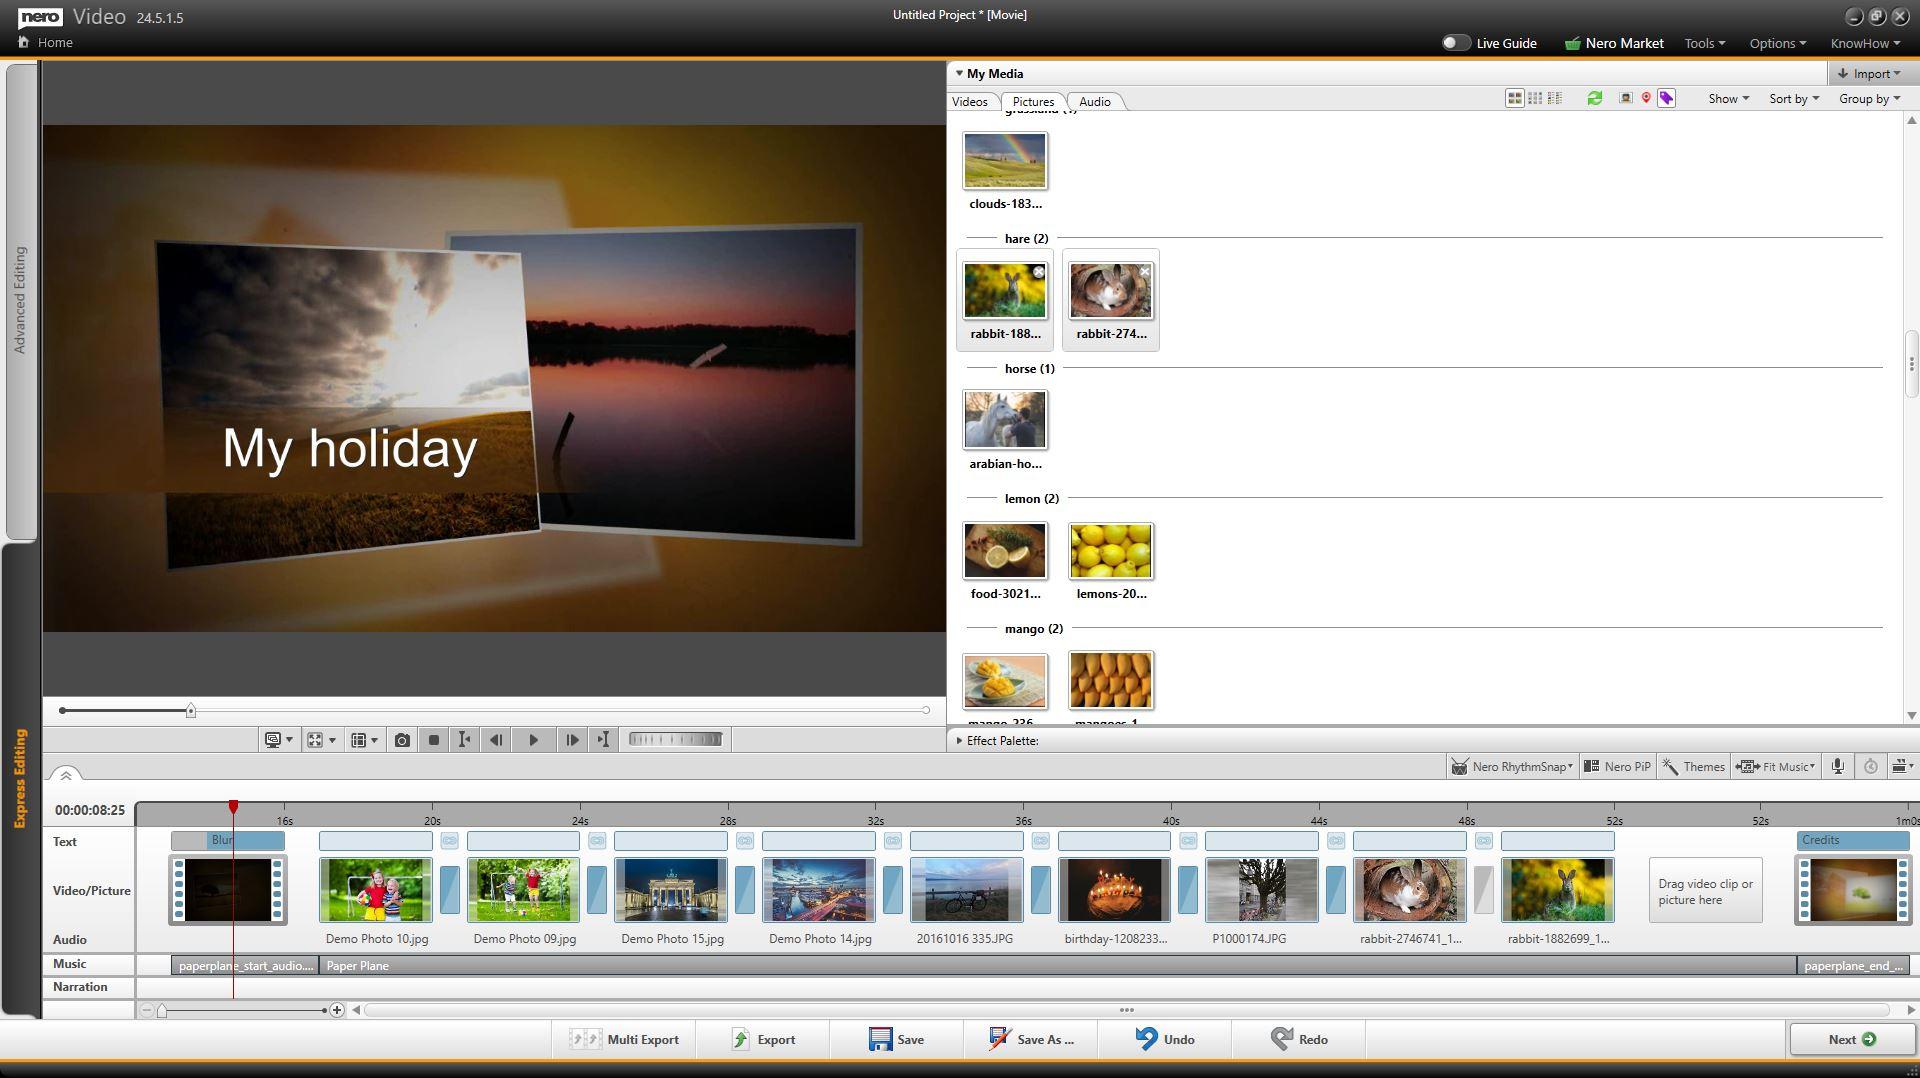
Quickly create the perfect slide show with the help of Movie Themes
Now, just add what you need from the grouped photos to the storyboard and you’ve done a big part of the work of creating a video. Then use the Movie Themes that Nero Video has prepared for you. With no video editing skills, Nero Video will automatically collect your memories into a video that tells a good story – complete with a background music, titles, effects and transitions, intro and outro. If you don’t feel satisfied with this theme, you can easily change to a new theme with the click of a button to get a new look and feel for your video.

🛒 Click and Get Nero Platinum Suite
Nero KnowHow 00241