Nero Video is one of the most popular applications within Nero Suite. This is equally true for the included ‘MovieThemes’, enabling the creation of automated movies and slideshows. Nero keeps getting user inquiries asking for new templates, also including new topics for MovieThemes.
With introducing new Nero Platinum 2018 and Nero Video 2018 Nero have taken the wish lists of users seriously in multiple aspects.
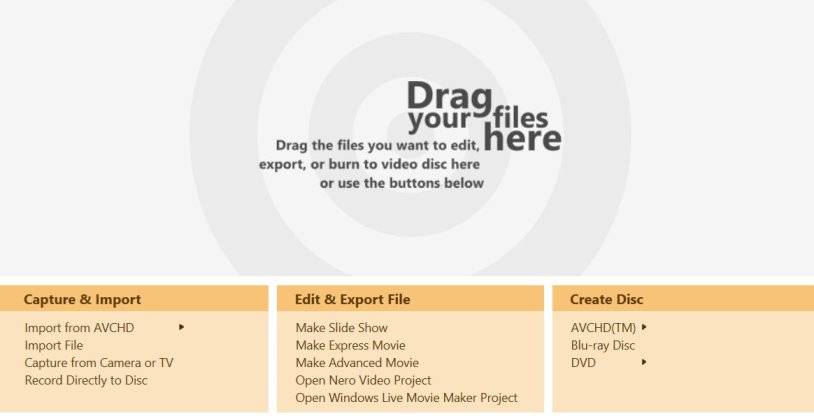
There is a whole range of new features for widescreen video and disc projects, and a complete new vertical video editing mode, only to mention a few. Within this blog, we want to give you some insight into the new MovieThemes for widescreen videos. Stay tuned for coming Nero KnowHow FAQ blogs with more details on new features in Nero Platinum 2018.
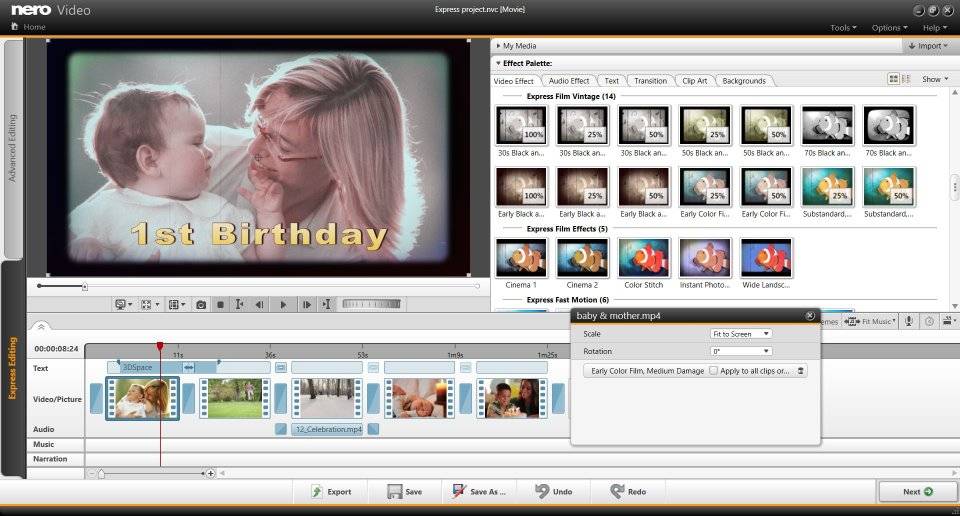
As you may know Nero Video MovieThemes contain all the ingredients for a final movie: intro, outro, main part of the movie or slideshow, pan & zoom, transitions, as well as matching music.
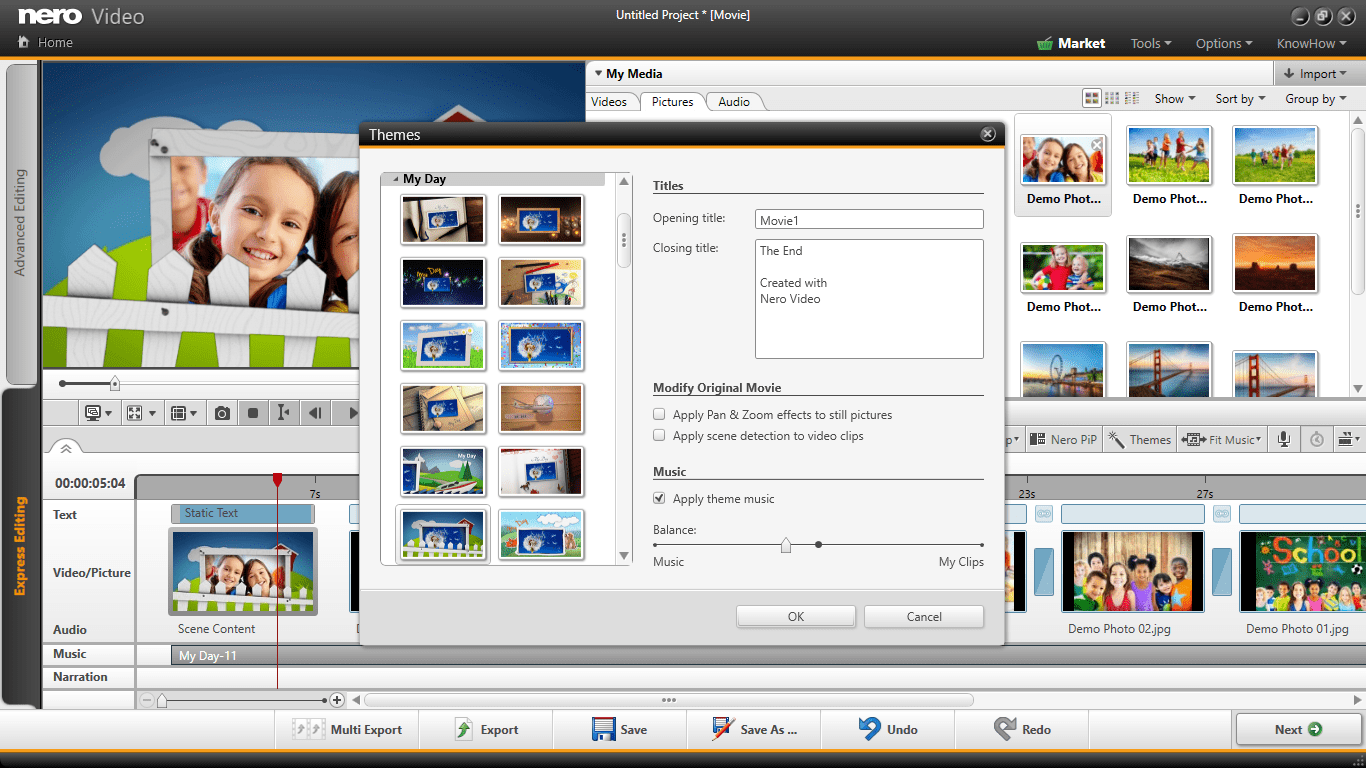
All of that is still the base of the new movie themes, but intro/outro as well as the main part of the movie have seen quite some upgrades in design. The main movie part now has integrated dedicated video effects per template like focus/out of focus (Tilt Shift), nostalgic effects, slow-motion, etc., and each template comes with an individually composed music track that automatically adapts to the duration of your project. The new ‘effect drop zone’ is unique: via intro and outro, you now can better personalize your movie by simply dragging photos or videos into the preview window or timeline. The dropped asset will automatically be integrated into the animation pattern of the template.
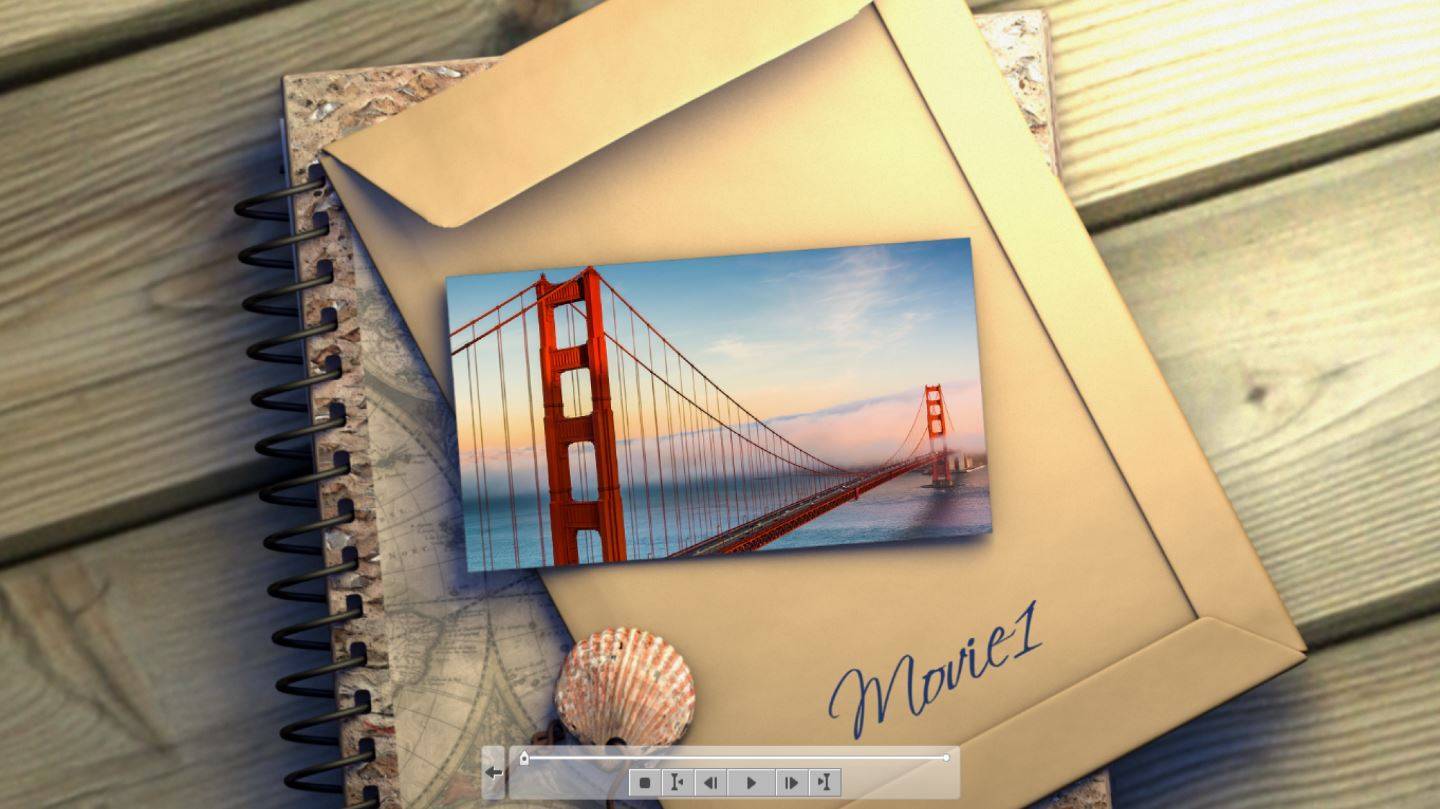
Via these improvements, the newly designed MovieTheme templates in Nero Video gain a stronger individual appeal matched to the respective theme. Now, you will achieve small and larger master pieces of your videos and photos in less time with more individualized and creative results.
The new MovieTheme templates are available within two categories. ‘My Day‘ includes a variety of templates with themes associated to family, travel, events, and pets. The second category ‘Action’ includes different outdoor themes.
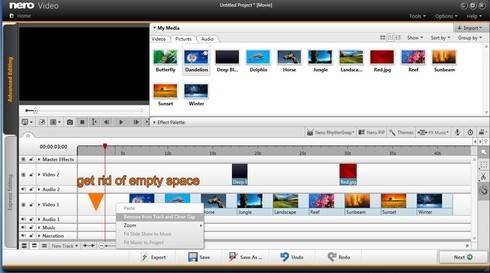
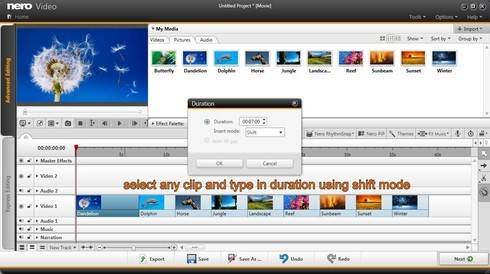
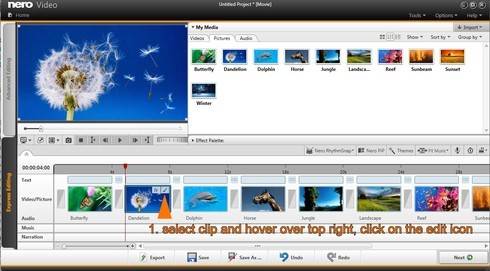
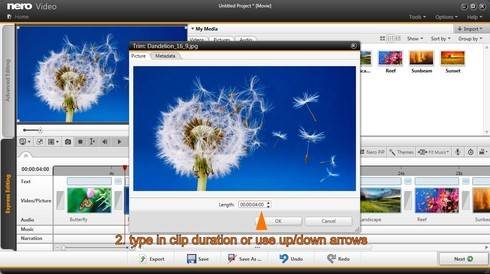
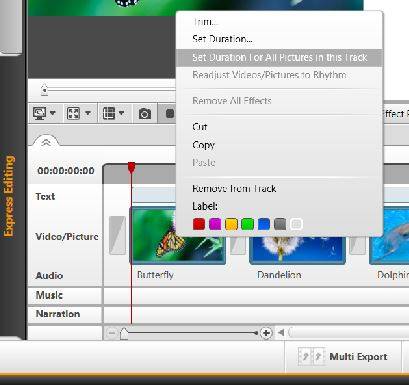
When making use of Nero MovieThemes there is no need to know a lot about video editing, except that you need to decide which source videos or photos you want to use for your movie and where you might want to trim them. The rest is all done automatically via the pre-designed movie themes.
By the way: the music tracks integrated into the new MovieThemes are also available as individual drag & drop music tracks for your other projects. You will find them under ‘My Media’ > ‘Audio‘, > ‚‘My Day‘, or ‘Action‘.
Nero KnowHow 00080