Yes. Find some examples explained below.
Click on ‘Import files’ to select clips via ‘Windows Explorer’. ‘Nero Video’ ‘Disc Content Window’ will list your clips under the name given in the original file.
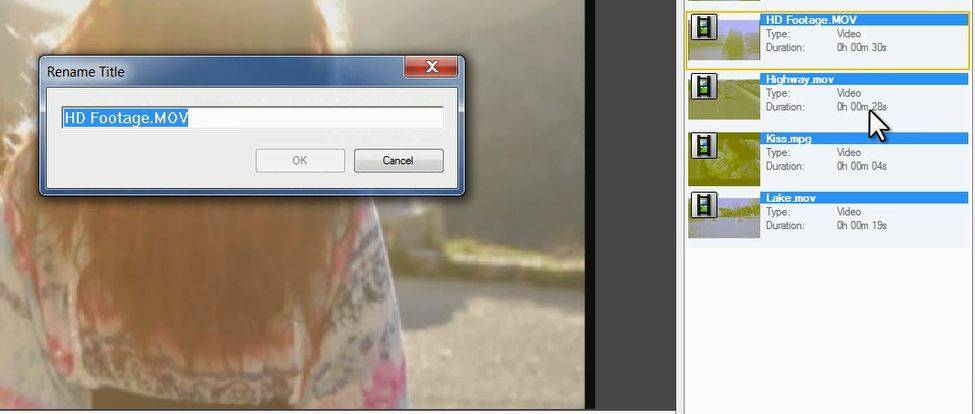
As these names will be used in your disc menu let’s simply polish the names by re-naming them. Right click on an asset to re-name and type a new name into the window. You can also do that in the disc authoring customization later on.
Click next and you will see that the default menu already has taken over the name. Now select a new menu template. You have the option between three different styles: ‘Standard 2D’, ‘Animated 2D’, and ‘Smart 3D’. Select ‘Gift Box’ from the Smart 3D templates.
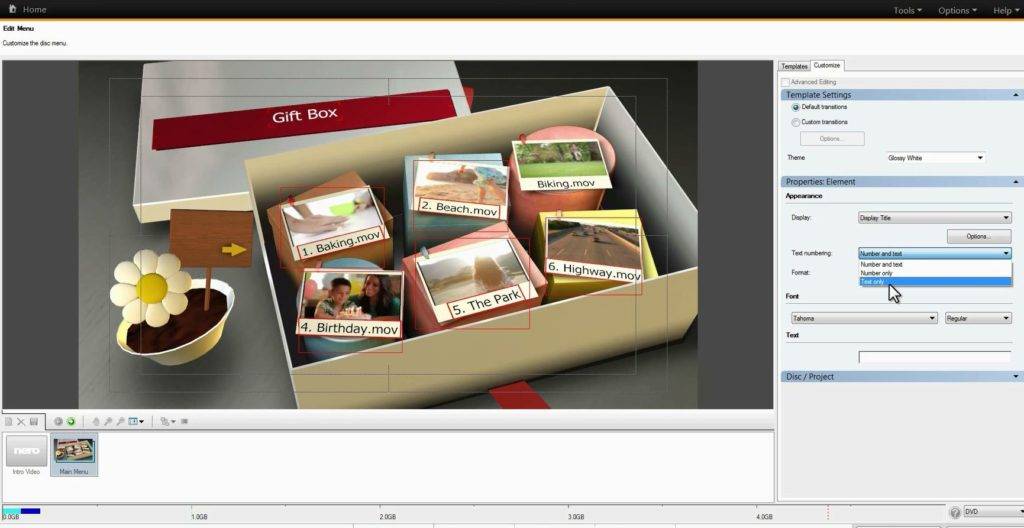
You can see that the asset start buttons show figures that you want to get rid of. Click on the ‘Customize’ tab and select a title. In order to get rid of the figures within the title modify the ‘Appearance’ within the ‘Button Properties’. Just click on ‘text only’ in the drop down box for ‘text numbering’. Do this for all your assets. As you also want further menu pages to be free of numbering click on the ‘disc project’ arrow below and de-select ‘Restart numbering on each menu page’.
Now you want to adapt the ‘Gift Box’ template to a special occasion. Click on the drop down box under ‘theme’ within the template settings tab.
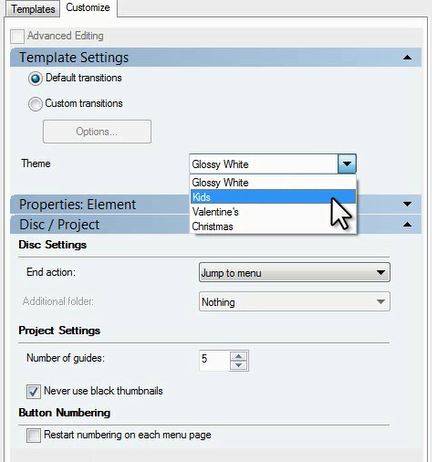
Apart from the default template ‘white’ you can select ‘Kids’, ‘Valentine’, or ‘Christmas’. Let’s use the ‘Kids’ template here, and finally let’s exchange the menu name to ‘Kid’s Vacation’.

Now click on ‘next’ to see your animated menu template.
Via the menu navigation functions you can check your project before burning to disc.
Nero KnowHow 00033