The newly launched Nero Start app incorporates extensive user feedback to deliver a streamlined and adaptable application launch experience.
Make the switch today!
Discover the Advantages of Nero Start
Instant Access to the Latest Version
Tired of hunting for the most current version after an upgrade or purchase? With the new Nero Start, simply tap the app button to automatically launch the latest active version.

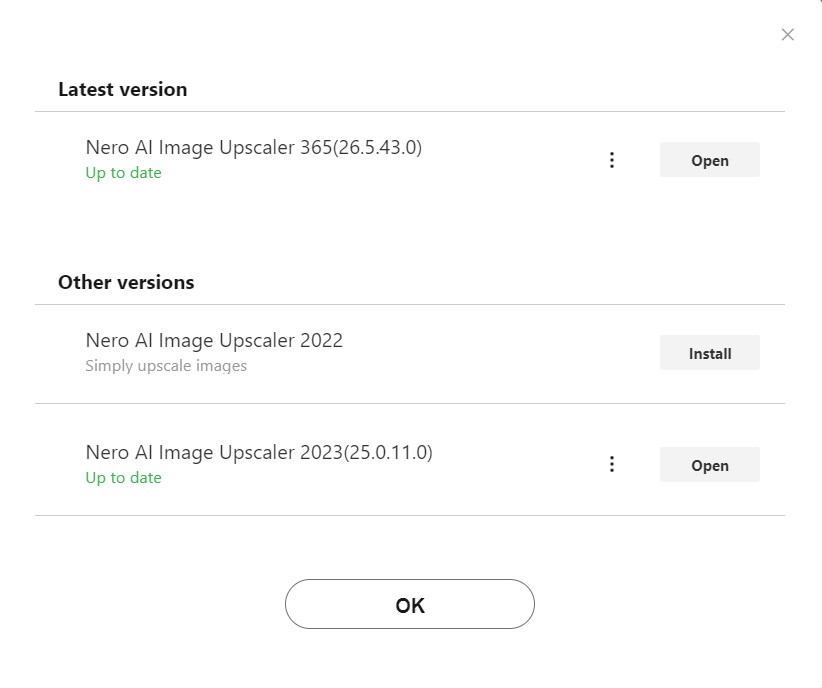
Revisit Previous Editions
A loyal Nero user with a collection of products over the years? We appreciate your enduring support.
To access an older Nero application:
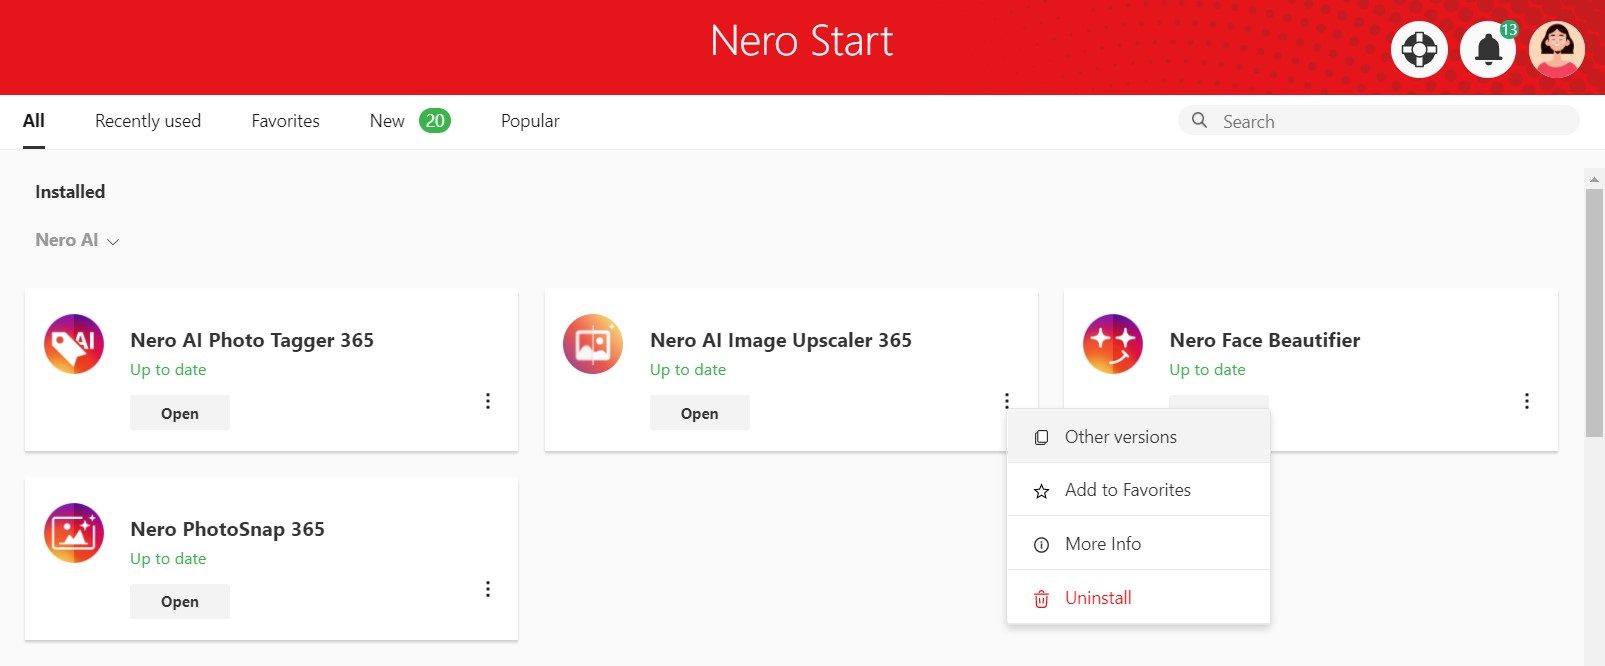
Navigate to the ‘More > Other Versions’ section in the app button. Here, you can effortlessly install, launch, or uninstall previous versions.
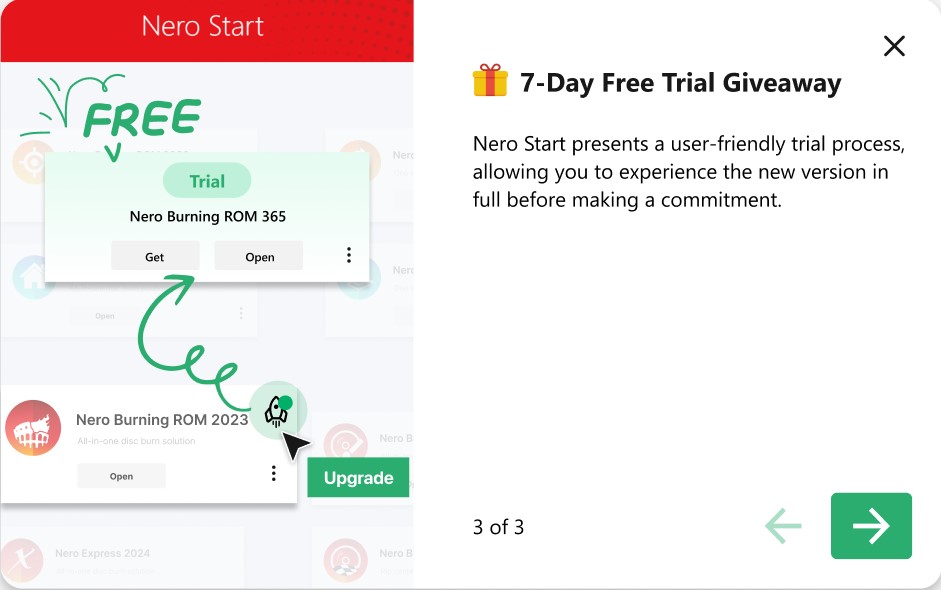
7-day Free Trial Giveaway
Nero Start presents a user-friendly trial process, allowing you to experience the new version in full before making a commitment.
To begin your trial, click the ‘Upgrade Trial’ button. Switch to the trial mode to launch the latest trial version of the application.
Seamless Transition with Nero Start
Automatic Update to New Mode
Nero Start is designed to transition you effortlessly to its new, improved mode by default. This ensures you’re always utilizing the latest features right from the start.
Customizable Experience
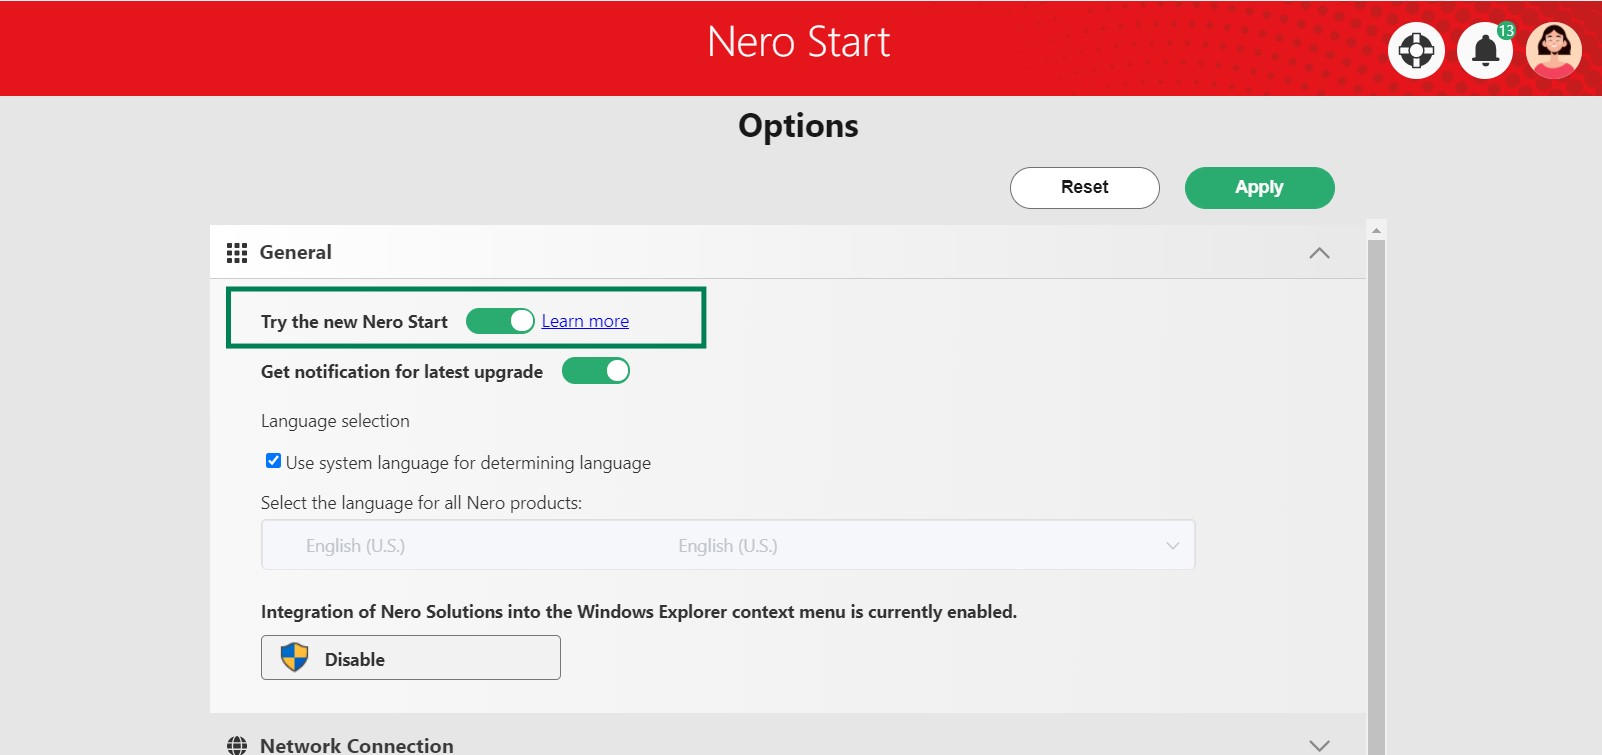
Prefer the familiarity of the old mode? No problem. You can easily revert to the classic interface by switching off the ‘Try the new Nero Start’ option in the ‘Options’ menu.
Test and Share Your Feedback
Experience the Upgrade
Dive into the new Nero Start experience. It’s quick, it’s intuitive, and it’s ready for you to explore.
Your Voice Matters
We value your insights and want to hear what you think about the new Nero Start. Whether it’s praise for what’s working well or constructive criticism for areas of improvement, your feedback is crucial for our ongoing development.
Share your feedback >
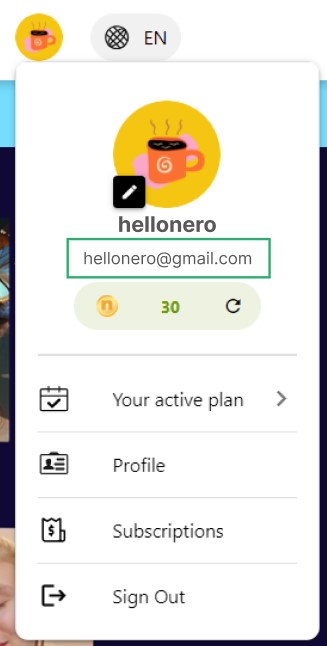
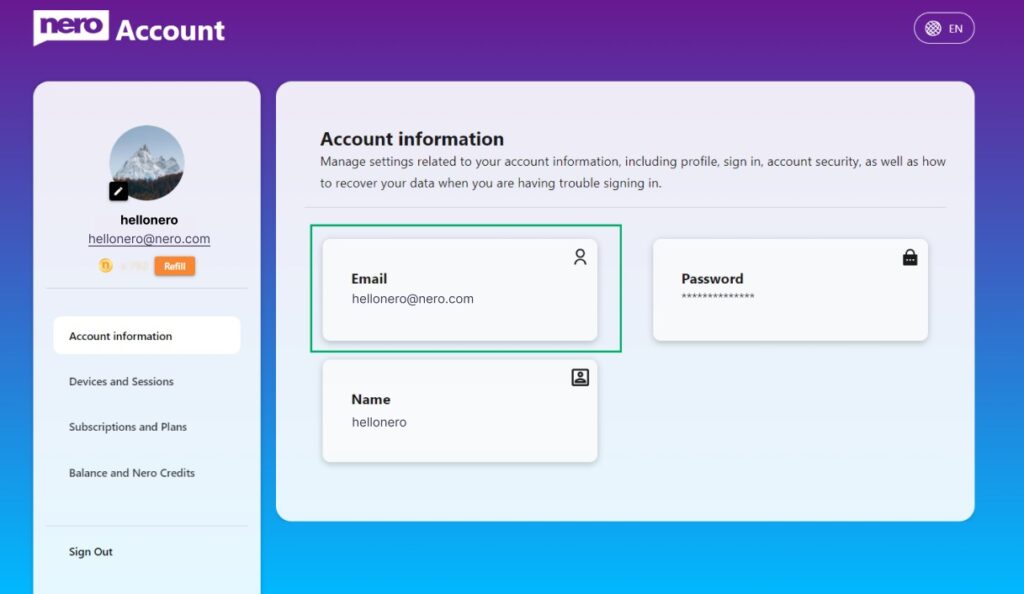
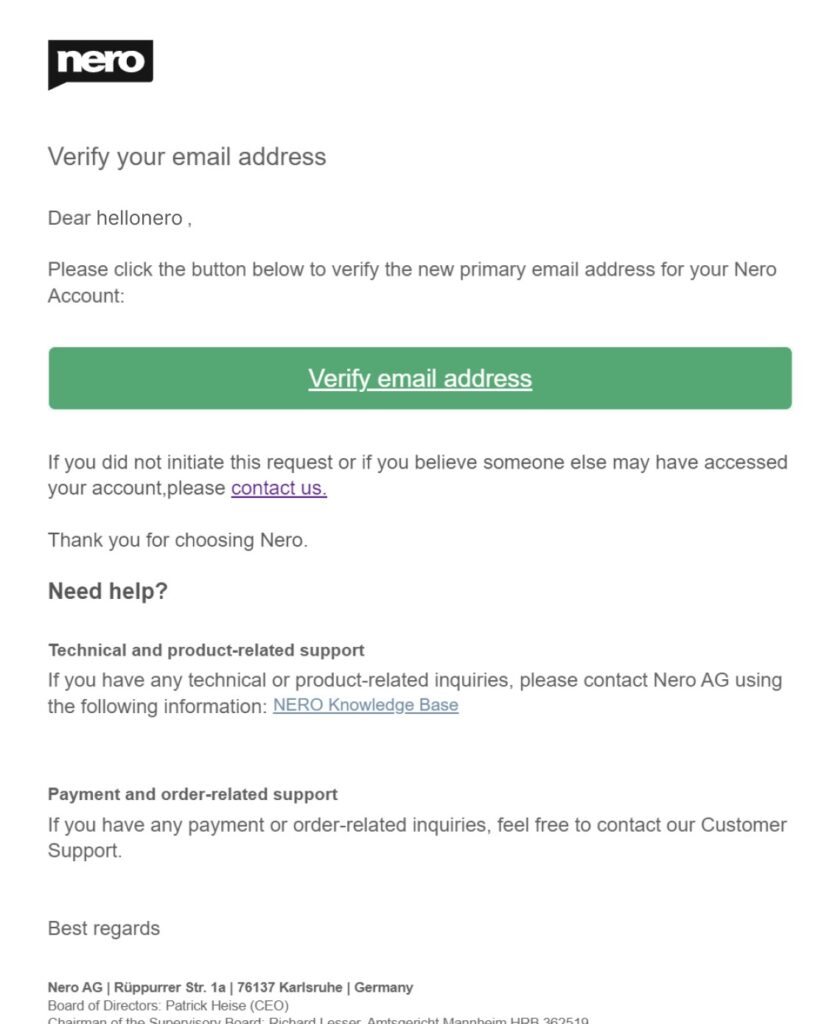
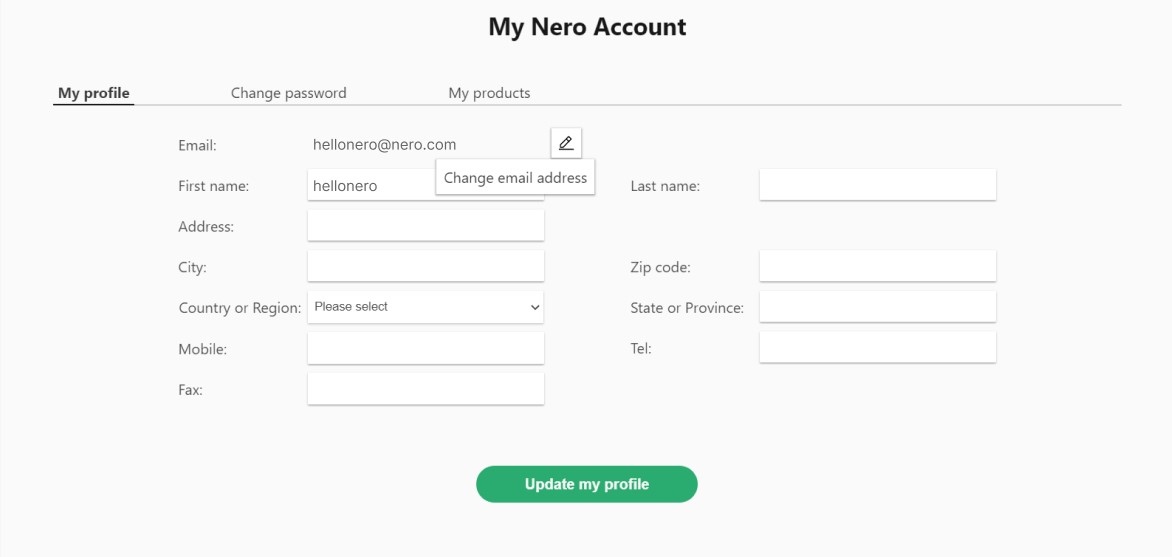 Nero Account online page will be opened. The email change need to be done in the Nero Account online page. Maybe another login will be required if you have never open Nero Account online page before.