In our recent updates, we released the brand new Nero AI Video Upscaler. We also focused on improving some of the usability and user experience issues reported by users.
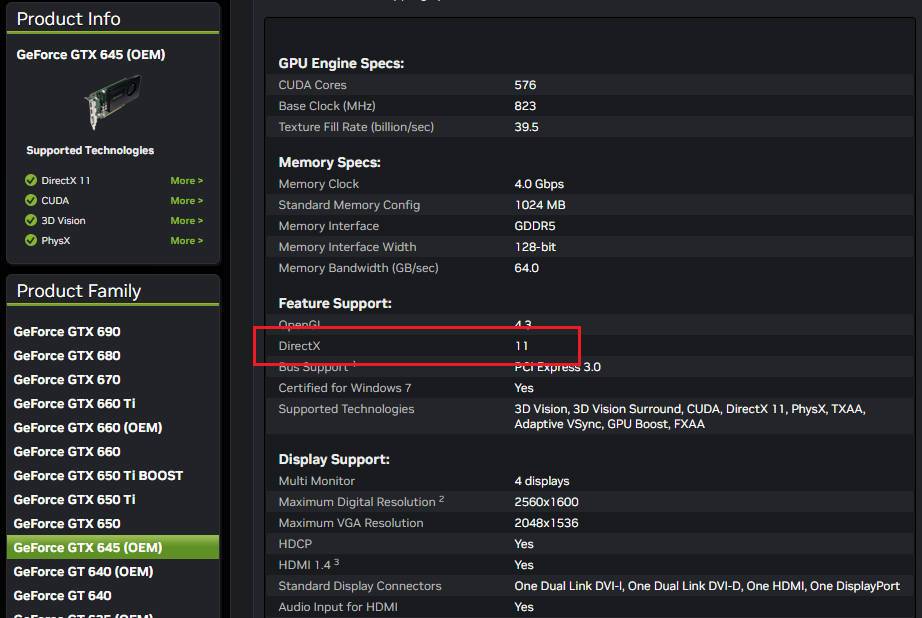
Firstly, you need to make sure that your graphic card can support DirectX 11 although most of the modern graphic cards are able to support it.
Please check your graphic card’s specification on the vendor’s website.
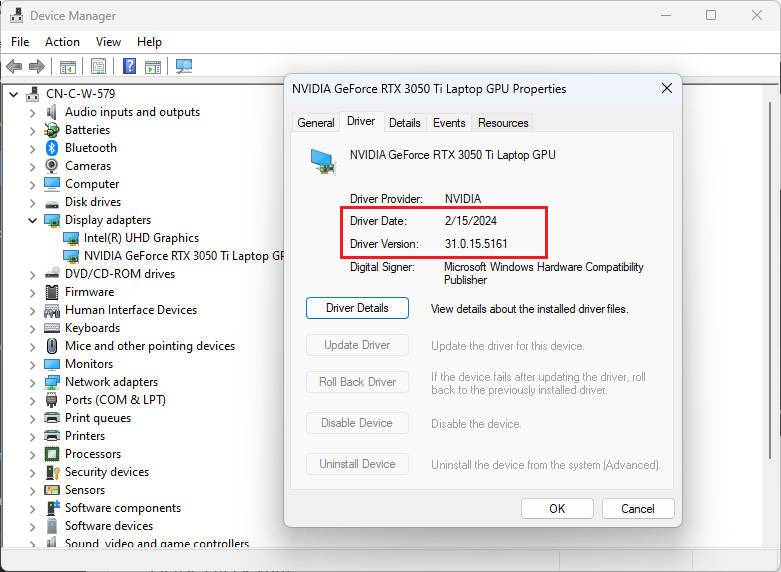
Update the hardware driver
Please check your graphic card’s driver version in the Windows Device Manager and compare to the latest version on the vendor’s website to make sure the latest version of the driver is already installed on your system.
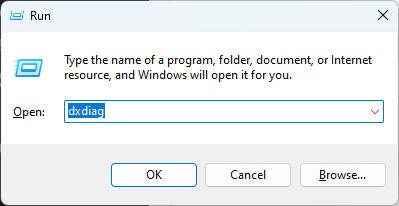
Check DirectX version
Use “Windows logo key + R” to open the run dialog box and enter “dxdiag” to open DirectX Diagnostic Tool.
Check if the DirectX version is equal or higher than DirectX 11.
If the version is lower than DirectX 11, please use the Window Update to update your system.
Unleash Your Inner Album Artist: Craft Custom CD Covers with Nero Muse and CoverDesigner
In the age of digital music, physical media like CDs might seem like relics of the past. But for true music lovers, there’s nothing quite like holding a tangible album, complete with personalized artwork. However, designing eye-catching CD covers can be daunting, especially if artistic skills aren’t your forte. Fear not, creative minds! This blog explores a powerful combo: Nero Muse AI art generator and Nero CoverDesigner, allowing you to generate unique CD cover art using AI and personalize it for physical CDs.
Step 1: Spark Your Creativity with Nero Muse
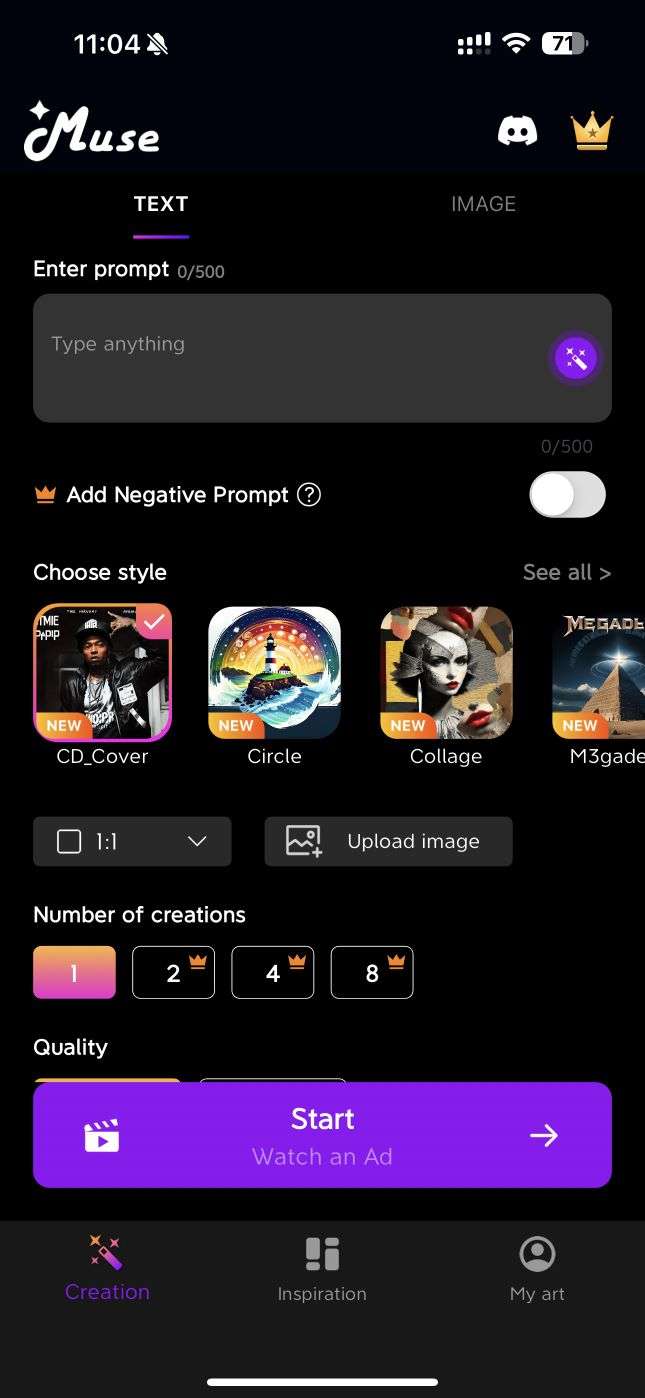
Scan the QR Code or search “Nero Muse” in the App Store/Google Play to download Muse – AI Art Generator App
Nero Muse takes the reins when it comes to generating original artwork. Here’s how it works:
Text-to-Image: Select the “CD_Cover” style and let your imagination run wild! Describe your desired cover using keywords or phrases. Want a swirling galaxy for your space opera soundtrack? Type “nebula, cosmic colors, starship silhouette.” Muse’s AI interprets your words and paints a stunning visual representation.
Image-to-Image: Have existing album art that needs a twist? Upload it to Muse and choose from various filters and styles. Transform a black and white photo into a vibrant pop art piece or add a dreamy, ethereal touch to a landscape image.
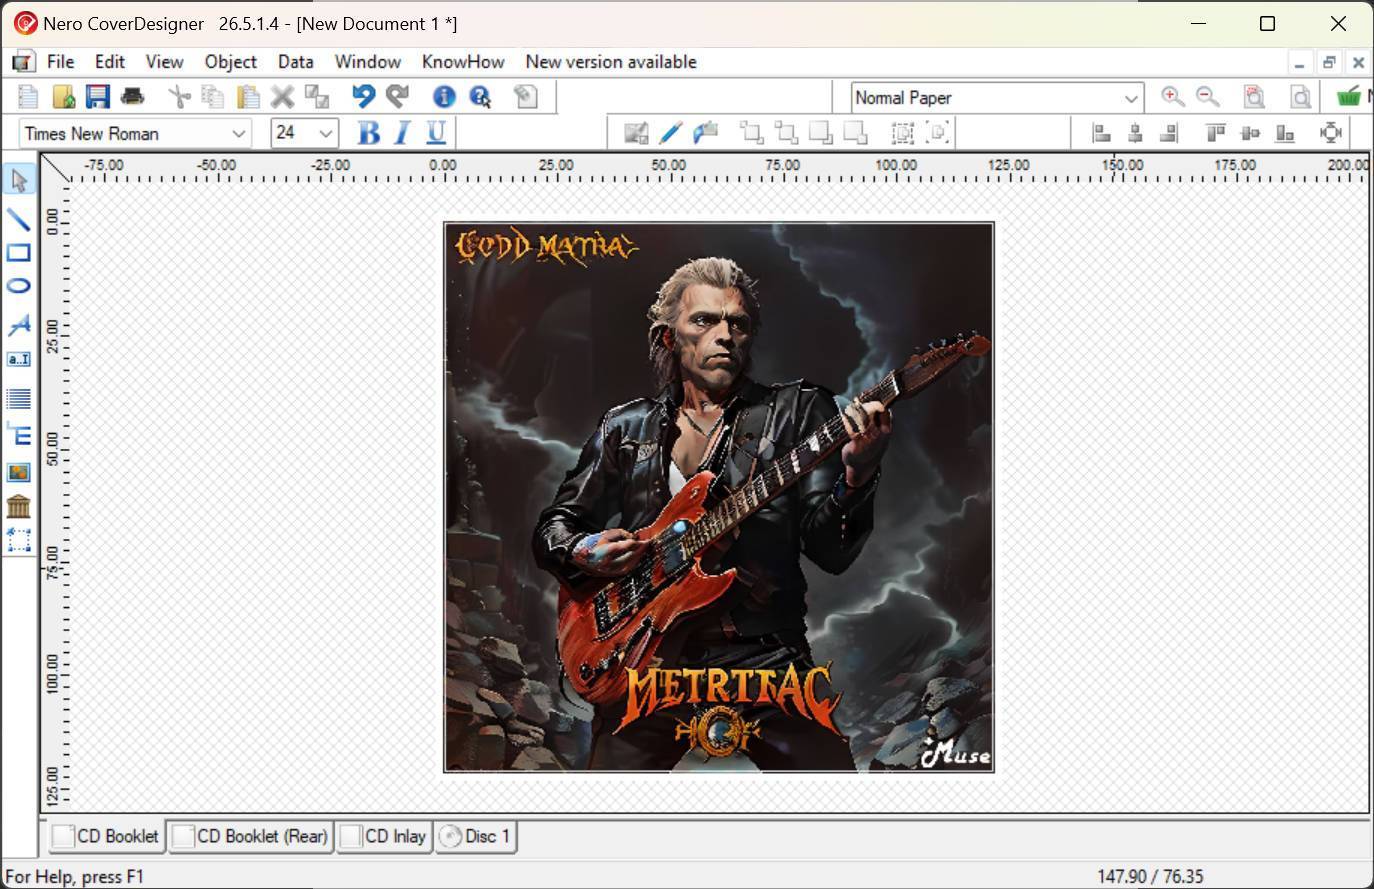
Step 2: Fine-Tune Your Vision in Nero CoverDesigner
Once you have your AI-generated artwork, import it into Nero CoverDesigner, your gateway to professional-looking CD covers. Here’s where you bring your unique touch:
Layout & Text: Arrange the artwork, add song titles, artist names, and logos. Choose from a variety of text styles and layouts to match your genre and aesthetic.
Editing & Effects: Enhance the AI art with built-in editing tools. Adjust brightness, contrast, and colors. Apply cool effects like shadows, borders, and texturing for added depth.
Step 3: Print & Share Your Masterpiece
With your personalized cover design complete, export it as a high-resolution image file. Insert it into your CD burning software and voila! You’ve got a physical testament to your musical taste and creative spark. Don’t forget to share your stunning creation with friends and fellow music enthusiasts!
Bonus Tips:
Experiment with different prompts and image styles in Nero Muse to generate diverse cover options.
Use high-quality photos for image-to-image transformations for optimal results.
Explore Nero CoverDesigner’s template library for inspiration and quick layouts.
Share your AI-generated art on social media using Nero Muse’s built-in sharing features.
Embrace the Future of CD Covers:
By combining the power of AI art generation with the design flexibility of Nero CoverDesigner, you can create truly unique and personalized CD covers that reflect your music and artistic vision. So, dust off your CD collection, unleash your creativity, and let Nero Muse and CoverDesigner help you express your musical passion in a tangible way!
Support recording webcam and screen simultaneously. Click the “Add camera” button before recording to add the webcam video stream in the recording area.
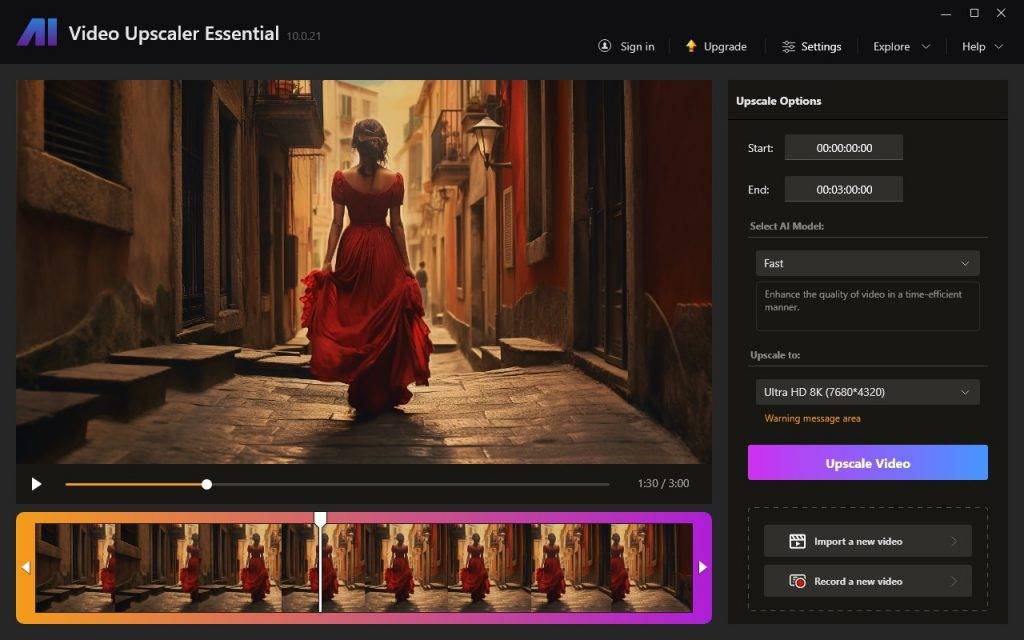
In the dynamic world of digital content, video quality plays a pivotal role in delivering an immersive viewing experience. Nero AI Video Upscaler emerges as a cutting-edge solution, pushing the boundaries of resolution enhancement and video quality refinement.
Unveiling the Power of Upscaling
Nero AI Video Upscaler is designed to elevate your video content by enlarging its resolution up to 4 times. This groundbreaking feature ensures that every frame is transformed into a visually stunning masterpiece, capturing finer details that might be missed with conventional video players.
Tailored Enhancement with Specialized Models
What sets Nero AI Video Upscaler apart is its adaptability to different video content types. Users can choose between the “Anime” or “Realistic” models, allowing them to tailor the enhancement process based on the nature of the video. Whether you’re diving into the vivid world of animated content or seeking lifelike clarity in real-world footage, Nero AI Video Upscaler has you covered.
Recording Functionality for Analog Playback
Beyond mere upscaling, Nero AI Video Upscaler goes the extra mile by featuring a recording functionality. This innovative addition seamlessly integrates with the Nero Recode Stick, enabling users to record analog video playback devices such as VHS tapes. Now, cherished memories captured on older formats can be preserved in high-quality digital form.
Key Features at a Glance:
Up to 4X Resolution Enlargement: Elevate video quality with a fourfold increase in resolution.
Specialized Models: Choose between “Anime” and “Realistic” models for tailored enhancement.
Recording Functionality: Collaborate with Nero Recode Stick to record analog video playback devices.
Why Choose Nero AI Video Upscaler?
Versatility: Adapt to various content types, ensuring optimal enhancement for any video.
Preservation of Analog Memories: Capture and digitize precious moments from analog playback devices.
User-Friendly Interface: Navigate the software effortlessly, making video enhancement a seamless experience.
In conclusion, Nero AI Video Upscaler emerges as a game-changer in the realm of video enhancement. With its advanced upscaling capabilities, specialized models, and recording functionality, it stands as a testament to Nero’s commitment to delivering cutting-edge solutions for an enriched multimedia experience. Elevate your video content to new heights with Nero AI Video Upscaler.
*Please note that Nero AI Video Upscaler is a standalone product which does not include in Nero Platinum Suite 2024 and yearly subscription version.


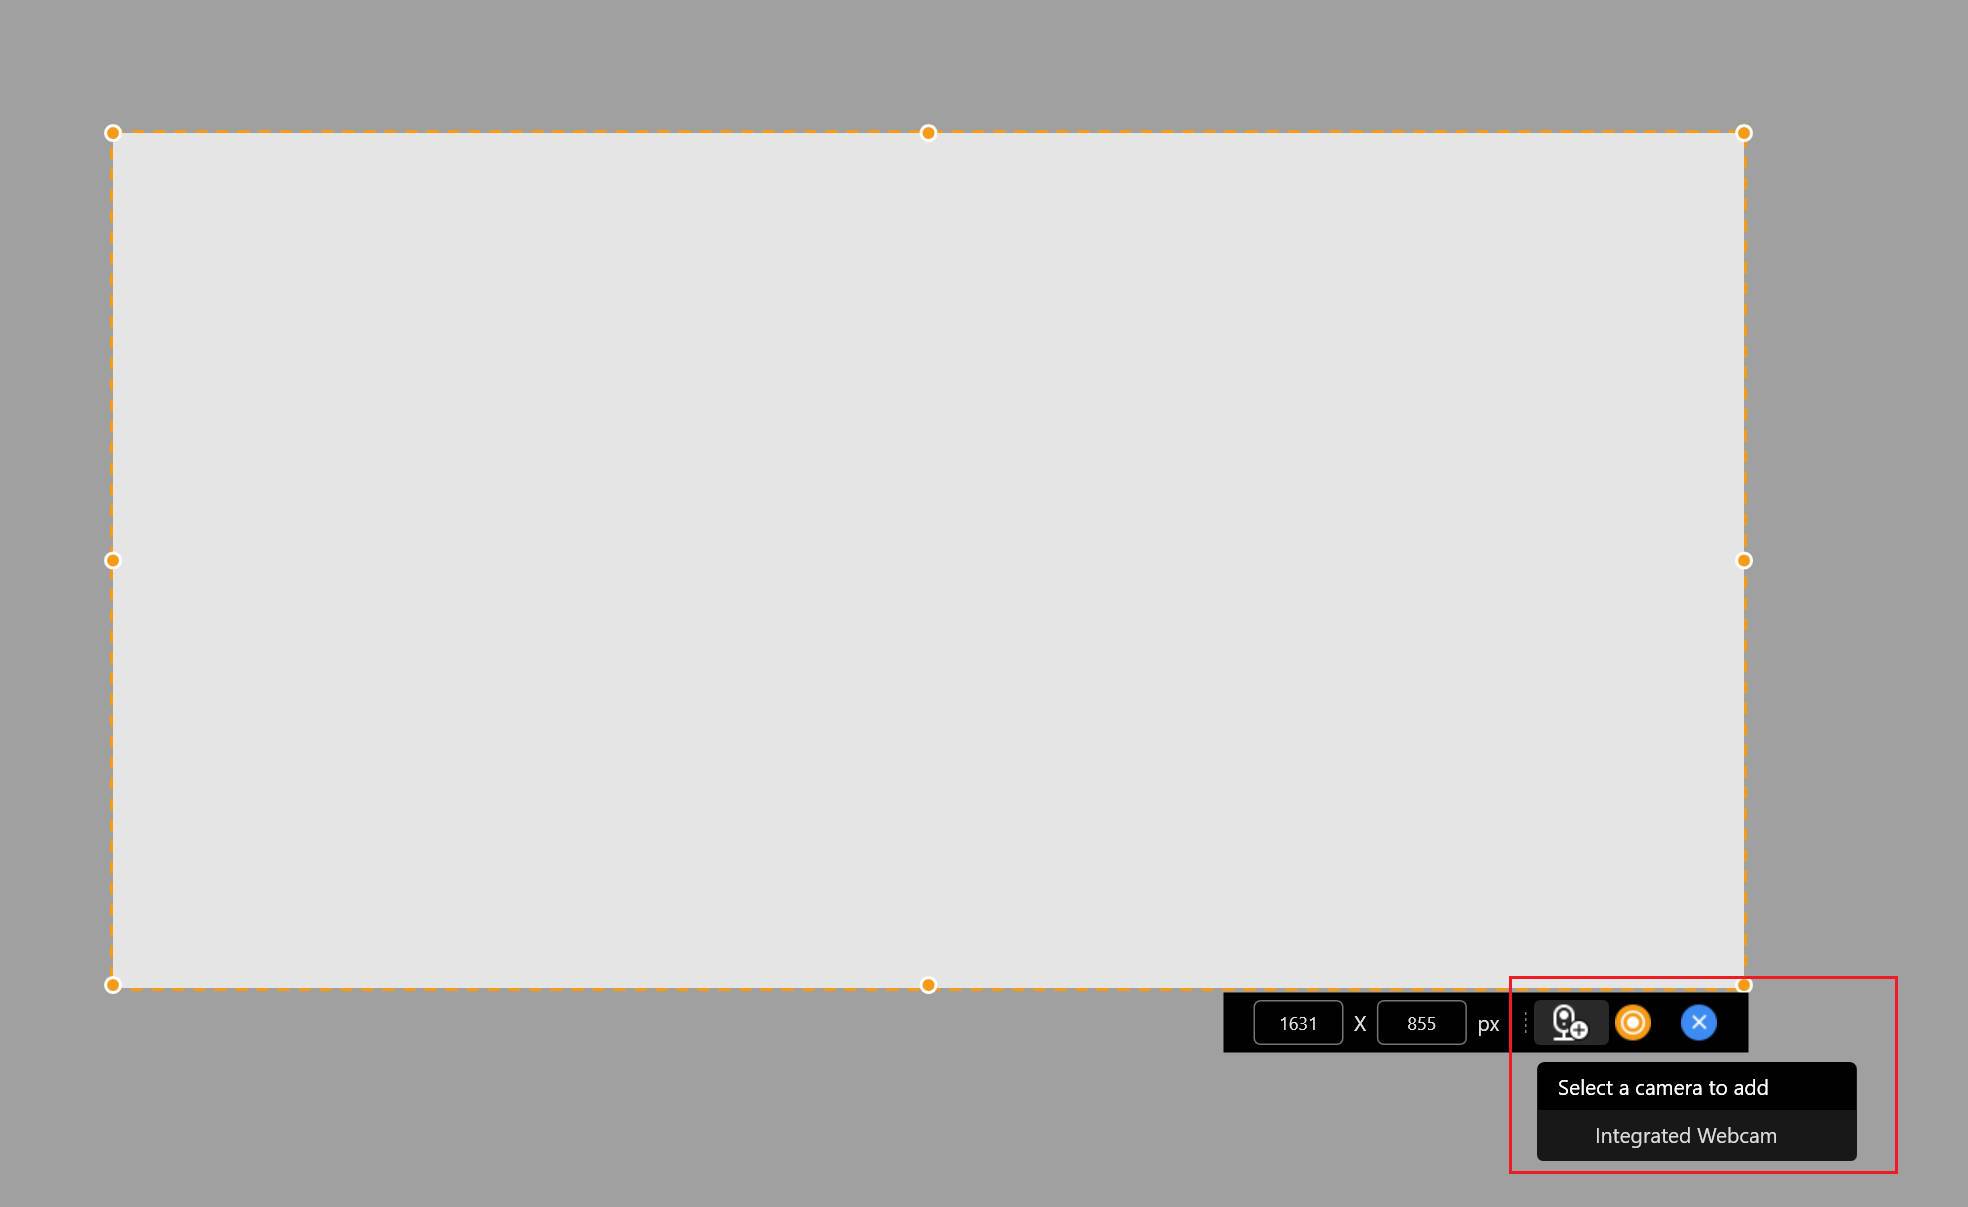 Click the “Add camera” button before recording to add the webcam video stream in the recording area.