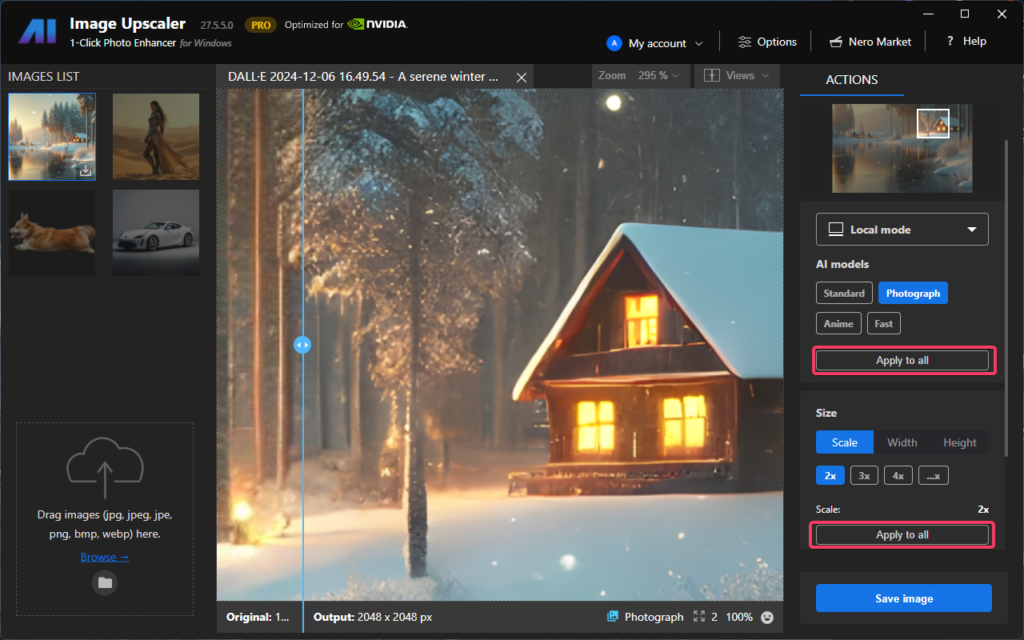
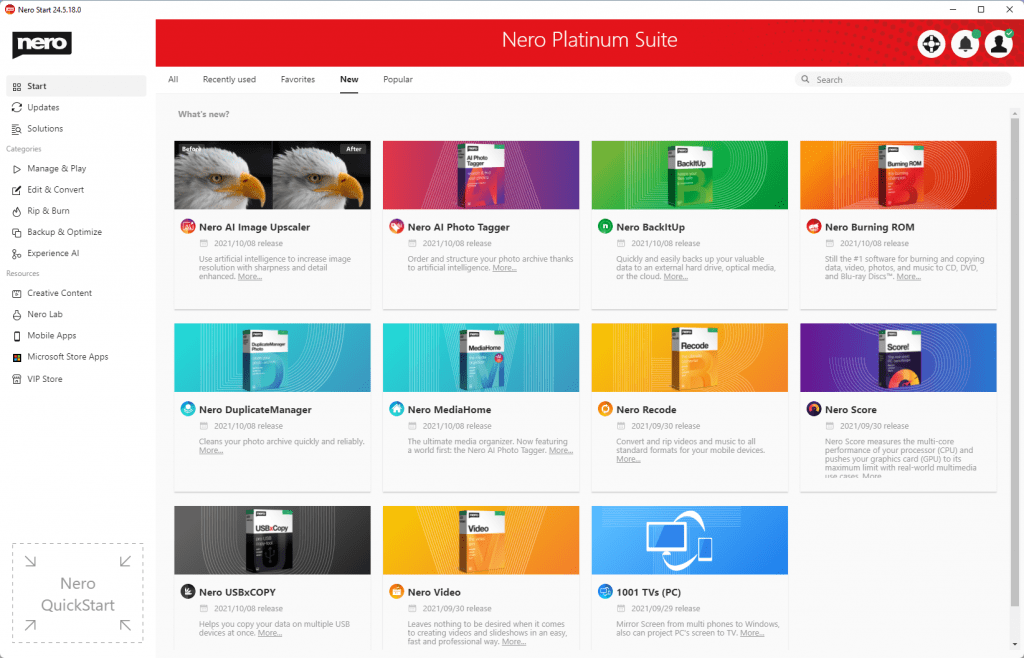
How to get a better tracking result?
To get better tracking results, you shall choose the proper target to track. The target shall have enough features for the application to distinguish between the target and the background. If you choose a plain color to track, the application will not be able to recognize the tracking area with the background. Before starting tracking, please preview your video and check if the target’s size changes much or not. If the target’s size does not change much, turn off the “Adaptive scaling“ option to get better accuracy and performance.
Video Extensions
Q: Why do I need to install the other video extensions from Microsoft Store?
A: The Motion Tracker uses a new 64-bit architecture based on the Microsoft Media Foundation technology which means the video decoding and encoding is different from Nero Video. Microsoft Media Foundation must use video extensions to decode and encode some videos like HEVC.
File Problems
Q1: Some videos can be imported to Nero Video but cannot be used in Motion Tracker, what should I do?
A: You can export the source video to AVC with the original resolution in Nero Video first. Then import the exported AVC video to Nero Video to do motion tracking.
Q2: Some video preview is not good/black/flickering in Motion Tracker, what should I do?
A: You can export the source video to AVC with the original resolution in Nero Video first. Then import the exported AVC video to Nero Video to do motion tracking.
Q3: The preview is different between the Nero Video and Motion Tracker, what should I do?
A: You can export the tracked result in Motion Tracker to video first. Then import the exported video to Nero Video to do further editing.
Hardware Acceleration
Q: What is the function of the “HWA“ button? Why is the button disabled sometime?
A: The “HWA“ button is used to switch between hardware acceleration and software acceleration during playback. When the hardware acceleration is enabled, the button’s color turns orange. The button will be disabled when the video codec does not support hardware or software acceleration.
Nero KnowHow 00288


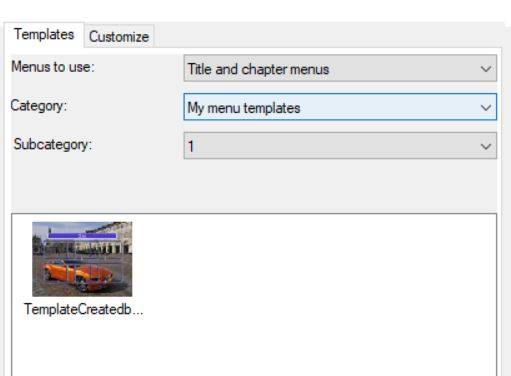
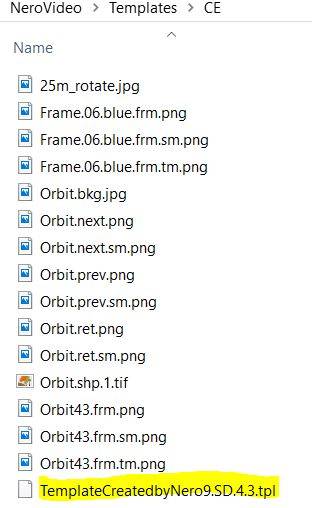 2. O arquivo * tpl é um arquivo xml onde você precisa adicionar um identificador exclusivo global (GUID) para que você possa abri-lo no Nero Video. Acesse este site
 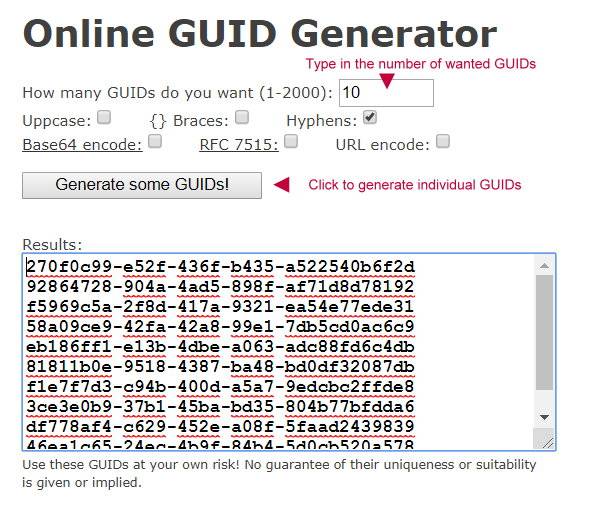 3. Clique com o botão direito do mouse no arquivo * tpl do menu que você moveu para ”… NeroVideo\Templates\CE” antes e selecione para editá-lo com o texto do Windows “Editor”.
 7. Salve o arquivo e reinicie o Nero Video