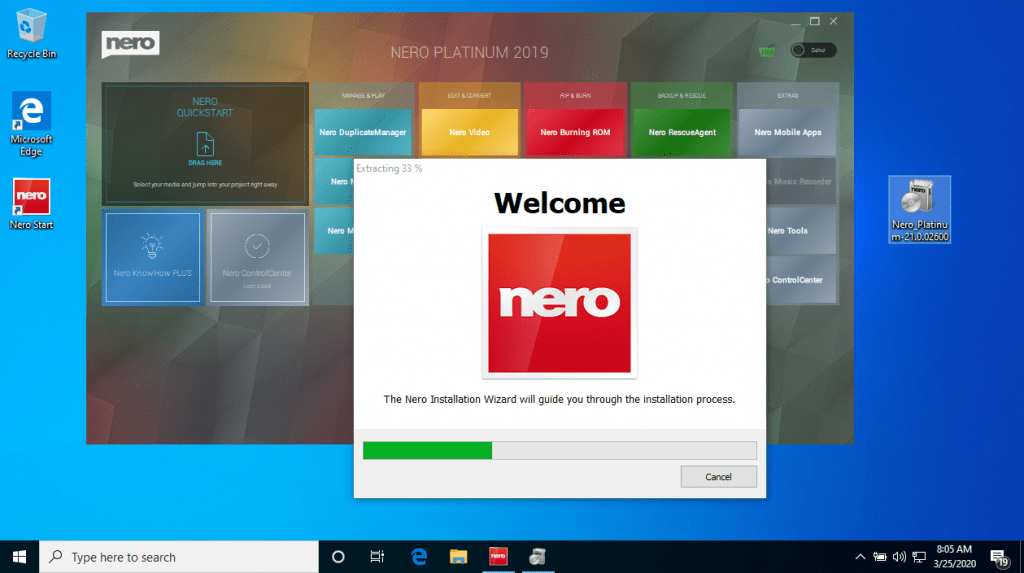
Recently, Nero Start supplied an online update for Nero 2019, Nero Platinum Suite and Nero 2020 products. After the online update, Nero 2019 users can also benefit from some of the advantages that Nero 2020 users like using the AI Photo Tagger and logging in to the Nero Account to manage all Nero products.
These are the steps for a non-subscription user to get access to the latest Nero Start, even without a Nero Account.
Use Nero Start without Nero Account Sign-in
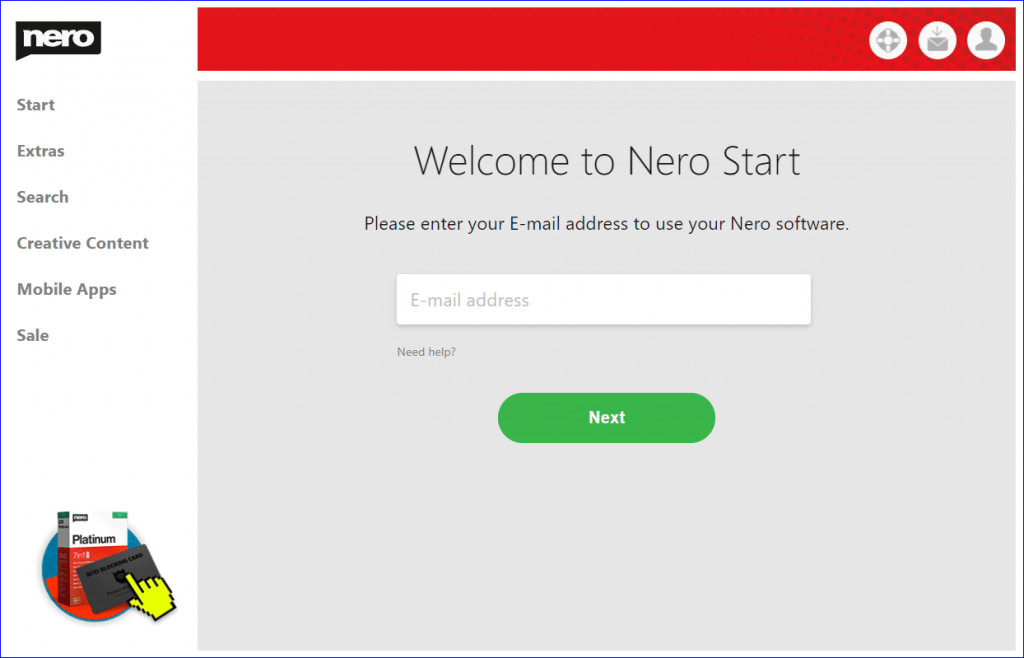
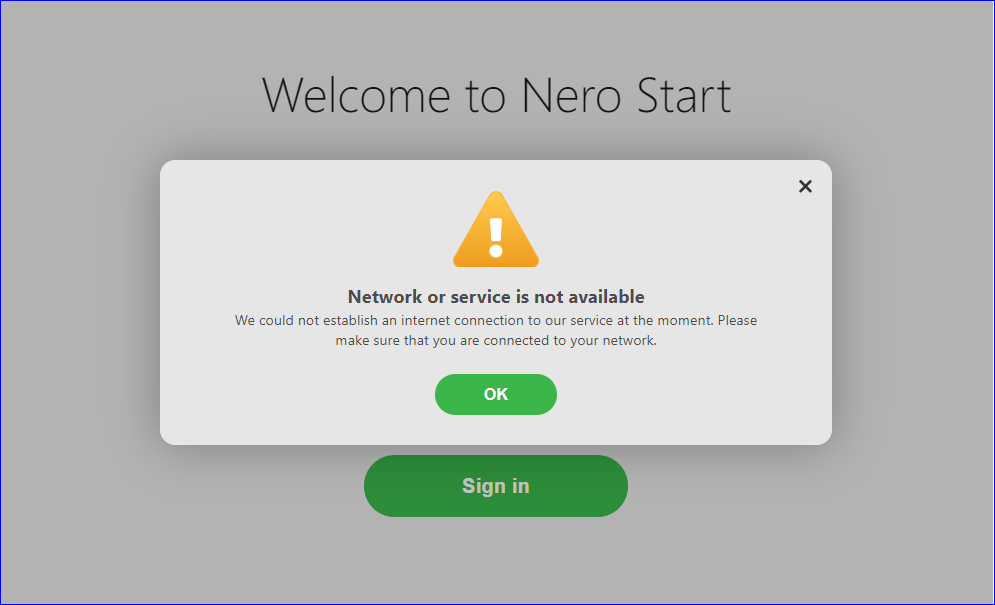
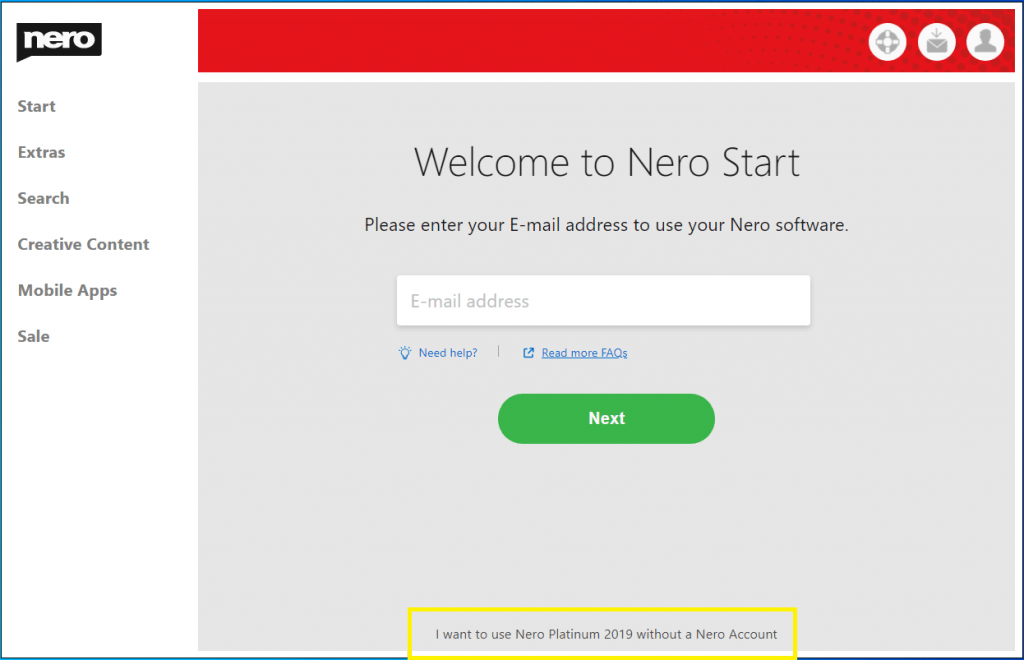
During the 1st time launch of Nero Start, the application will help you to configure your software with the Nero Account. If the software detects that you are not a Nero Platinum 2019 Subscription user, an additional entry point will appear in the bottom of the screen. Click the link to skip the registration process.
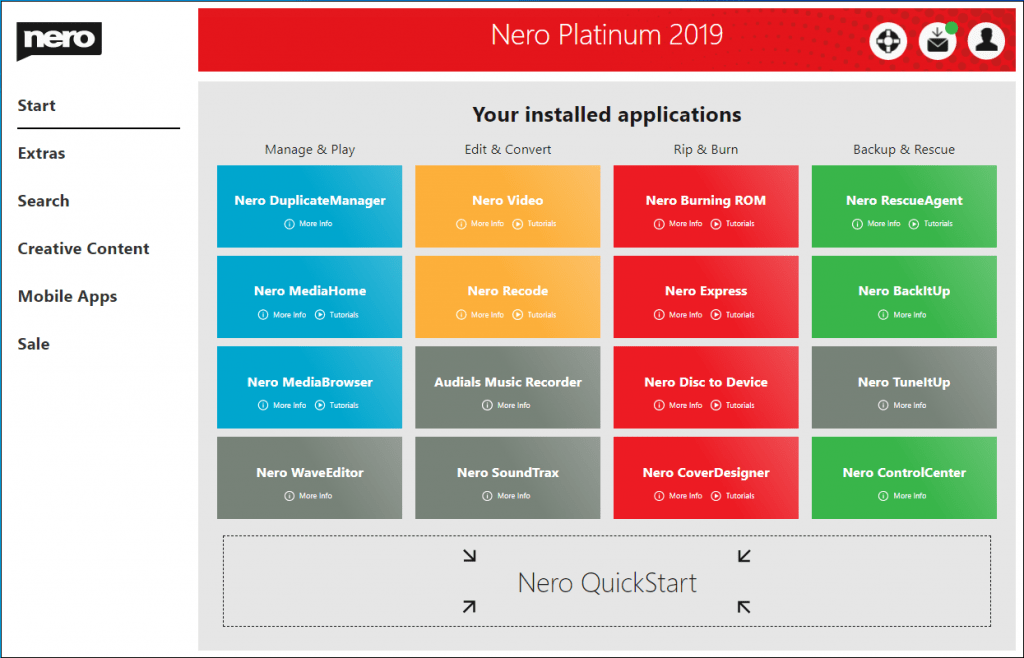
Everything works the same as in the previous Nero Start. Each Nero application has a startup button that will start up the application by clicking it. You can also switch buttons to search use cases of Nero applications, Nero Mobile apps, or preview video with Movie Themes.
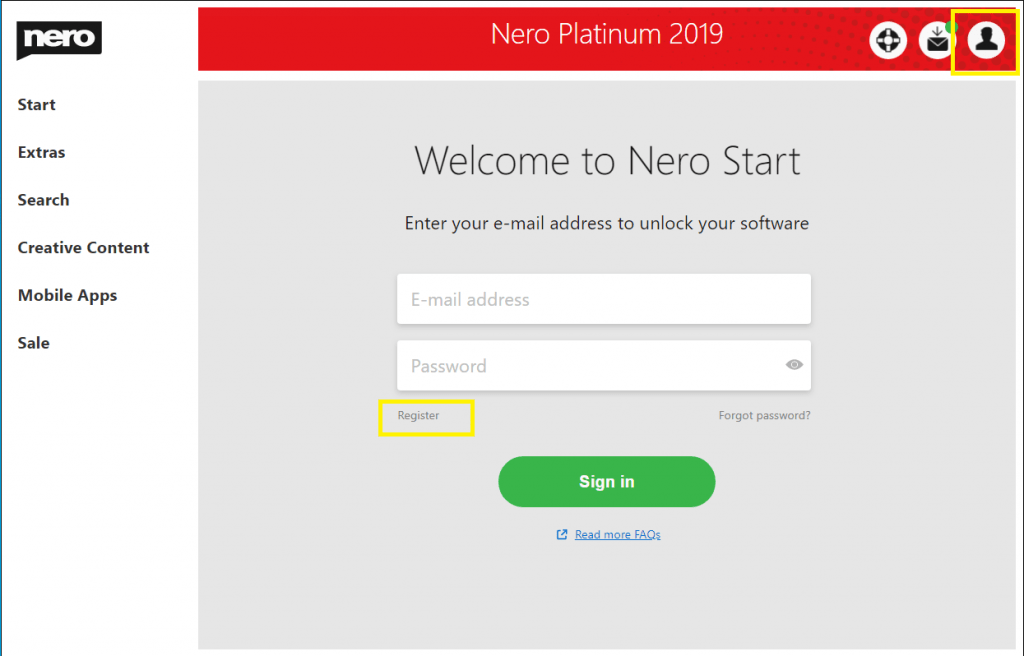
If you would like to create a Nero Account later, you can register by clicking on the “account” button in the top right corner.
Use Nero Start with Nero Account
While in the Nero Start startup wizard, you can also create a Nero Account. Input an email address and the Nero Account System will check if it is a valid account already exists and allow to sign in or guide you to register a new account.
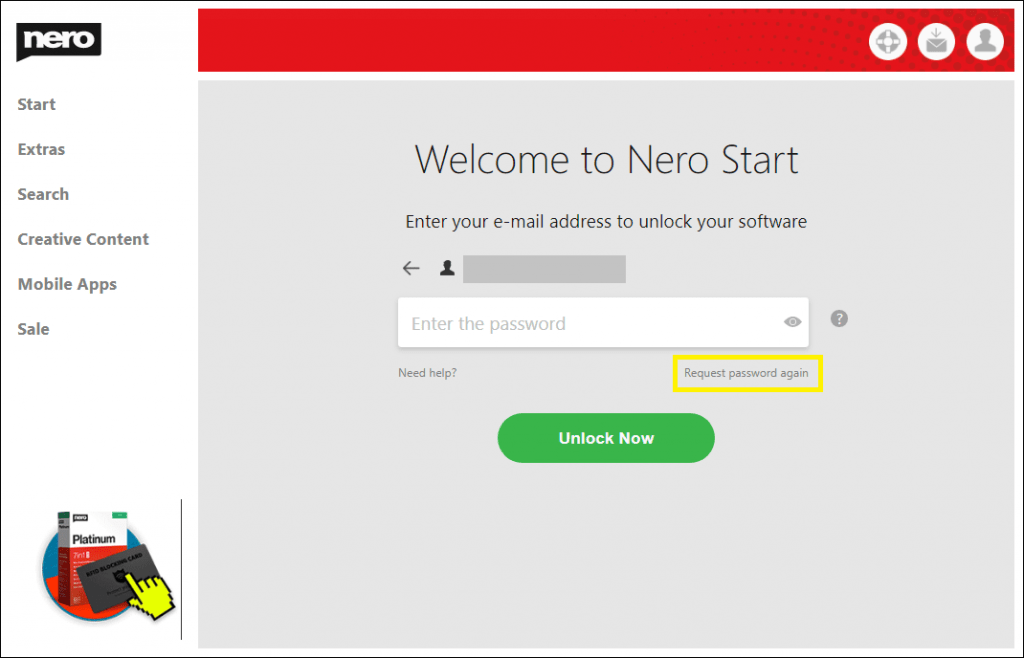
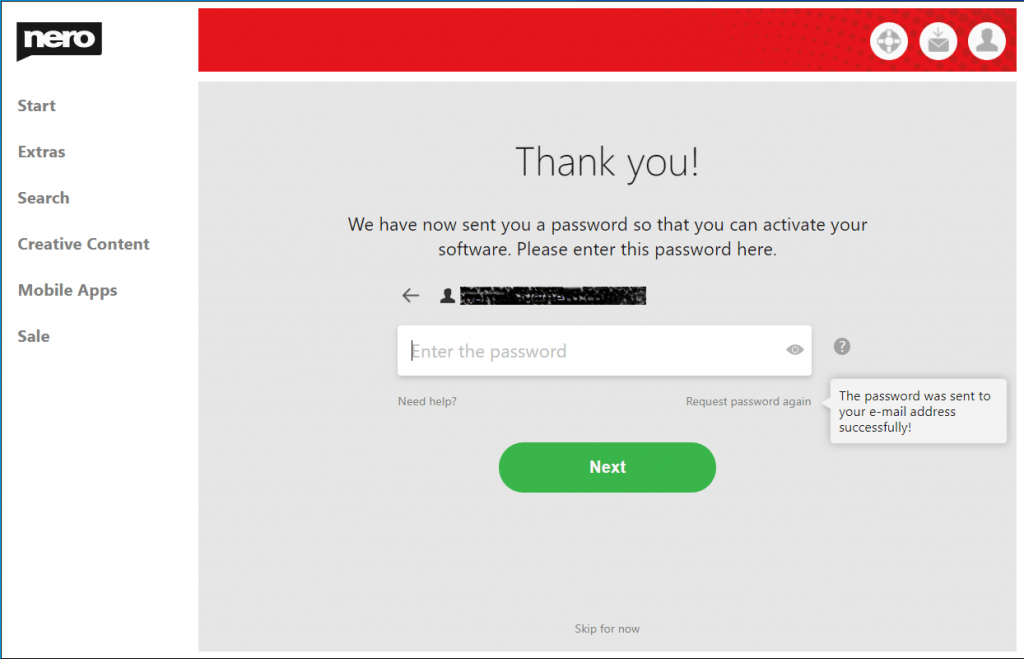
After entering the password which was sent to your email address via the Nero Account System, you can finish creating a new Nero Account.
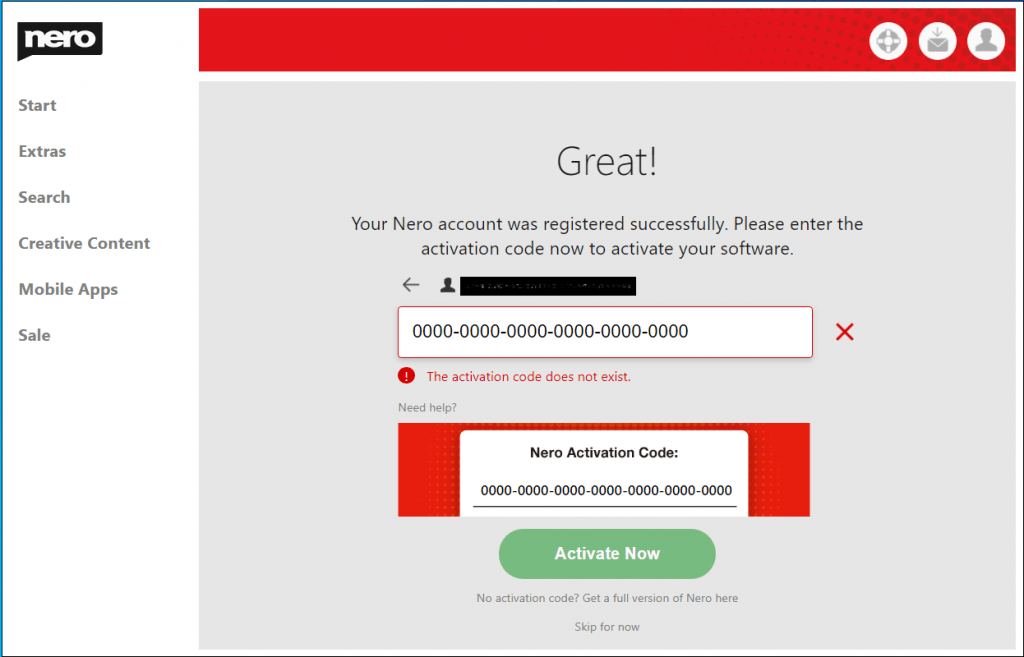
In next screen, you can enter the Activation Code to unlock your other Nero Products, for example Nero Platinum 2020, Nero Burning ROM 2020. If you do not have any valid Activation Code, just click the “Skip for now” to skip this step. Without any Activation Code, you still can use your own Nero 2019 products as usual.
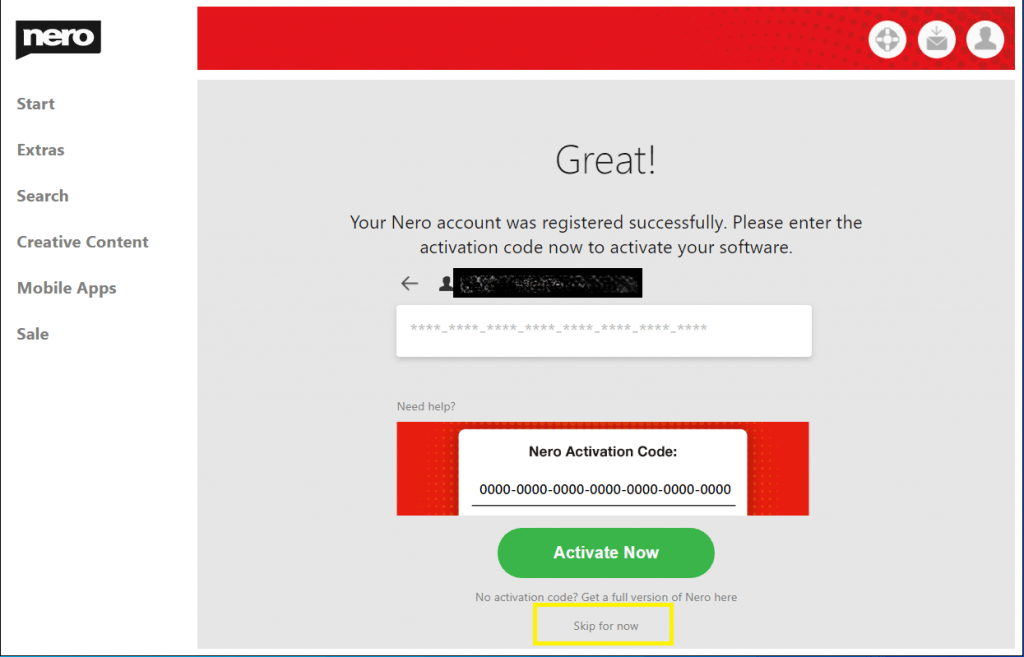
The activation code is not the same as Nero Serial Number which you got for Nero 2019 products. Entering any serial number will produce an error message.
You are also able to click the link to purchase a full version copy of Nero Platinum Suite.
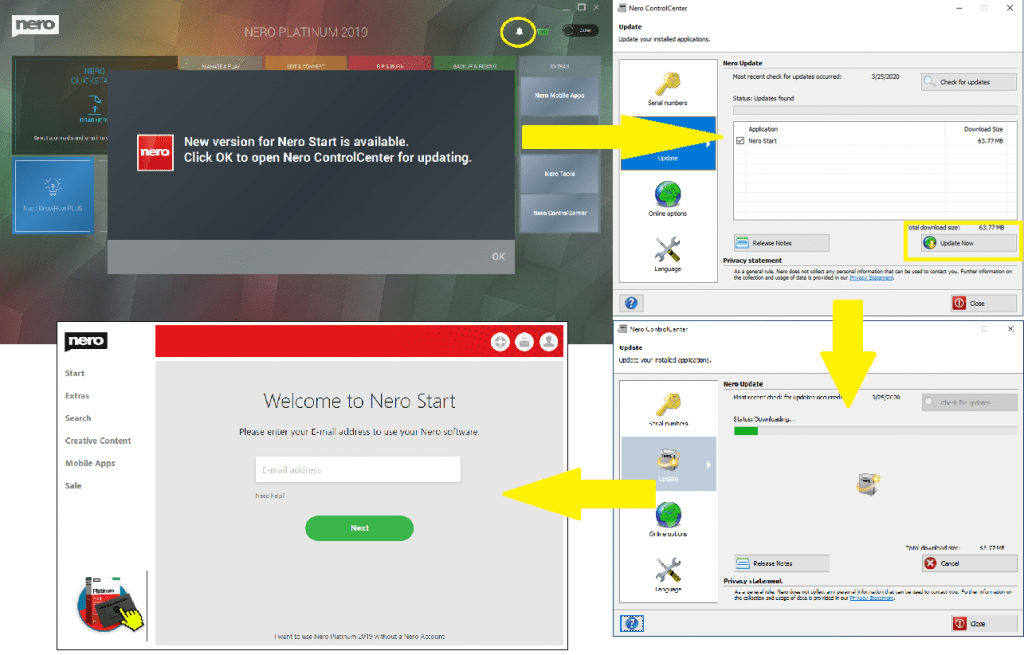
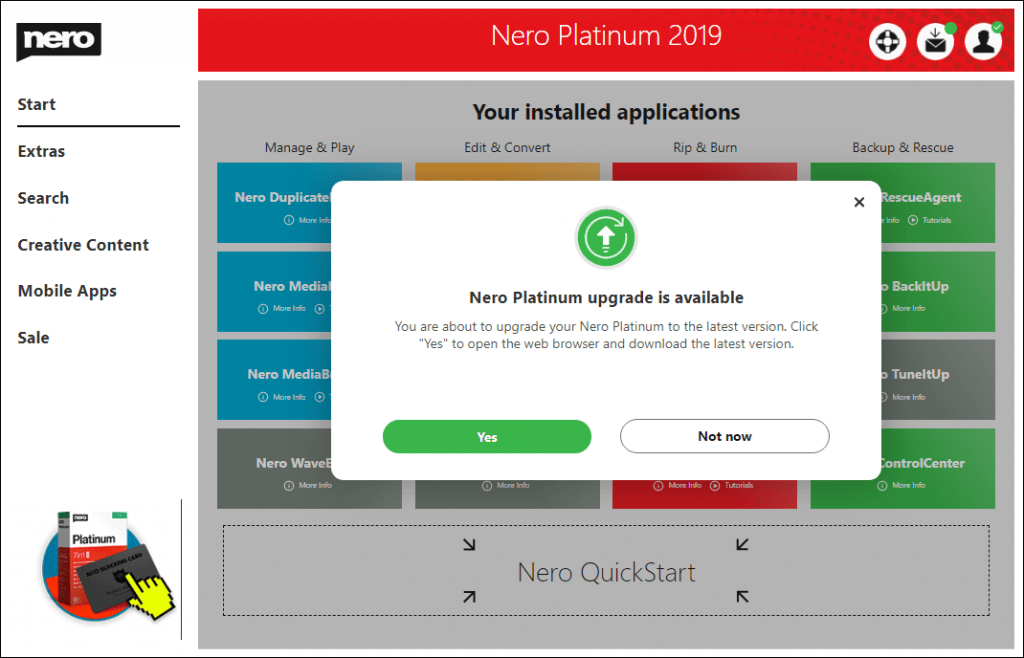
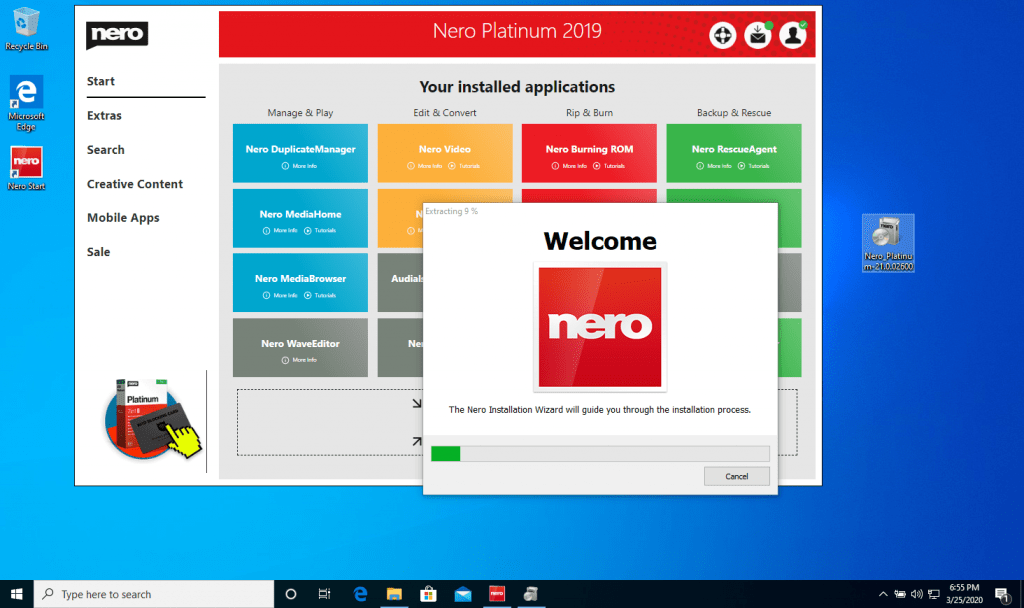
Also for Nero Platinum 2019 subscription users, after signing into the Nero Account, an In-App notification will help you to upgrade the product to the latest Nero Platinum Suite, that always supplies the newest features, product improvements, quality improvements and bugs fix. (The Nero Account for Nero Platinum 2019 Subscription users was already created while ordering the product in Nero Online Shop. It is the same email address used to receive the delivery information of the purchase.)
Visit the below FAQs to get more information about Nero Account and Nero Start.
- What’s new in Nero Start?
- How do I create a Nero Account?
- What is a Nero Account? What can I do with my Nero Account?
- I am a Nero Platinum Suite (Nero Platinum 2019 Subscription) user, how can I upgrade to the latest Nero Platinum Suite?
- Release Notes for Nero Platinum Suite (Subscription) – 2020 Q1
Nero KnowHow 00207