We always improve our product based on your feedback and suggestions on a ongoing basis.
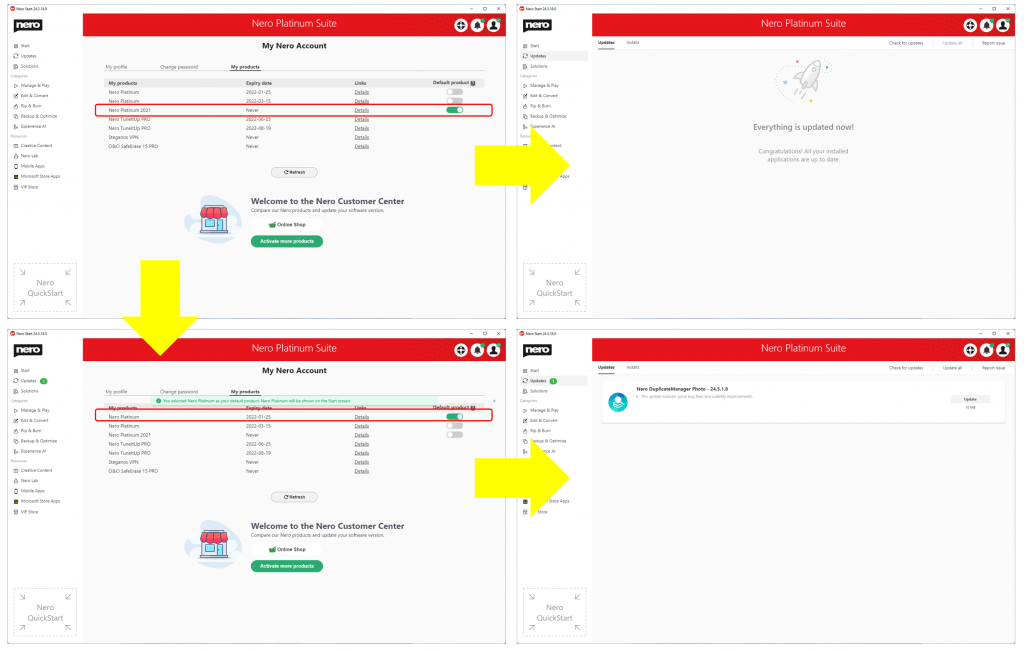
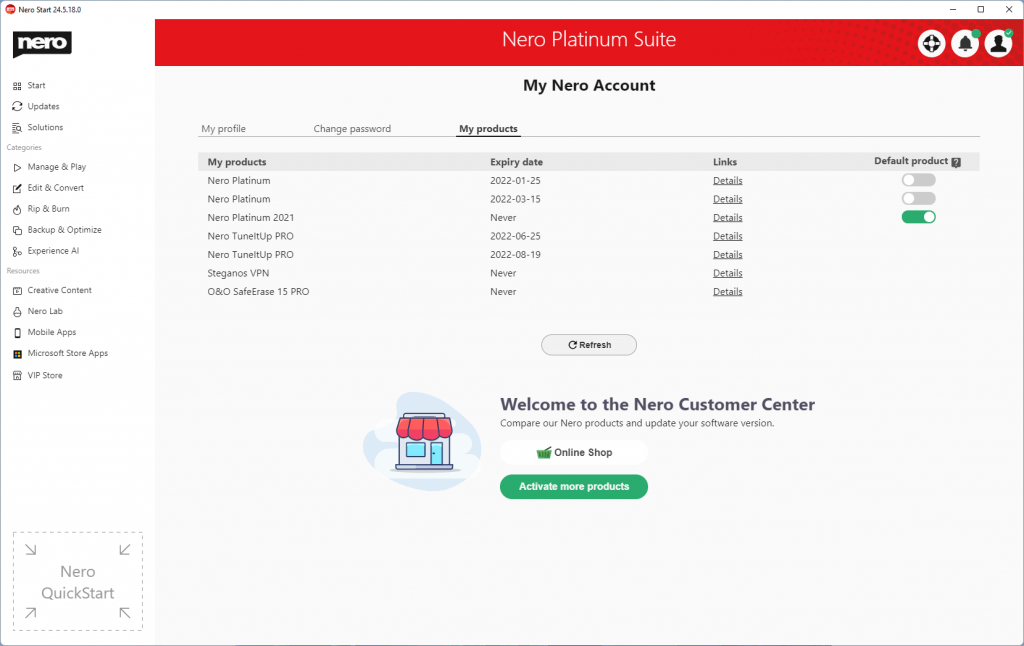
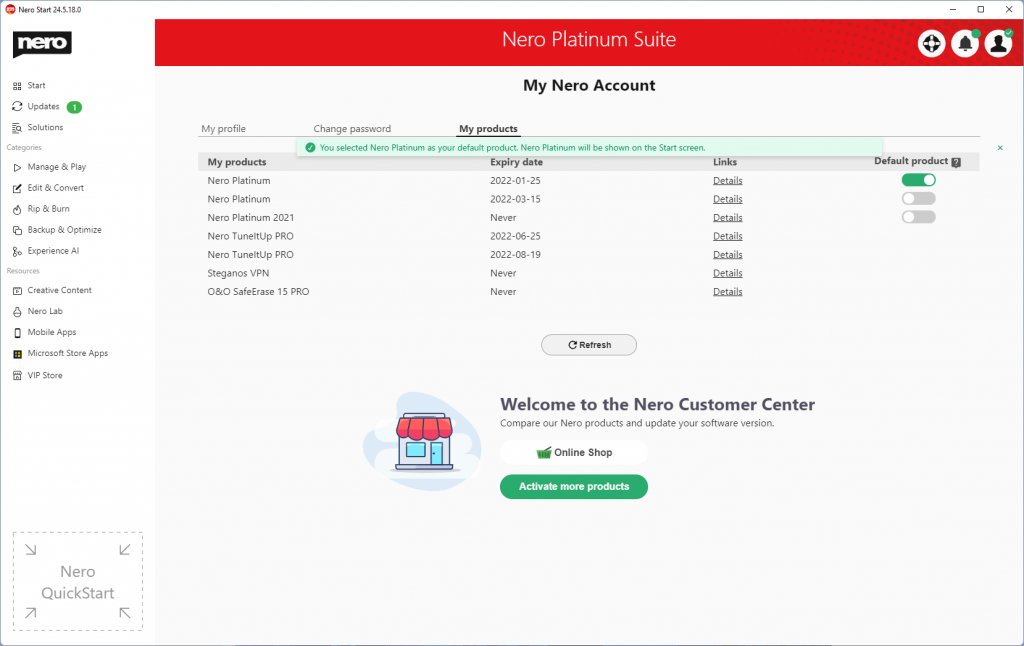
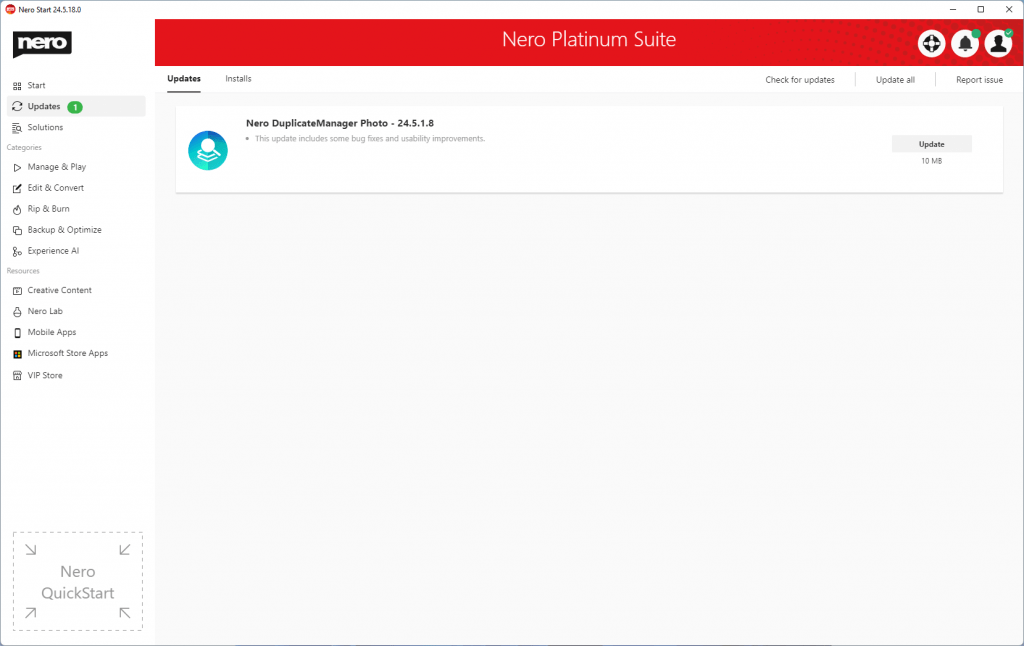
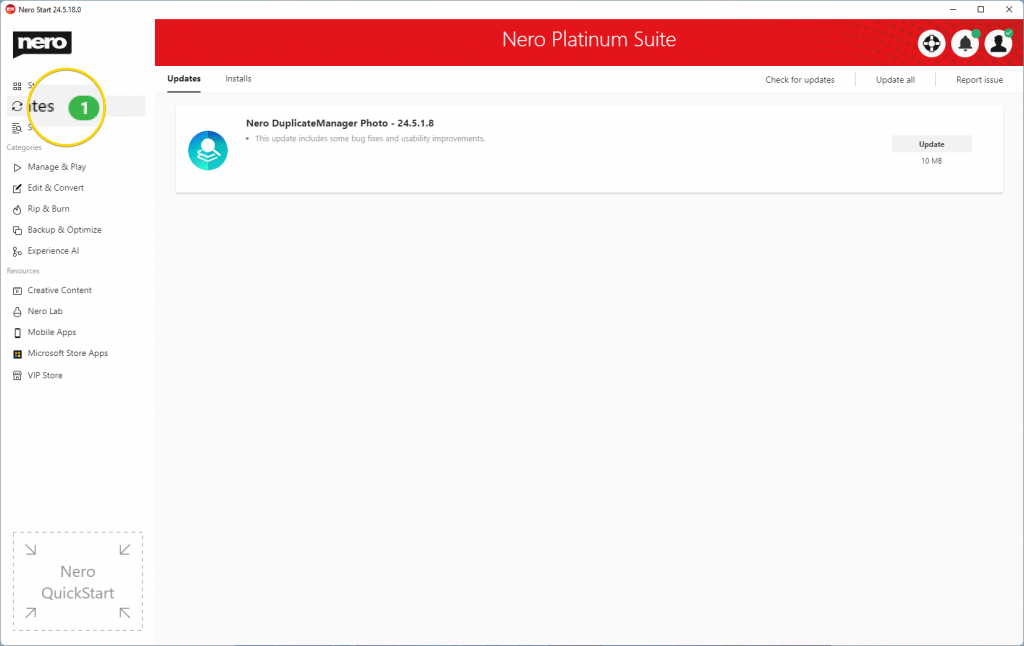
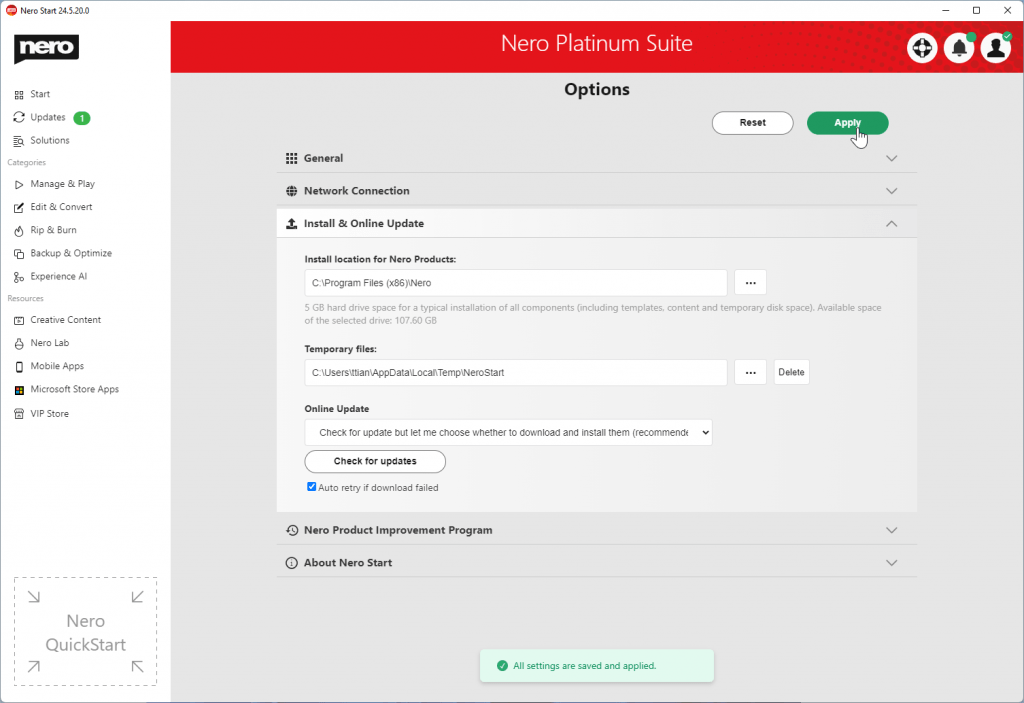
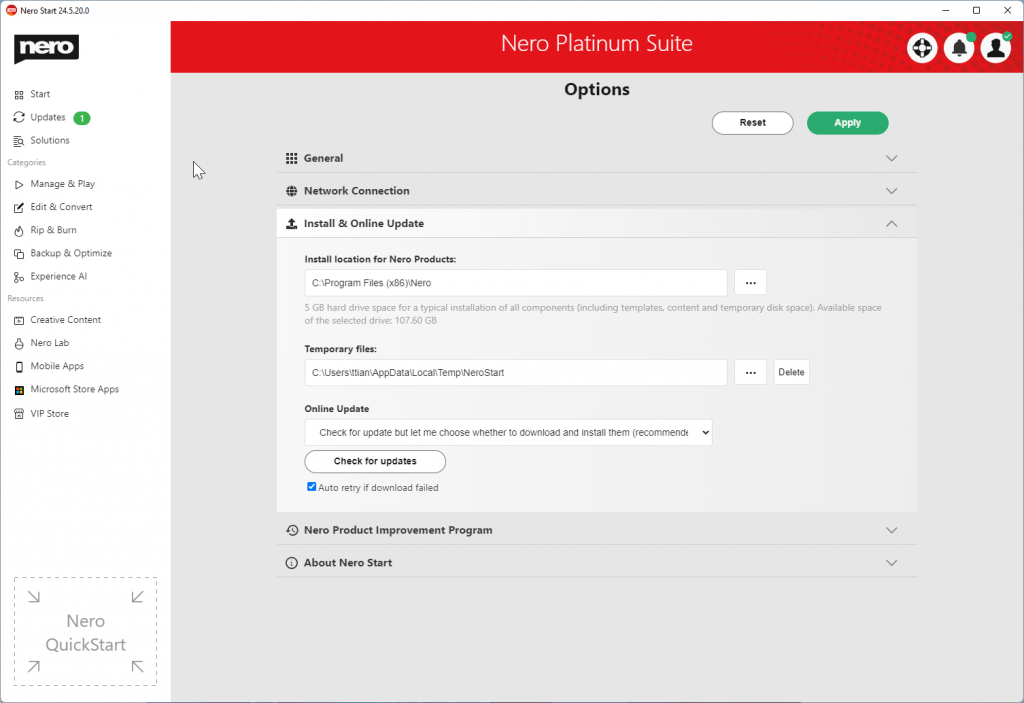
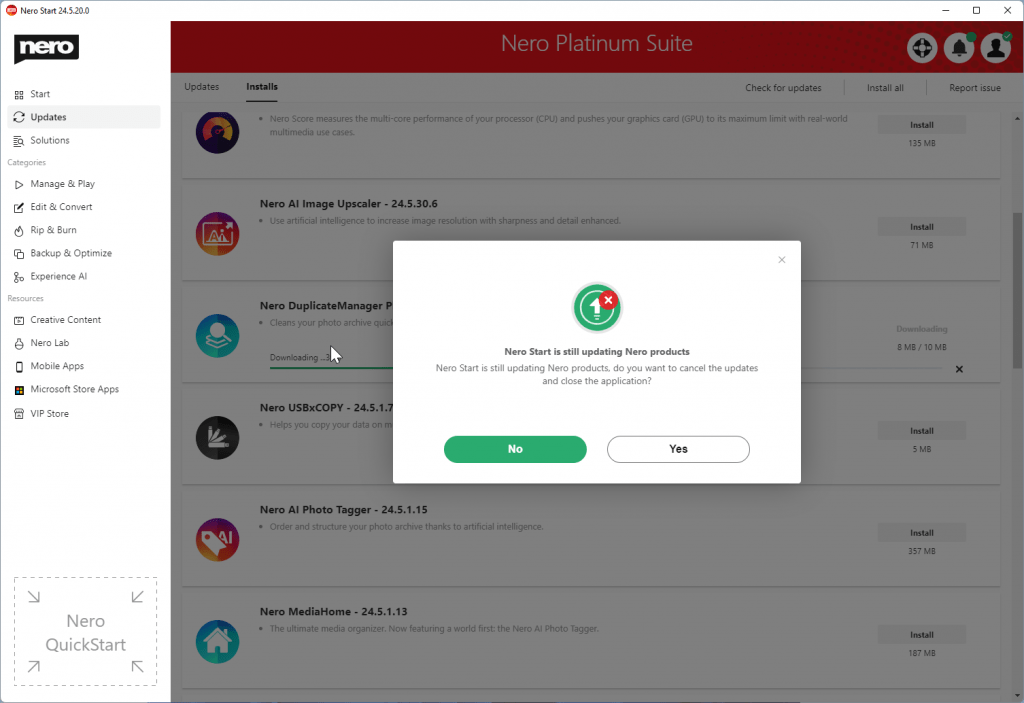
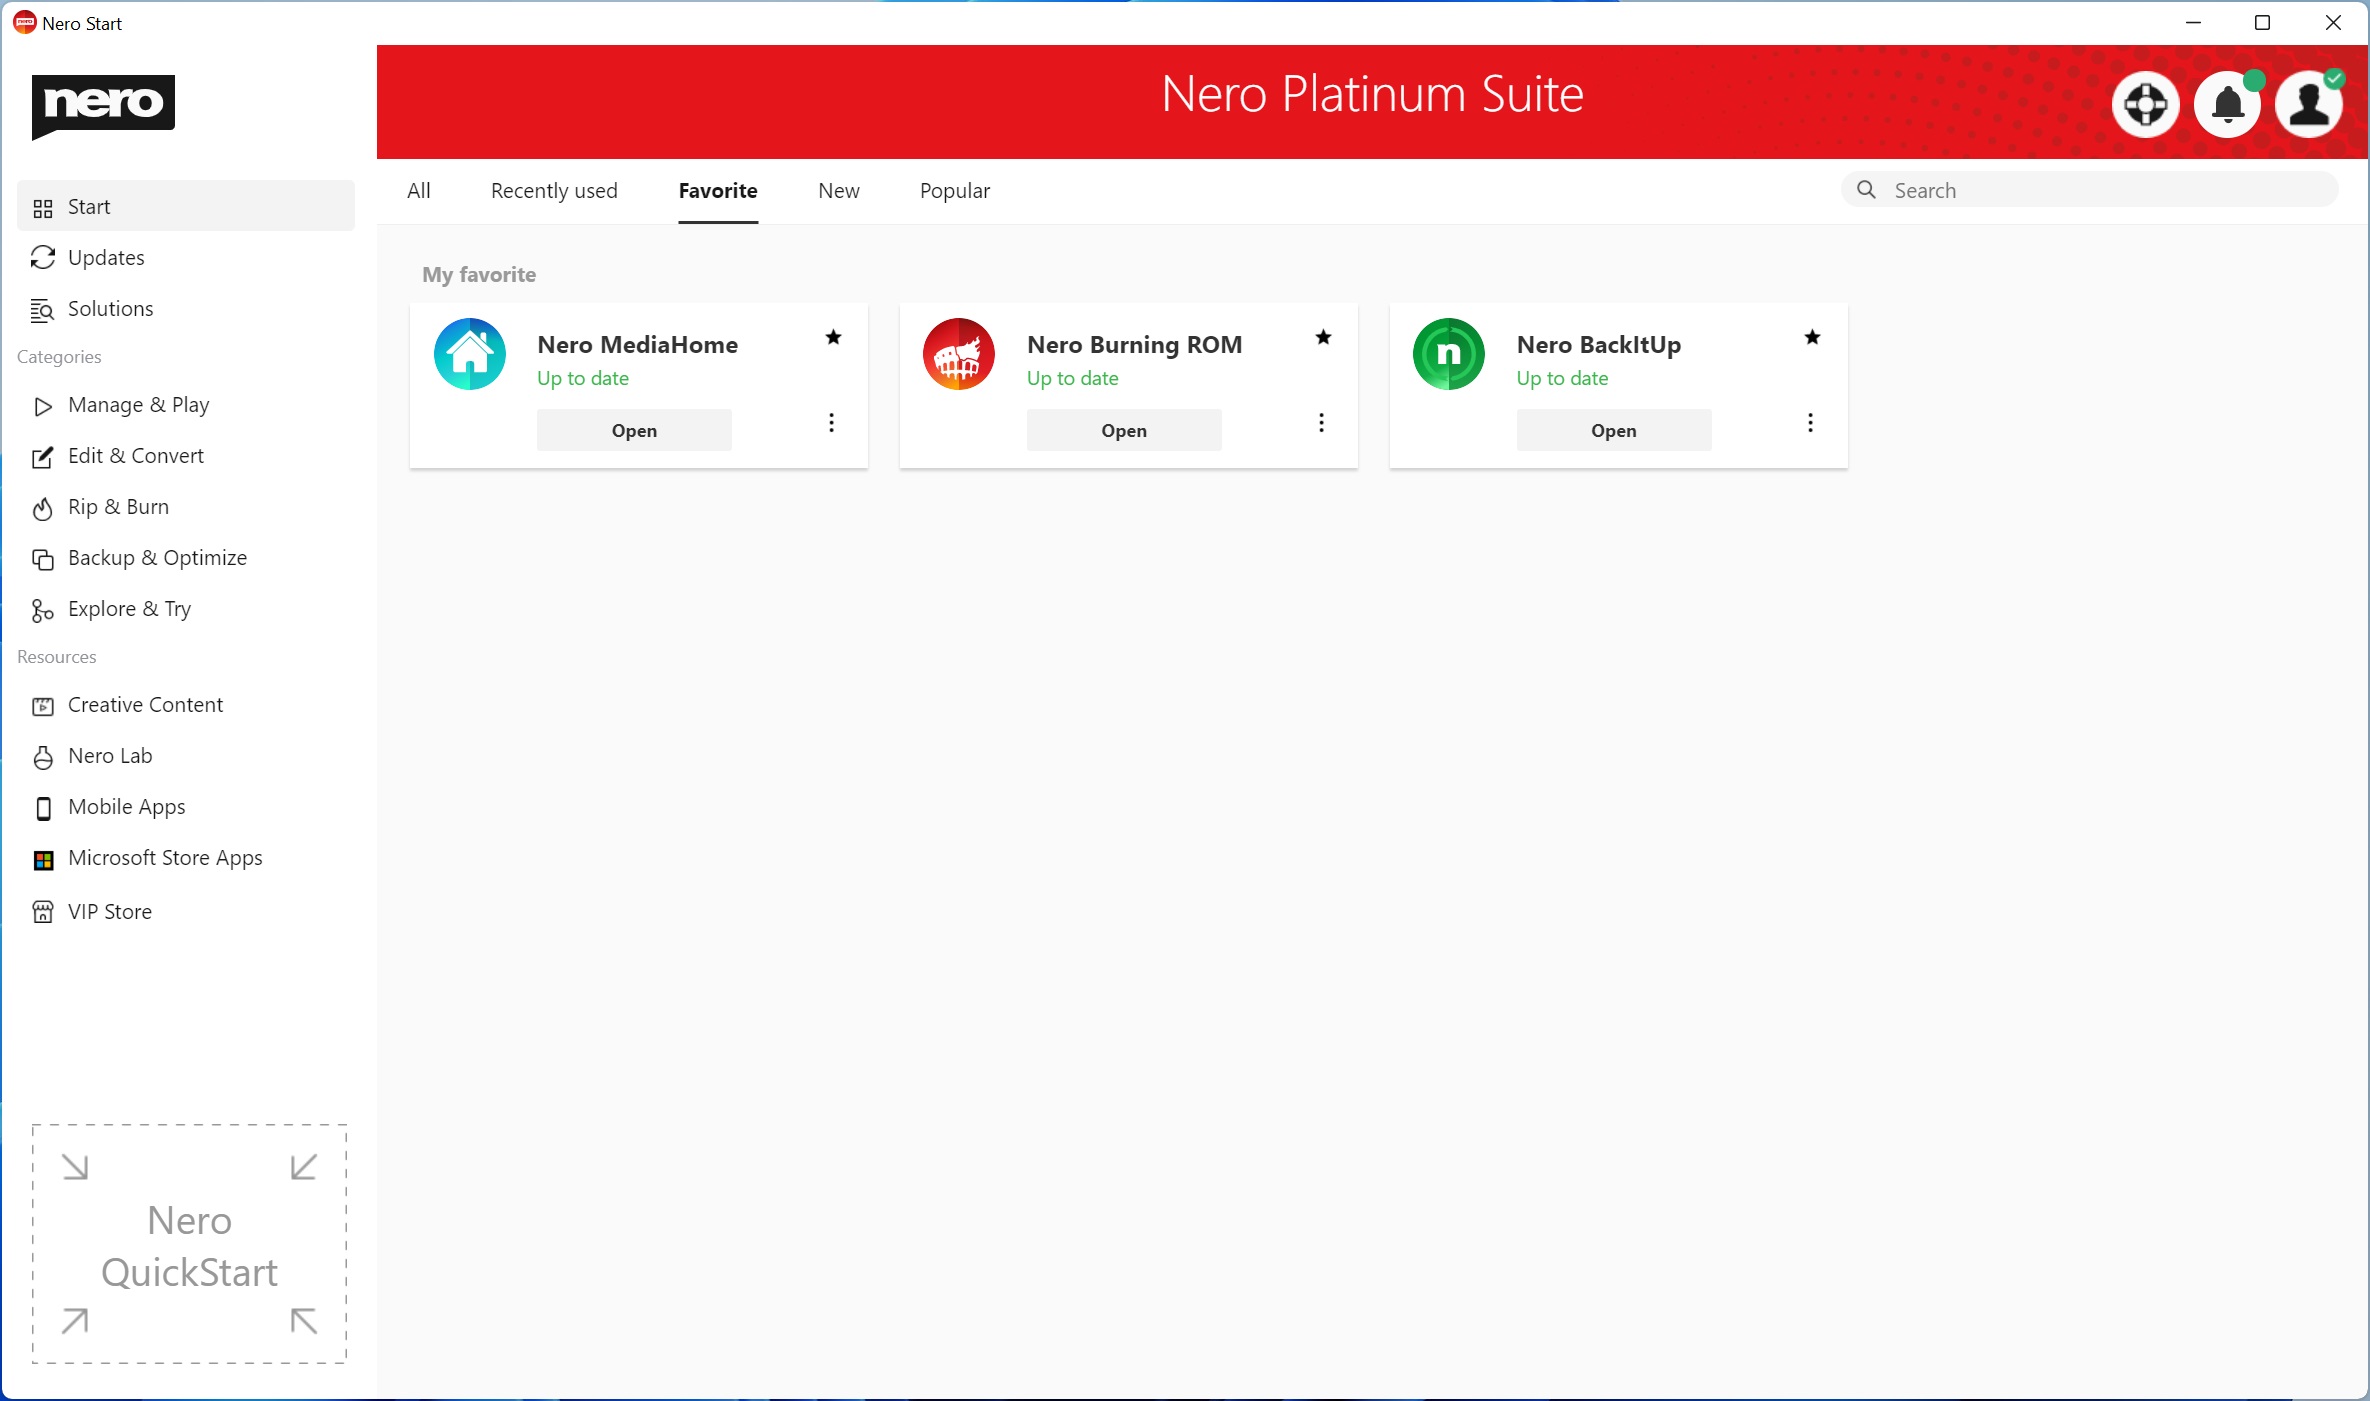
Nero Start
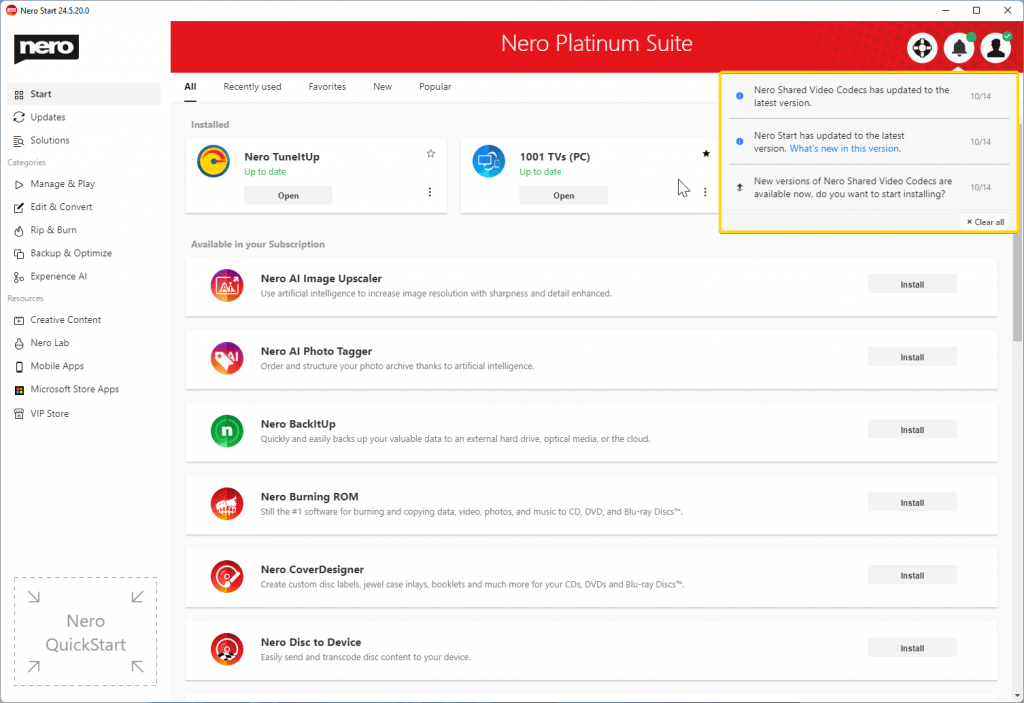
• The new user interface provides you with dynamic and customized tabs such as “Recently used” and “Favorite” pages
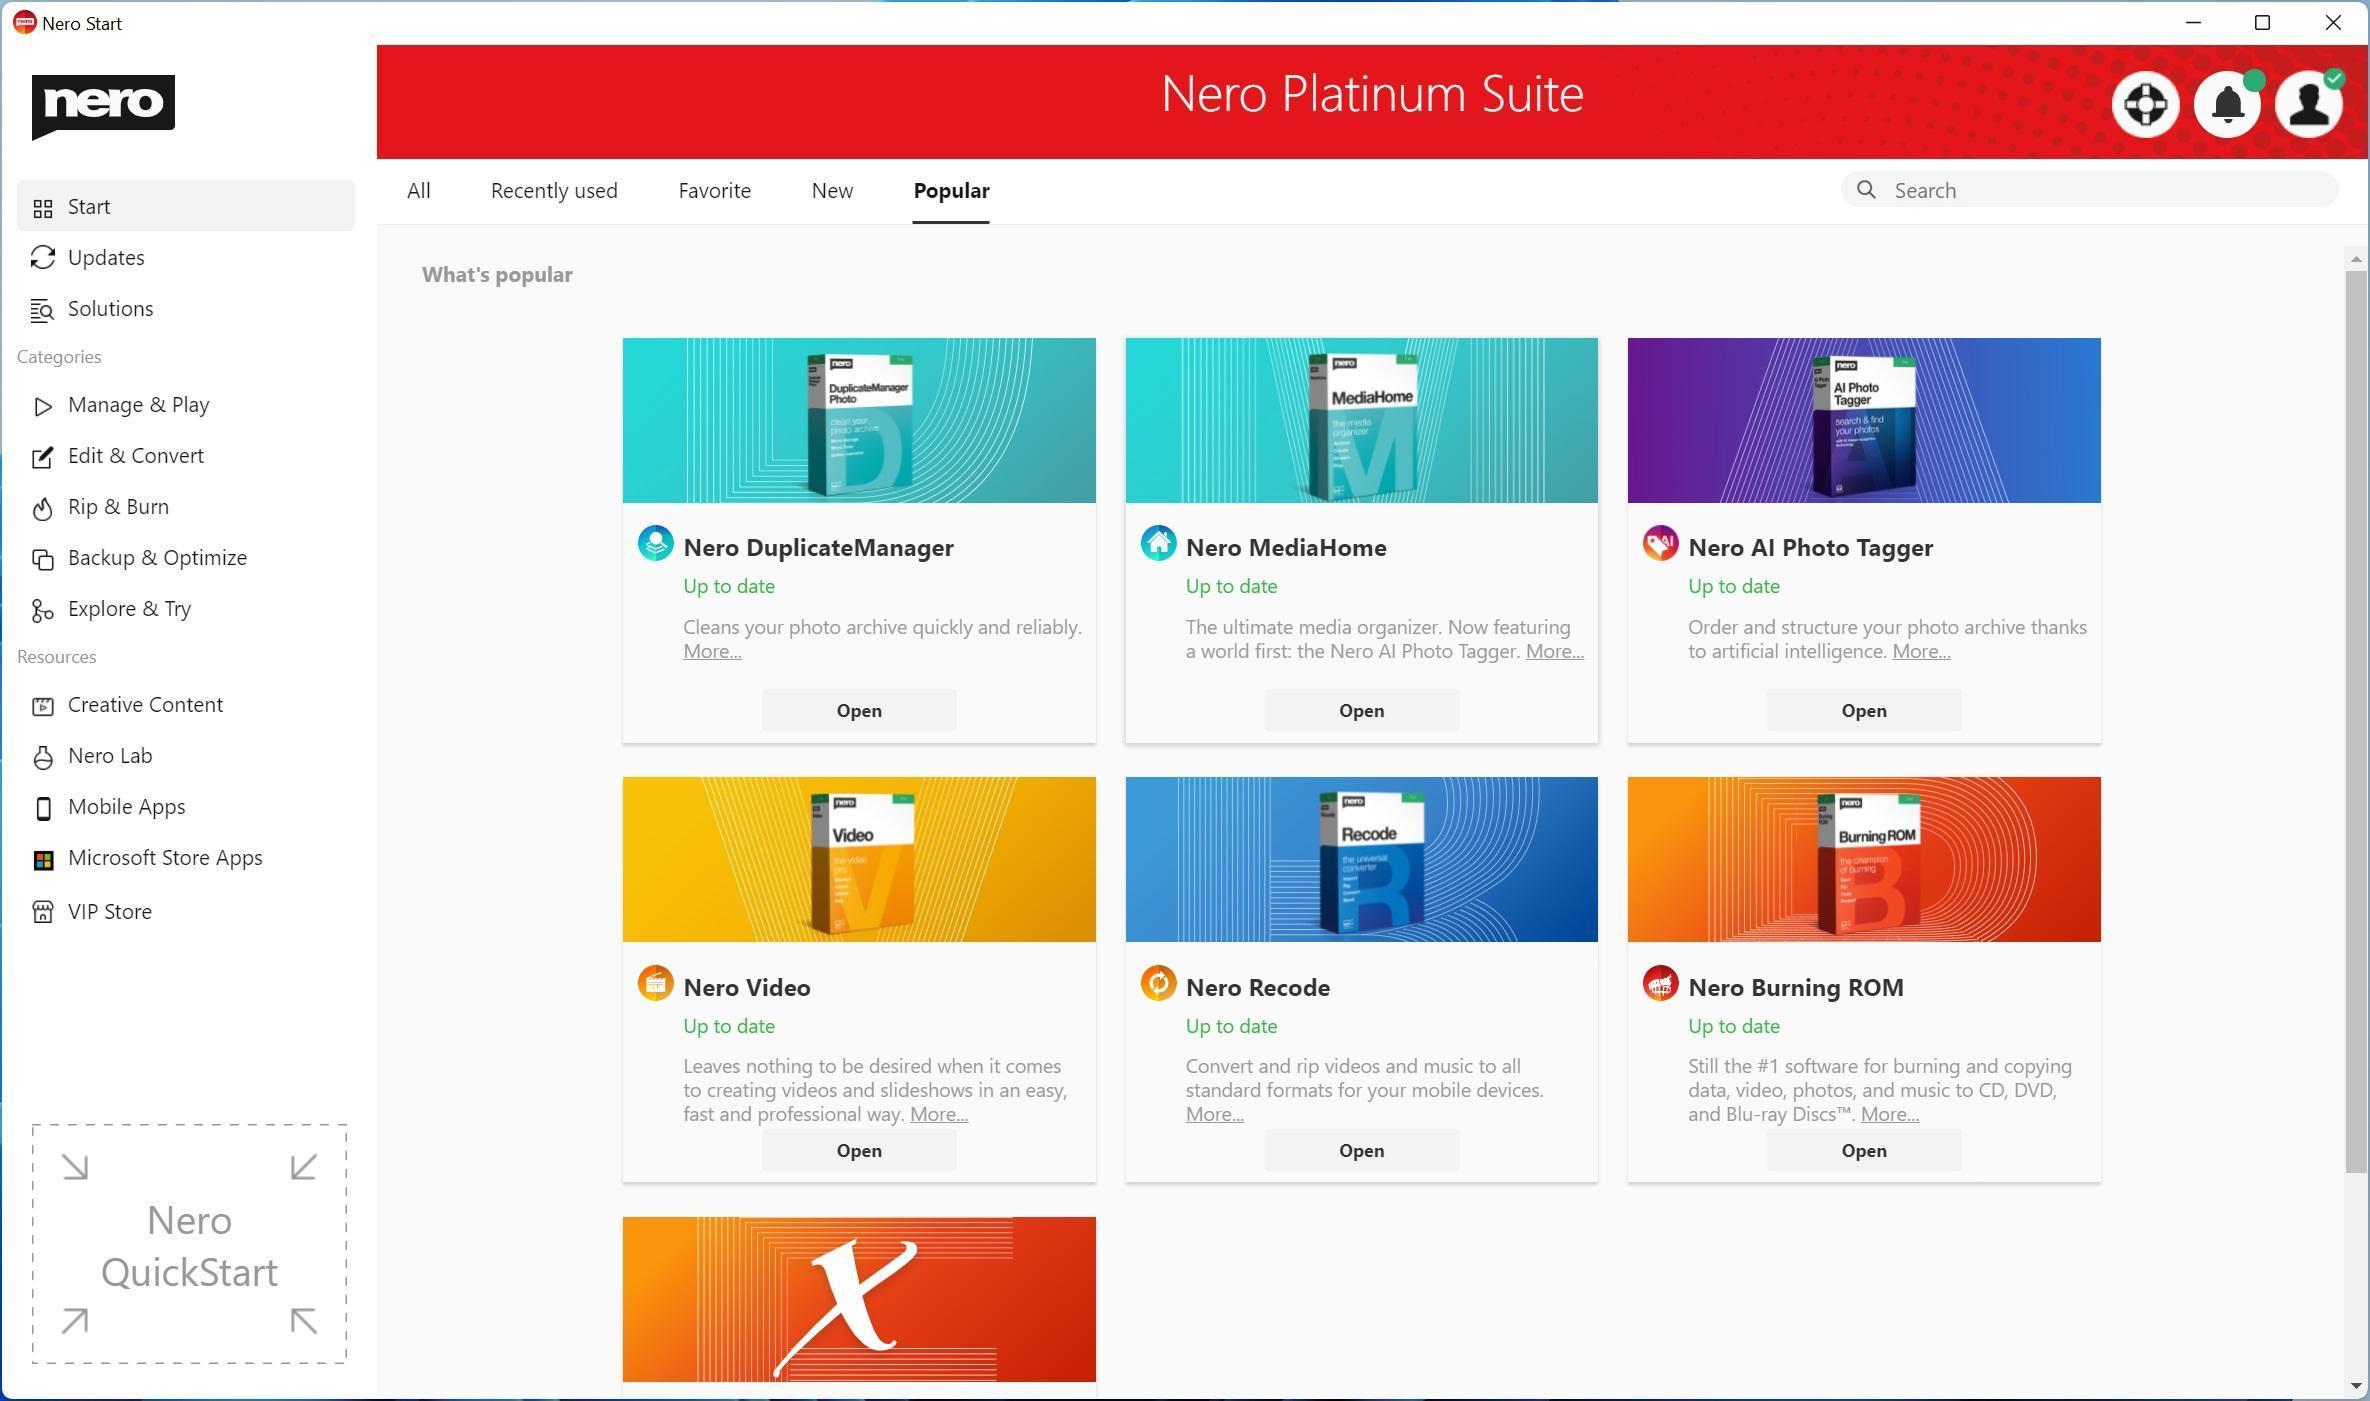
• See the latest released apps and most popular apps from users all over the world
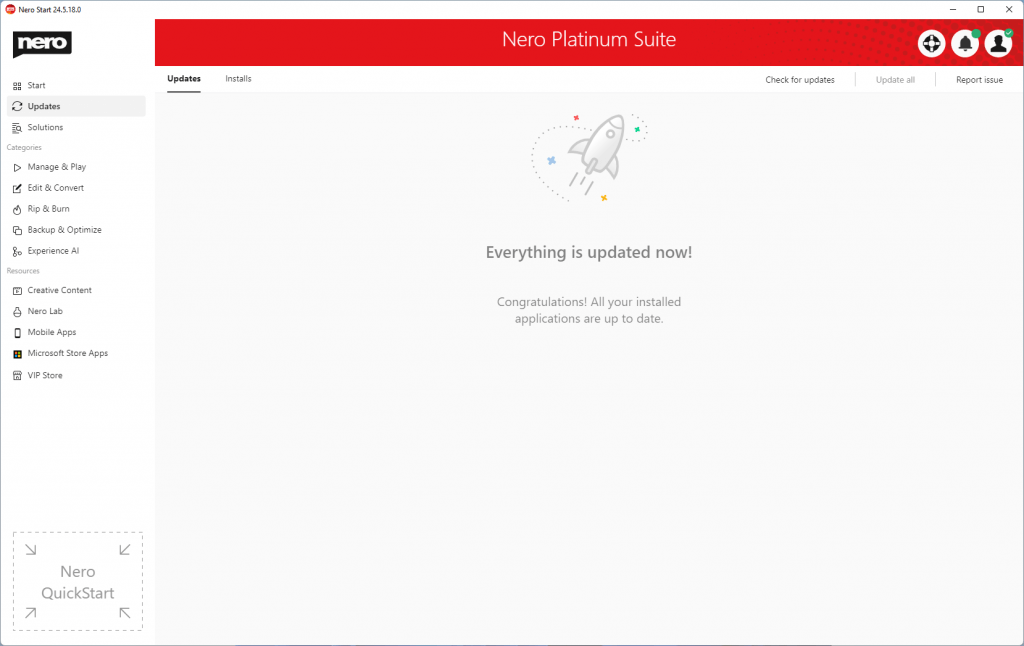
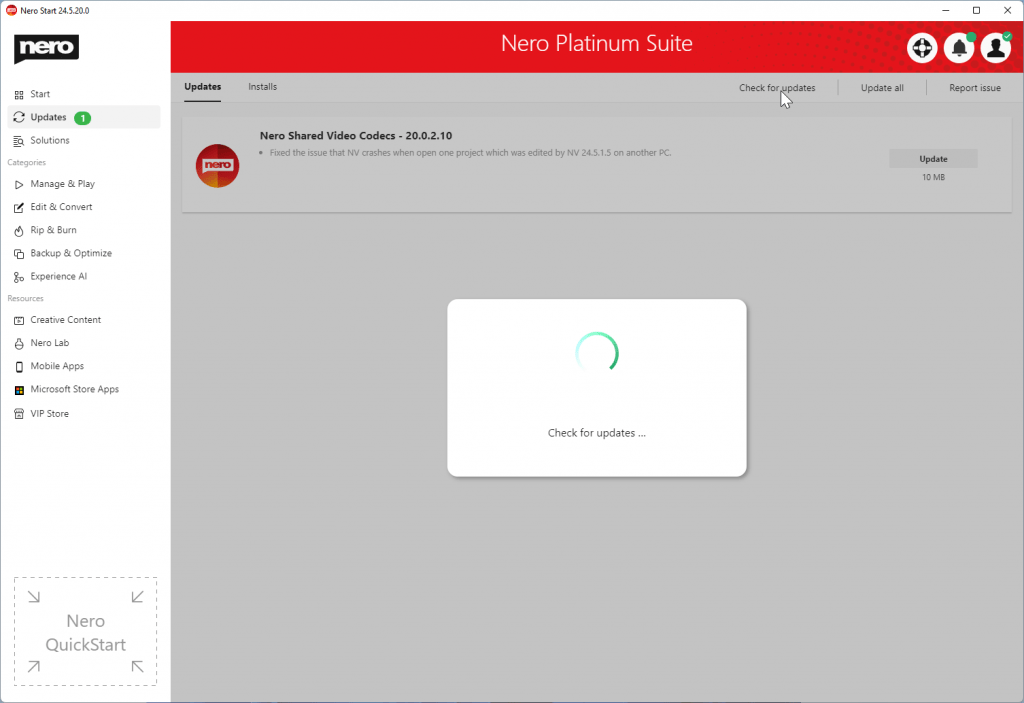
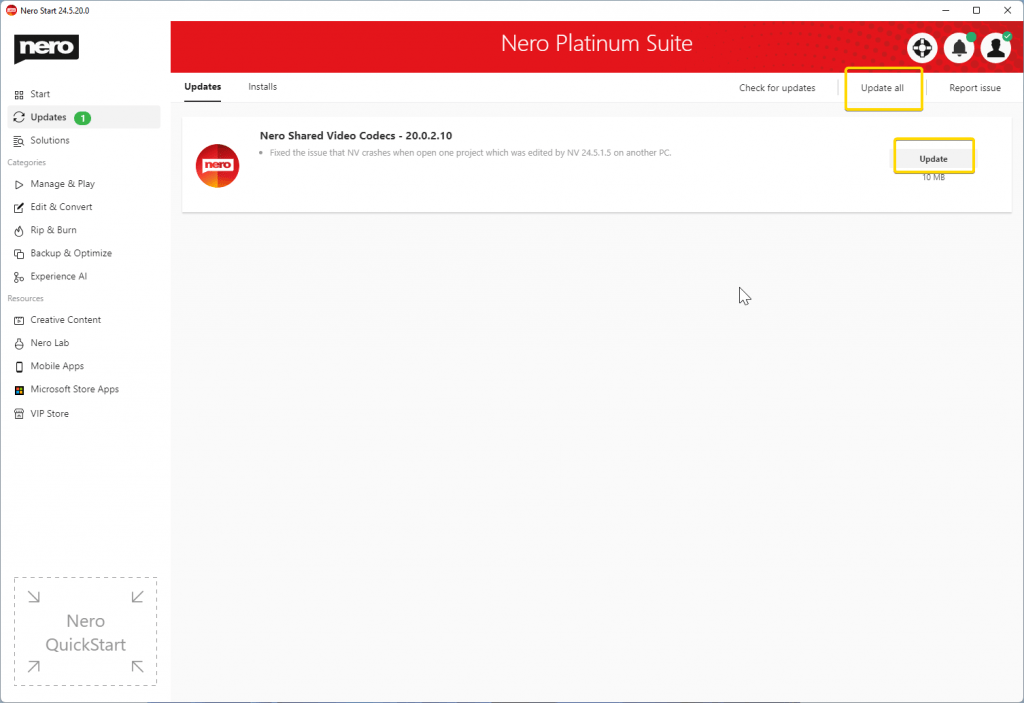
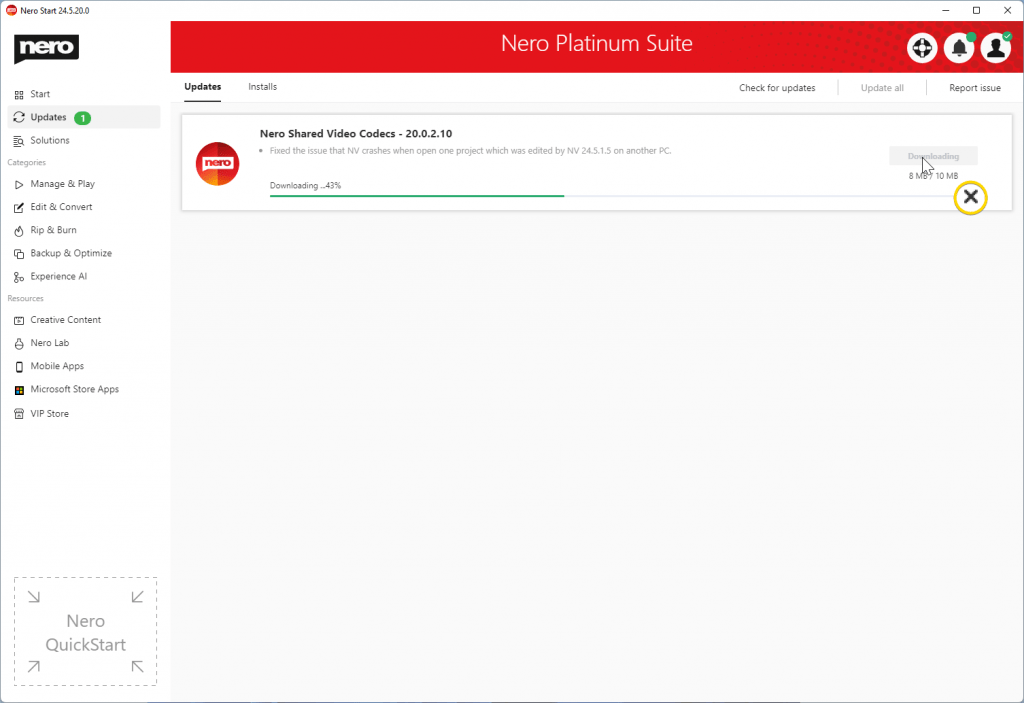
• Dedicated “Updates” tabs keep you focus on the apps you have installed
• Provides more than 200 solutions for mobile and PC with easier and faster accessibility and a search bar on the start page
• A brand new category “Experience AI” provides easy access to apps that are powered by AI 
1001 TVs (PC)
• 1001 TVs – mirror screen from multi-phones to your Windows PC and mirror your Windows desktop to TV
Nero AI Image Upscaler
• Nero AI Image Upscaler – use artificial intelligence to increase image resolution with enhanced sharpness and detail 
Nero Score
• Nero Score – the real-world PC benchmark. Nero Score measures the multi-core performance of your processor (CPU) and pushes your graphics card (GPU) to its maximum limit with real-world multimedia use cases 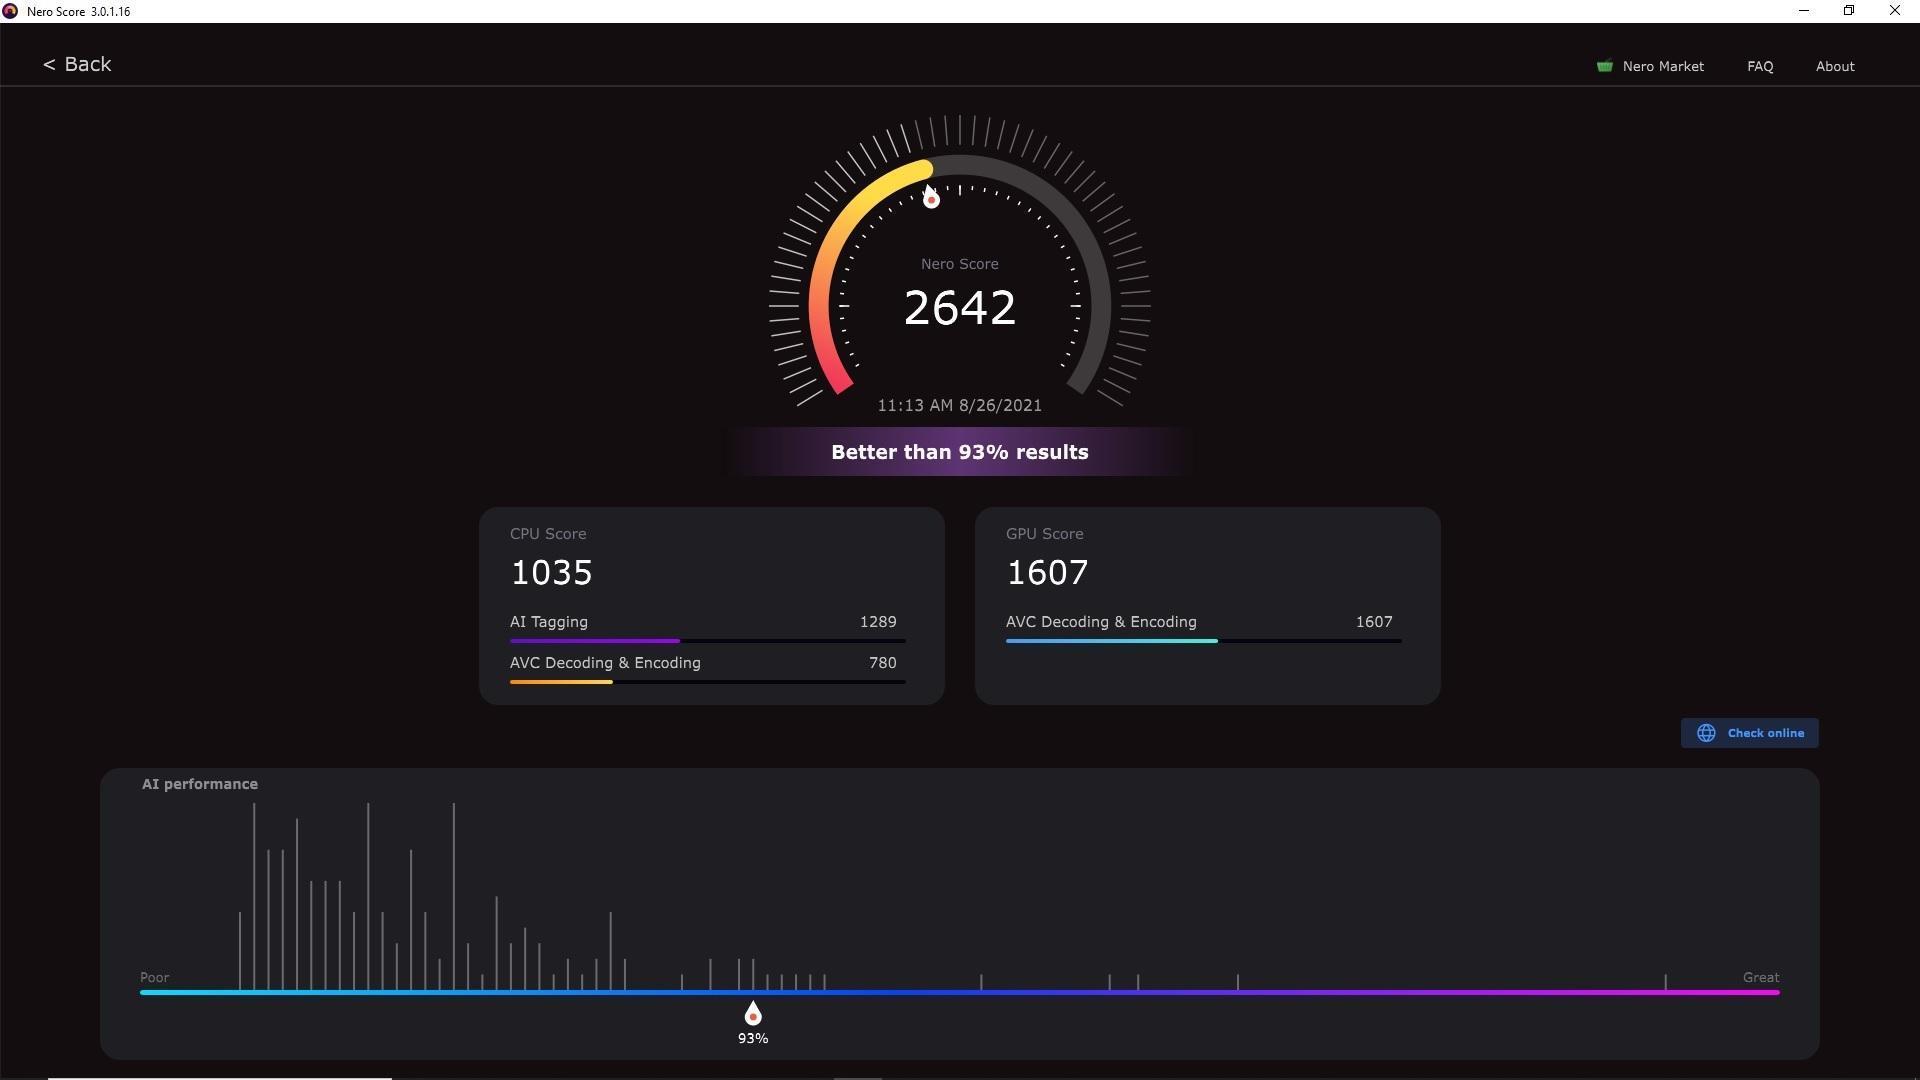
Nero AI Photo Tagger
• Upgraded AI detection optimizes performance to take full advantage of high-end CPUs
• Better structured AI tag list for future extension
Nero Video
• Support importing and editing of 8K video footage 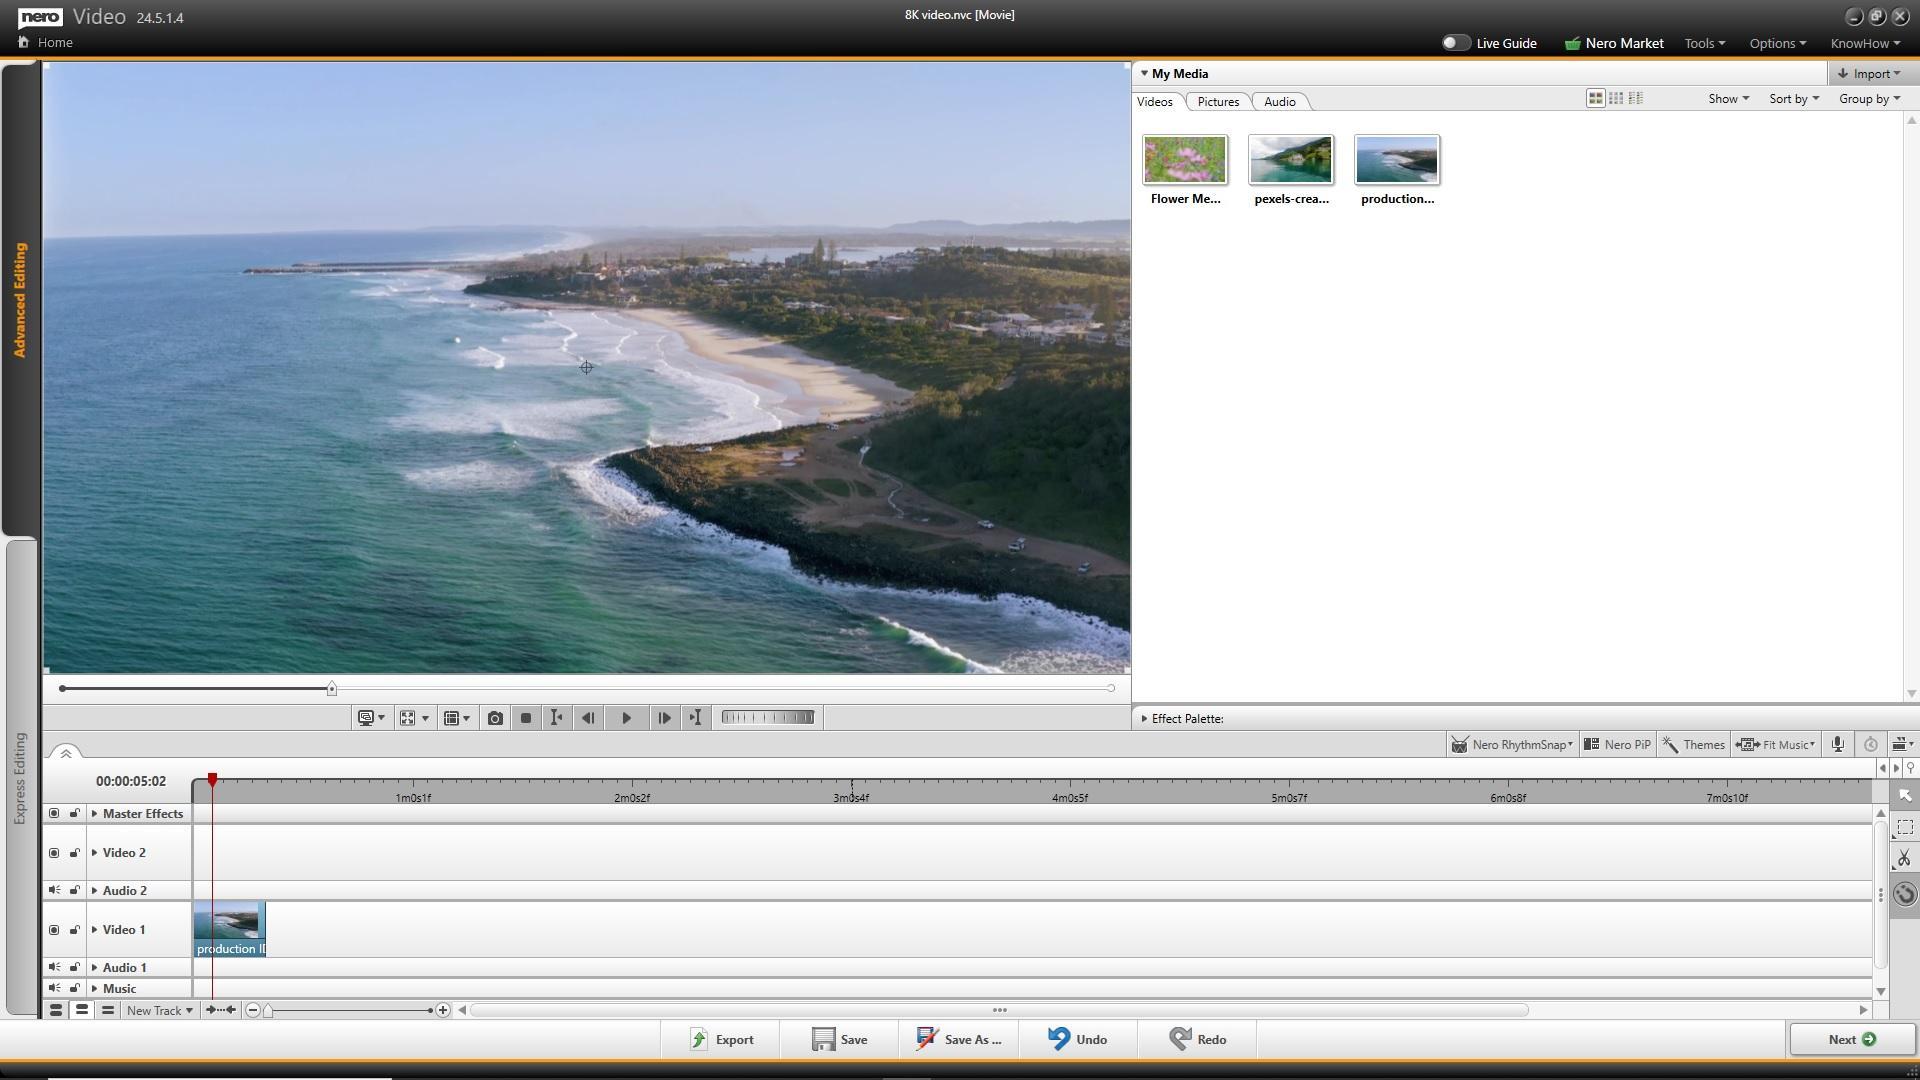
• Nero Video supports Nero AI upscaling for video during export. Nero AI video upscaling predicts high-resolution video with AI models and produces incredibly sharp and enhanced details such as sharper edges, more realistic hair, and landscapes with amazing clarity. 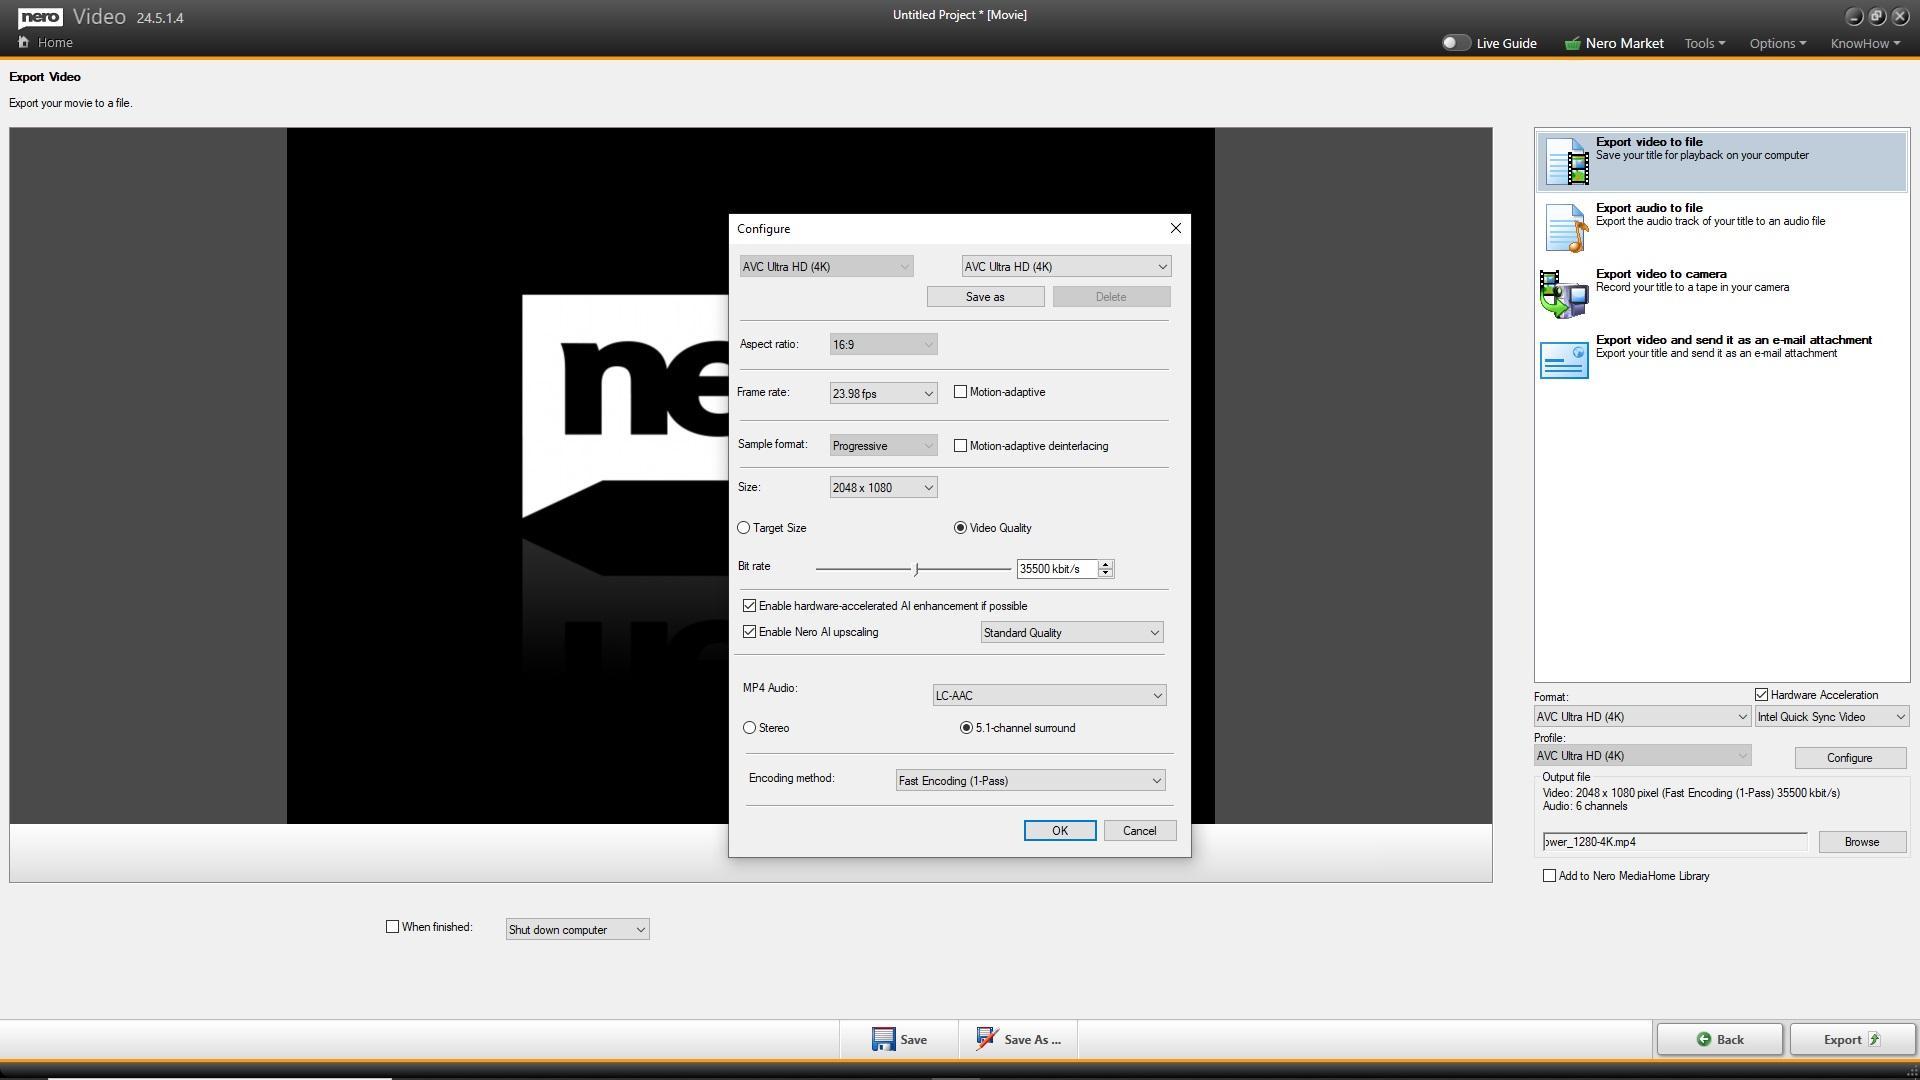
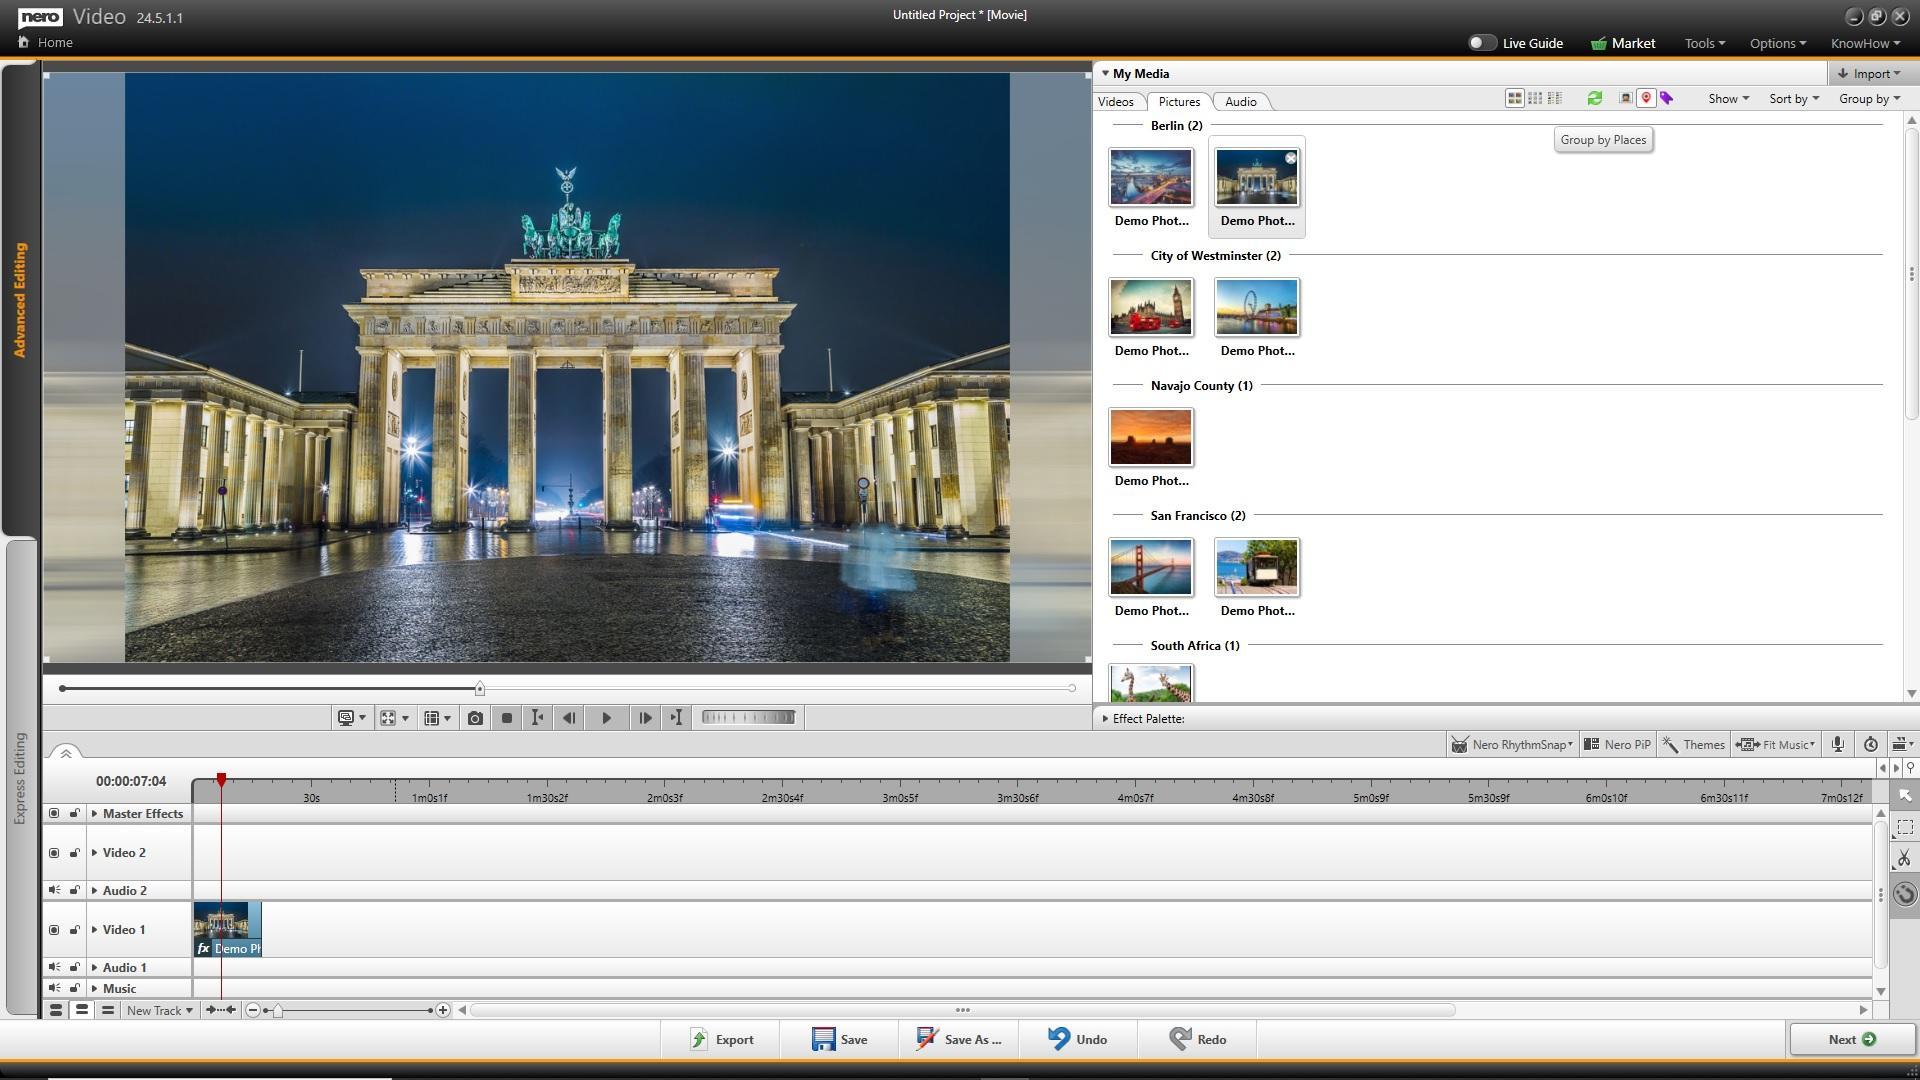
• Now it’s easier to create slide shows after your vacation – because in Nero Video’s media library, you can use the media information already applied in other applications (e.g. Nero MediaHome, Nero AI Photo Tagger) to find the photos you want more easily 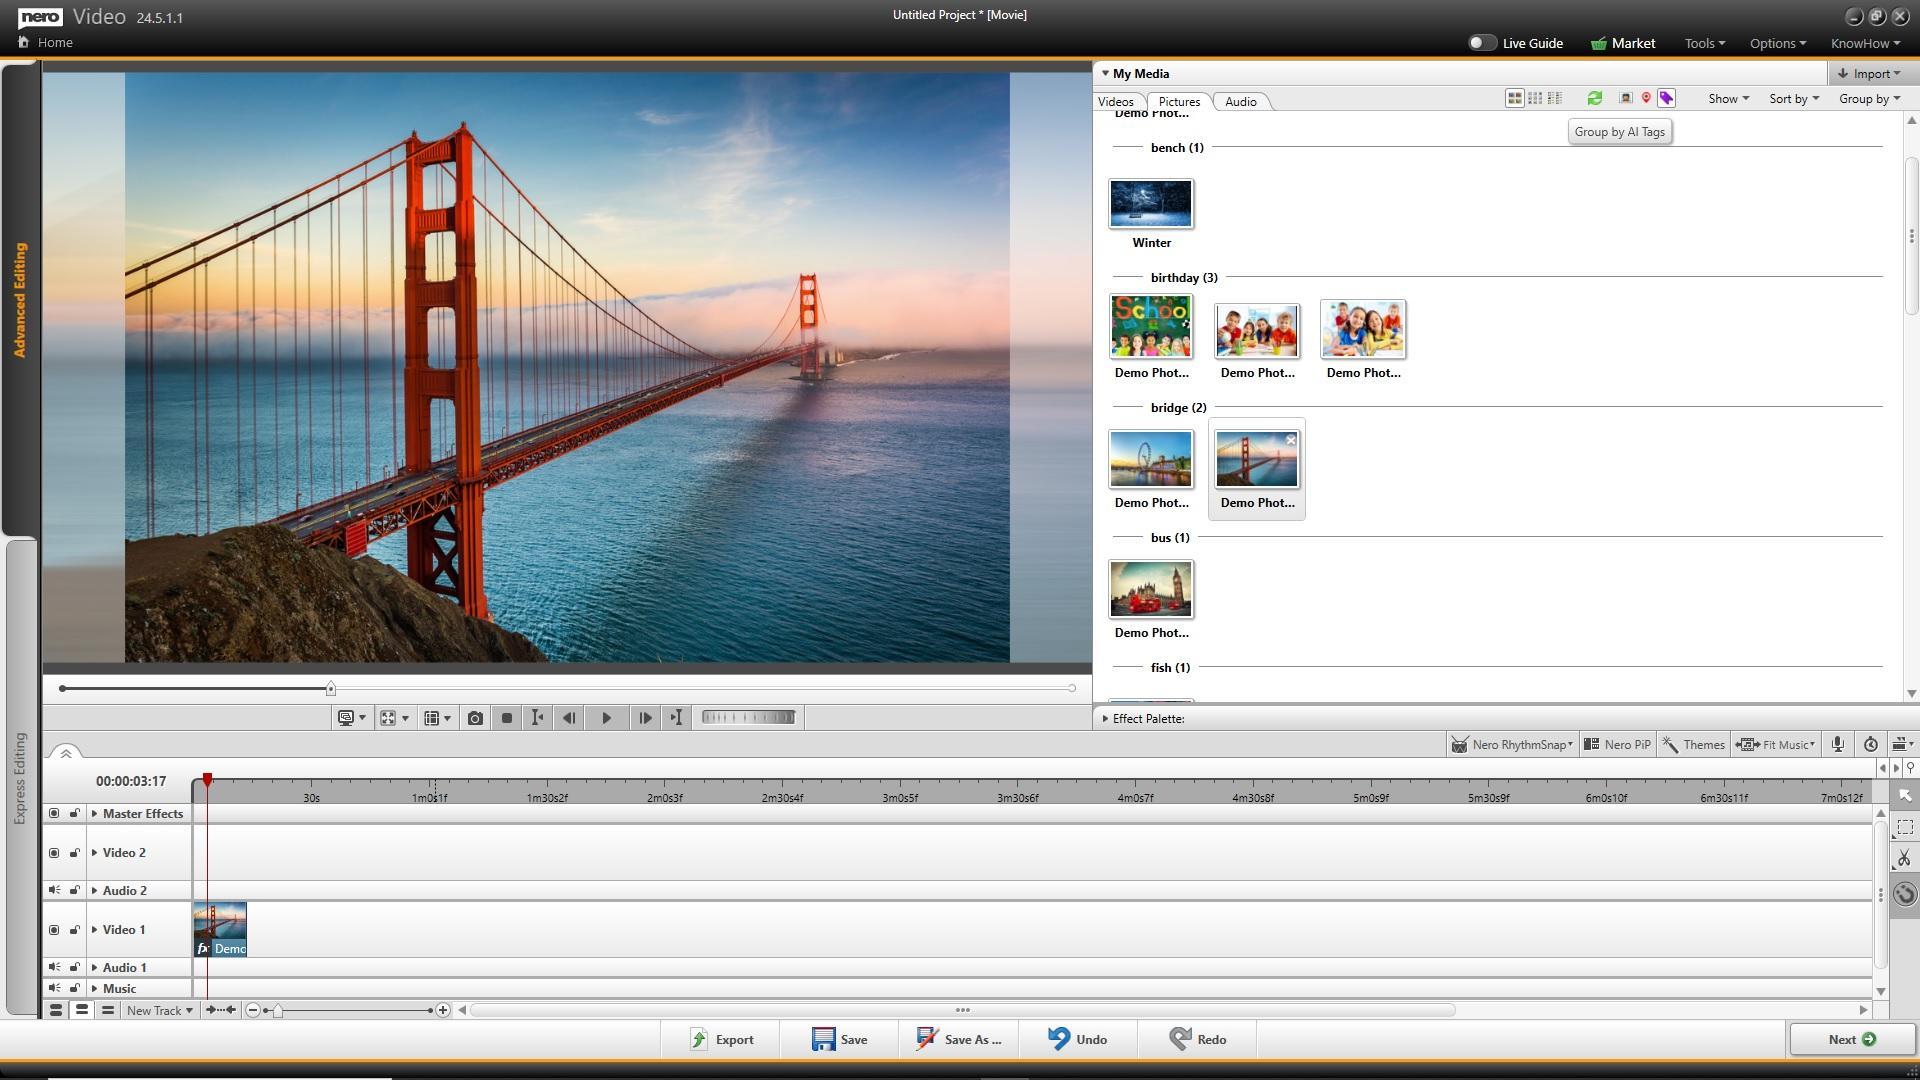
Nero Recode
• Support importing and playback 8K video footage
• Nero Recode supports Nero AI upscaling for video during conversion 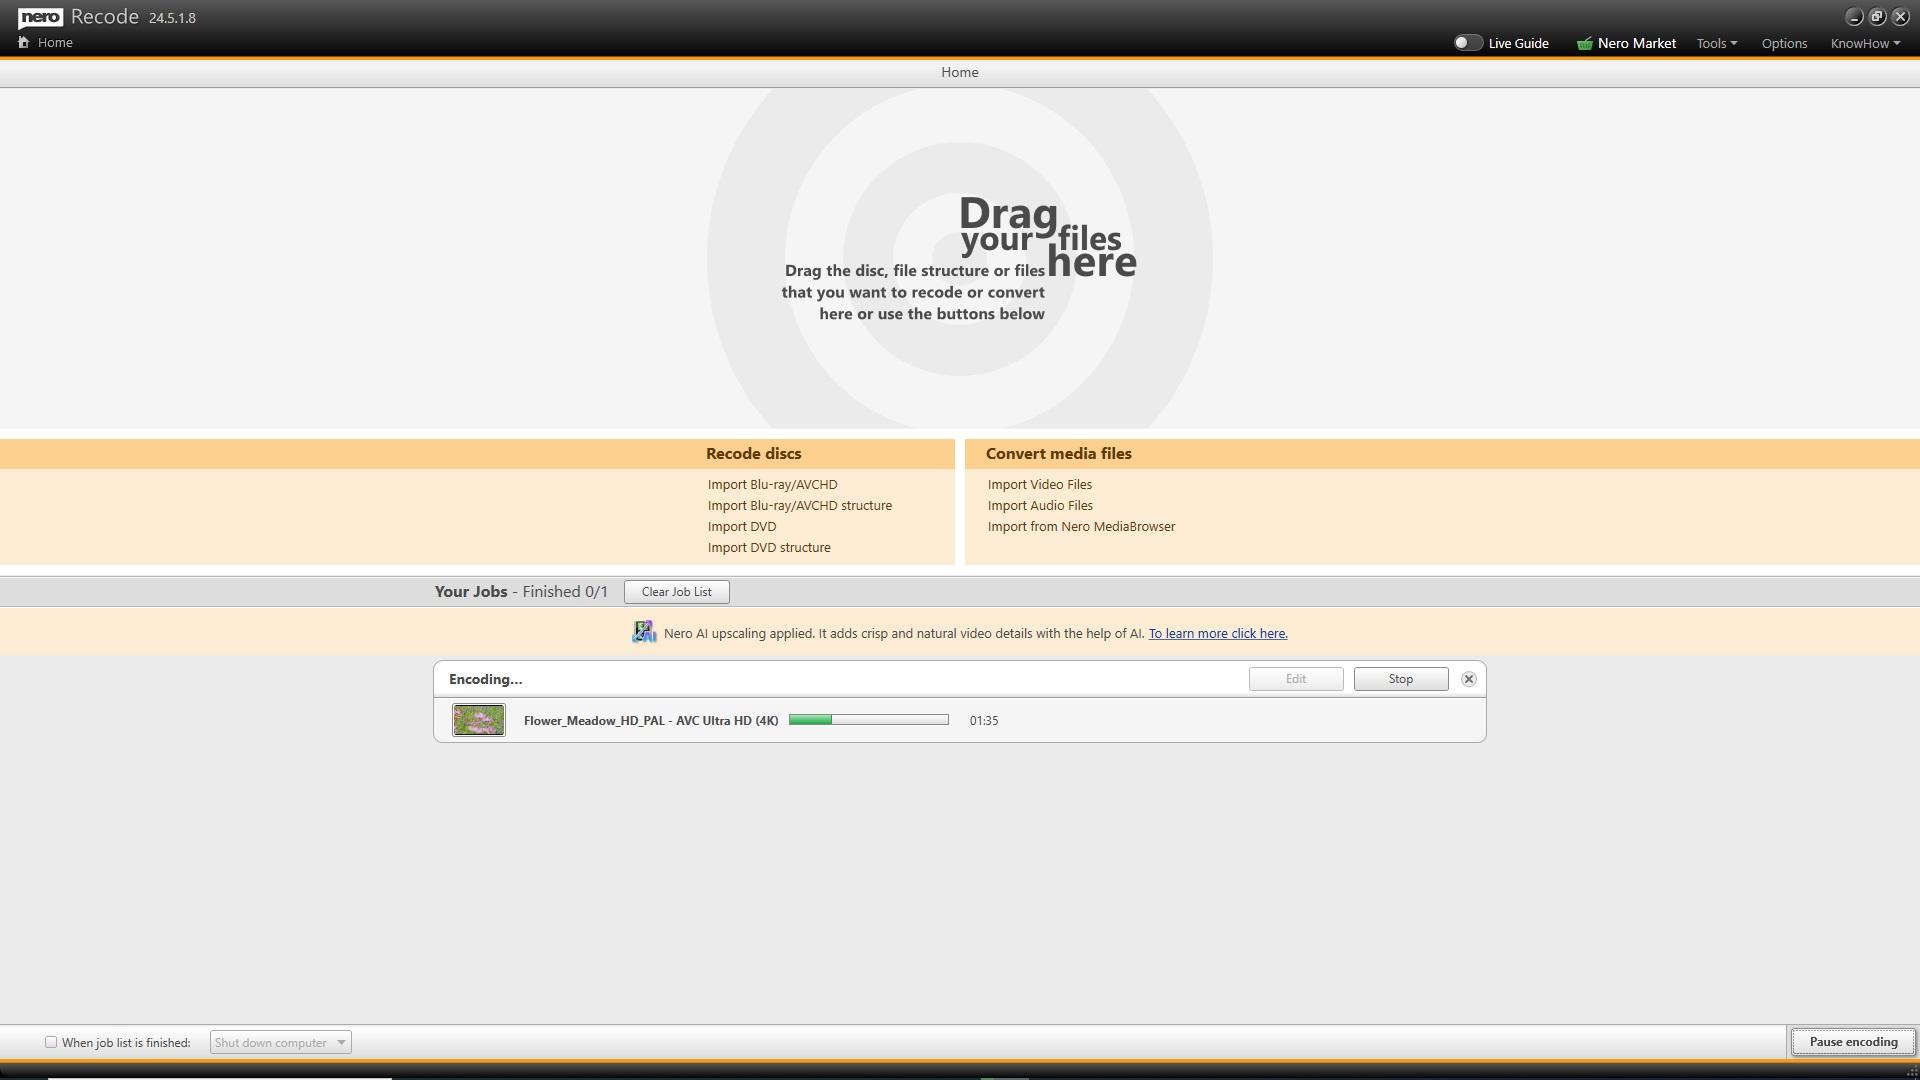
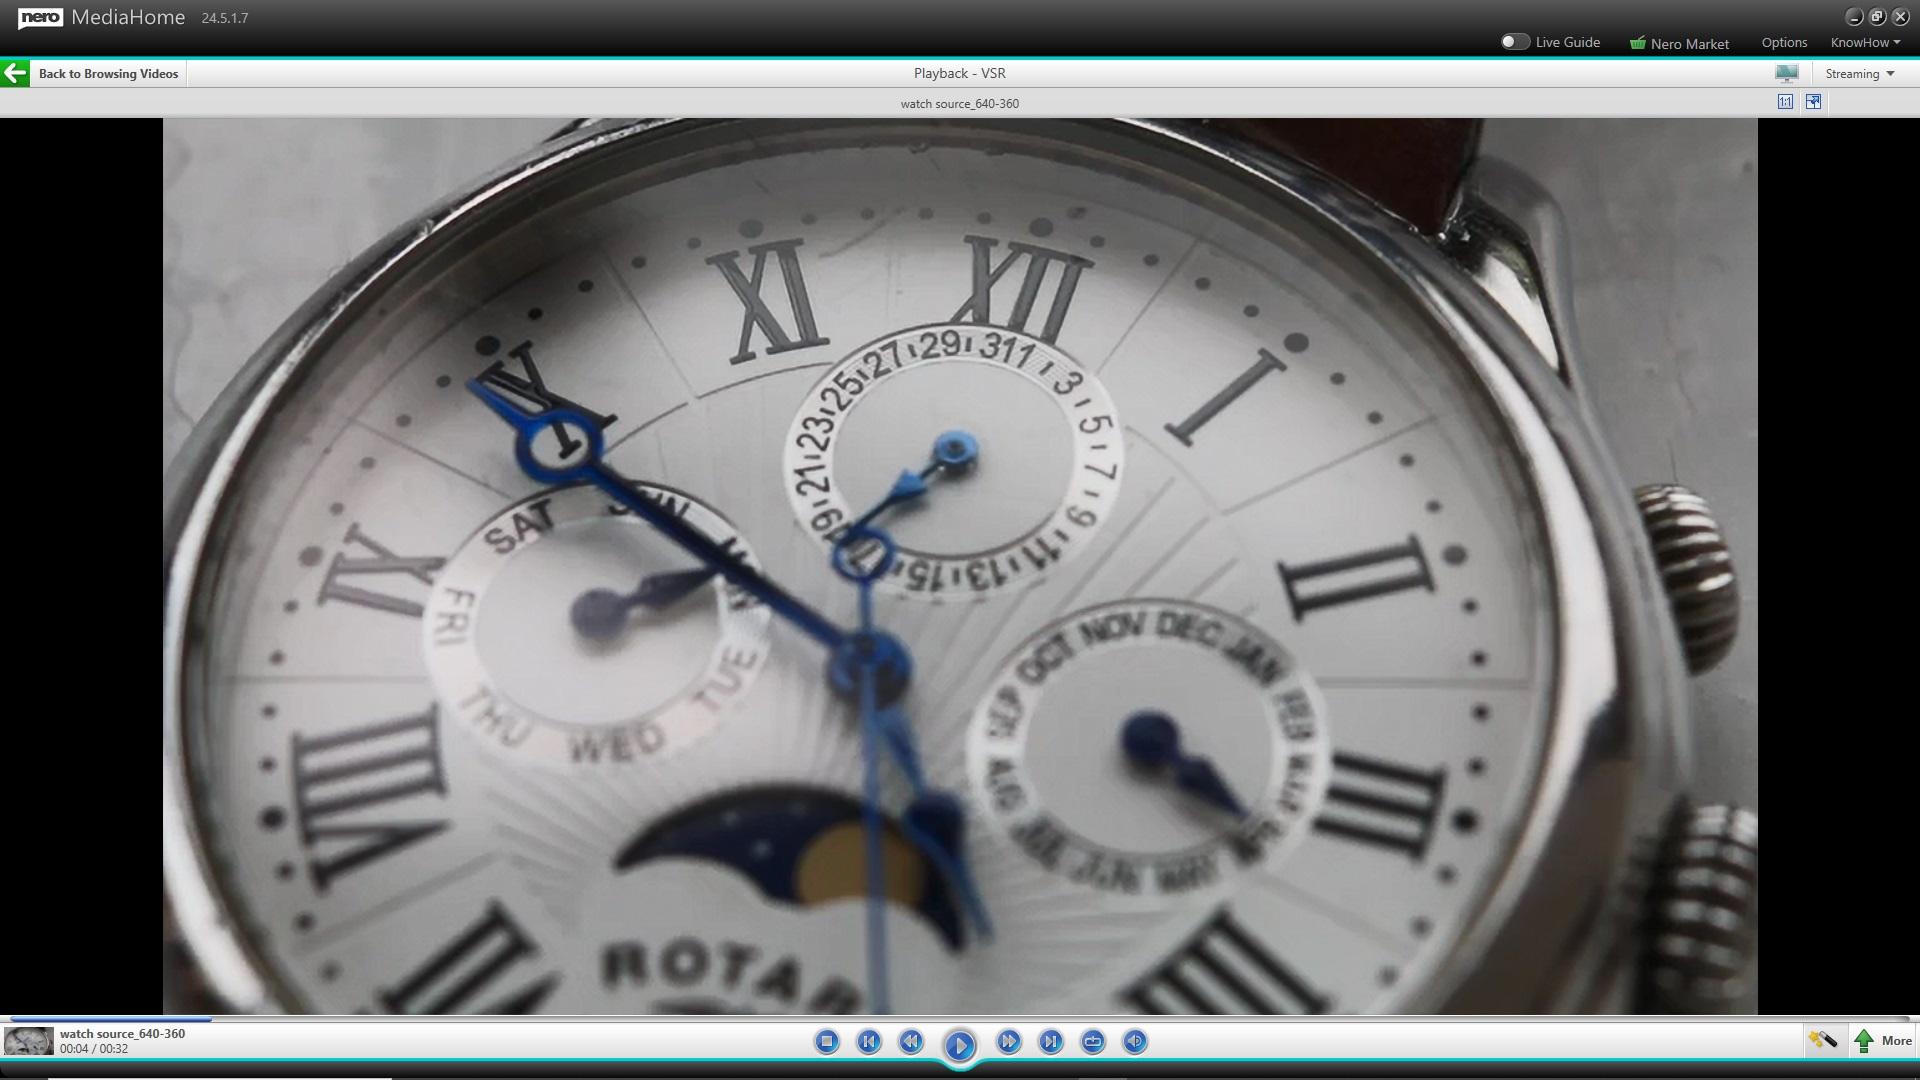
Nero MediaHome
• Support for 8K video playback
• Support Nero AI upscaling in real-time video playback – enjoy high definition quality with standard definition sources

Nero BackItUp
• Now supports a new backup option: automatically start backup when an external USB drive is attached 
• Nero BackItUp allows now encryption independent from compression 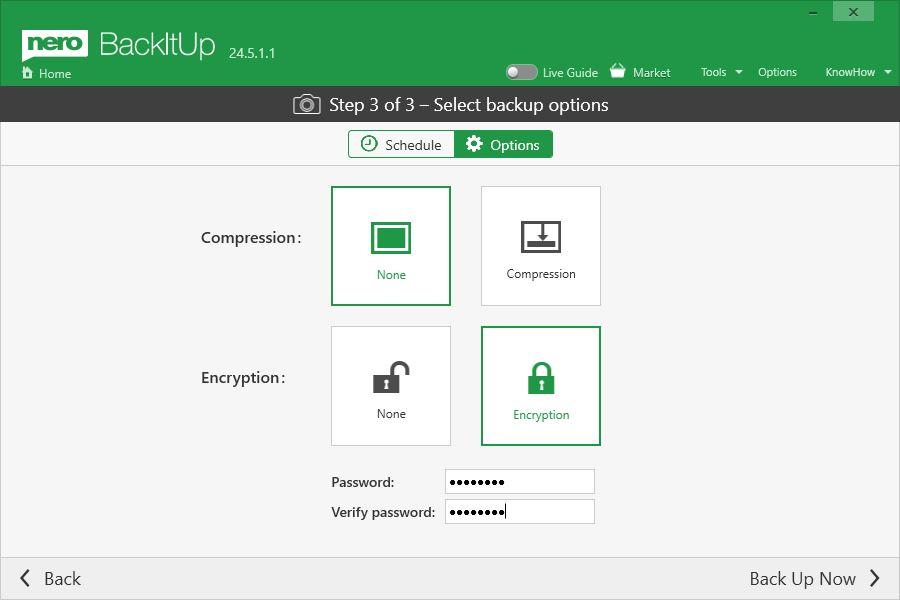
• Now Nero BackItUp supports browsing and relocating backup files if you move them to a new location
Nero Burning ROM & Nero Express
• Now you can create Raspberry Pi OS on your USB stick or SD card in Nero Burning ROM 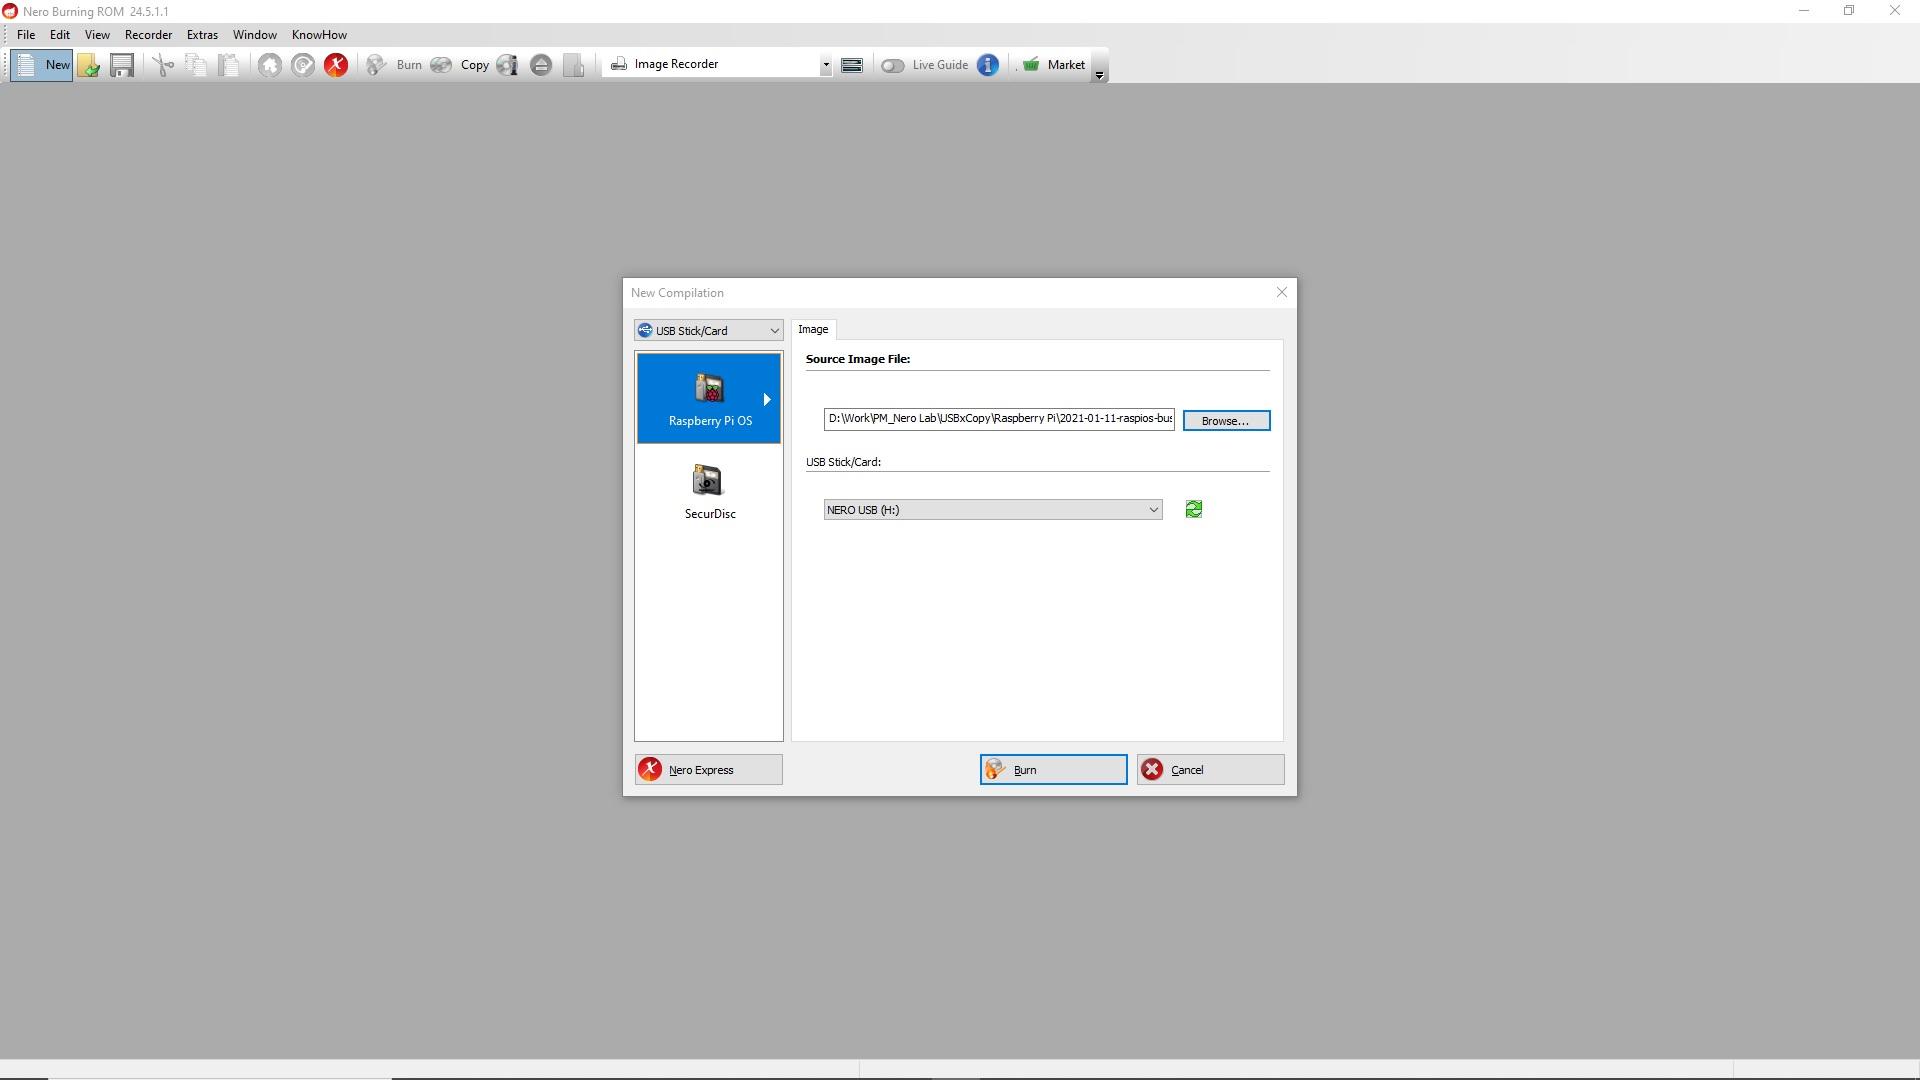
• Nero Burning ROM & Nero Express support editing CD-text in multiple languages
Nero USBxCOPY
• Now you can write ISO images (e.g. operating system images) to multiple USB drives with one click
• Improved user interface and better usability 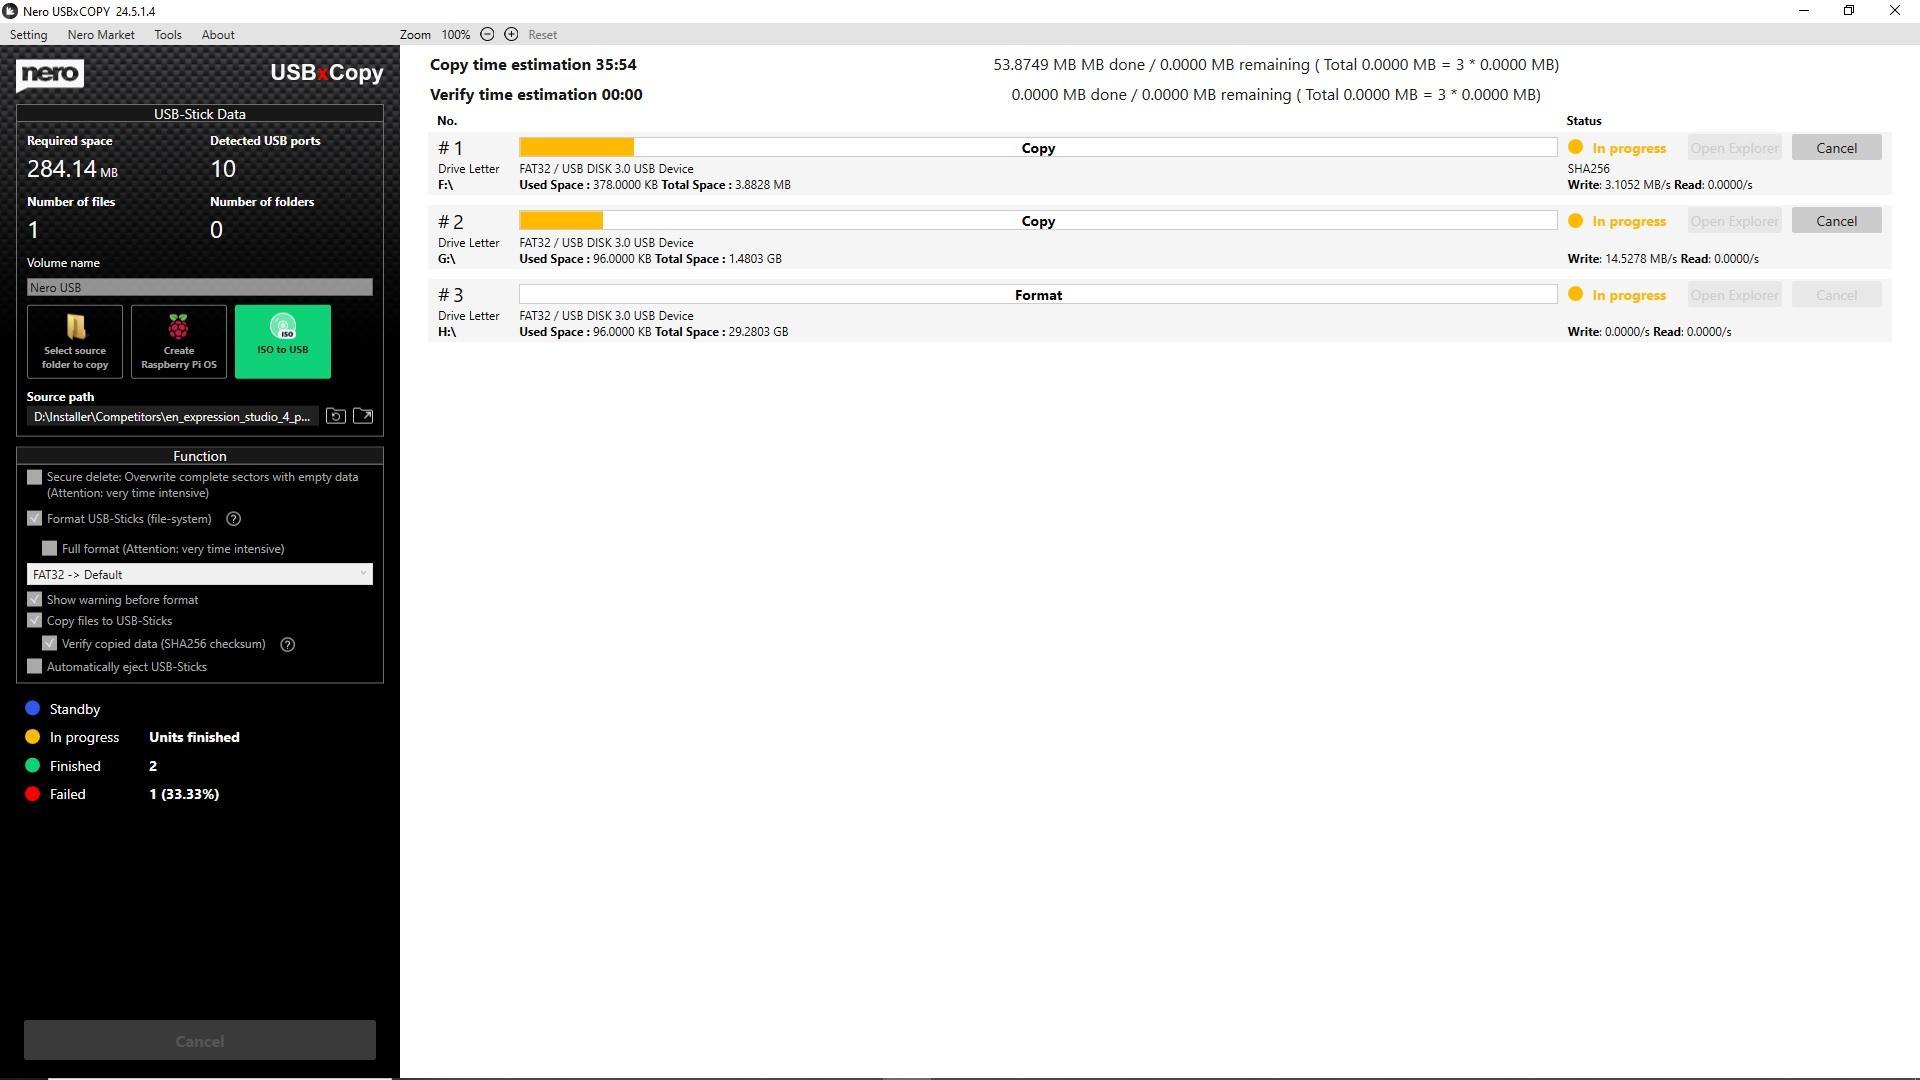
🛒 Click and Get Nero Platinum Suite
Nero KnowHow 00244