1. Please make sure your TV or media player, and your PC are connected in the same WiFi network.
2. Please make sure your Smart TV is compatible with DLNA/uPnP.
You can use DLNA product search to confirm if your TV is a DLNA certified product: https://spirespark.com/dlna/products/. You can search by manufacturer, product type or device classes and capabilities.
3. If your Smart TV is integrated Google Play Store, you also can download and install Nero Receiver on your TV. Nero MediaHome works perfectly with Nero Receiver TV.
5. Hotspot: Find a mobile phone, open personal hotspot, connect your PC and TV to this hotspot, and now try to check if Nero MediaHome can list your TV correctly. If Nero MediaHome is able to play content to TV without any problem with this hotspot, it can basically confirm that there is a problem with your router settings. Please check it.
This cool feature is only available for subscribers
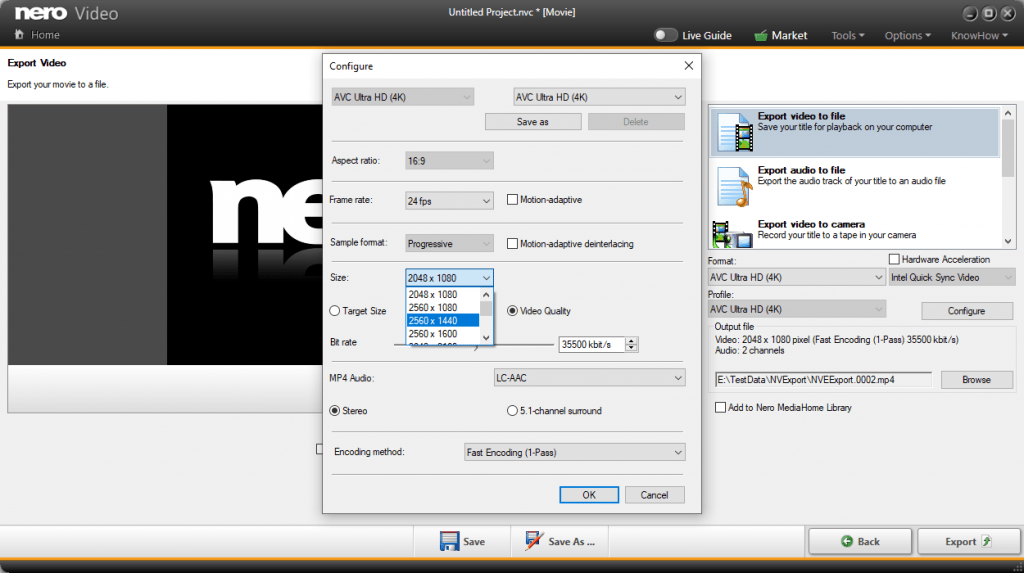
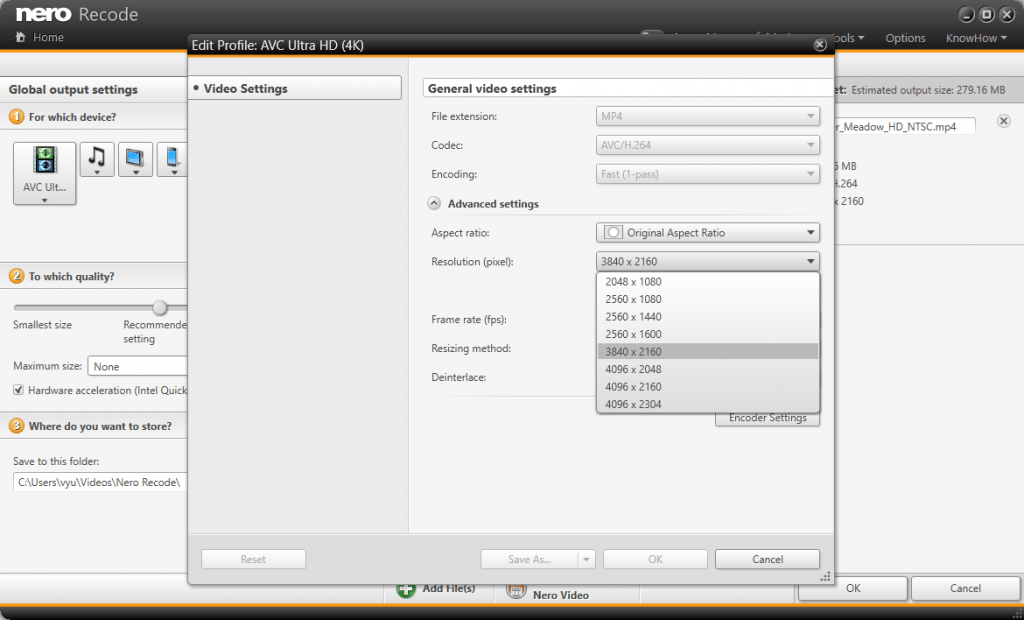
In addition to more profiles for Tablets, Smartphones and Home Entertainment systems, the 2020 Spring Release also contains 4K video â âAVC Ultra HD (4K)â export support.
After you add some video files into Nero Recode, select and activate the profile âAVC Ultra HD (4K)â under the category âVideo filesâ. The output file will be AVC Ultra HD (4K). You can also click the button âEdit Settingsâ, in the pop up profile setting dialog, and select any type of resolution you prefer.
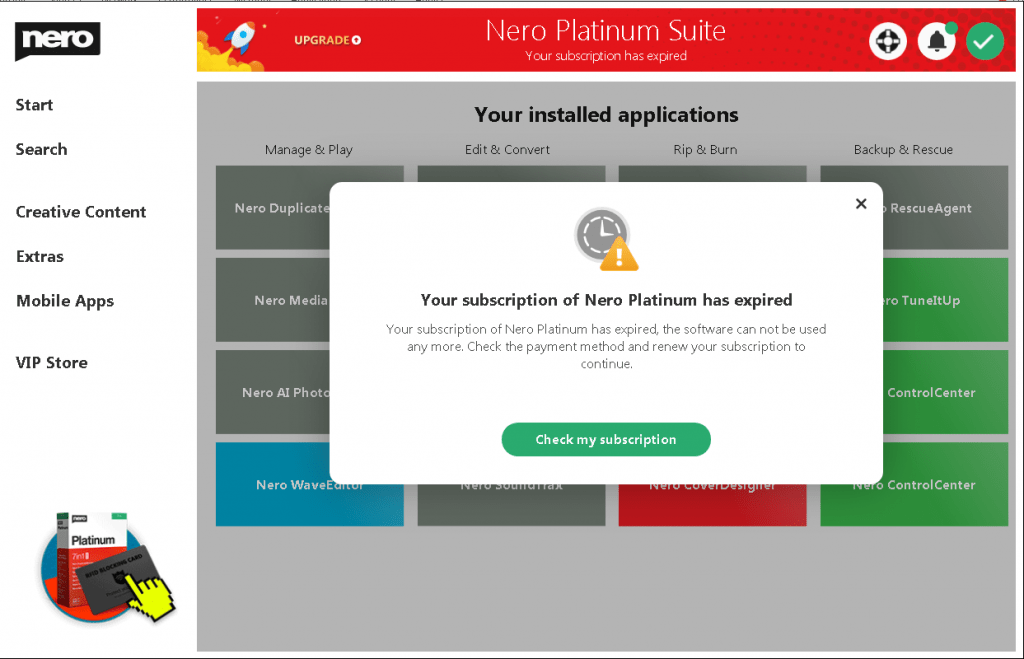
If you own a valid Nero Platinum 2019 Subscription, you are eligible to get the latest Nero Platinum Suite applications.
Option 1: Directly download the latest Nero Platinum Suite installer from www.nero.com
1. Go to the website www.nero.com, and navigate to the download page.
2. In the download page, click the download button under the product âNero Platinum Suiteâ, Enter your email and download the latest Nero Platinum Suite installer.
3. After downloading the Nero Platinum Suite installer successfully, you can run the installer to finish the upgrade.
Option 2: Upgrade to the latest Nero Platinum Suite from Nero Start
1. Update Nero Start to the latest version (this version supports the Nero Account).
If you enable auto updates for Nero Products during installation, Nero Start will auto update to the latest version or notify you whenever a new update is available. If you disable the auto update for Nero products, you can check manually if there is any update for your Nero Products
After updating to the latest Nero Start, you can sign in to your Nero Account, and get the latest information and support from Nero. However, Â you can continue to use your own Nero Platinum 2019 Subscription applications without signing in to your Nero Account
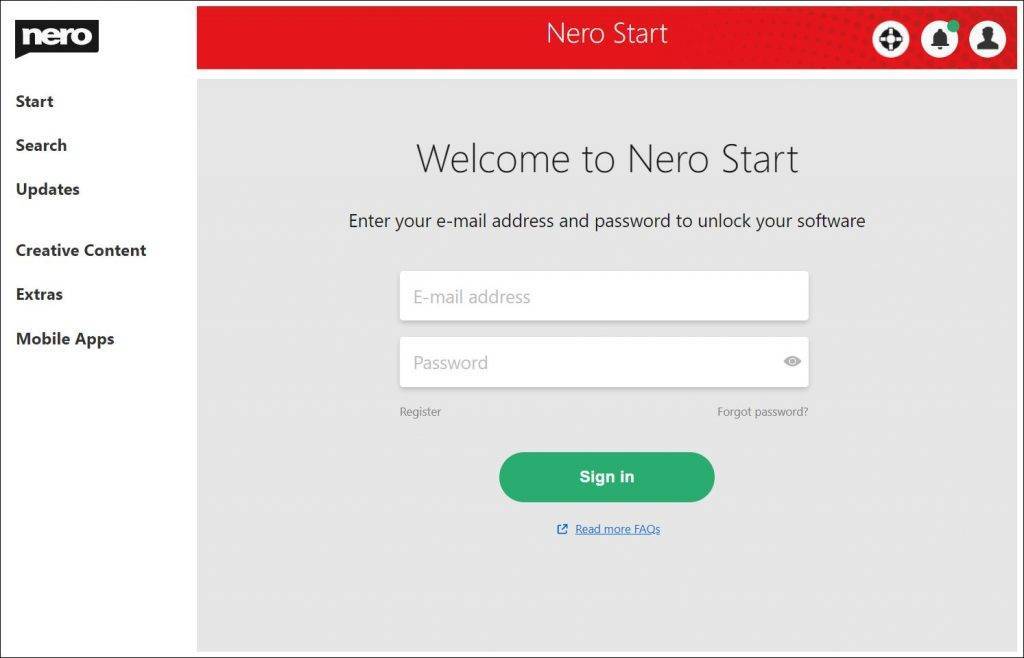
2. Launch Nero Start, sign in to your Nero Account to unlock the upgrades. If you already are a Nero Platinum Suite (Nero Platinum 2019 Subscription User), the email address used to order the product online is your Nero Account. If you are not sure about the password of the account, just click the link âRequest password againâ to resend the password to unlock the account.
For more detailed information, please refer to the FAQ
3. After your account is unlocked, you will see the Start screen. At the same time, if the software detects that a new version of Nero Platinum Suite is available, Nero Start will inform you. Click the button âYesâ to start downloading the latest version.
The latest upgrades and update checks are only available to you after signing in to your Nero Account .
4. After the download, launch the installer to install/upgrade your subscription.
5. After the installation is finished, restart Nero Start to enjoy your product.
If you are not sure about the details of your Nero Account, Activation Code, please refer to the below FAQs:
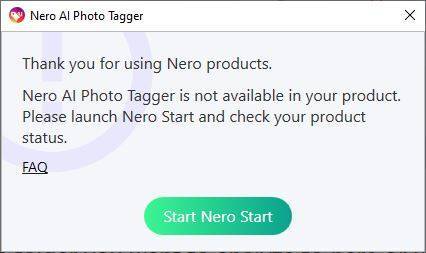
You can enjoy your benefits of your product or subscription after signing in to your Nero Account. If you are experiencing connectivity issues, however, the following screen will occur:
Please follow these steps in order to solve this issue.
Make sure your computer is connected to the Internet.
Take Windows 10 as an example. Click or tap the Start button and then the Settings shortcut on the left (it looks like a cogwheel). Then click âNetwork & Internetâ, in the Status tab, it will show your Network Status. If it shows âNot connectedâ this means that the computer is not connected to the Internet. Then you need to first check your network connection and settings of the router, or even call your ISP.
After your network is connected, you can access the website www.nero.com or other websites to make sure your computer is connected to the Internet.
Make sure your Network Proxy Setting is correct
In computer networking, a proxy server is a server application or appliance that acts as an intermediary for requests from clients seeking resources from servers that provide those resources. You can check your Network Proxy Setting from Settings -> Network & Internet -> Proxy. For most cases, you do not need to adjust the network proxy settings.
By default, Nero Start will automatically apply the system network proxy setting if they exist. In most cases, if your web browser can access the Internet after you have set the network proxy, Nero Start can access the Nero Account service, too.
For some special purposes, some software will build a local network proxy server, and apply new or change the Windows network proxy settings after the software startup. Usually such local network proxy uses the local IP address â127.0.0.1â. Below is an example for network proxy settings that are modified with a local address. Such proxy may affect the network connection which causes Nero Start to have network connectivity errors.
To resolve this issue, you can follow the below instructions:
* If you are sure about which software will apply/modify the Windows Network Proxy settings, then close the function or exit the application and resume to previous network proxy setting. Take âVideo Downloader Ultimateâ for example: Click the app icon in the right-bottom task area. In the pop up dialog, click the switch to resume the network proxy settings. You can still enable the network proxy setting if you want to enable the functional.
* If you are sure about the network proxy setting, then just close the network proxy settings or update the network proxy settings as needed.
* In the latest Nero Start, you are also available to set and apply individual network proxy settings in the application.
Click the menu Support -> Network settings or the hyperlink in the pop up warning dialog. The Nero Start network settings window will appear.
Network proxy settings
Nero Start Behavior
No proxy
No proxy settings applied in Nero Start
Automatically detect settings (Recommended)
Apply the current Windows System network proxy settings to Nero Start.
Note: If you are not sure about the network proxy, please select this.
Use manual proxy
Apply specified network proxy setting to Nero Start
– Proxy IP: The IP address of the network proxy server
– Port: The port of the network proxy server
–Â User name: The user name used to authenticate and access the network proxy server.
–Â Password: The password used to authenticate and access the network proxy server
Note: Leave user name and password empty if no authentication is needed.
Before saving the Nero Start network proxy setting, you can also click the button âTestâ to verify the connection in Nero Start.
Note: in some conditions, you still need to restart Nero Start to apply the network proxy setting.
Make sure Nero Start is not blocked by Windows Defender Firewall or other anti-virus software
You may have installed some anti-virus software or network firewall software, some of which  might block network connections in Nero Start.
Take the Windows Defender Firewall for example. Search for âWindows Defender Firewallâ in the Windows 10 Search bar and open the Windows Defender Firewall configurations
In the Outbound Rules tab, check if there are any rules blocking Nero Start to connect to the Internet. Delete any such rules in order to restore network connectivity of your software.