Duplicate videos and audio files can quickly pile up across your computer, external drives, or media folders — taking up precious storage space and making your libraries cluttered. If you’ve noticed duplicate movies, songs, or recordings, it’s time to tidy up your collection.
With Nero DuplicateManager, you can easily detect and remove duplicate media files in just a few clicks — safely and efficiently.
Follow these simple steps to get your library organized and your storage back!
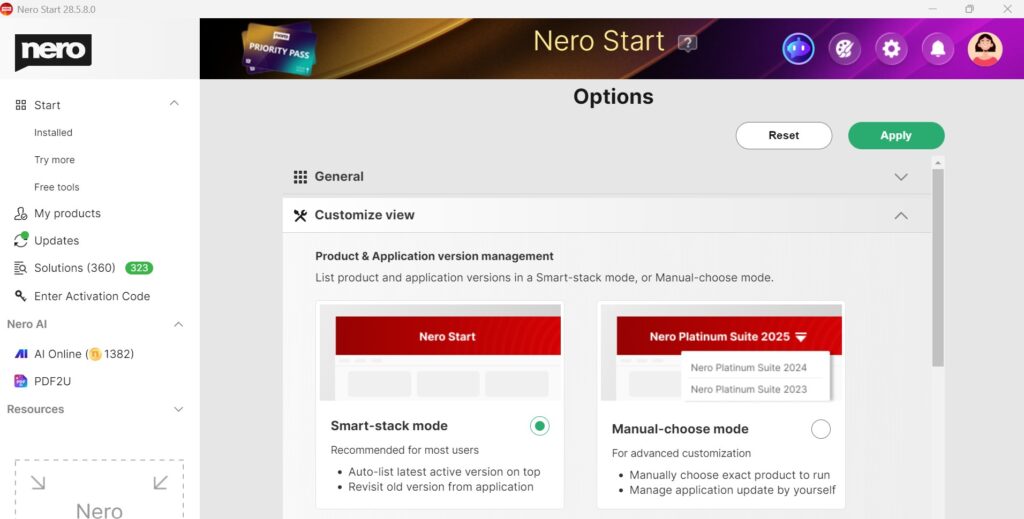
🔄 Step 1: Update to the Latest Version
Before you start, make sure you’re using the latest Nero DuplicateManager 365 or 2026.
Updating ensures you have the newest features, faster scanning, and the most accurate detection for video and audio duplicates.
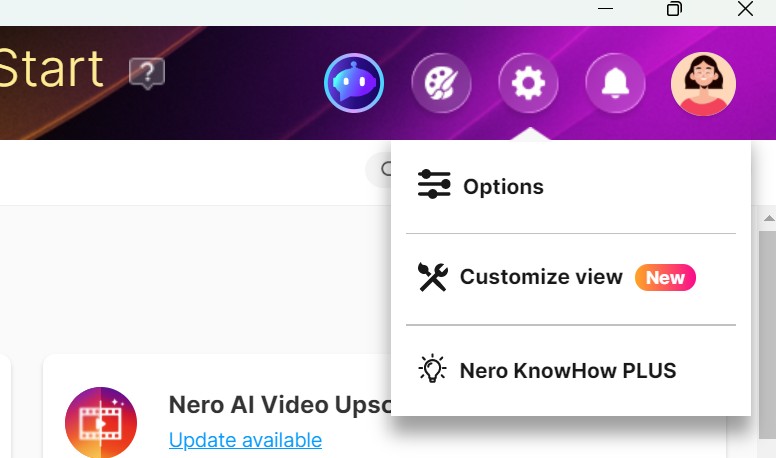
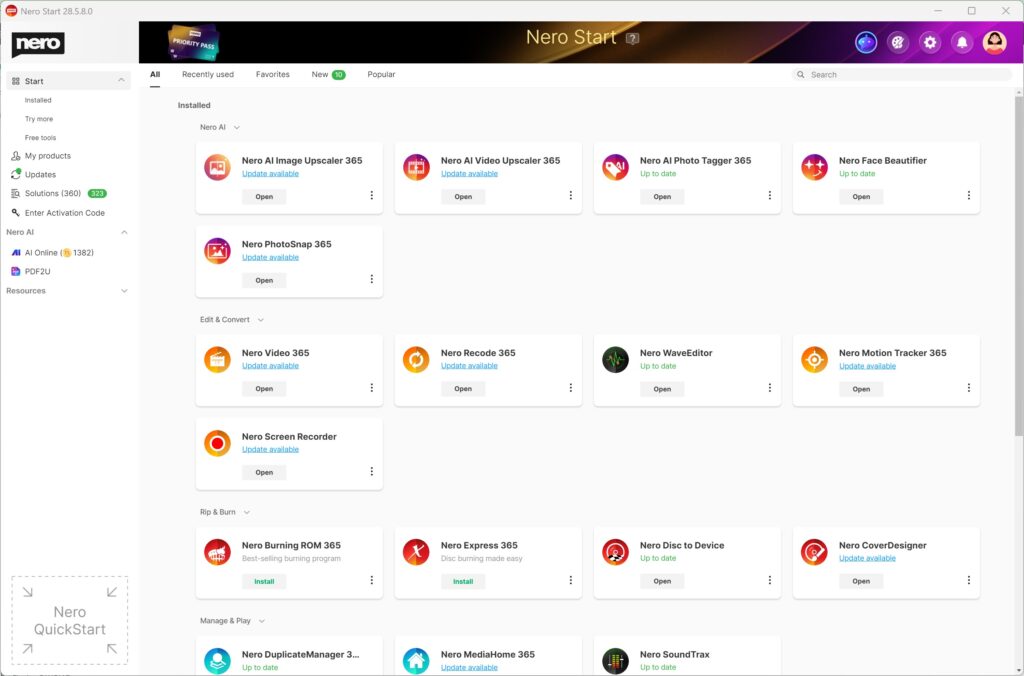
How to check for updates:
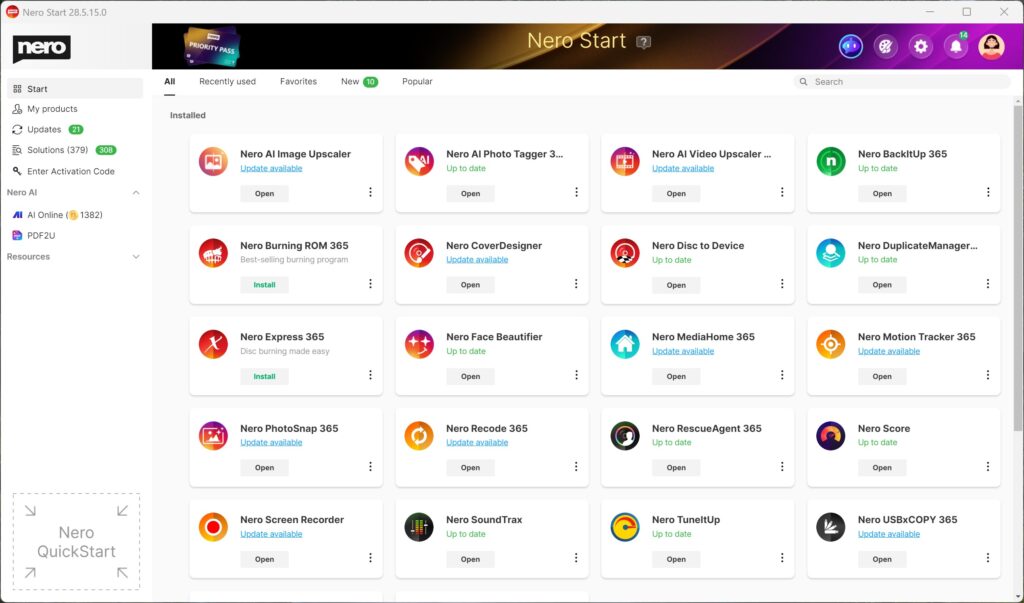
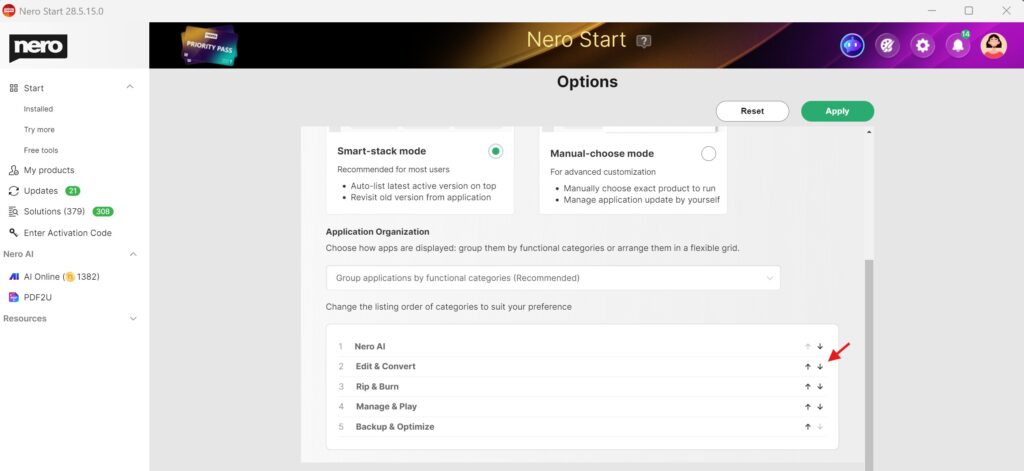
- Open Nero Start.
- Go to Updates.
- Install the latest version of Nero DuplicateManager if available.
Keeping your software up to date guarantees the best cleanup experience.
🎵 Step 2: Check the Detection Options for Audio and Video
Nero DuplicateManager doesn’t just compare file names — it analyzes file content, metadata, and format characteristics to find real duplicates, even when the names differ.
To make sure your media files are included in the scan:
- Launch Nero DuplicateManager.
- Check the Detection Options.
- Enable the checkboxes for Audio and Video.
This ensures that both music and video files are thoroughly analyzed and detected.
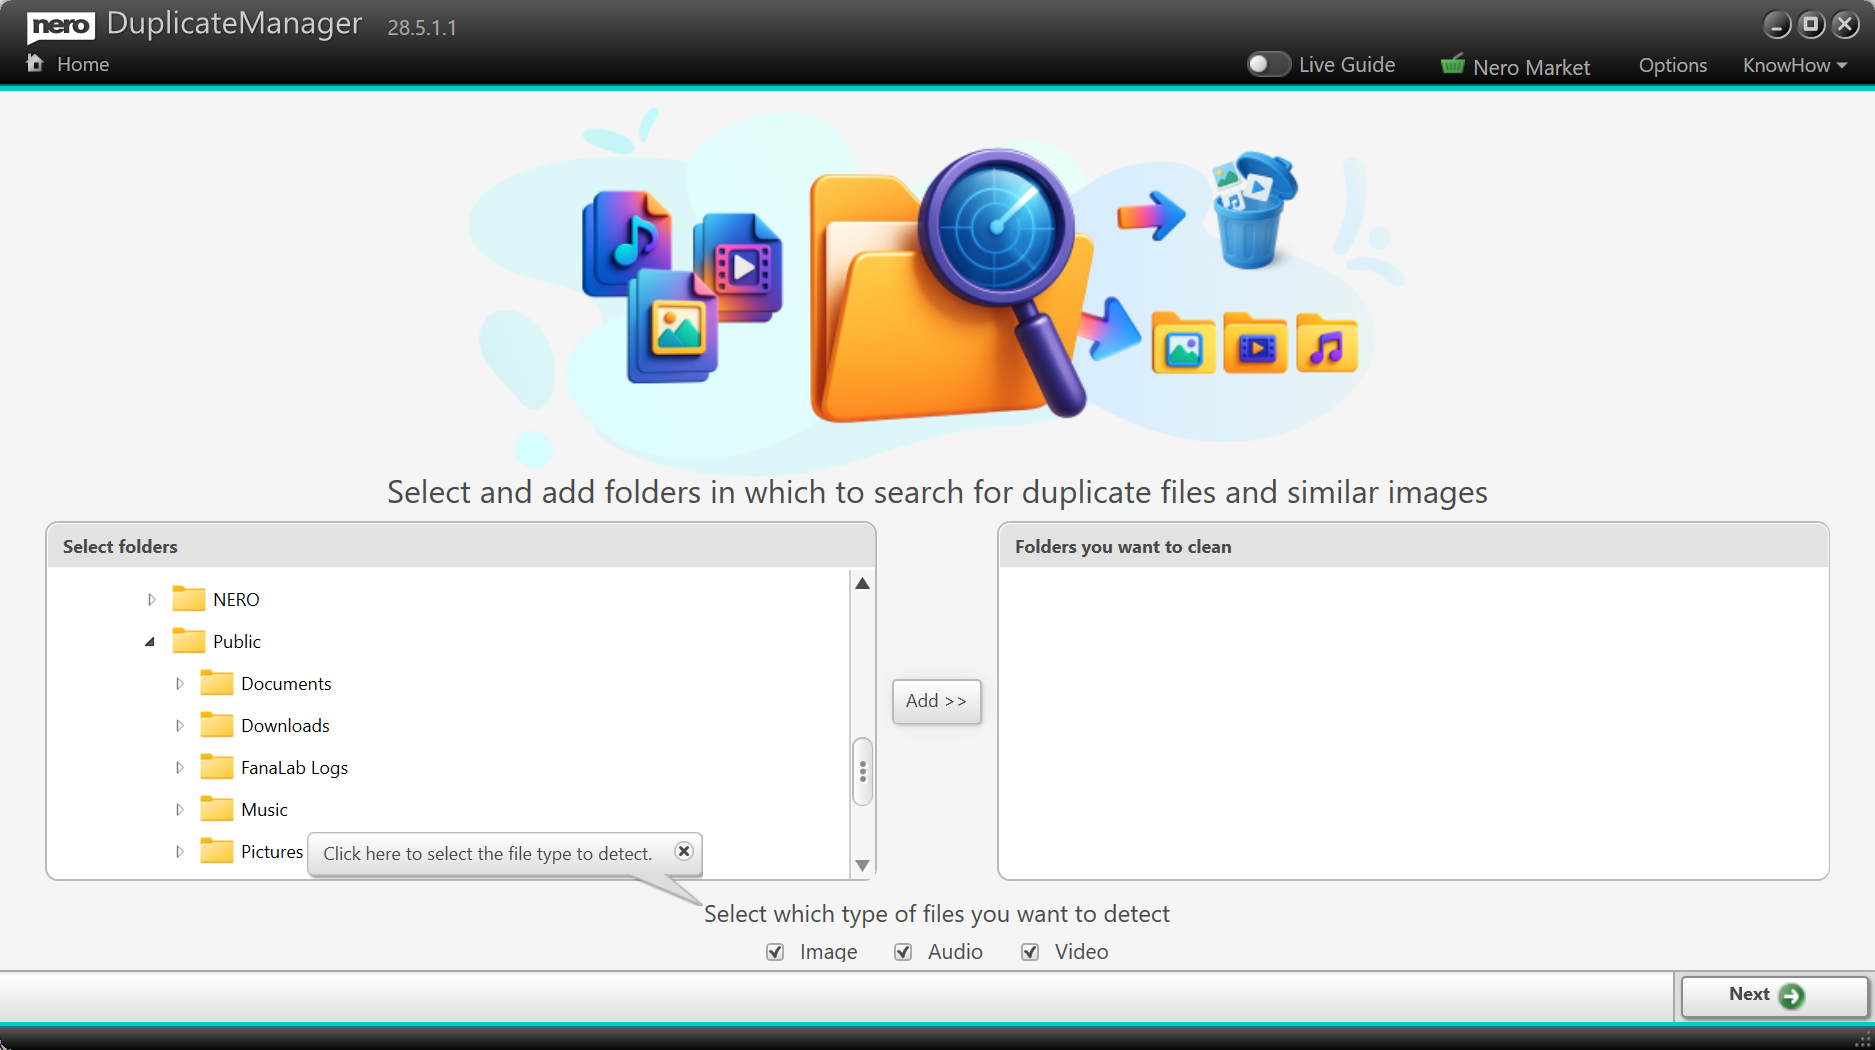
📁 Step 3: Select the Folders You Want to Clean
Next, choose where Nero DuplicateManager should look for duplicates.
To select folders:
- Select the folders that contain your music and videos — for example, Music, Videos, Movies, or External Drive folders.
- Click the Add button to add the folders to the right column.
- Add multiple folders if needed for a full-library scan.
When you’re ready, click the Next button to start scan and let Nero DuplicateManager find all your duplicate media files automatically.
🗑️ Step 4: Review and Delete Duplicate Files
After scanning, you’ll see a clear overview of all detected duplicates.
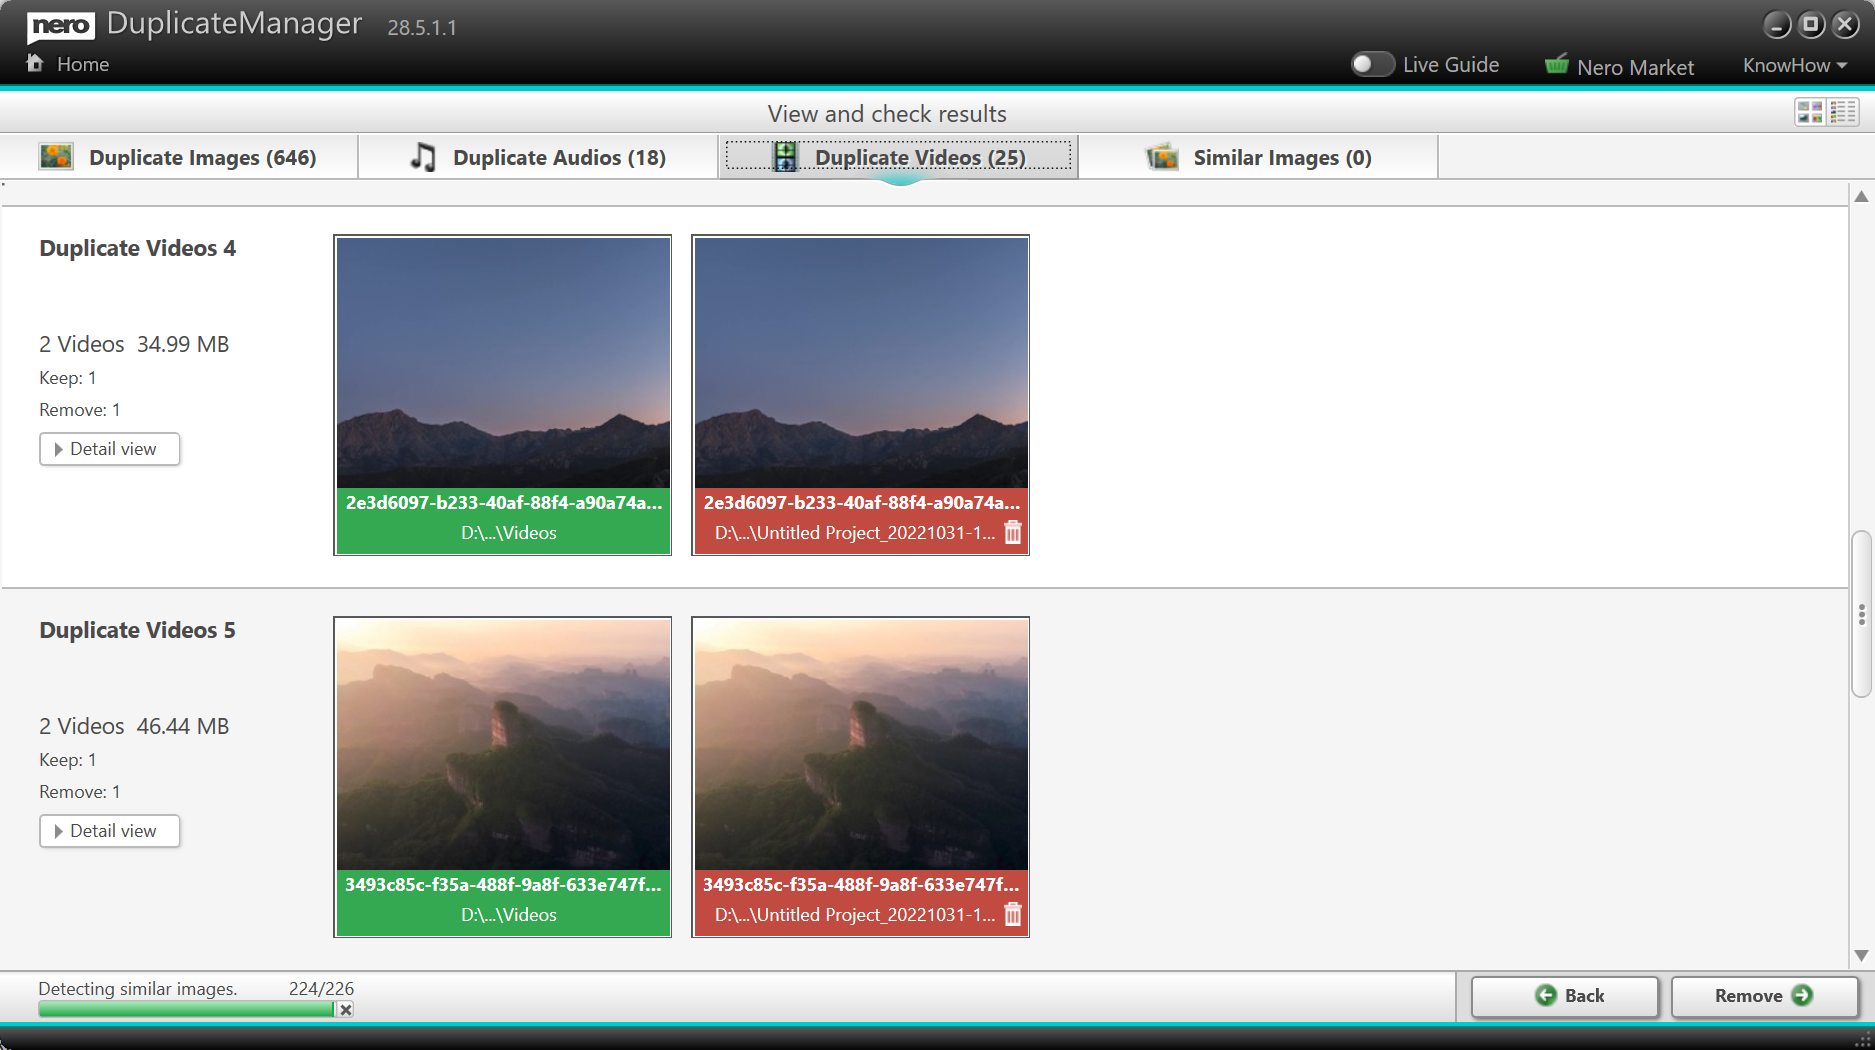
You can:
- Preview videos and listen to audio directly within the app.
- Let the software auto-mark duplicates for safe deletion (keeping one original).
- Or manually select which copies to delete or keep.
Once reviewed, click Remove button to remove duplicates and instantly reclaim valuable disk space.
⚡ Why Choose Nero DuplicateManager?
- 🔍 Smart Detection: Finds real duplicates based on content, not just names.
- 🎬 Supports All Major Media Formats: MP4, AVI, MOV, MP3, FLAC, WAV, and more.
- 🧠 Safe Cleanup: Automatically keeps at least one original copy.
- 🚀 Fast and Reliable: Optimized for large media collections and quick results.
Whether you’re managing your personal music collection or cleaning up old project folders, Nero DuplicateManager gives you complete control — with safety, speed, and precision.
Upgrade Now 🛒

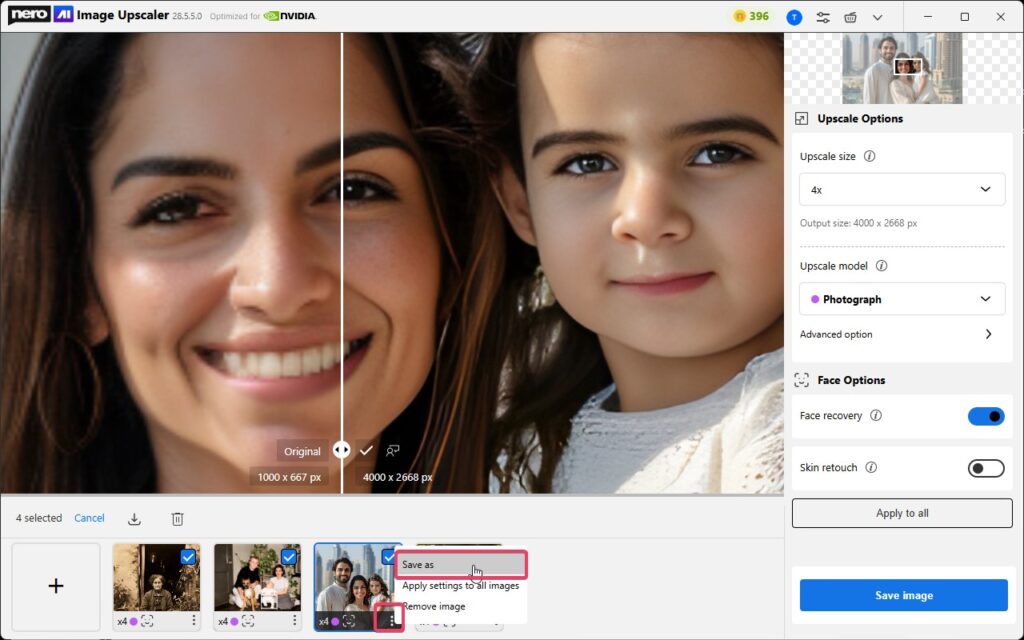
 Or you can right-click the current image from the file list then click the [Apple settings to all images] button.
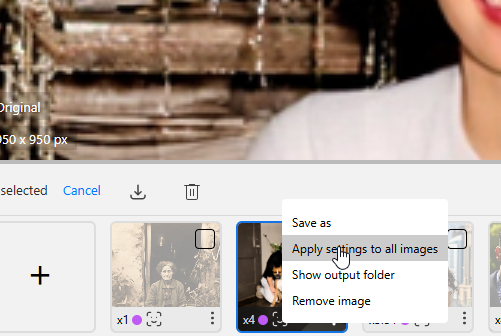 You can still modify individual images afterward if they require different models or adjustments.