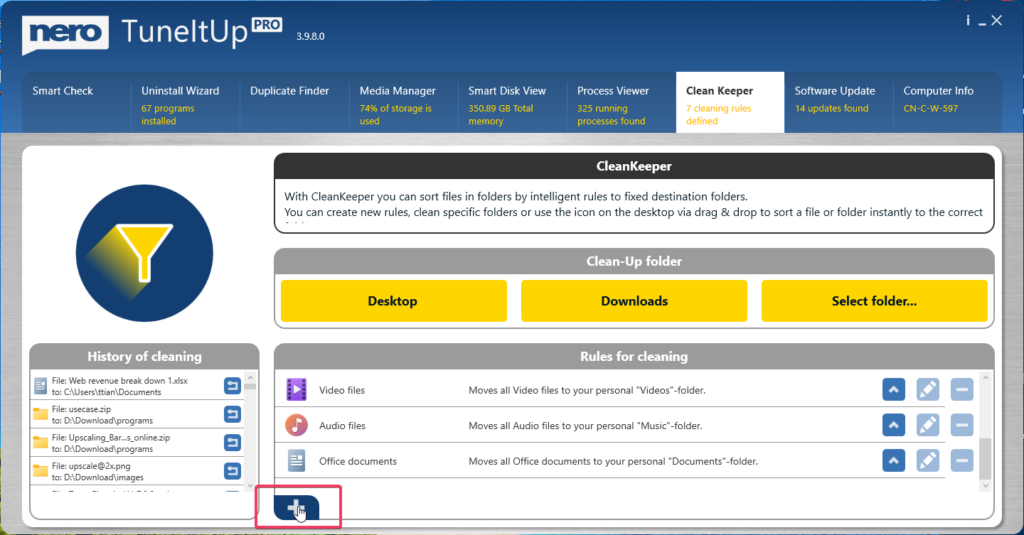
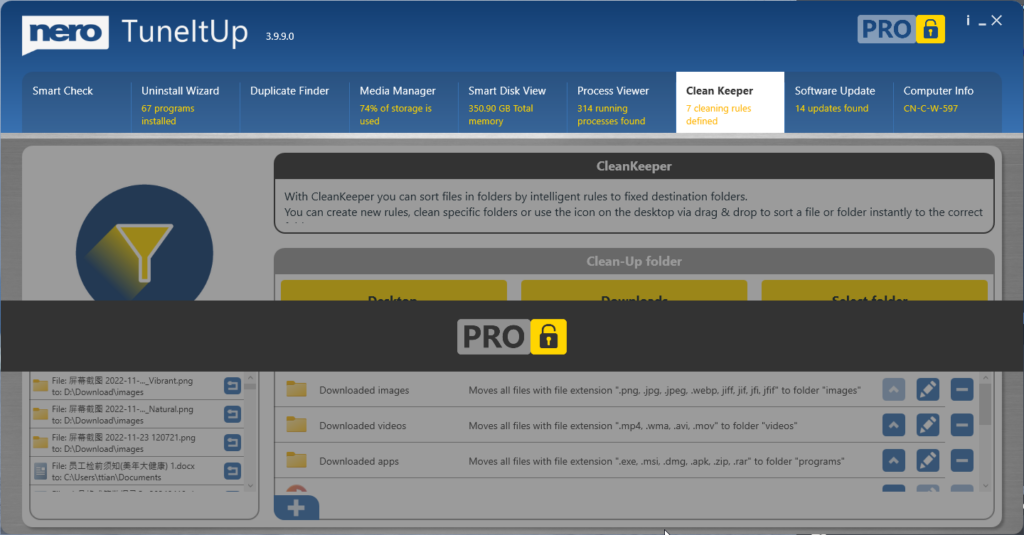
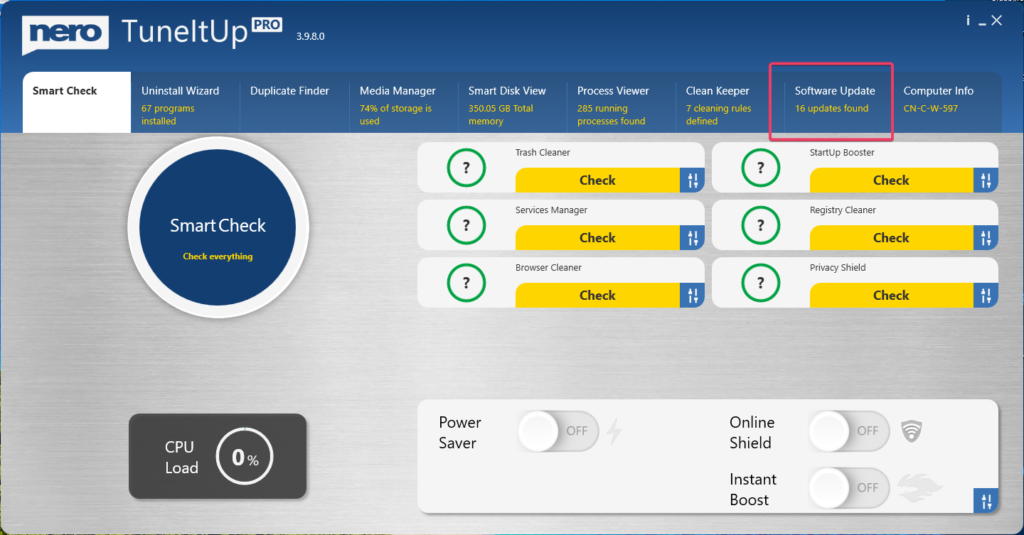
With the new CleanKeeper feature since TuneItUp Pro v3.6.0.6, you can easily clean up and organize your Desktop, Downloads, and any other folders you want to keep tidy and organized.
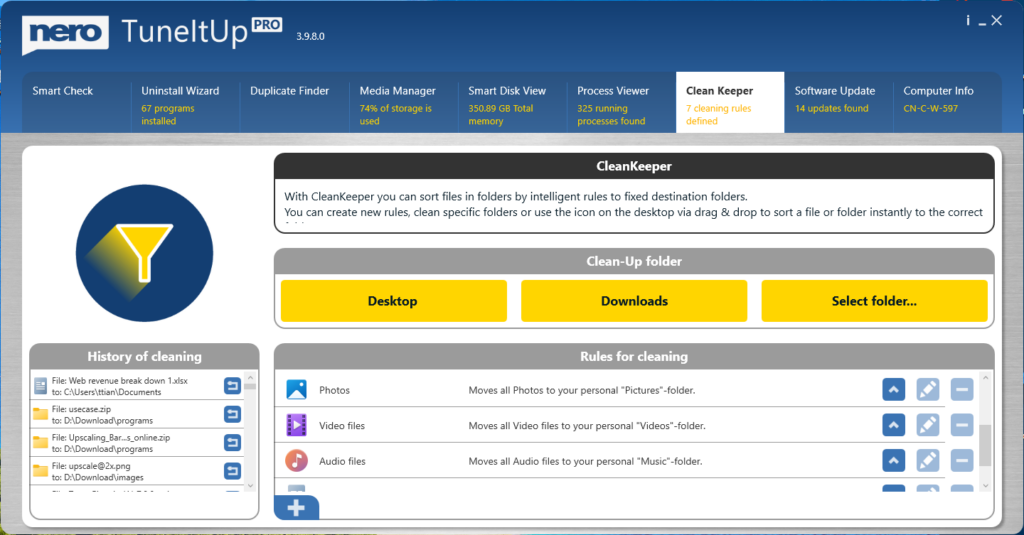
CleanKeeper provides a default rule to clean up your Desktop and Downloads folders:
- Moves all photos to your personal “Pictures” folder
- Moves all video files to your personal “Videos” folder
- Moves all audio files to your personal “Music” folder
- Moves all Office document files to your personal “Documents” folder
Moreover, you can create your own rules if you don’t like the default file handling method.
How to Clean Up Files and Move Them to Your Preferred Folder
For example, here’s how I automatically clean up my installers and apps by moving them to my D drive.
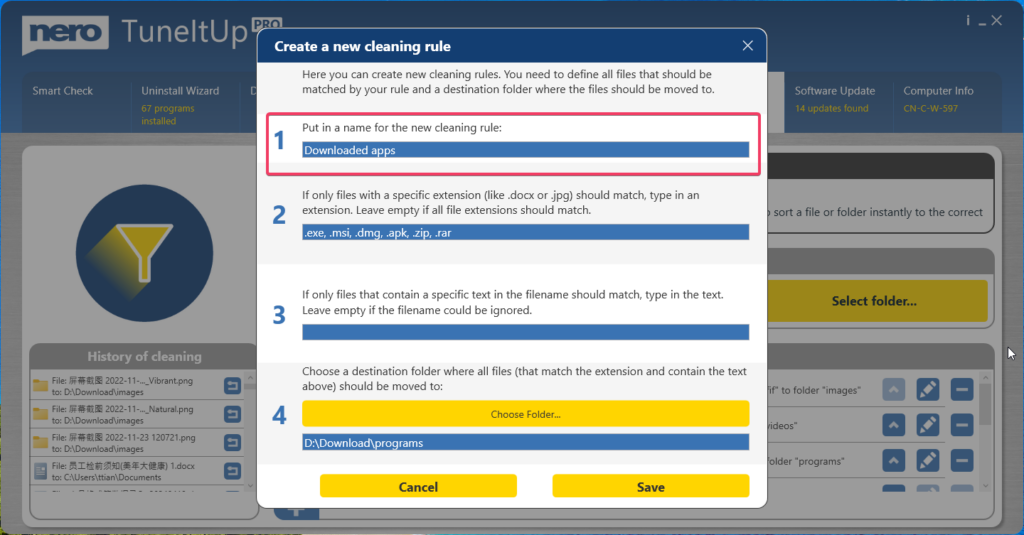
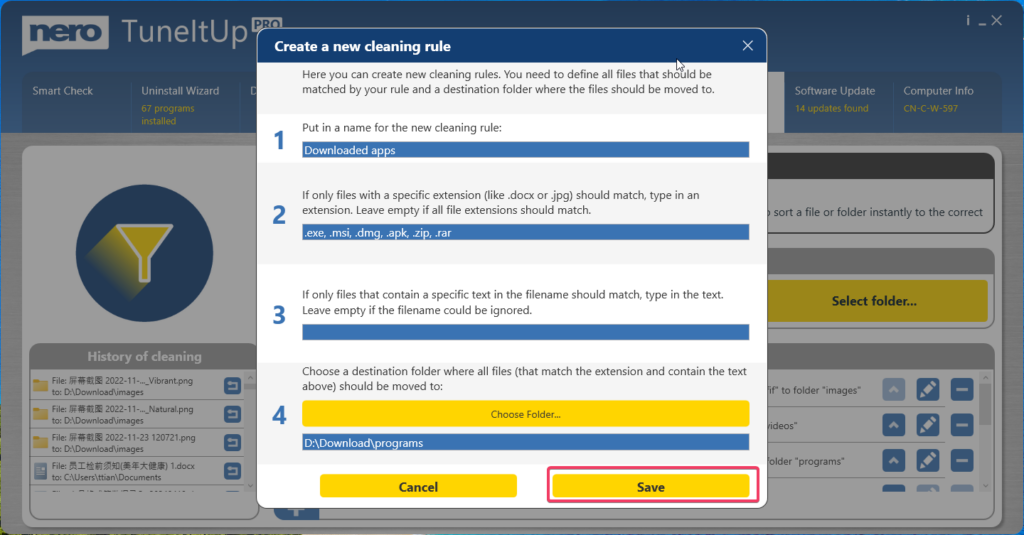
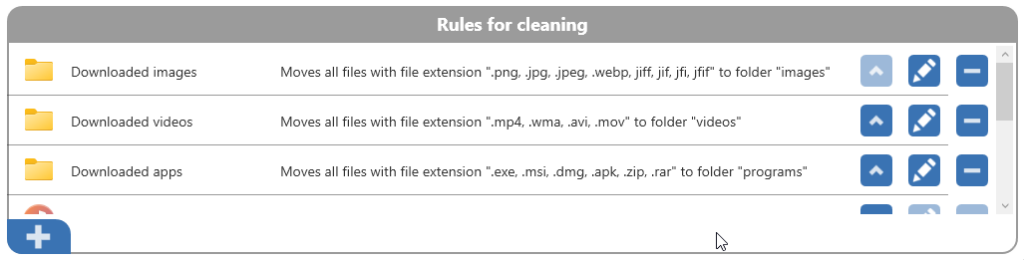
- Click the Plus button to add a new rule

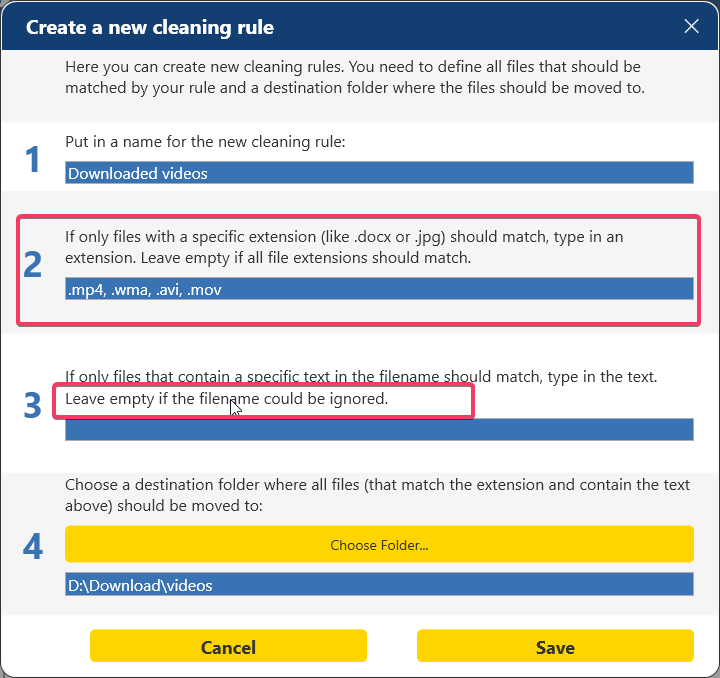
- Name your rule (e.g., “Downloaded apps”)
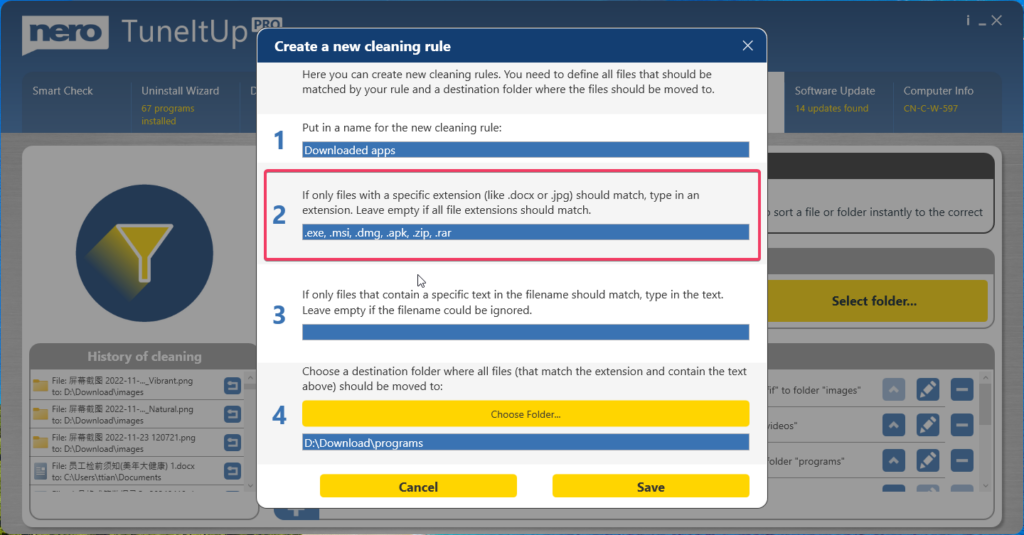
- Specify file types you want to clean up (e.g., .exe, .msi, .dmg, .apk, .zip, .rar)
- Leave the filename filter empty if you don’t want to target specific file names
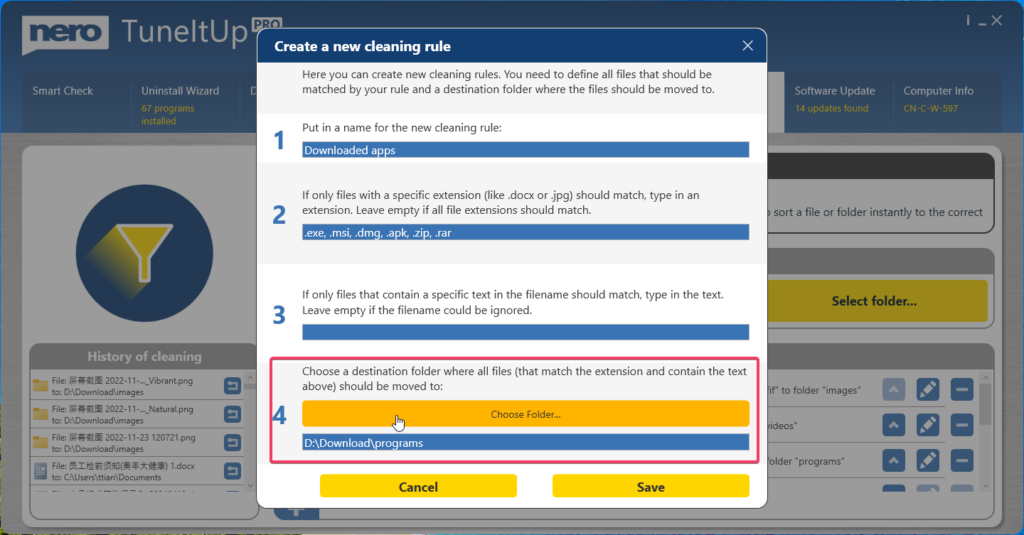
- Choose a target folder for your downloaded apps (e.g., D:\Download\programs)
- Click Save to continue.
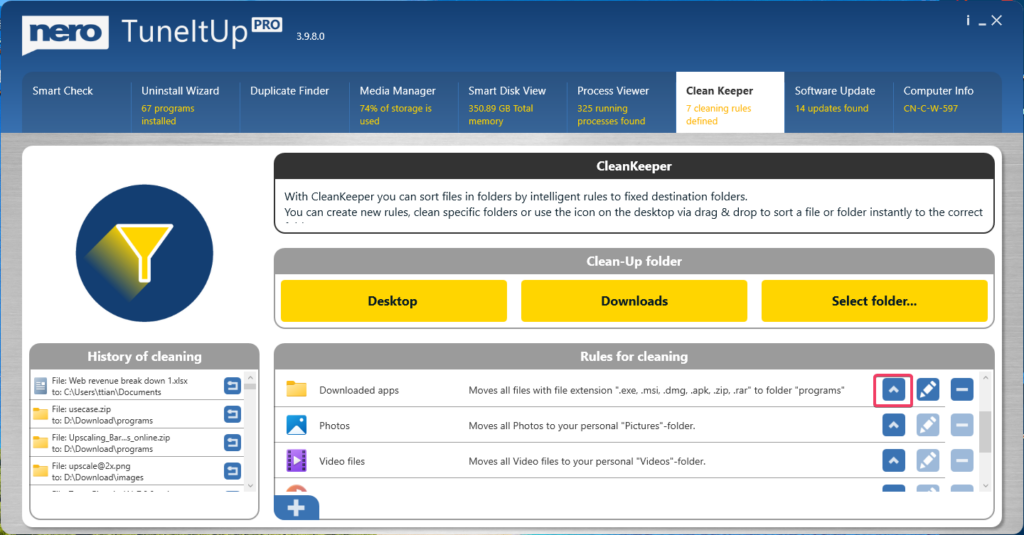
- Click the Up button to increase the rule’s priority
- Click the Downloads button to clean up the Downloads folder
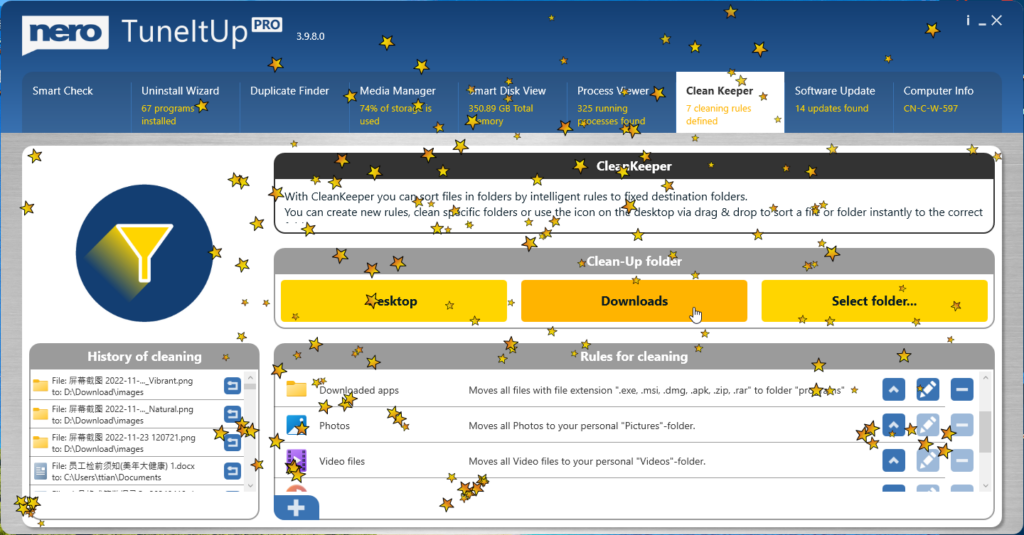
- The app will automatically move all matching files
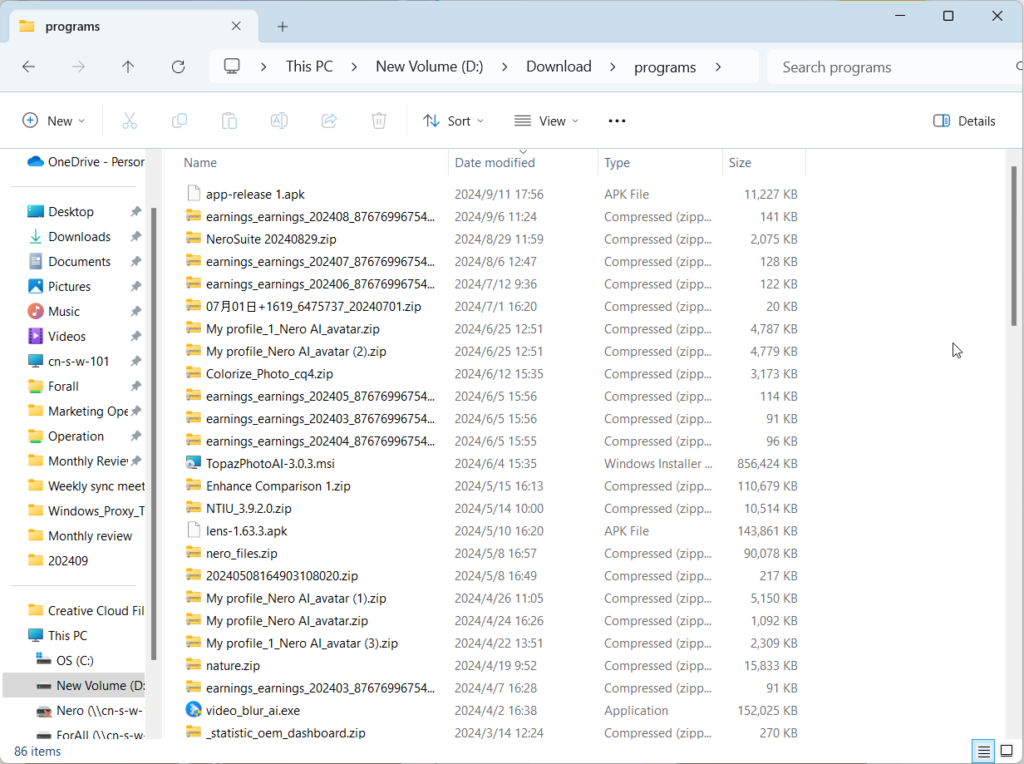
- You’ll see all the specified file types in your chosen target folder


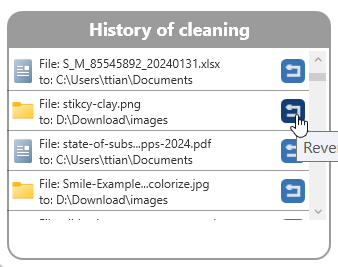
Finally, you can revert files from the History list if you decide you don’t want them cleaned up after all.
Why isn’t it working?
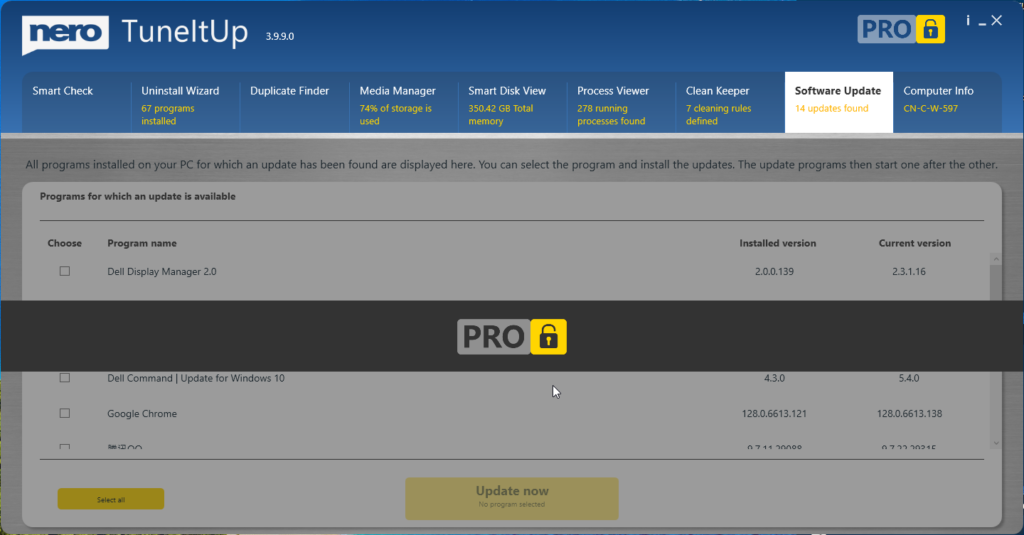
- First, this feature is only available in the Pro version. If you’re still using the free version, click the lock button to upgrade.
- Check the rule priority. Files are moved according to the rules in order. If you can’t find files in the expected folder, they might be in other folders with higher-priority rules.

- Specify either the file extension or filename—not both.

- If your Desktop or Downloads folder is too large, especially on a slower PC, the automation process might struggle. Try manually moving some files to reduce the folder size.

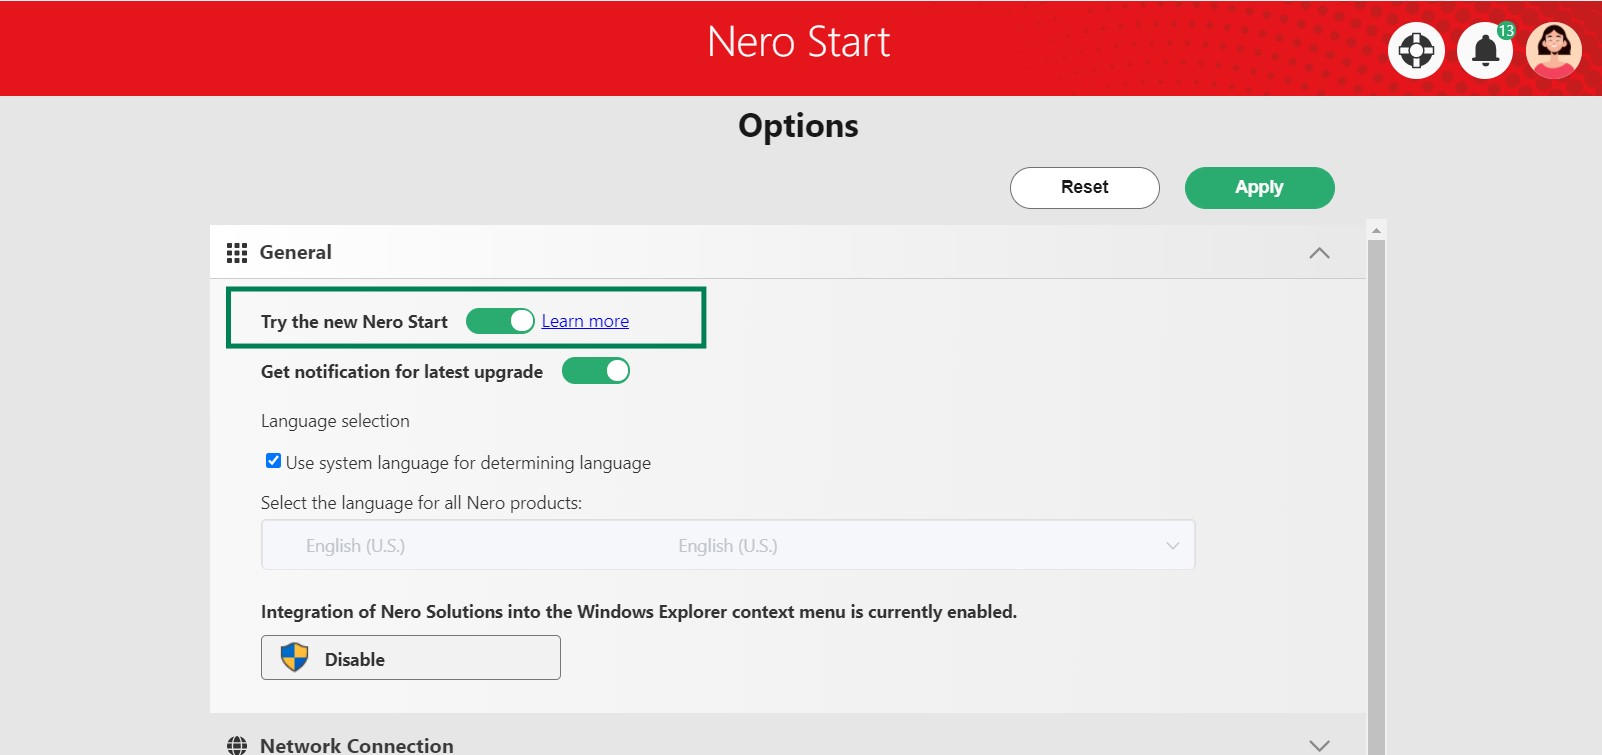
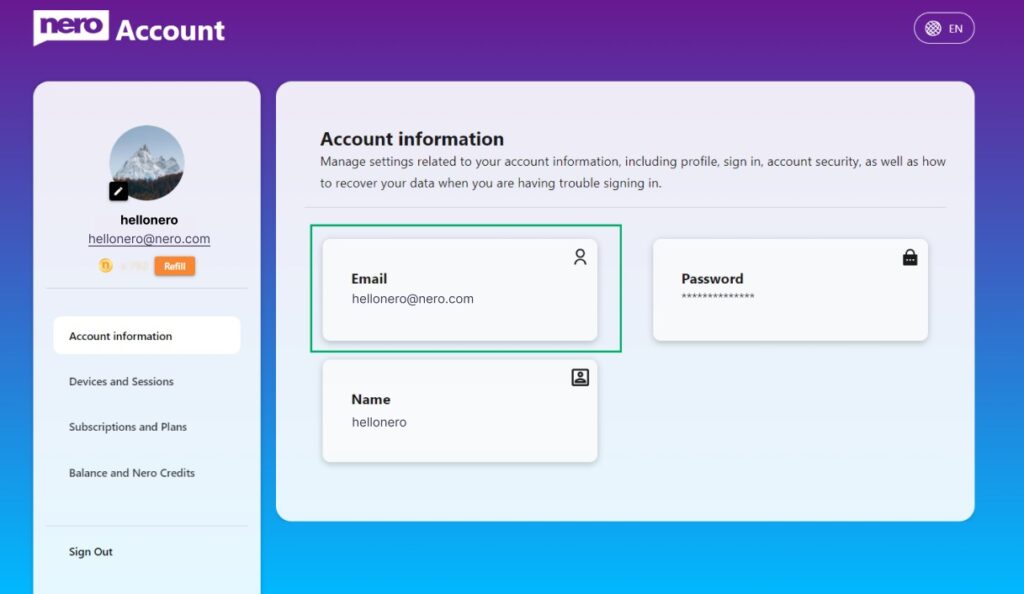
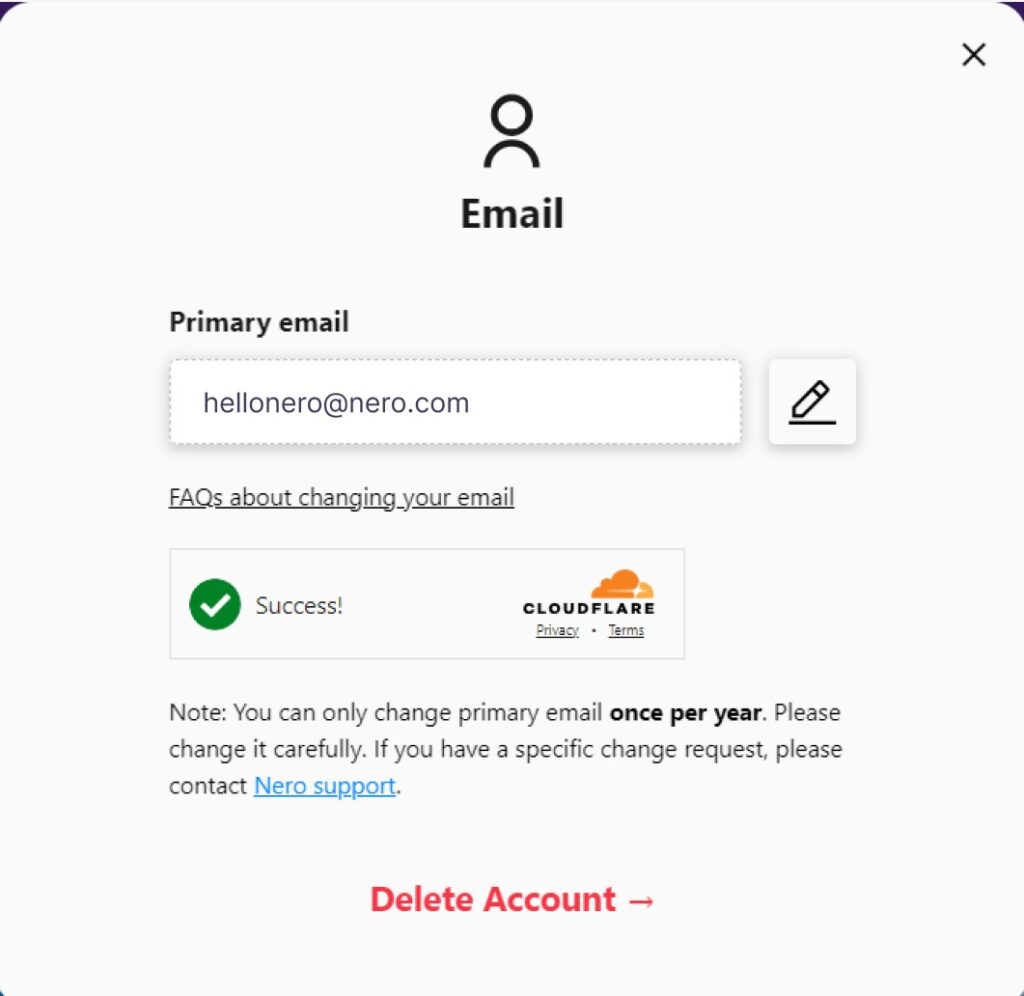
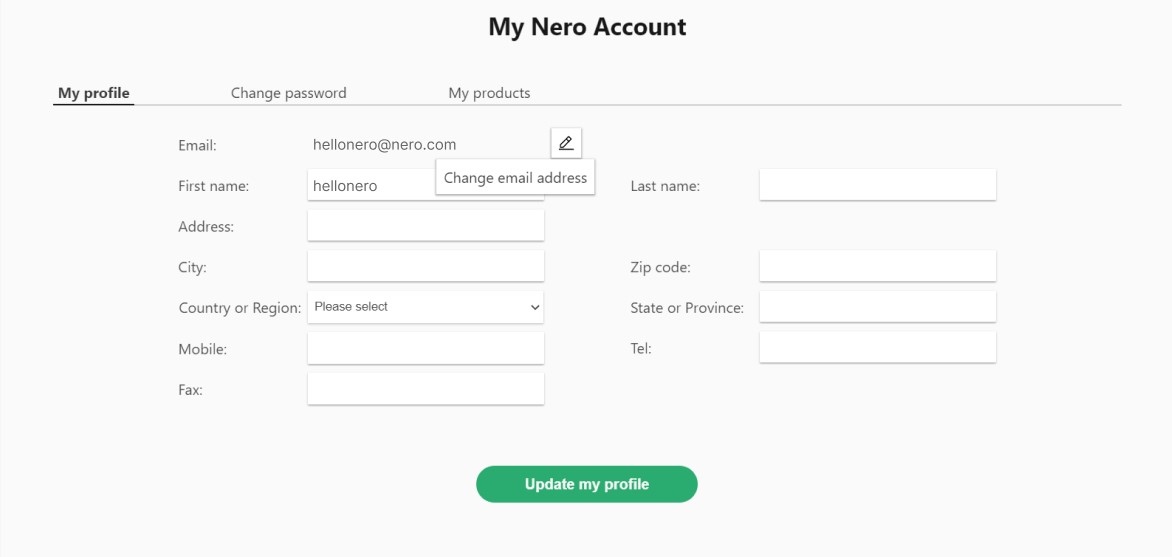 Nero Account online page will be opened. The email change need to be done in the Nero Account online page. Maybe another login will be required if you have never open Nero Account online page before.