How to get available products via Installer & Nero Start
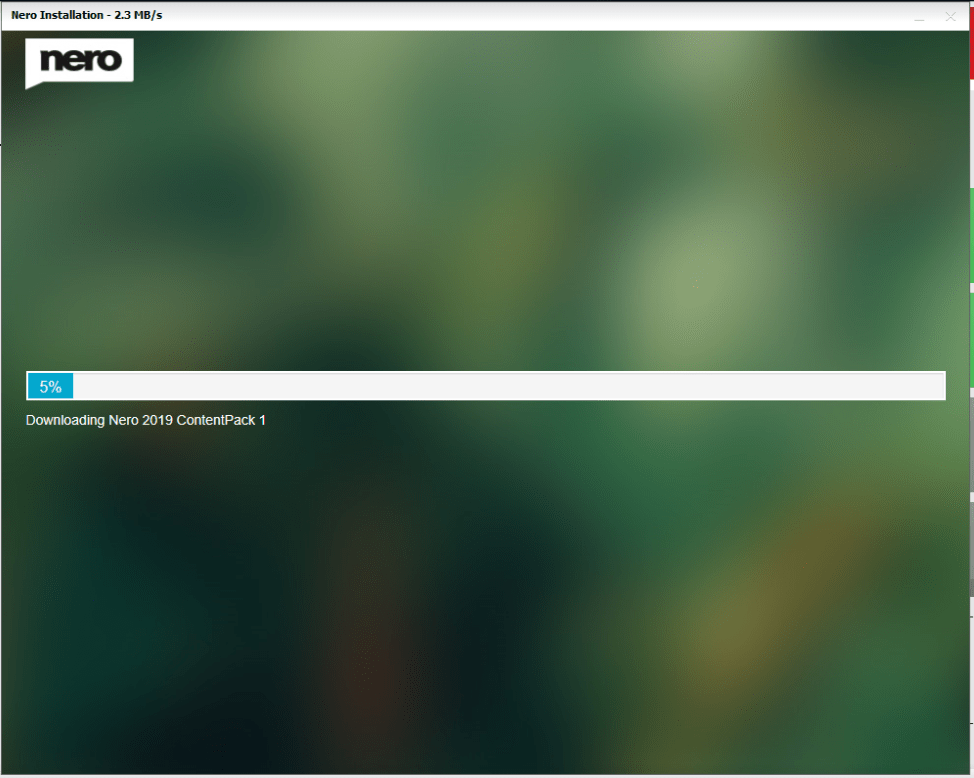
- Launch the latest installer, and click the button “Install Now”. The installer willbegin to download and install the latest applications.
Based on different product definition and installation configurations, some products will download and install all available applications, but some products will only download and install Nero Start and the necessary components. The application download & installation will continue in the Nero Start Updates after the product has been unlocked.

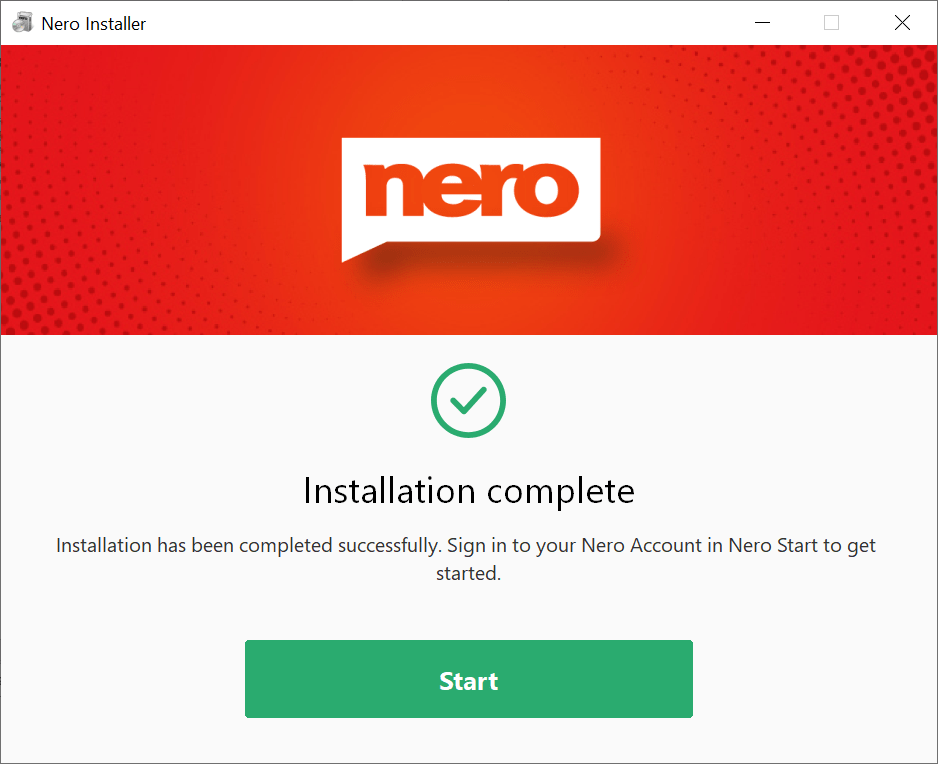
- Nero Start will be started after the whole installation is finished.
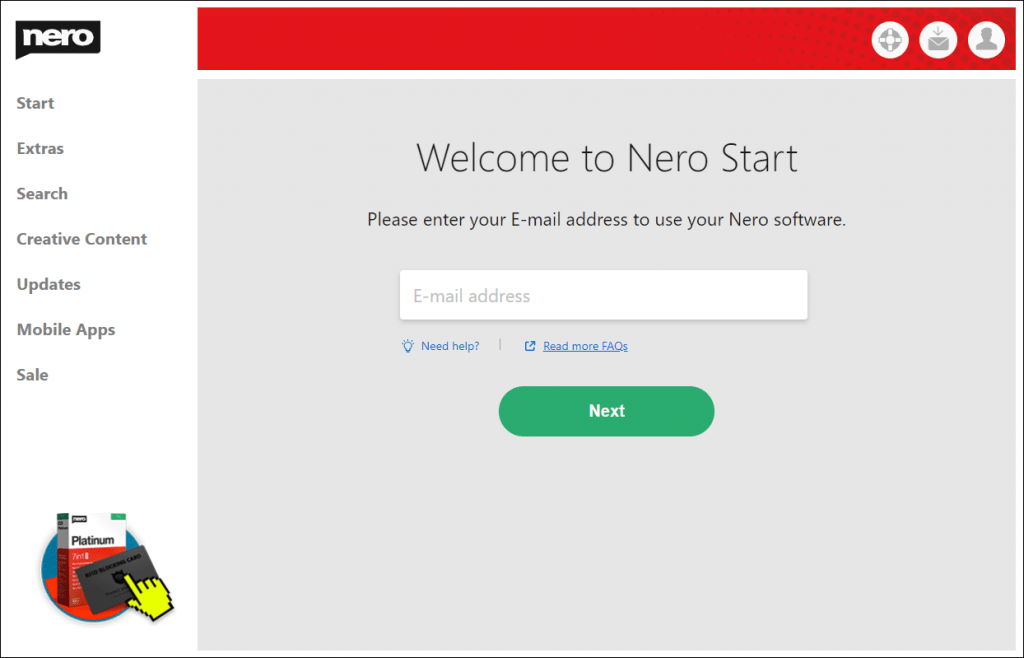
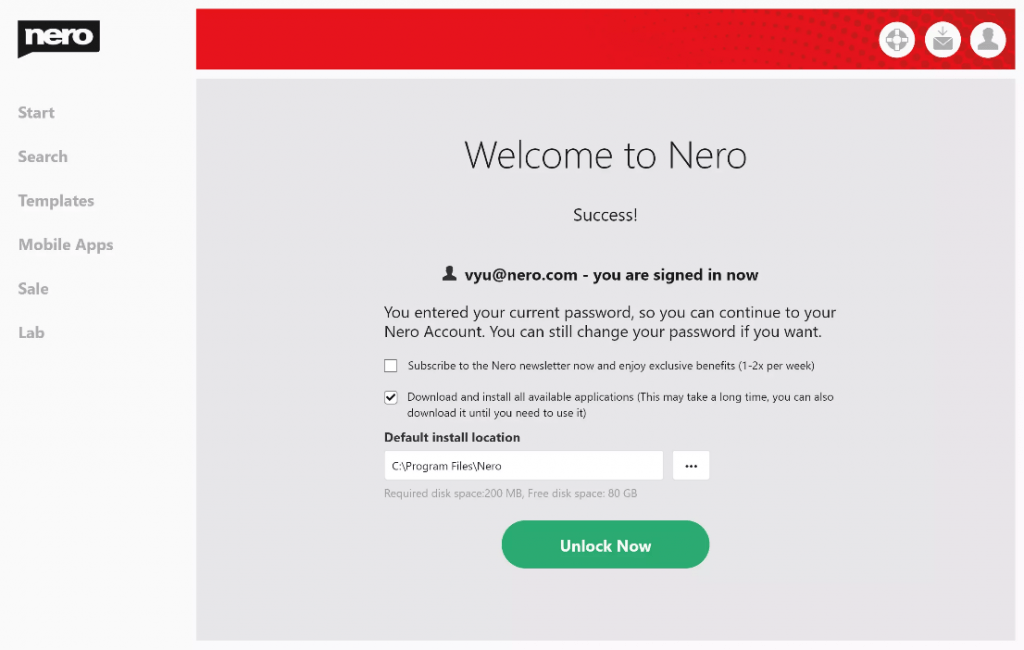
- After signing in/registering with your Nero Account, the product will be available. Check the “Download and install all available applications” option to check if there are any updates available
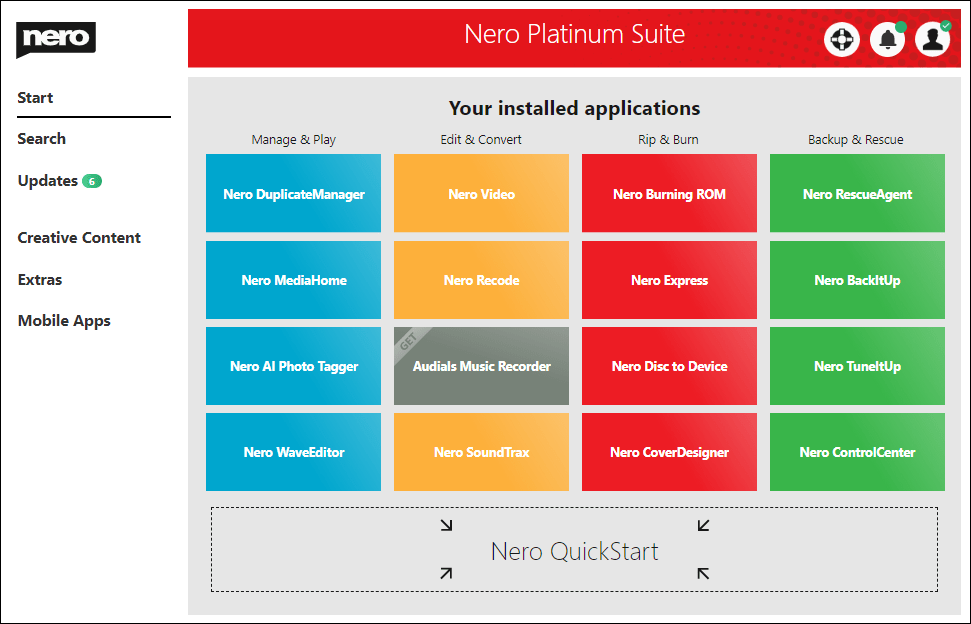
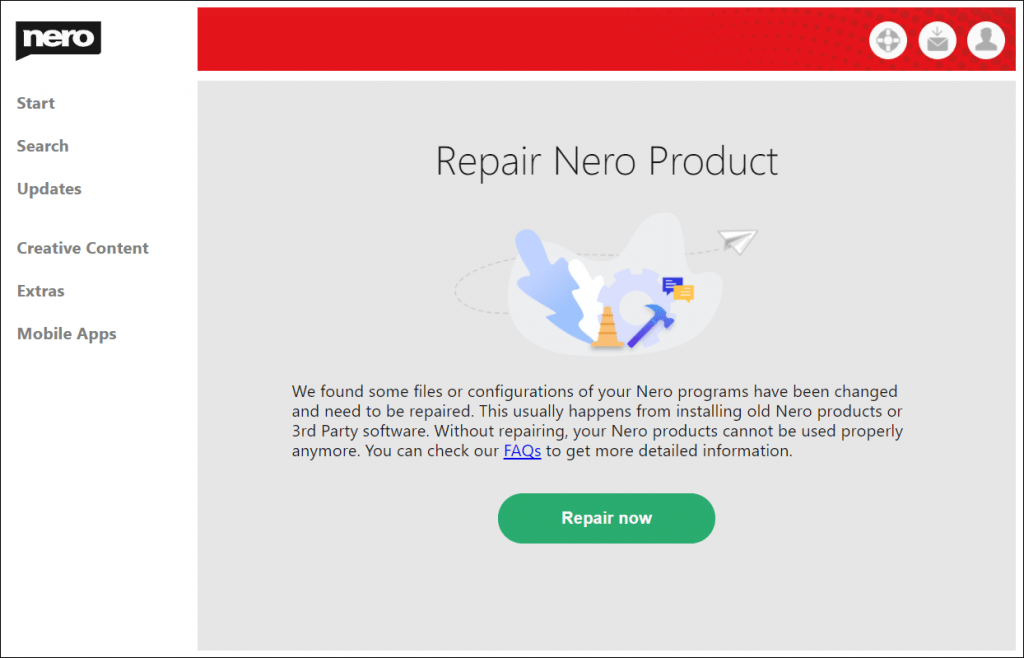
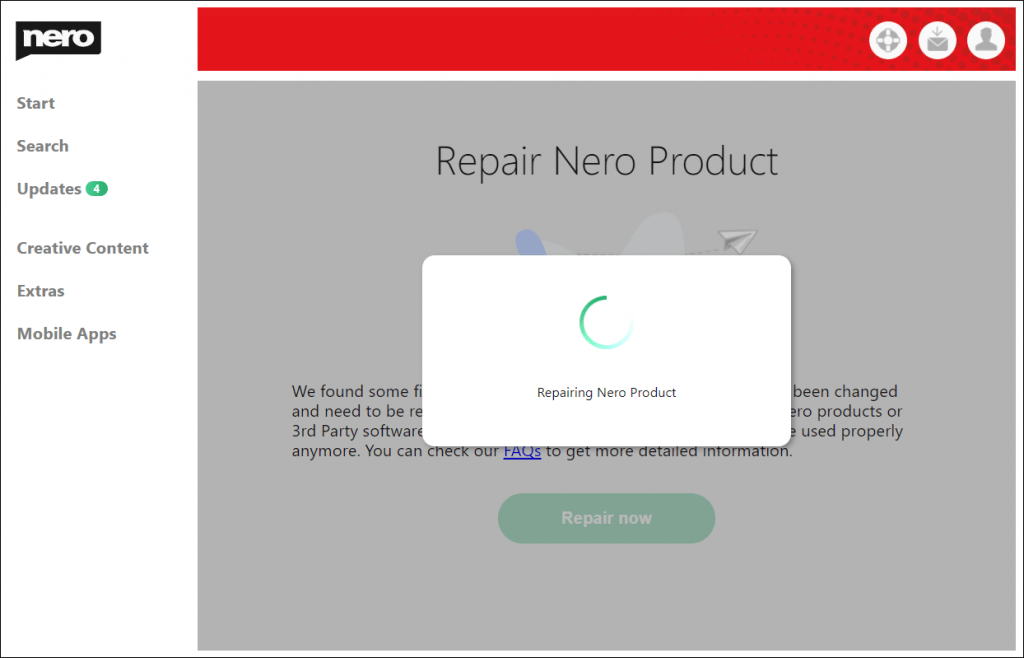
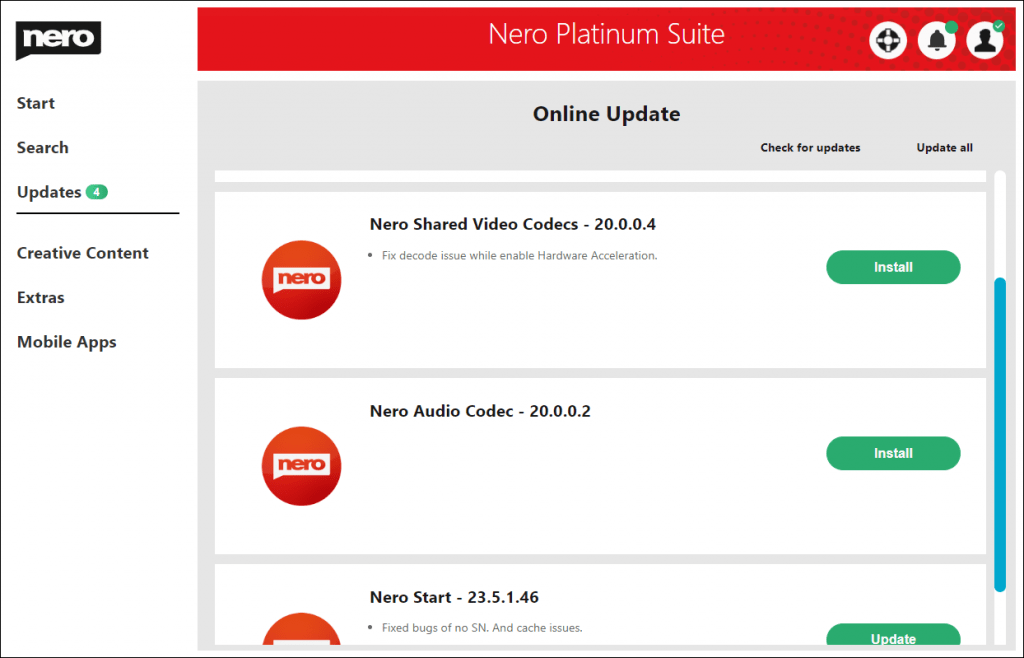
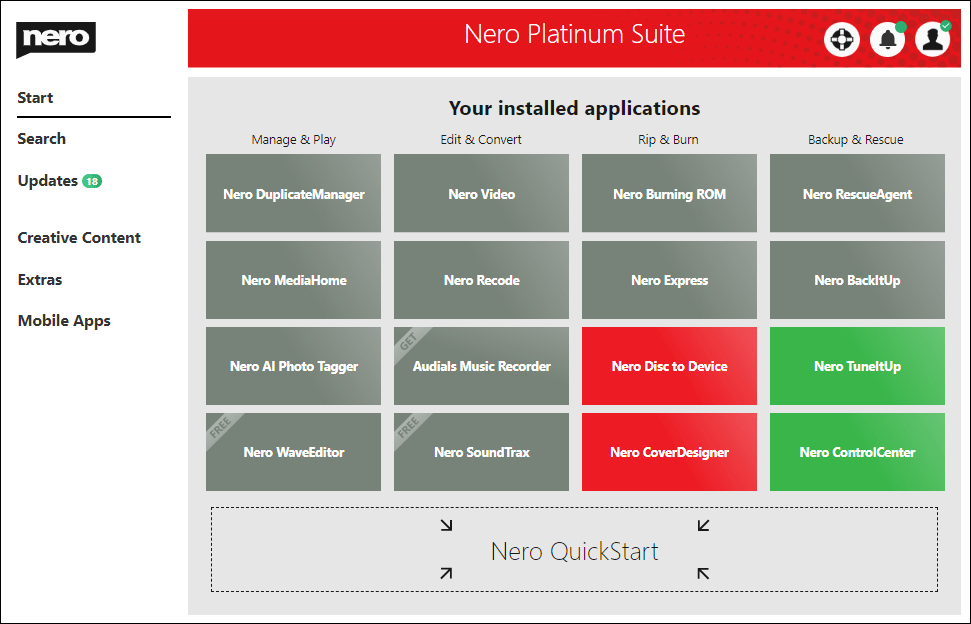
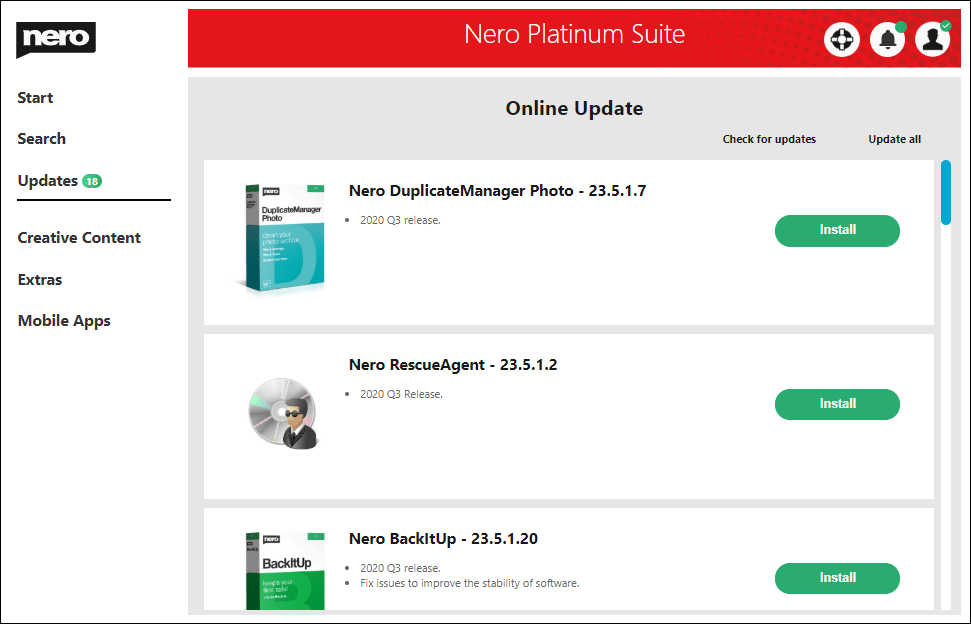
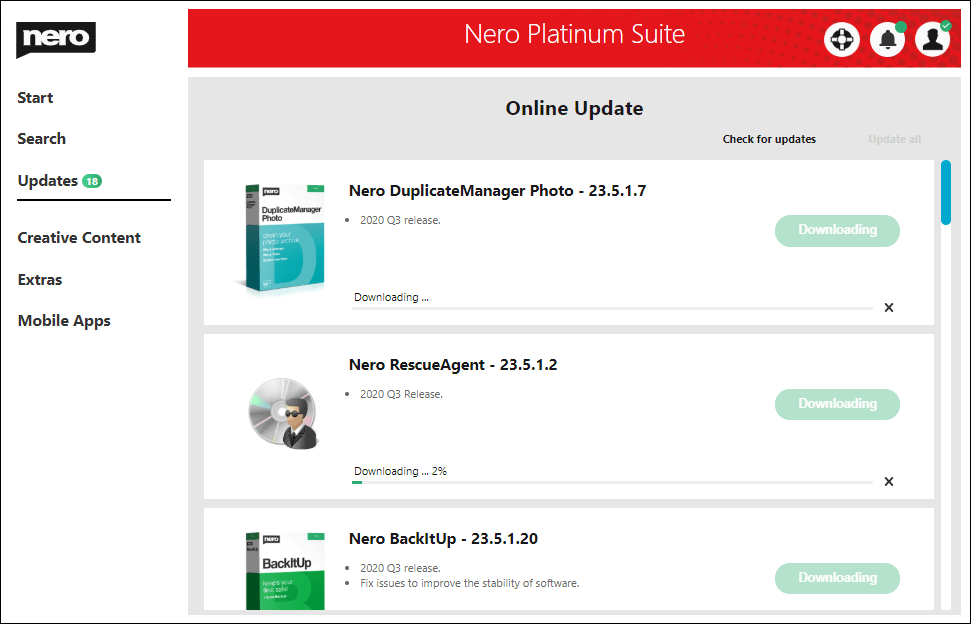
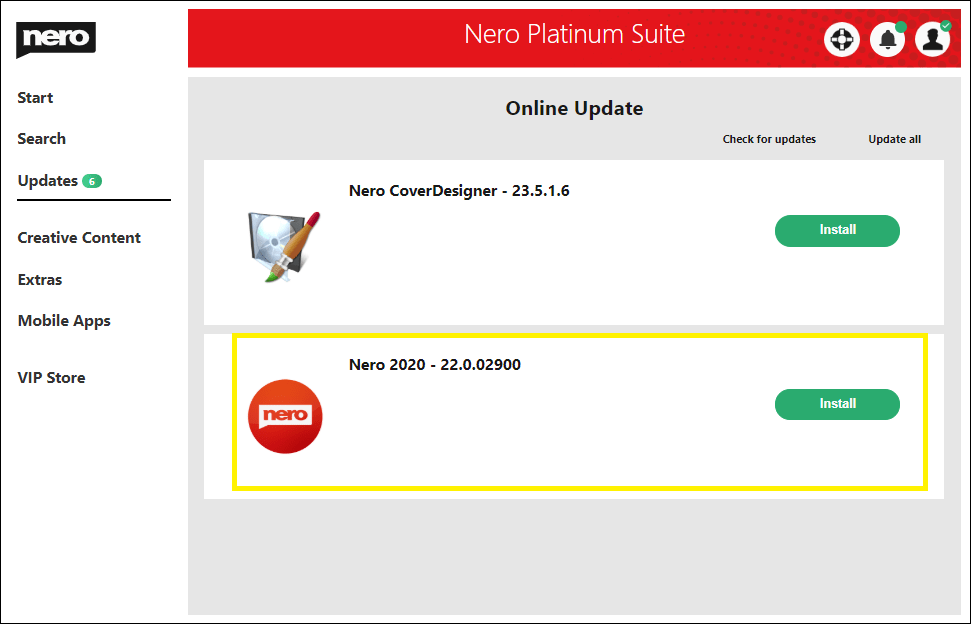
- If only Nero Start and the basic components are installed, the application buttons will be grayed out. You can install or update the applications from the Updates screen.
How to get available products via the Legacy Stub Installer
- Start the Stub Installer, and the application will check, download and install all available applications.
- Nero Start will start after the whole installation is finished.
- After signing in/registering with your Nero Account, the product will be available. Check the “Download and install all available applications” option to check if there are any updates available
How to re-Install Nero 2020 products via Legacy Stub Installer
- Start the Stub Installer, and the application will check, download and install all available applications.
- Nero Start will start after the whole installation is finished.
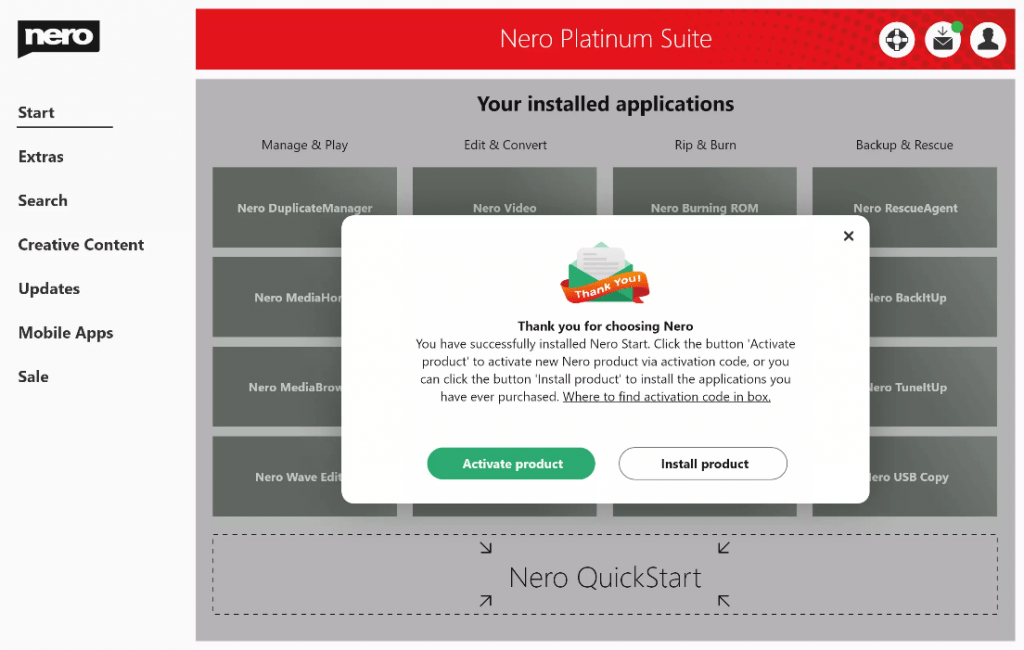
- After signing in to your Nero Account, Nero Start will pop up a dialog and ask you to activate a new Nero product via activation code or to install existing own products. Selecting “Nero Platinum 2020” will trigger a download in the Updates screen. At the same time, the default product will also change to Nero Platinum 2020.
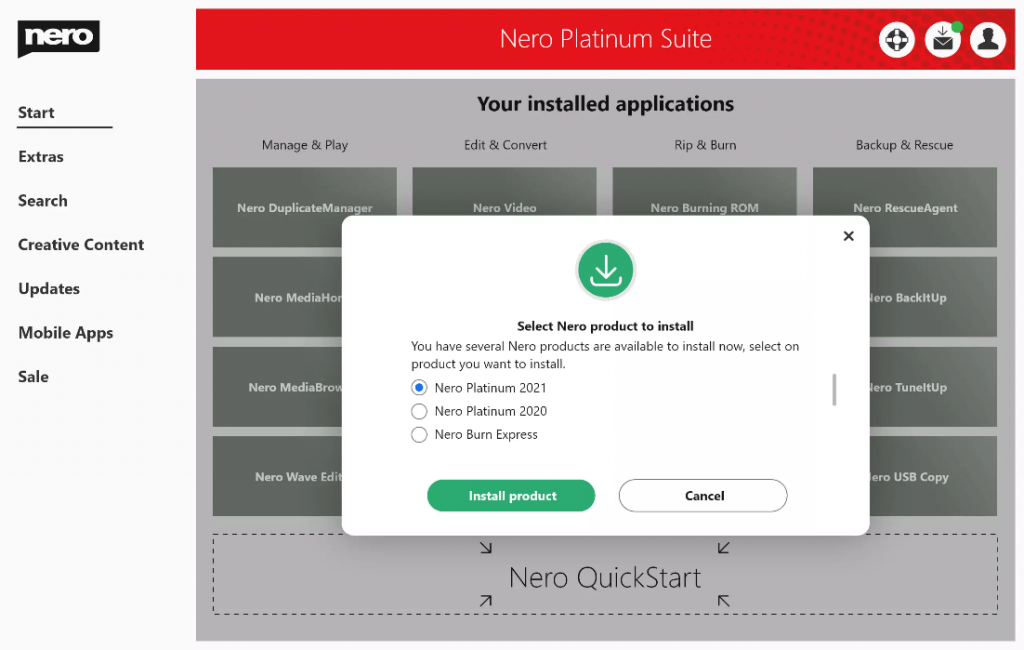
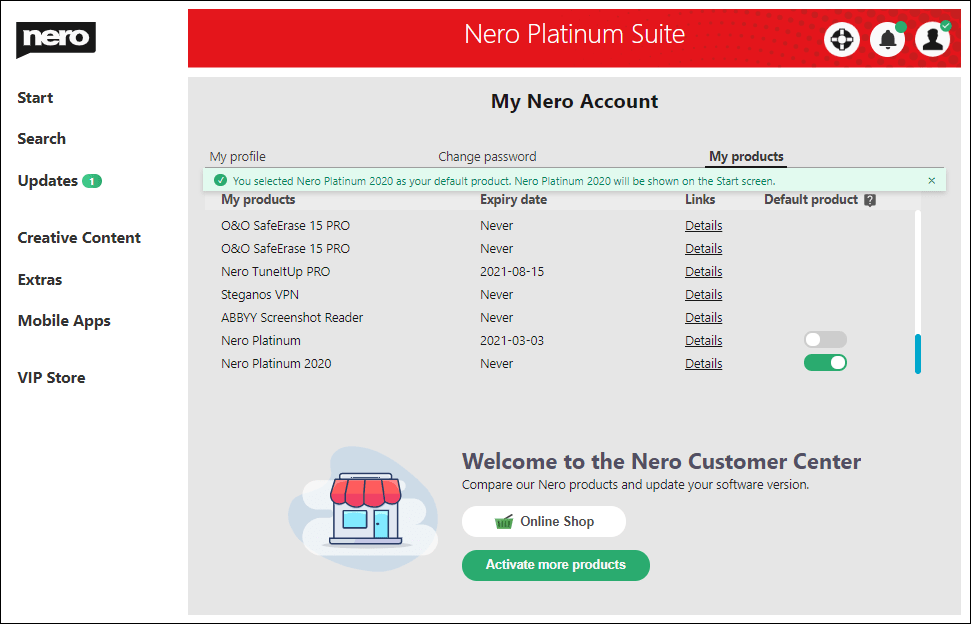
- If you cancel the selection in the previous pop up dialog, it is also possible to find and download Nero 2020 under “My products”.
Nero KnowHow 00209