Nero offers variations of its Nero Suite product portfolio to companies, government- and educational institutions, and all other organizations.
These products come in different flavors and are not available for consumers. There are no volume license versions of the standalone products available.
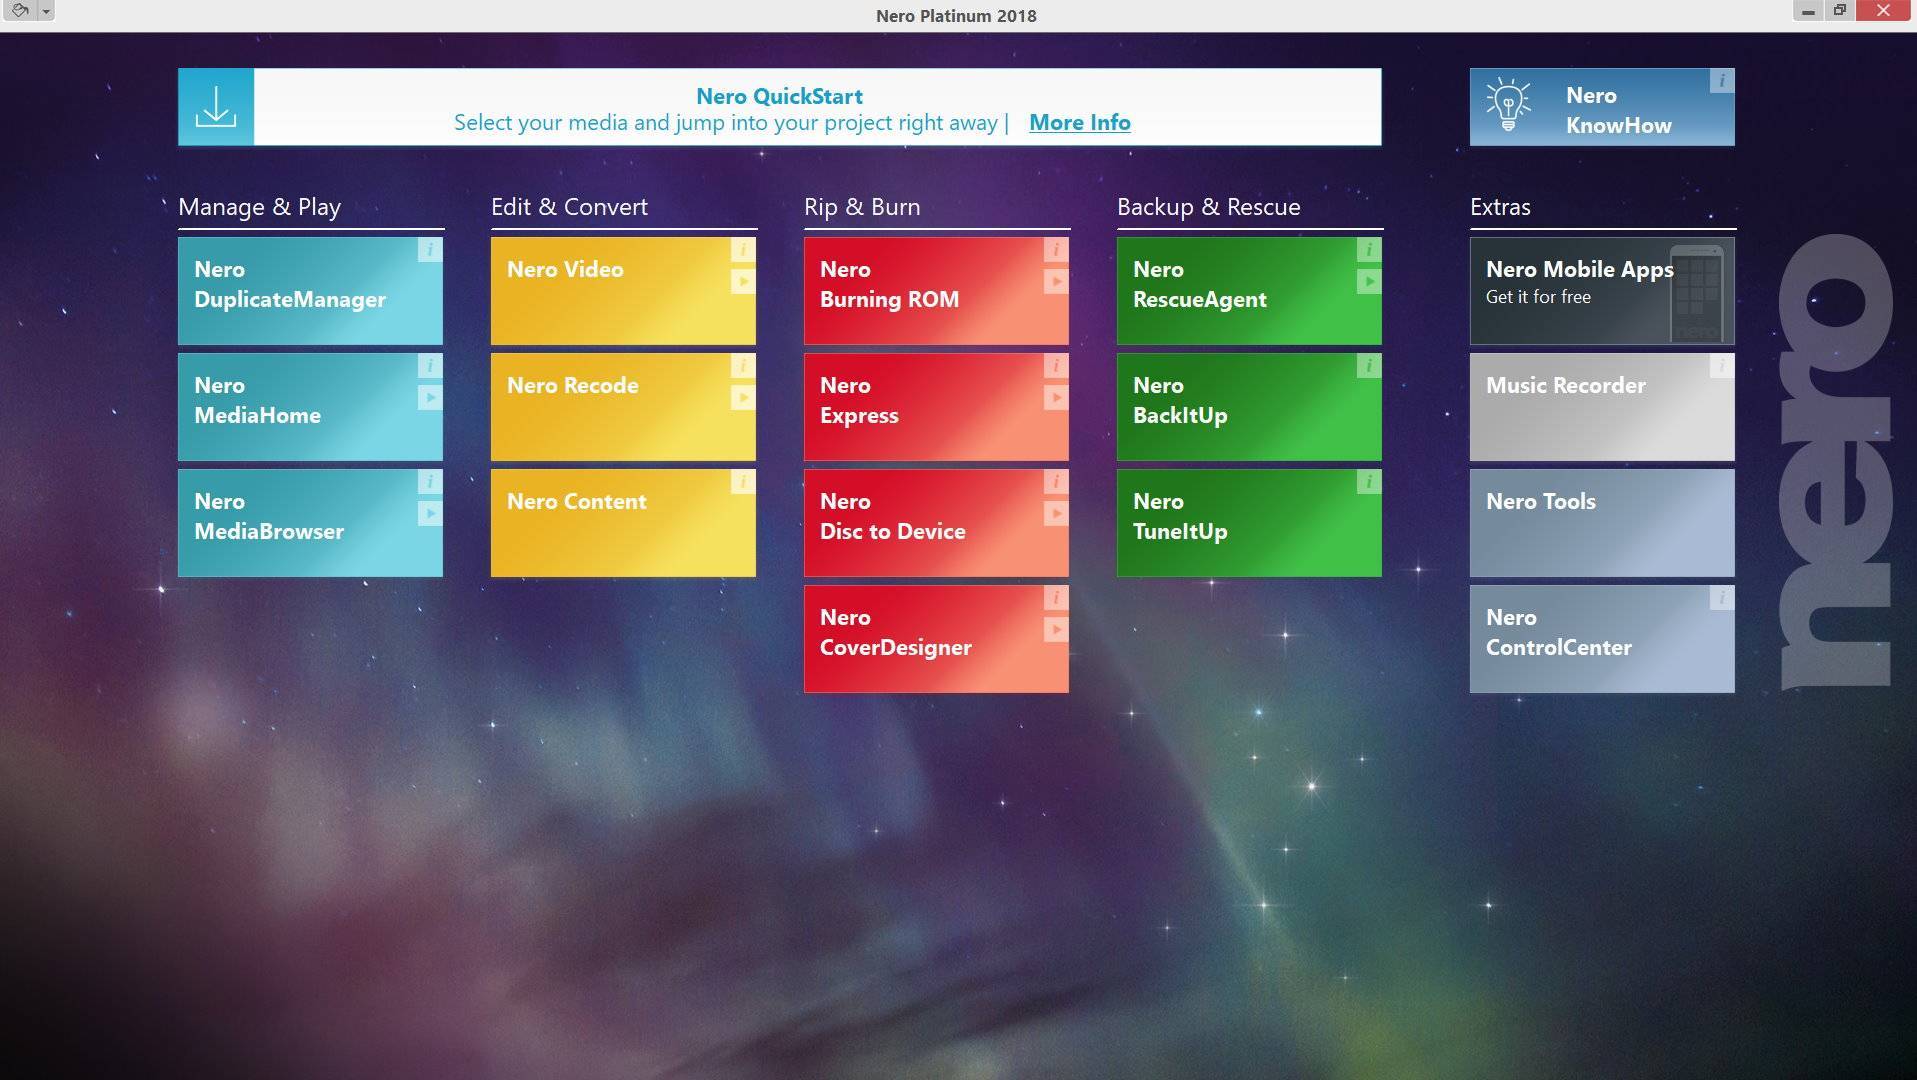
Nero Basic 2018 Volume License (Nero Burning ROM)
Focuses on data-centric use cases such as burning and data security. Nero Basic 2018 Volume License has no direct equivalent in the end-user full price portfolio.
Positioning: Nero Basic 2018 Volume License is the ideal product for companies looking for most secure data burning with 256-bit encryption based on SecurDisc 4.0 and the world’s leading burn engine.
Nero Premium 2018 Volume License
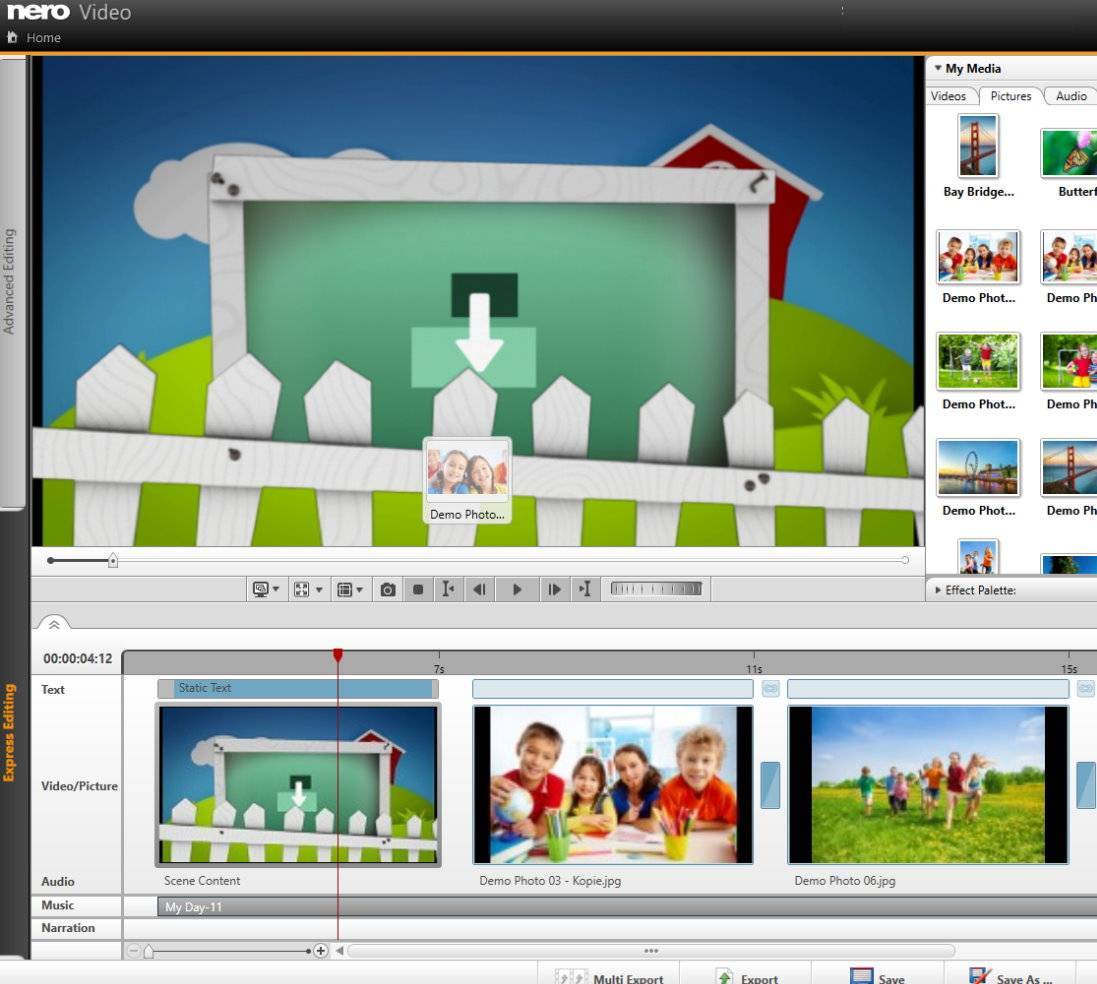
Closely related to Nero Standard 2018 retail/ESD version it serves as complete multimedia suite offering use cases for video editing, media management, playback and conversion, as well as data burning and security.
Positioning: Nero Premium 2018 Volume License is the ideal product for companies having the demand for a broad variety of multimedia use cases and most secure data burning with 256 bit encryption based on SecurDisc 4.0 and the world’s leading burn engine.
Nero Platinum 2018 Volume License
The Volume License representation of Nero Platinum 2018 retail/ESD provides additional value over Nero Premium 2018 Volume License by offering advanced playback, conversion, editing and backup options.
As top end product it includes Ultra HD (4K) playback, editing, and conversion, extra high quality video effects (cinema style Nero Film Effects, Motion Tilt Shift Effects, Nero Video Stabilizer, and also saving of fully customized effects as drag and drop templates to re-use over and over again, and more). Nero Platinum 2018 Volume License also includes extra high quality creative content and comes with Nero BackItUp.
Positioning: Nero Platinum 2018 Volume License is the ideal product for companies having the demand for a broad variety of multimedia use cases as well as backup. The product includes latest high quality format support for playback, conversion, media management, easy and advanced video editing with integrated Ultra HD (4K) editing, and most secure data burning with 256-bit encryption based on SecurDisc 4.0 and the world’s leading burn engine .
Limitations for Volume License Products
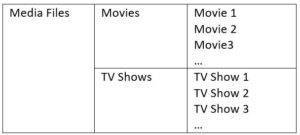
All volume license products are limited in those functionalities that do not match corporate environments, such as online/network related services (e.g. streaming, Gracenote®, Wi-Fi syncing, Geo-Tagging, places identification, accessing Movies & TV Shows, etc).
Additions
Nero Volume License products allow user rights management, such as restricting application usage or limitation of certain features with Nero BurnRights.
All Volume License products include Nero CoverDesigner by default.
All Volume License Products include Nero Launcher with a special Nero Volume License branding.
For more details check this link.
Nero KnowHow 00096