This works fast and easily via ‘Nero MediaHome WiFi Sync App’.
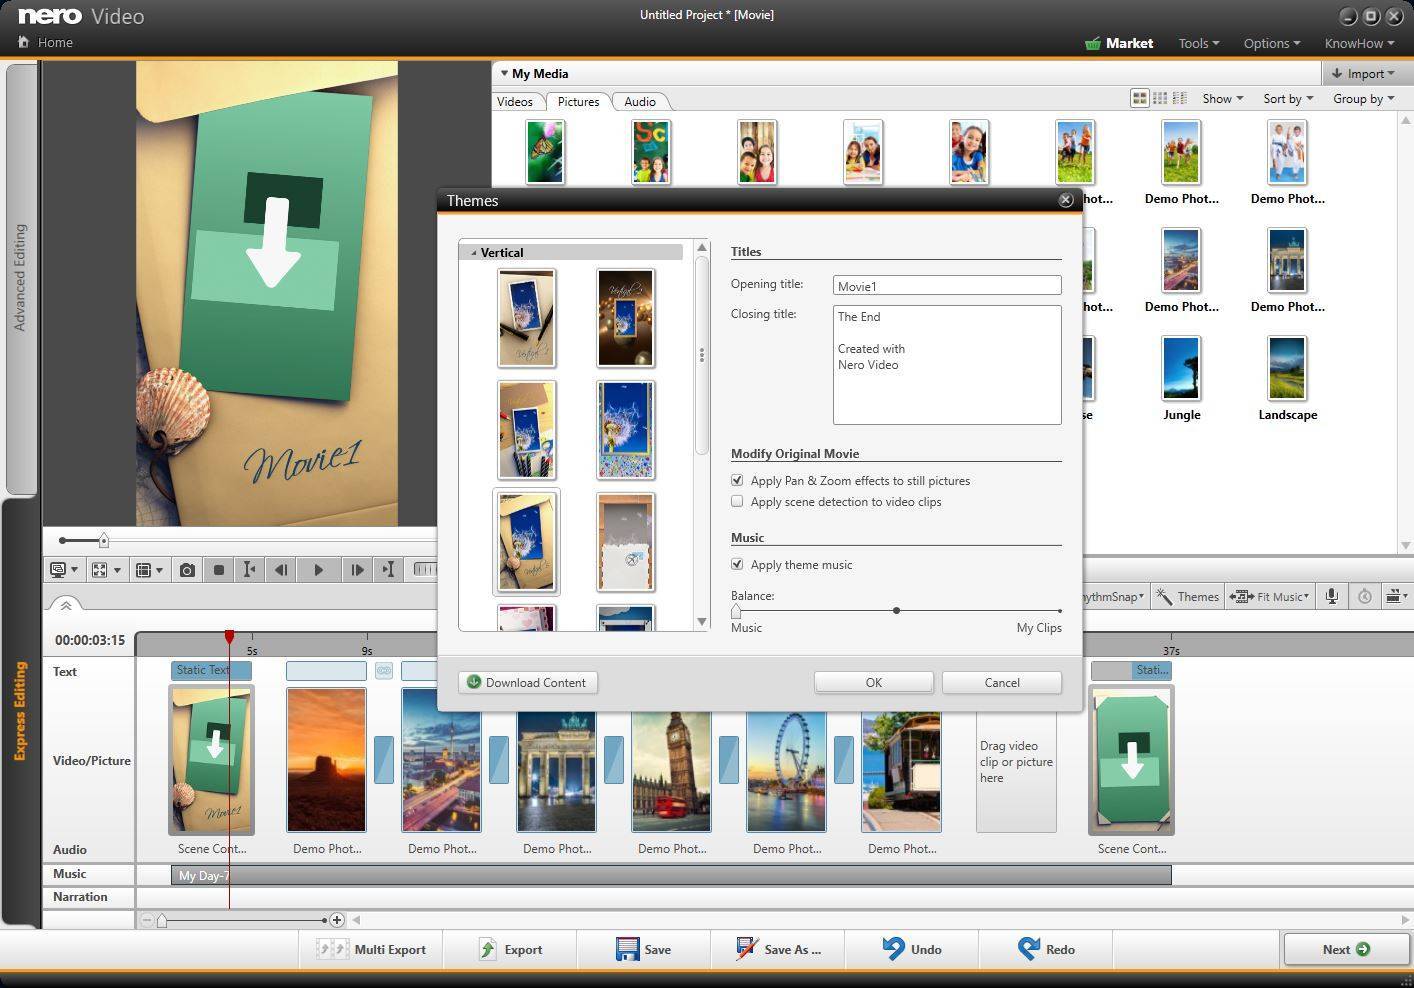
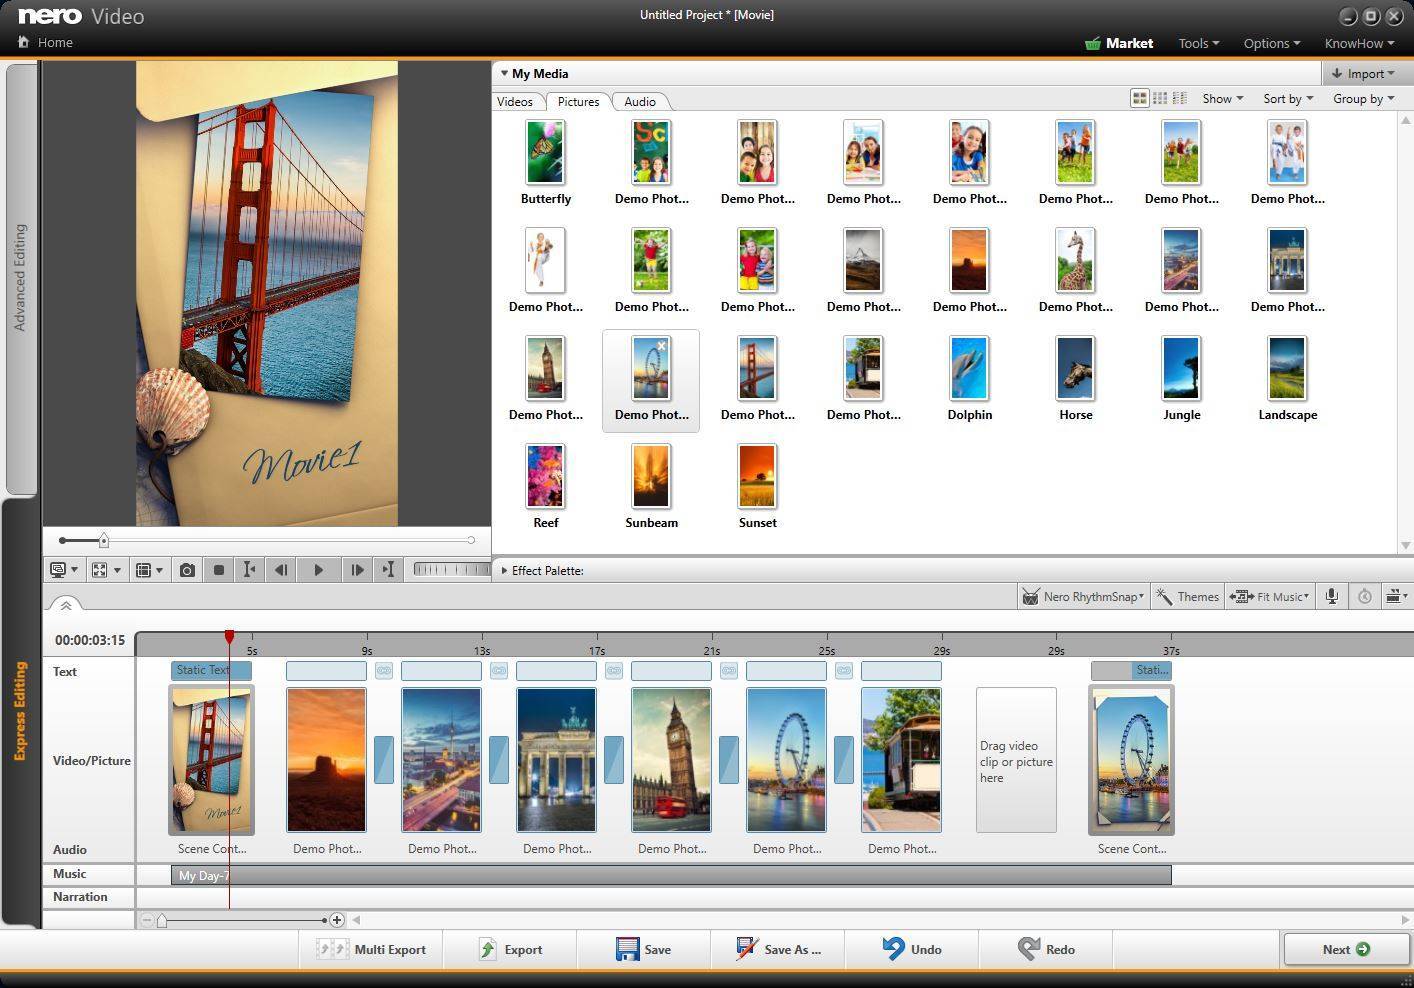
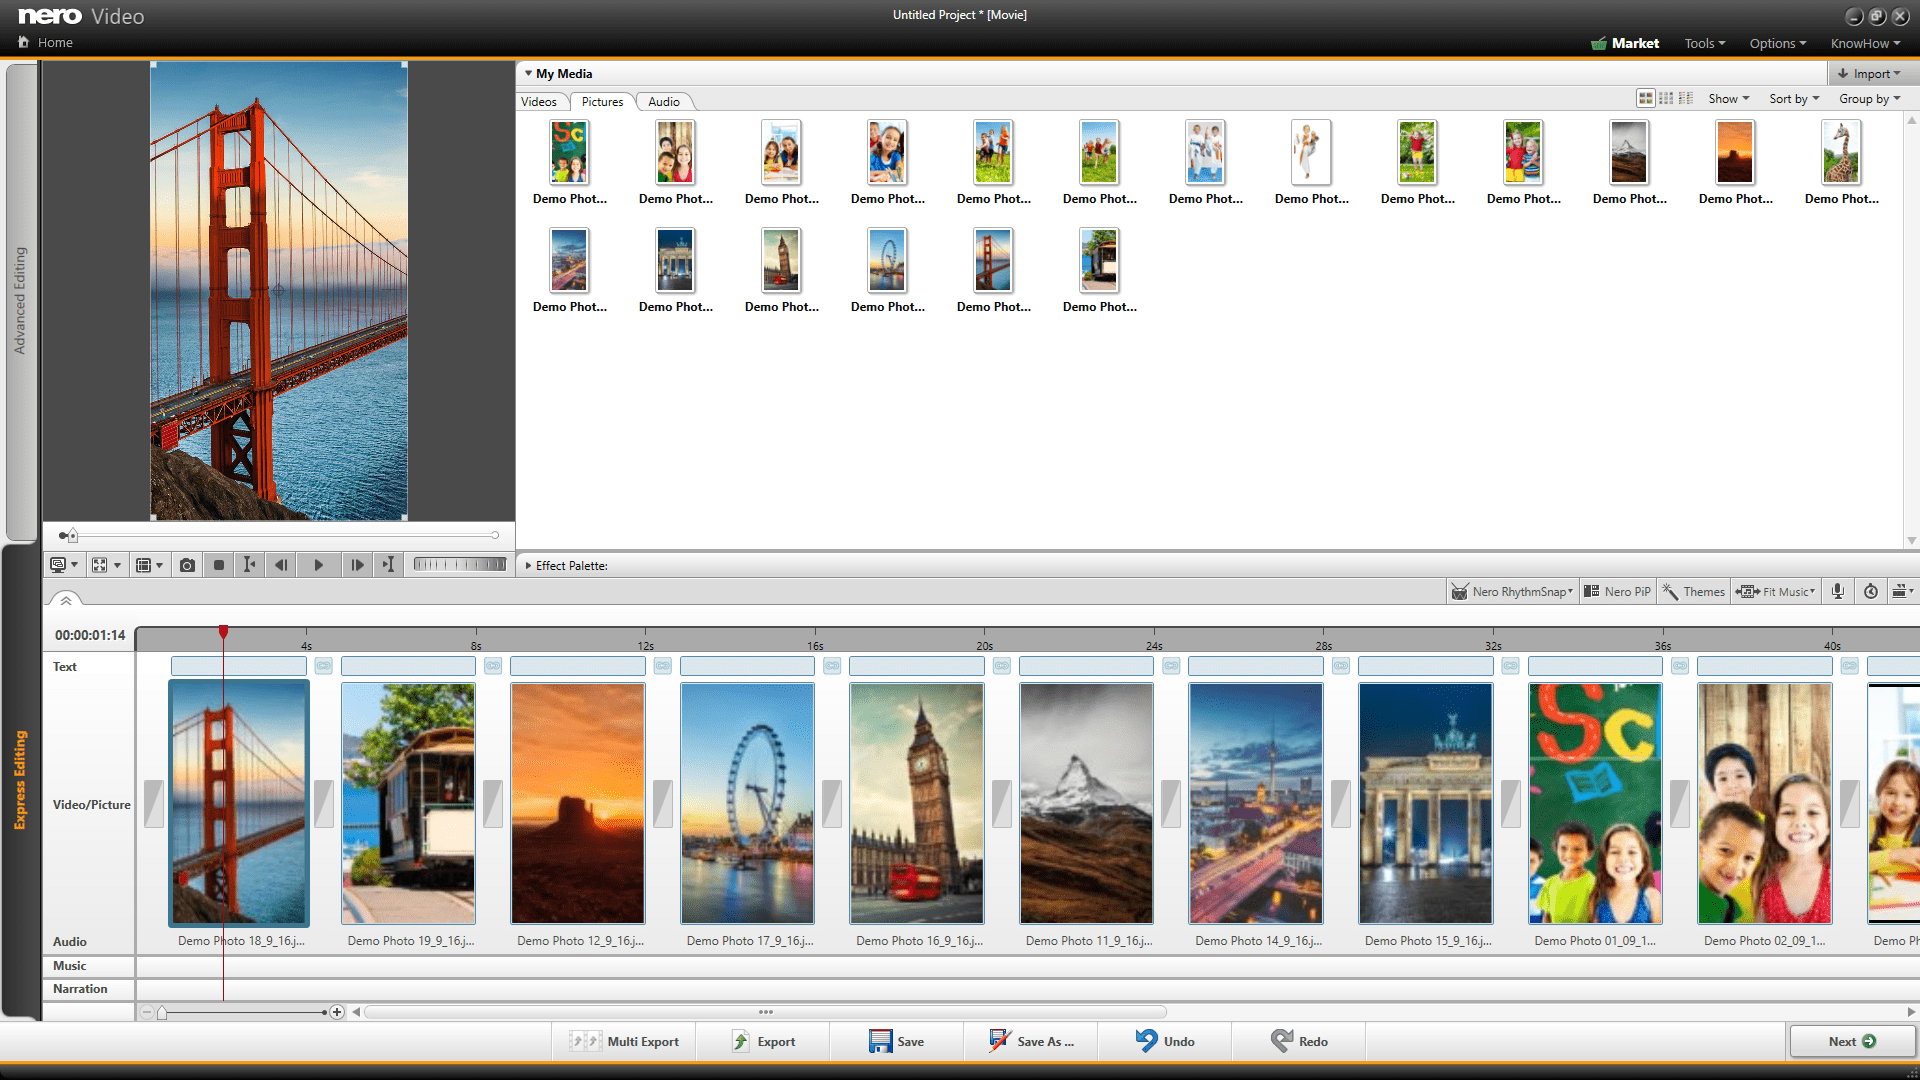
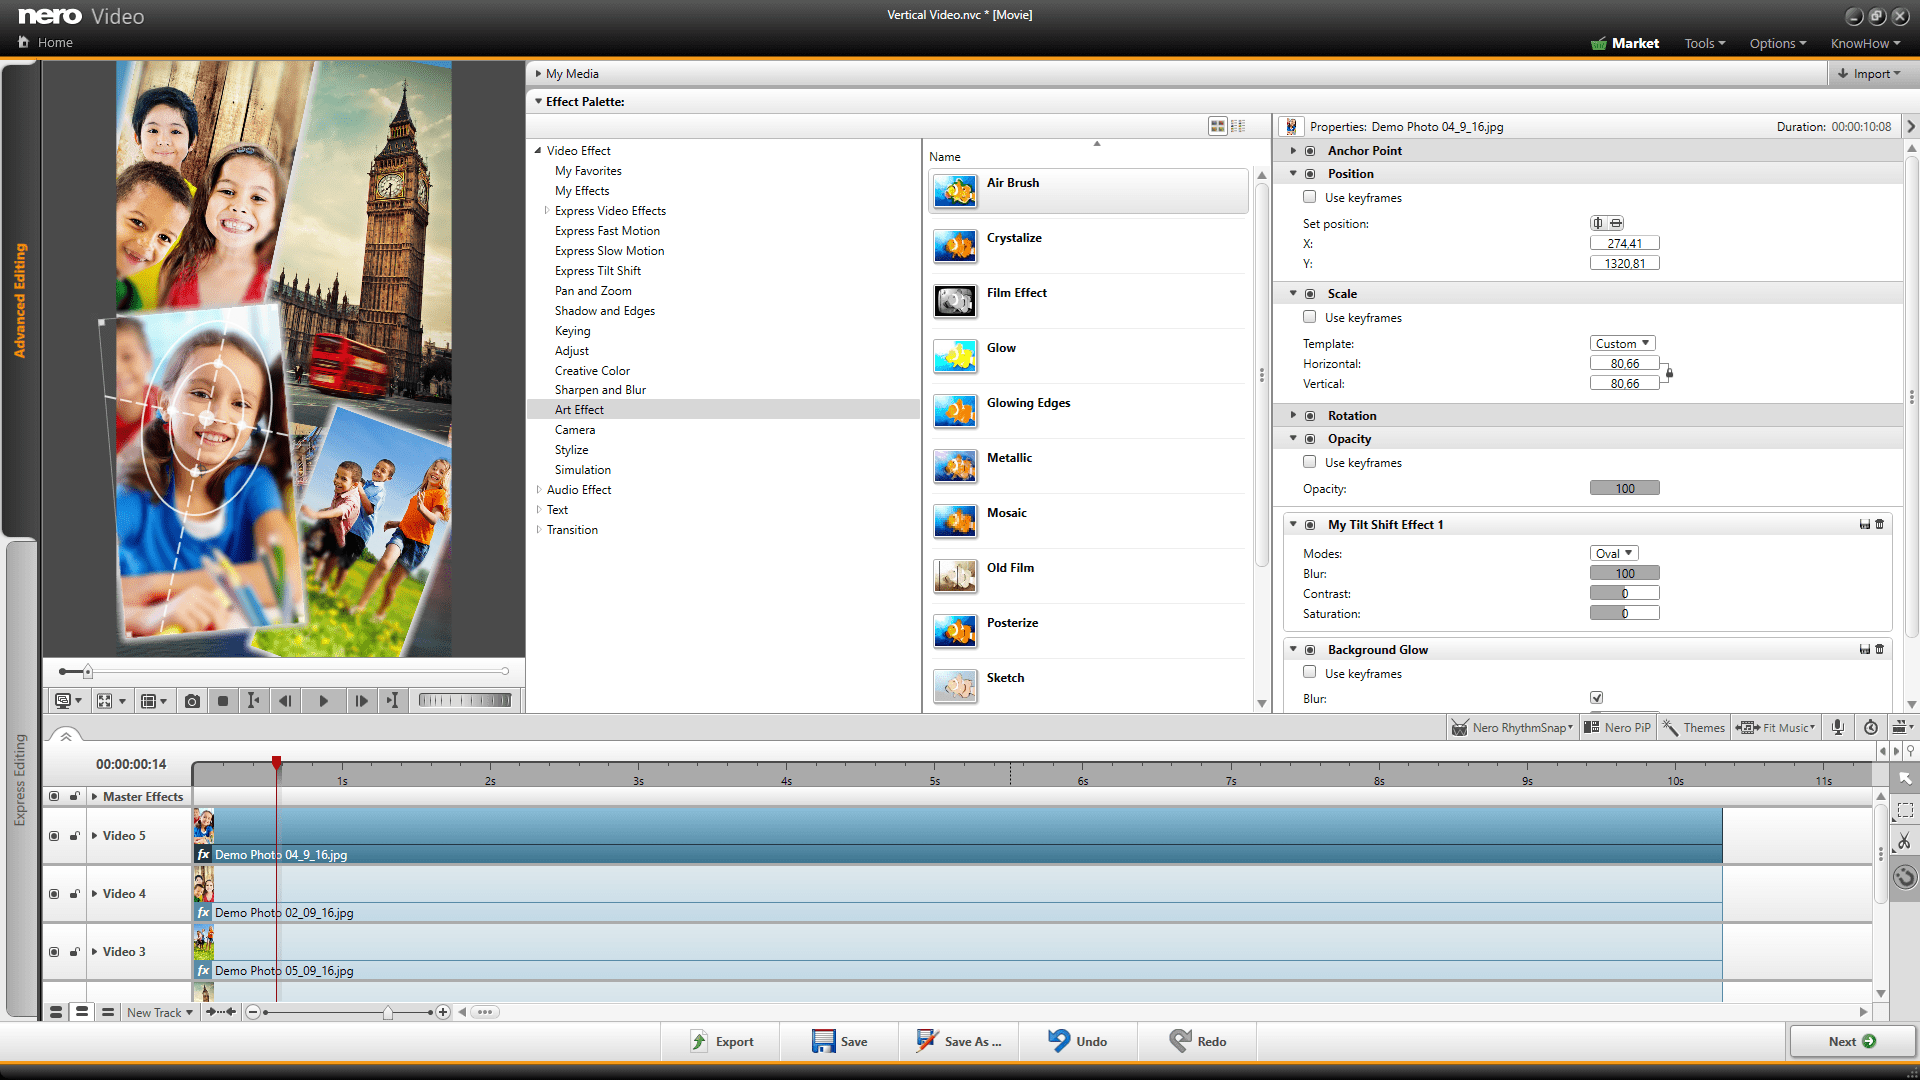
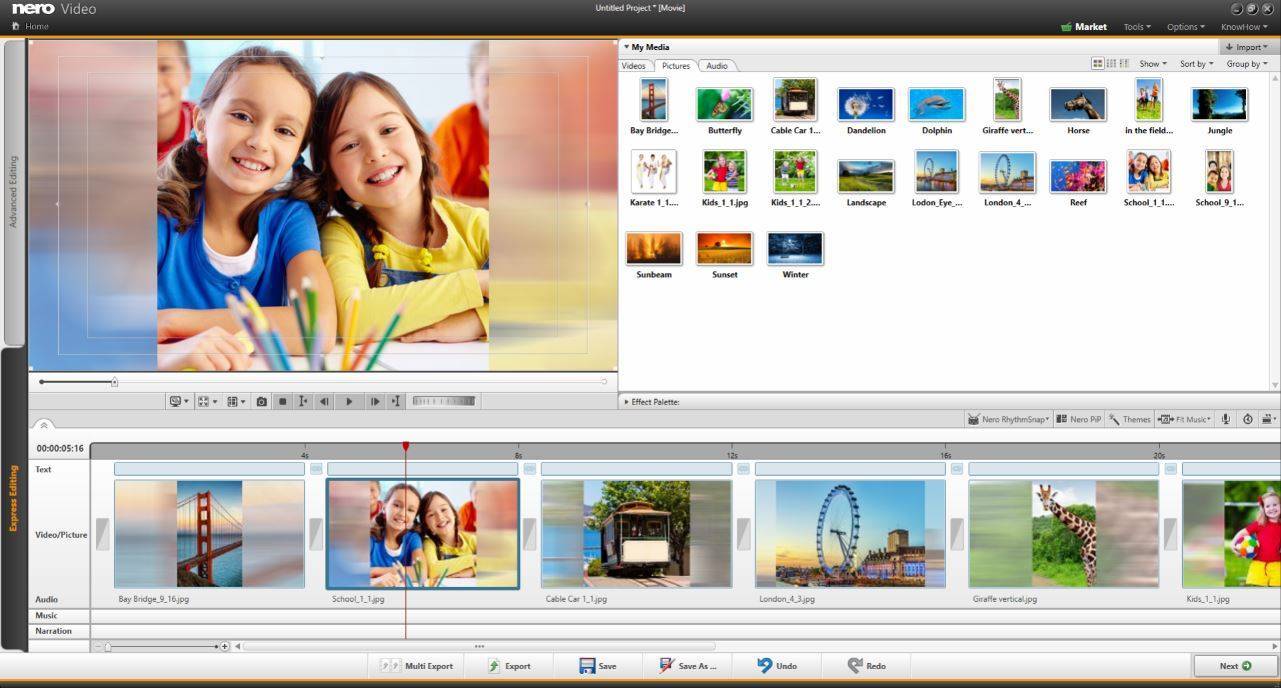
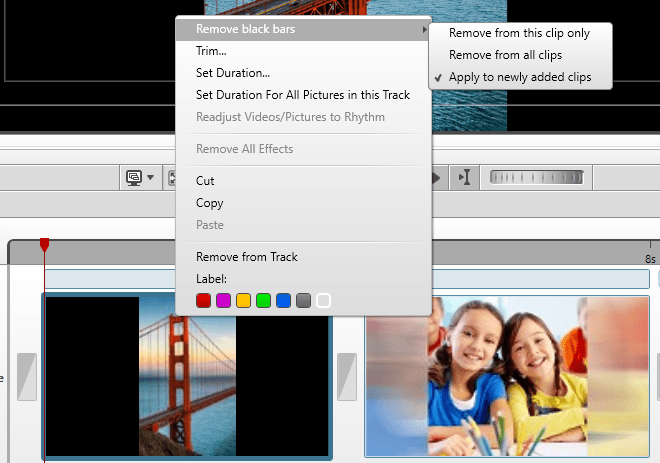
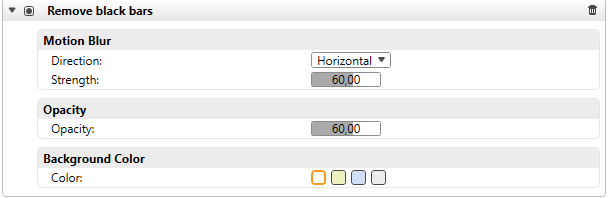
Within your vertical project in Nero Video select the export function. Select the option ‘Add to Nero MediaHome Library’ in the export screen for your vertical video. When the export is finished open Nero MediaHome and you will see your vertical video listed (more on that further down).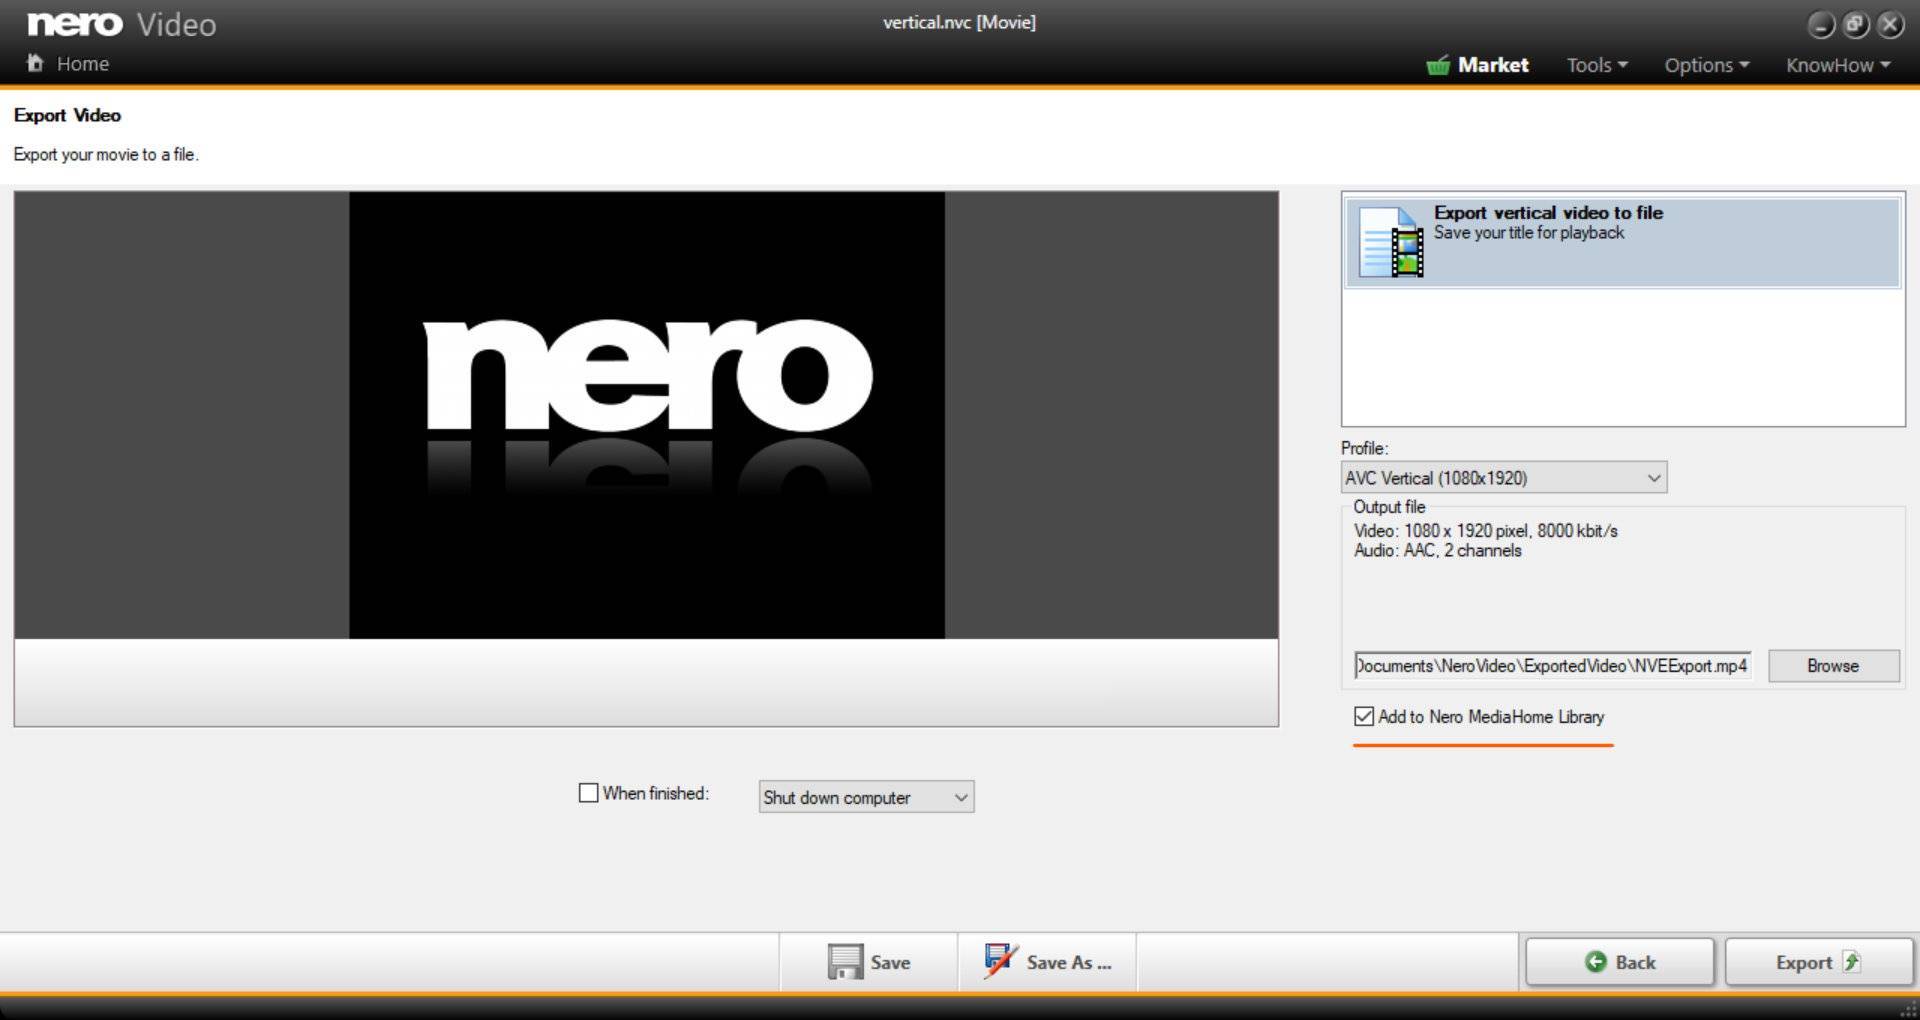
Install the free App ‘Nero MediaHome WiFi Sync’ via Google Play (Android) or App Store (iOS) on your smartphone or tablet.
Make sure Nero MediaHome and Nero MediaHome WiFi Sync are logged in to the same network.
Make suere Nero MediaHome on your PC is running. While connected to the same network open Nero MediaHome WiFi Sync on your mobile device and switch it on. Nero MediaHome WiFi Sync will show your instance of Nero MediaHome. Click on it to activate the connection.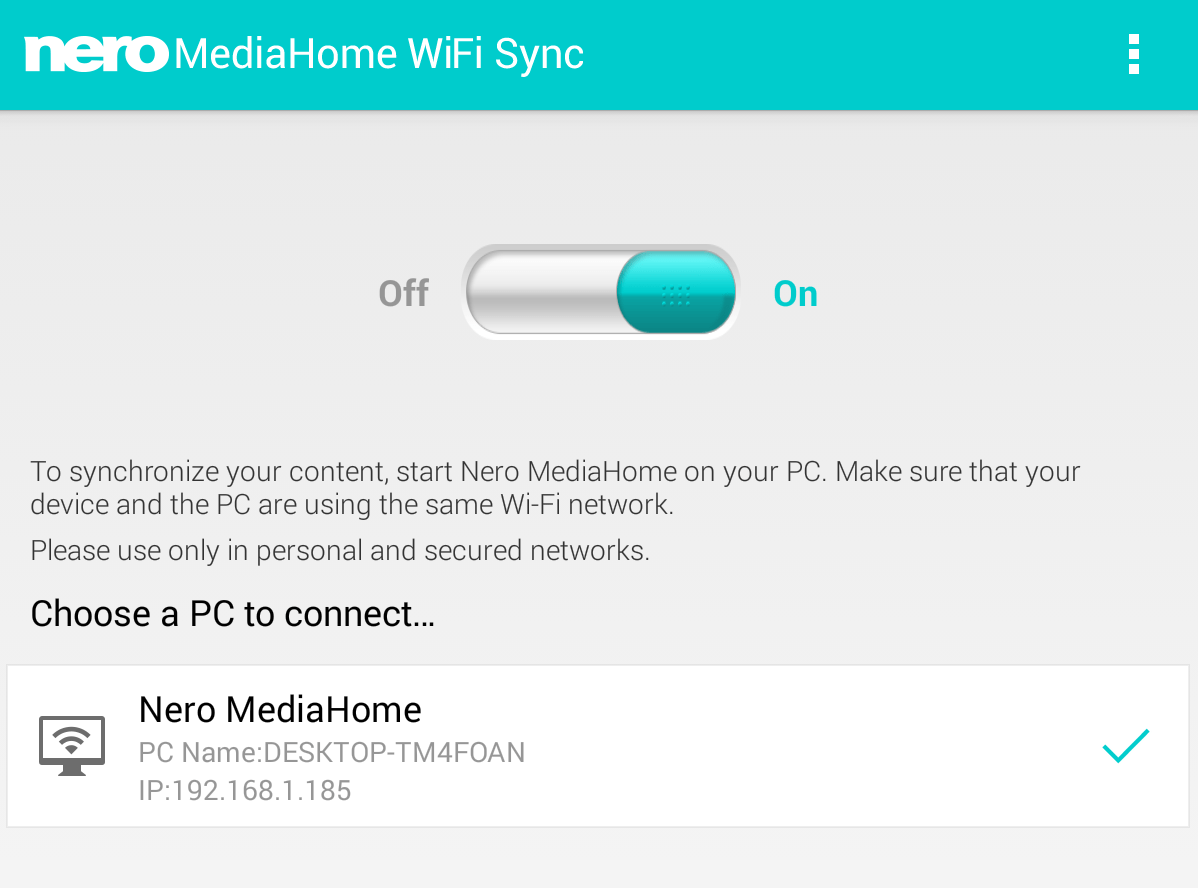
Nero MediaHome on your PC will now show your mobile device in the device view top left.
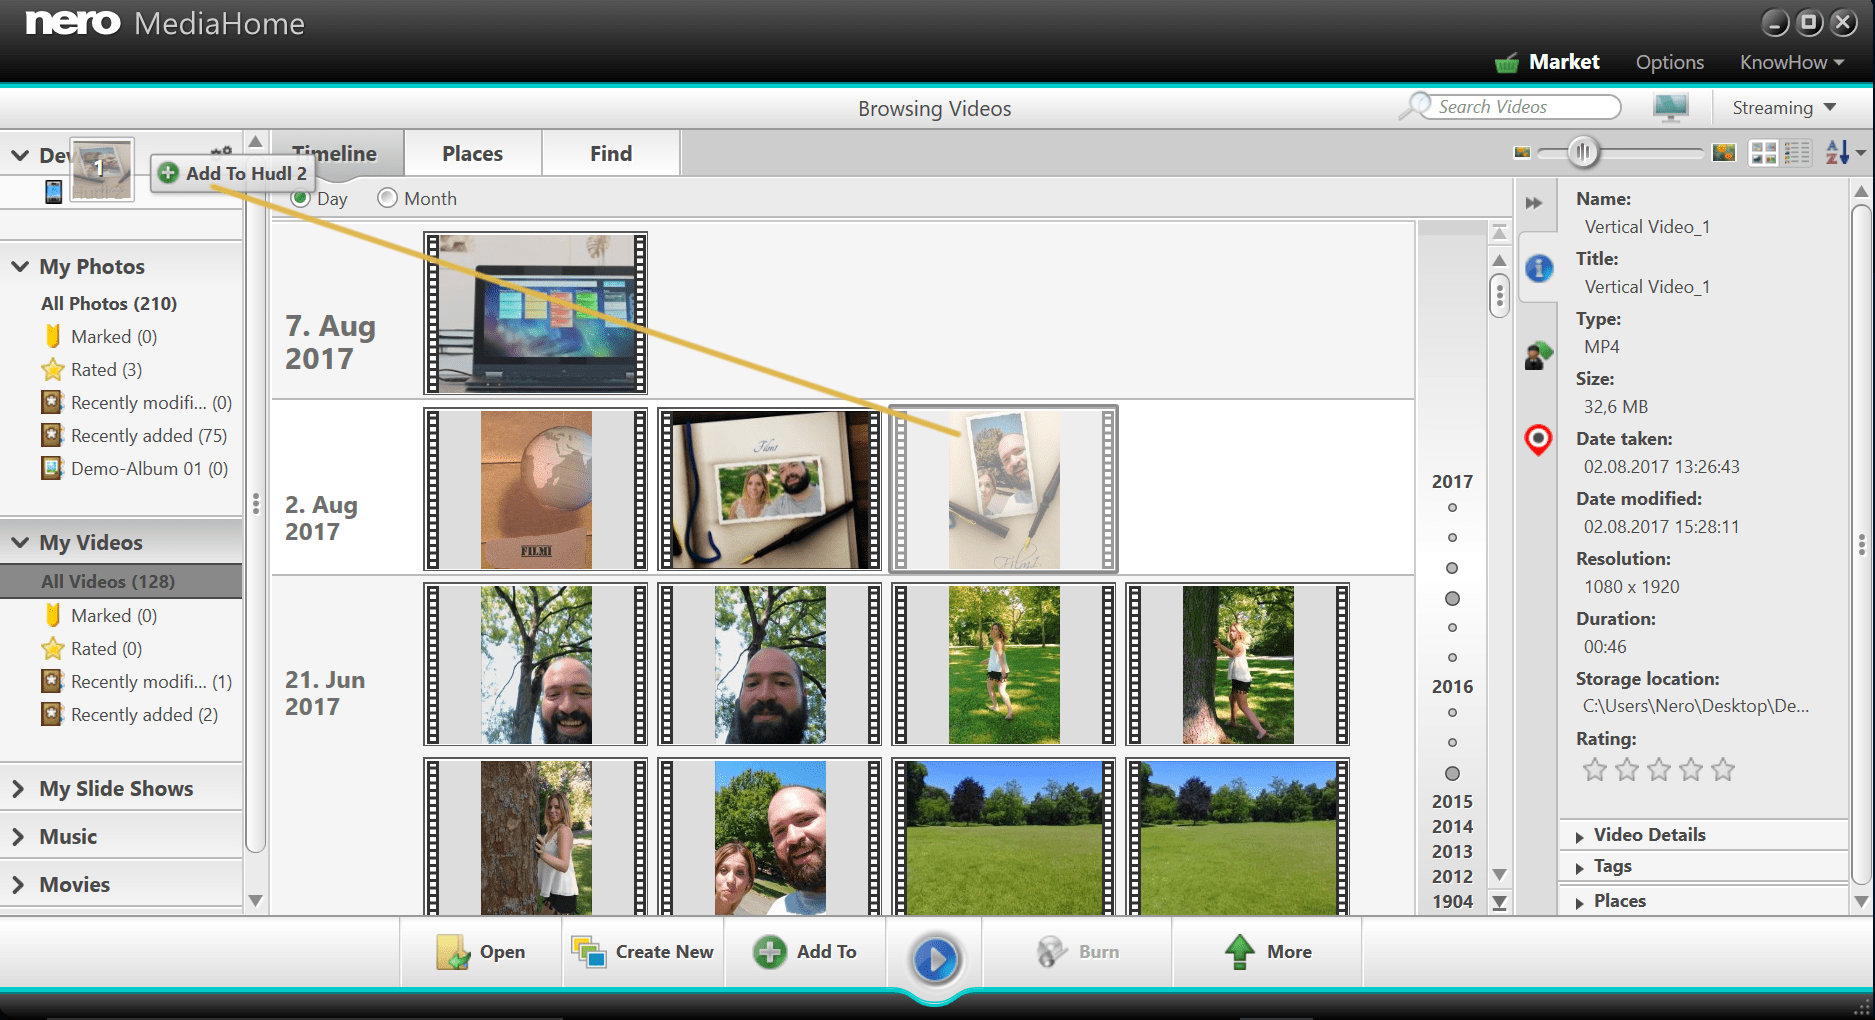
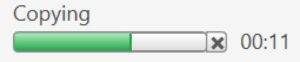
Select your prior exported vertical video in Nero MediaHome and drag it to your mobile device top left, as shown here. The transmission will start right away. The status can be checked bottom left.
Now, on your mobile device open your preferred video player and play your vertical video.
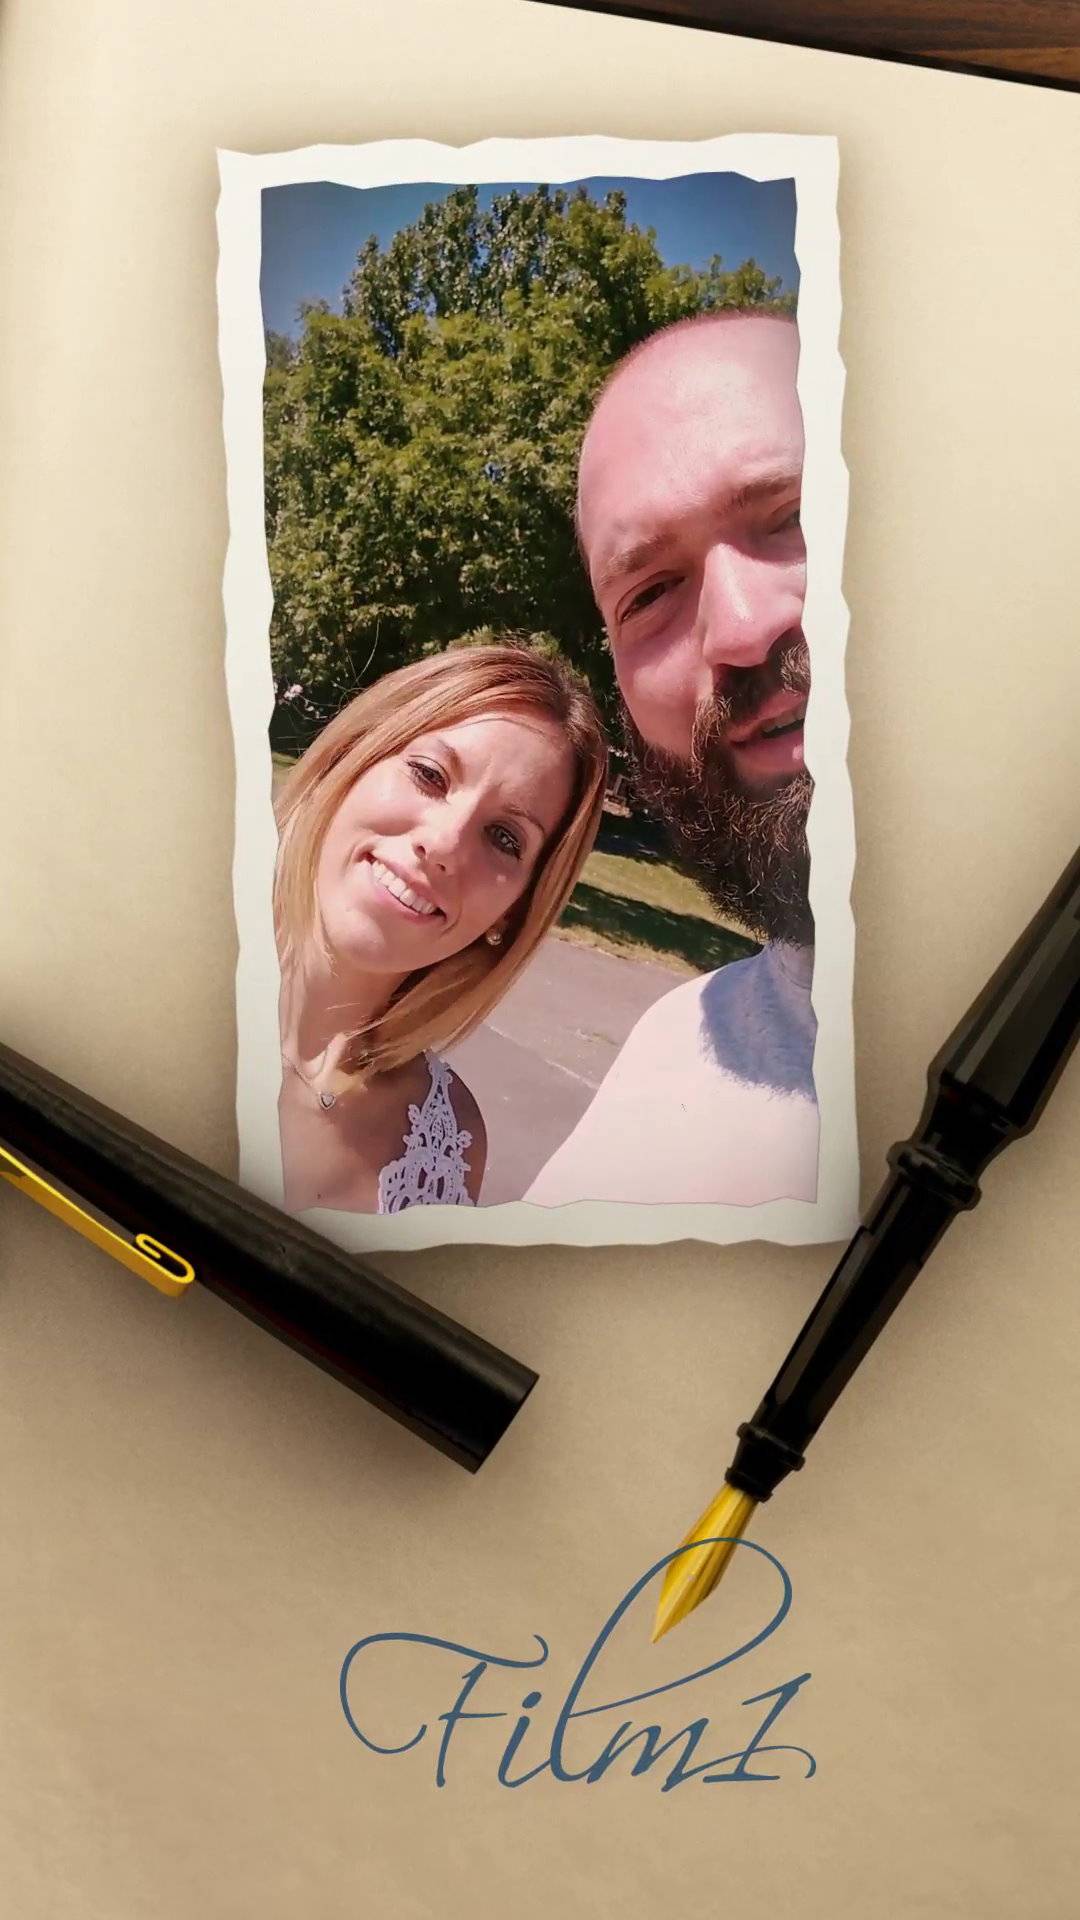
If you are utilizing the free App ‘Nero Streaming Player’ (Android/iOS) you will be able to watch your vertical video on your device or directly play it on Smart TV in the living room.
The description and procedures as laid out here adequately work for sending wide screen video to your smartphone and for streaming it to your TV.
Nero KnowHow 00085