This is the changelog for Image Upscaler Steam.
1.0.13
New features
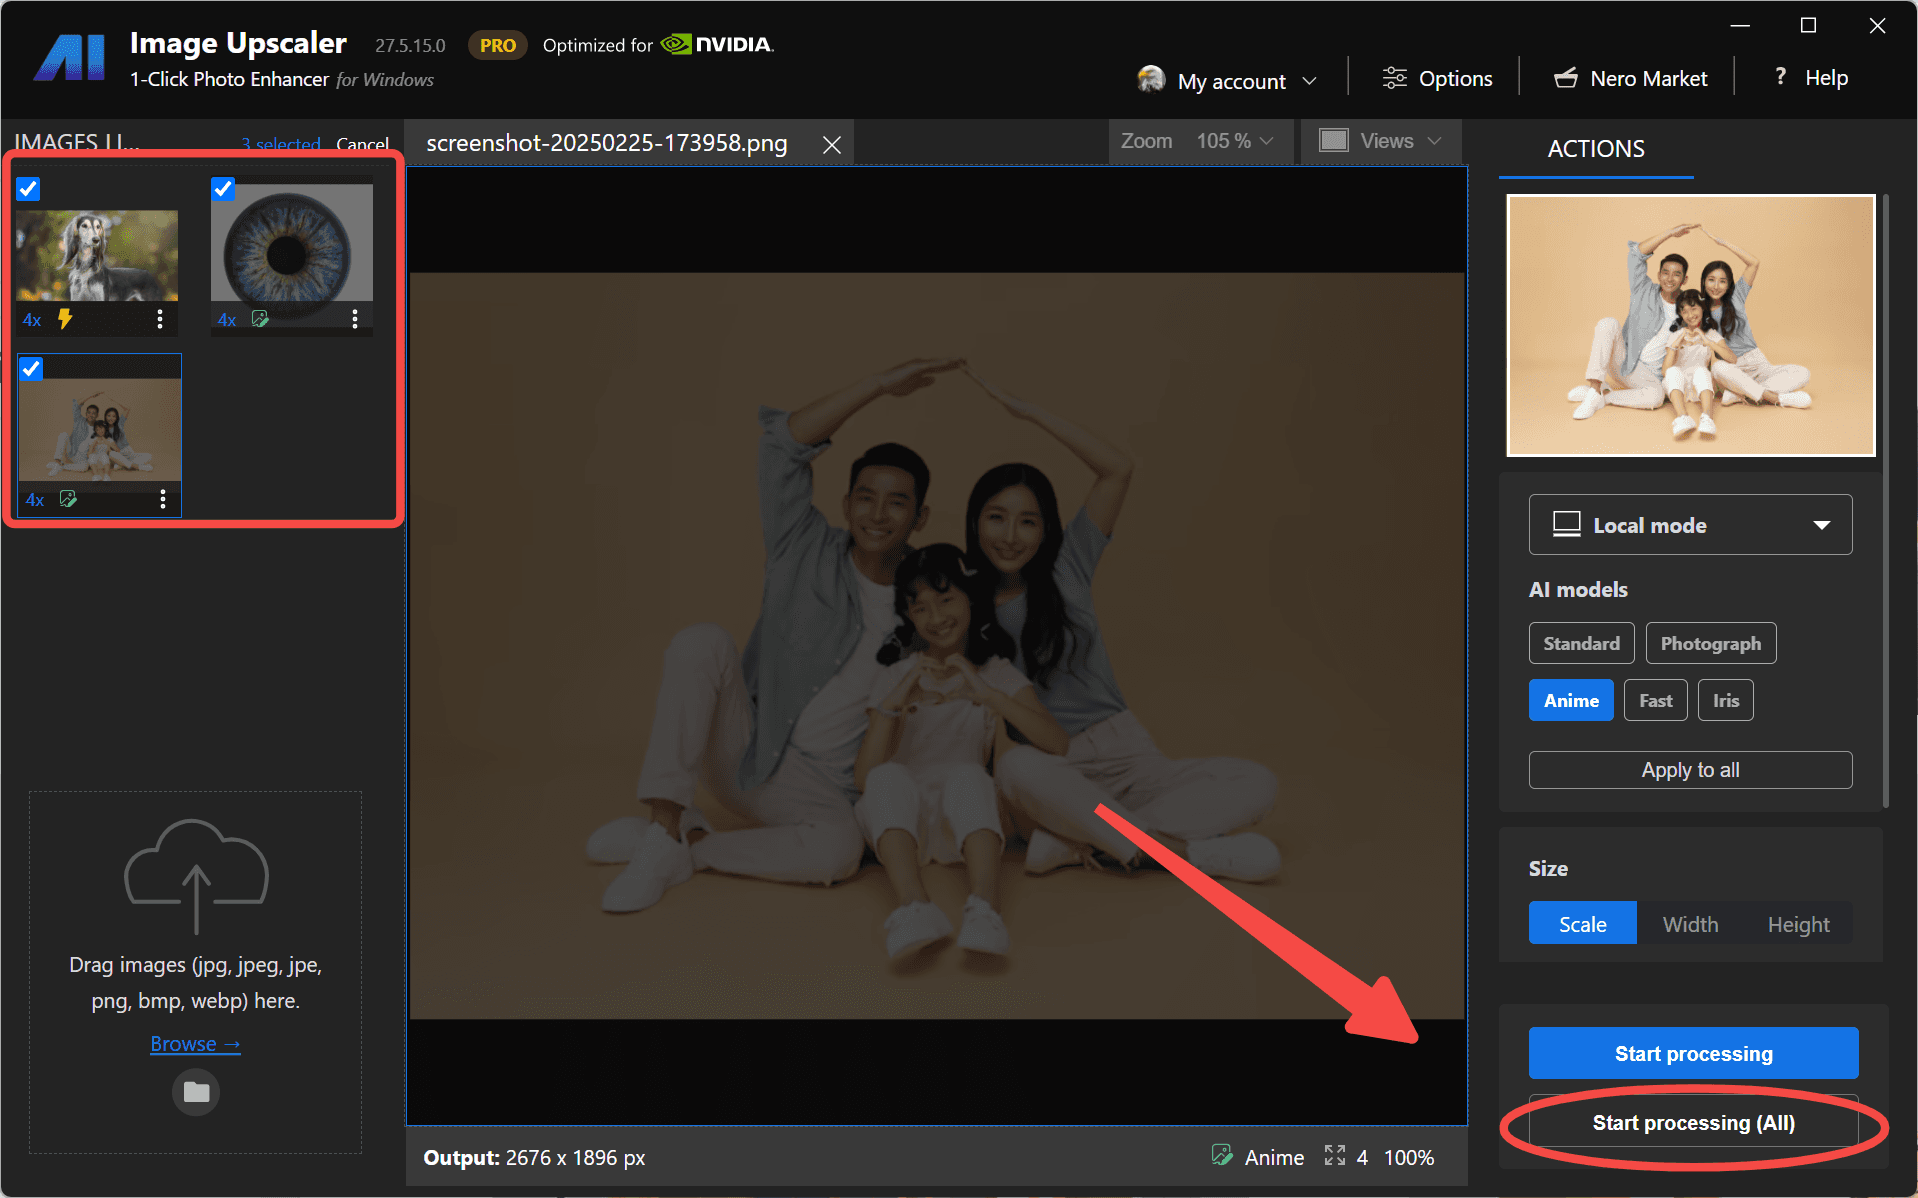
- 1-Click Start/Cancel for Multiple Images
You can now start or cancel upscaling with a single click for all selected images. This streamlined feature saves time and gives you greater control over batch processing.
- New AI Model – Iris
Meet Iris, our latest model designed to enhance fine contrast details like eyes, fur, hair, and feathers. Perfect for portraits and close-ups, Iris brings out the delicate textures in your images.

Improvements
- You can now enable face enhancement with any online upscaling model, thanks to Nero Cloud GPU. Enjoy sharper, more detailed facial features across all your images.

- You can now set a targeted scaling ratio for online upscaling models, giving you more control over the final image size and quality.

Bugfixes
- We’ve fixed an issue where the app failed to load the local upscaling engine on certain devices.
1.0.10
New features
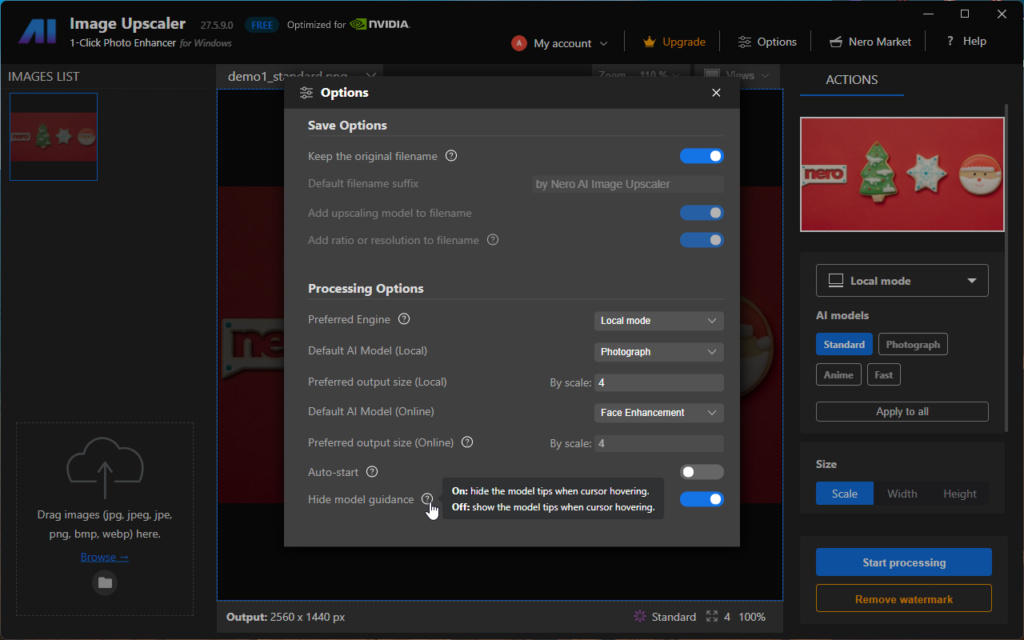
- Model tips can now be shown or hidden based on your preferences

1.0.8
New features
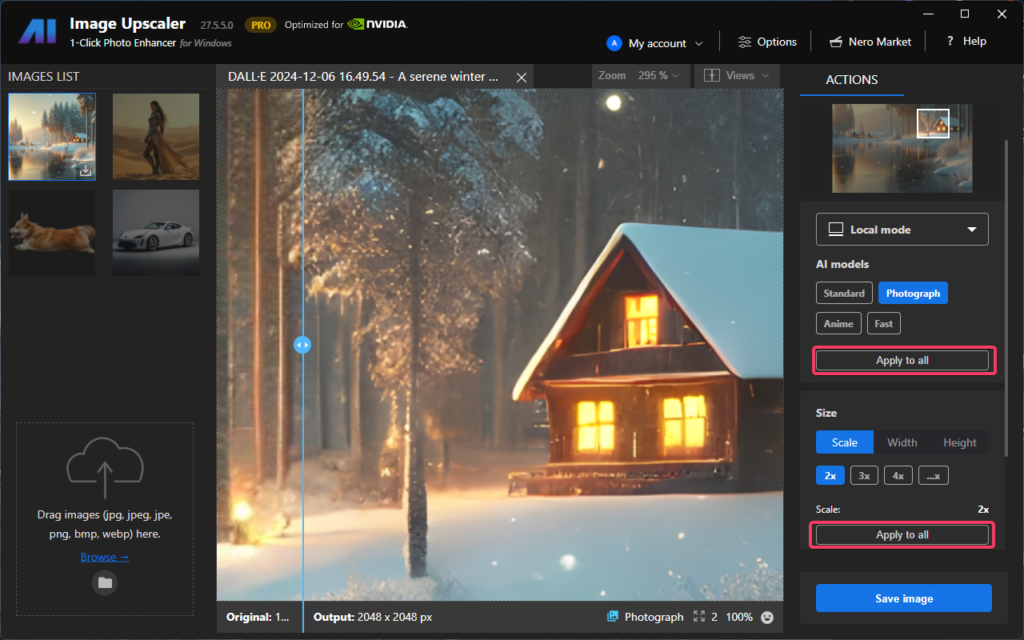
- Now you can set the default upscaling ratio and models for all remaining unprocessed images with just 1-click.
- via Options page:
- via the processing control zone:
- via Options page:
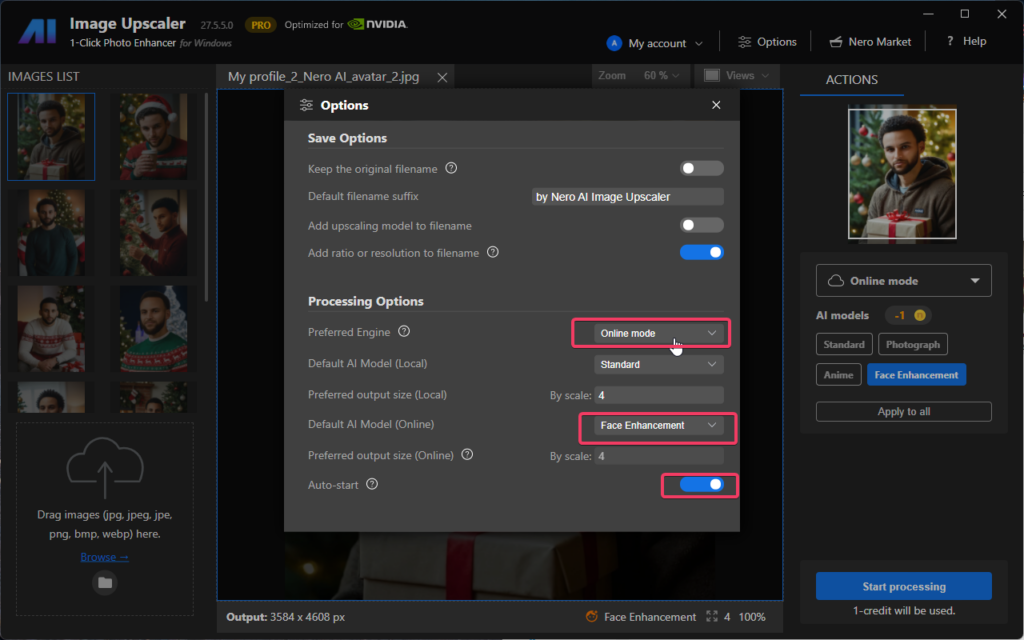
For more infomation, please refer to How to set model and size settings to all unprocessed photos quickly with Image Upscaler
1.0.1
Improvements
Improvement in the speed of login and online processing.
1.0.0
The initial version was released!
Features
Utilize artificial intelligence to increase image resolution with enhanced sharpness and detail.
- Flexible Upscale: up to 4x
- Batch process: upscale multiple images in 1-click.
- Remove noises and jpeg compression artifacts.
- Recover blurred facial details for blurry portraits.
- Use the Nero cloud-based GPU for slow PCs. Read more >
- Support JPEG, PNG, WEBP, BMP, JFIF, and so on.

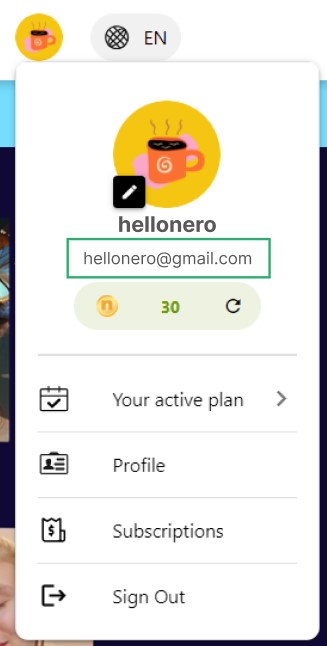
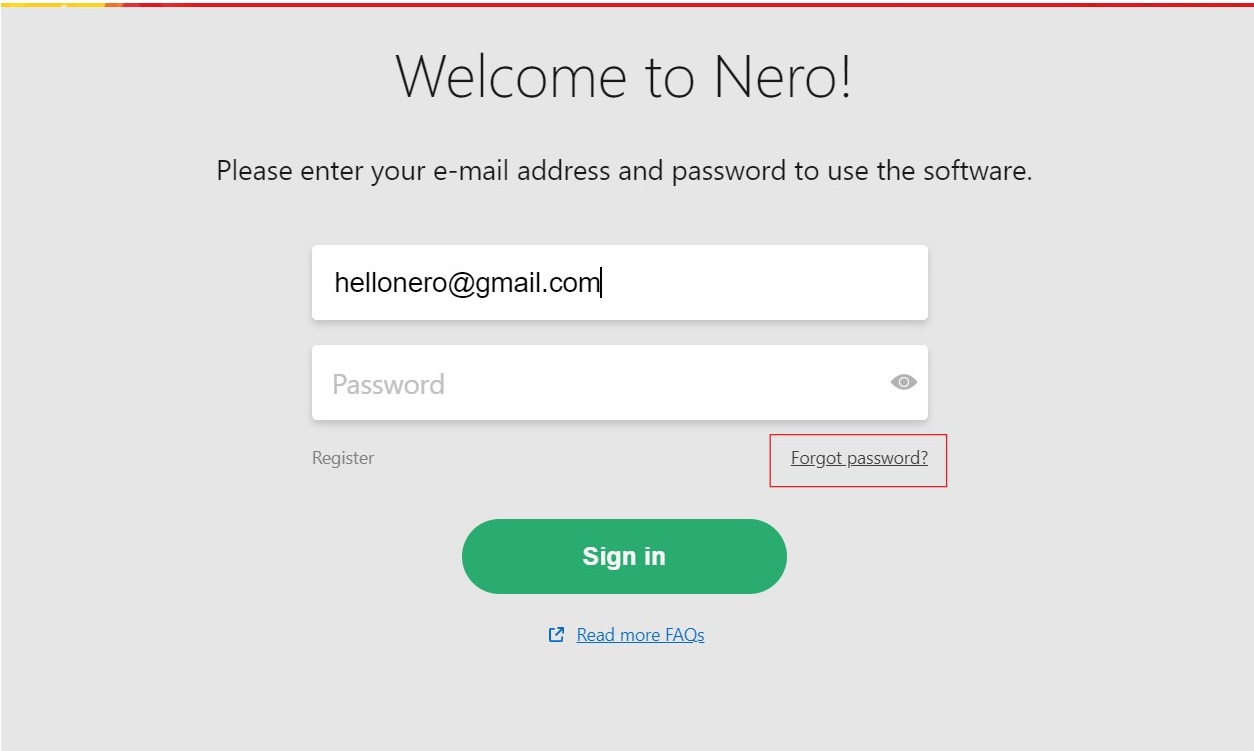
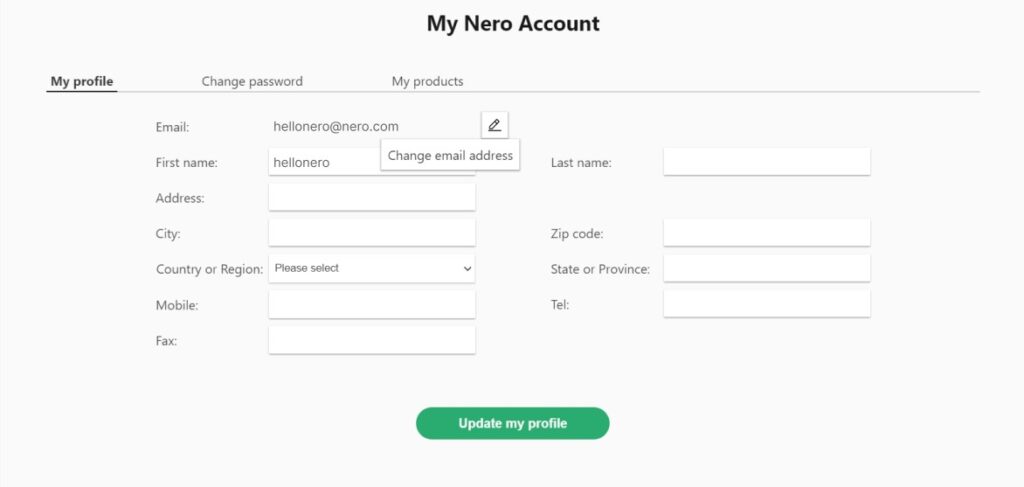
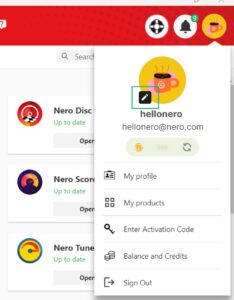
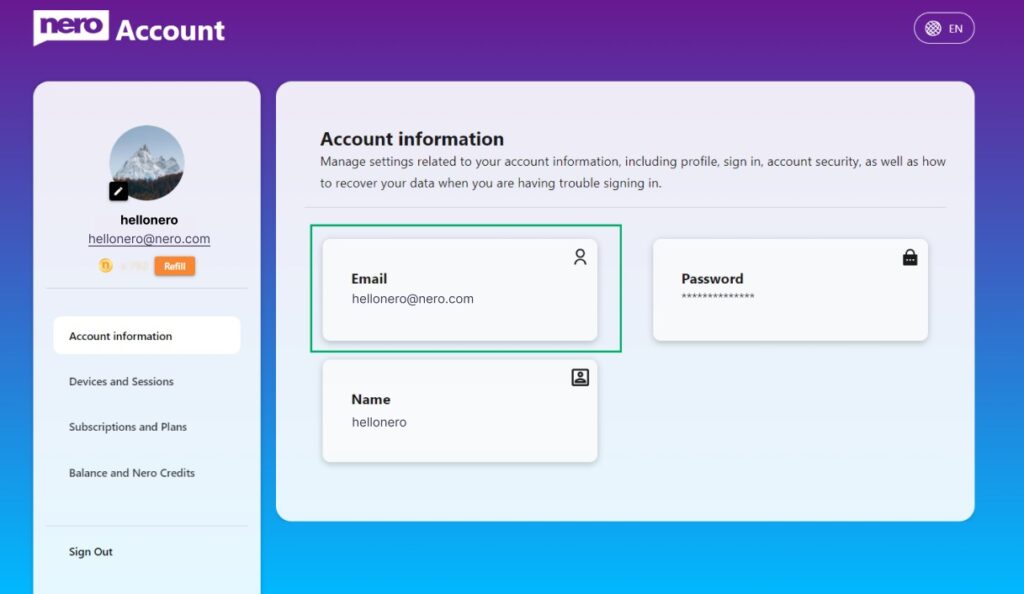
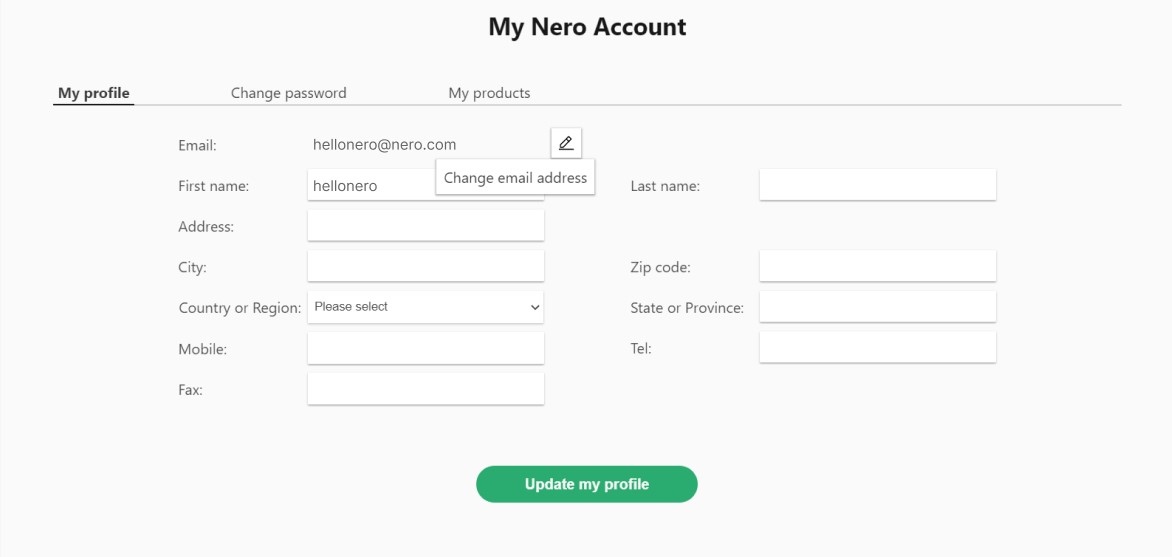 Nero Account online page will be opened. The email change need to be done in the Nero Account online page. Maybe another login will be required if you have never open Nero Account online page before.