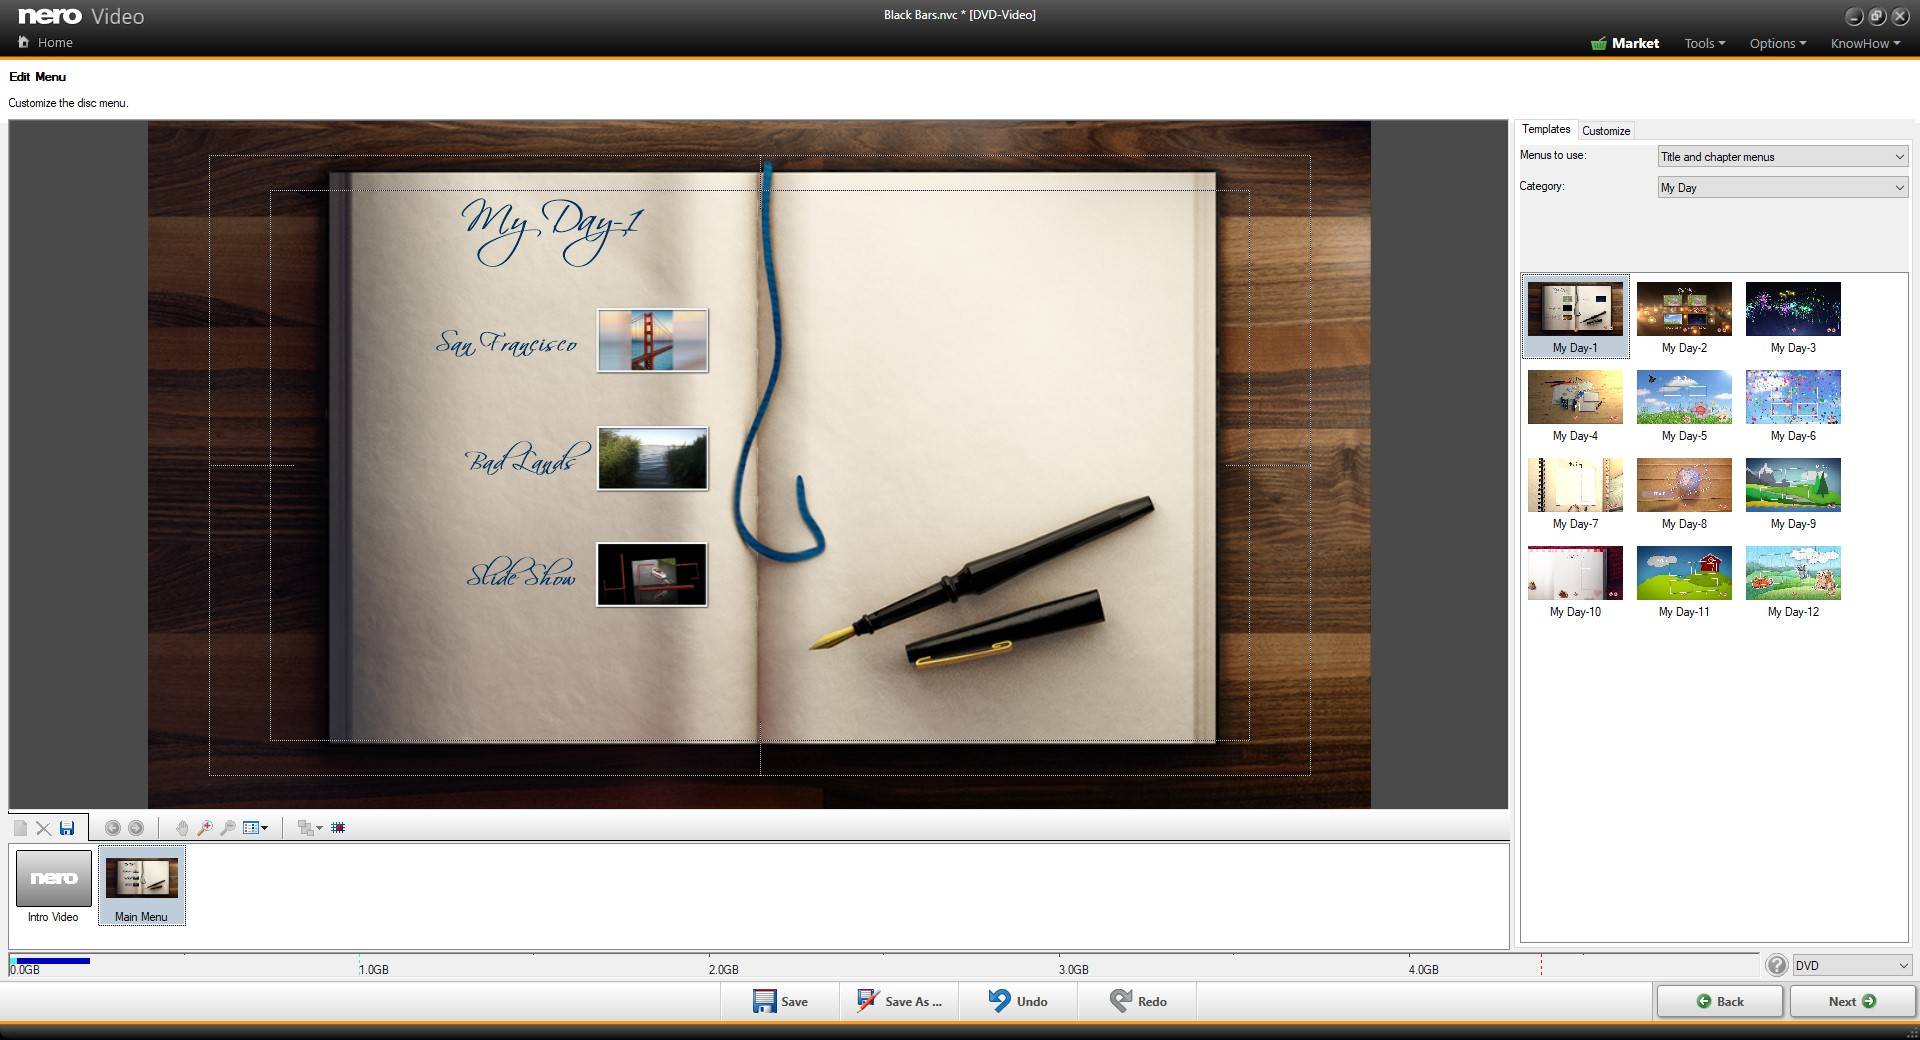
Indeed, with the product versions Nero Platinum 2018 and Nero Video 2018, Nero introduces a new range of video disc menu templates.
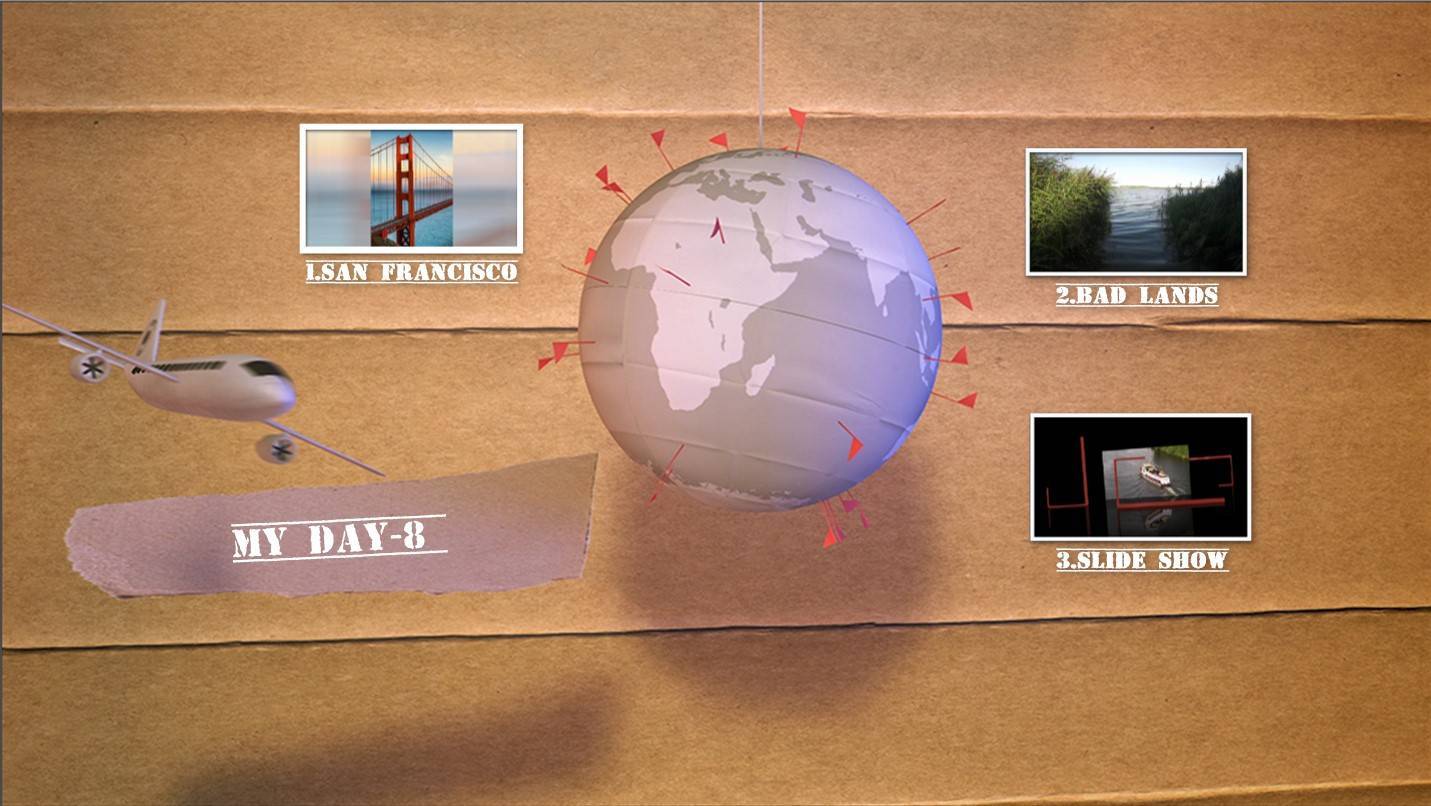
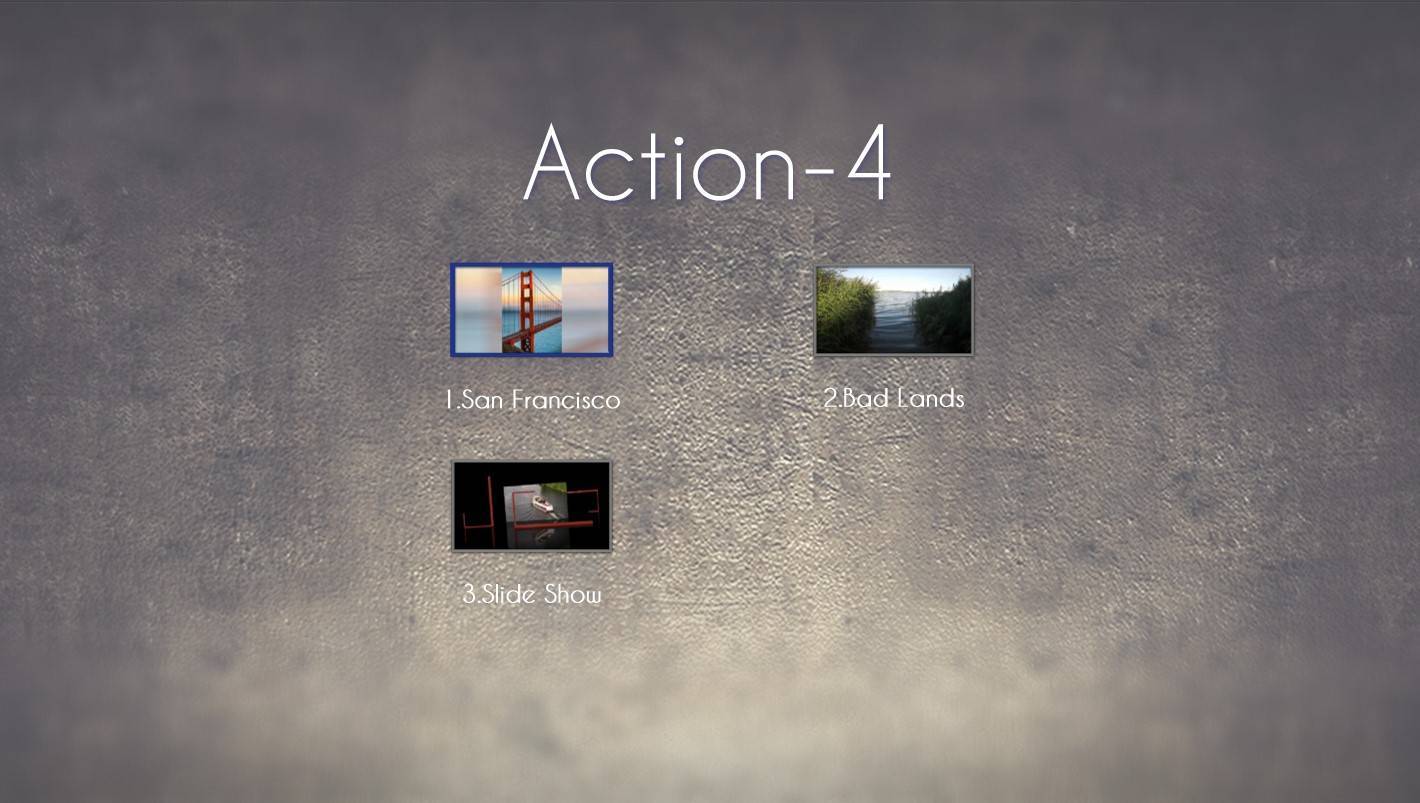
Design wise, the new movie themes templates are close to the also newly introduced MovieTheme templates: The disc menu templates have two categories. ‘My Day‘ disc menus include a variety of templates associated to family, travel, events, and pets. The second category ‘Action’ includes outdoor themes.
You can use these disc menu templates also completely independent of the MovieThemes.
Via disc menu templates, you will create high quality playback menus for your Video-DVDs, AVCHD und Blu-ray Discs™ in a snap. Then just access the playback menu on your video disc via the remote control of your DVD or Blu-ray player.
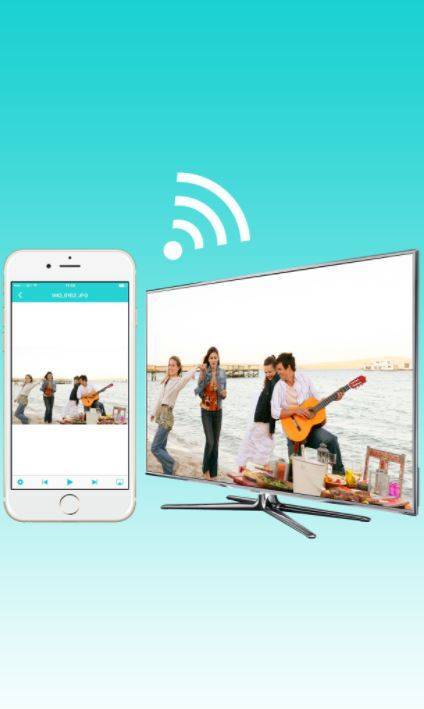
Just came back from your vacation and your Smartphone is packed with all the nice memories captured as images or videos? Now, your family and friends are eager to watch it, but it’s no fun showing it on the small screen of your smartphone.
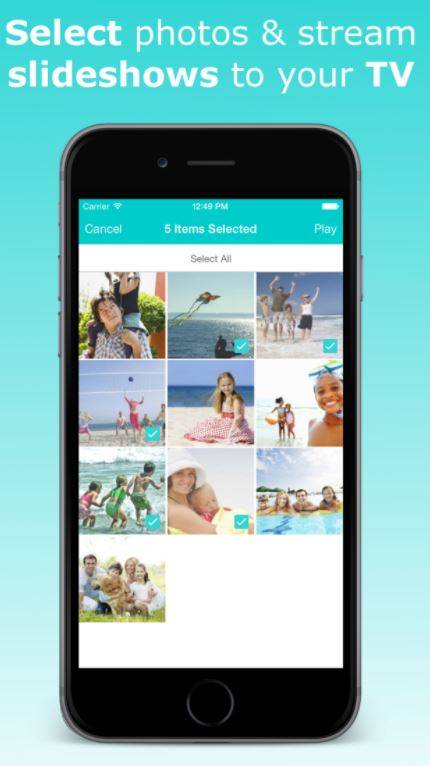
‘Nero Streaming Player App’ is a clever and easy to use solution for playing photos and videos on your smartphone wireless to the big Smart TV screen in the living room.
‘Nero Streaming Player App’ works on your smartphone or tablet, no matter if iOS or Android. Just play files from your mobile device to any UPnP/DLNA enabled Smart TV or other Wi-Fi® media players in your home network – all without the need for cables or plugs.
Nero Streaming Player App also allows you to play media like photos, slide shows, videos, music, movies & TV shows from your PC to your Smart TV. Moreover you can use your smartphone as a remote control for browsing and playing all your media files from the PC. So just lean back and enjoy your slide show or movie with family and friends.
Stream music, photos, and videos from your smartphone directly to your Smart TV
Browse media on your PC (photos, slide shows, videos, music, movies, TV shows) via the App on your mobile device and stream them to your TV
Stream media from your mobile device to another mobile device that runs ‘Nero Receiver App’
Stream media stored on your PC to a mobile device that runs ‘Nero Receiver App’
Play photos located on your PC as slide shows with automatic transitions and music on the big TV screen
Sort and play your music based on artist, album cover, title, or genre, and stream to a DLNA receiver
Make your smartphone become a remote control for volume, stop, pause, next/previous title
Available for Android and iOS devices
For streaming via the PC, Nero MediaHome must run on your PC
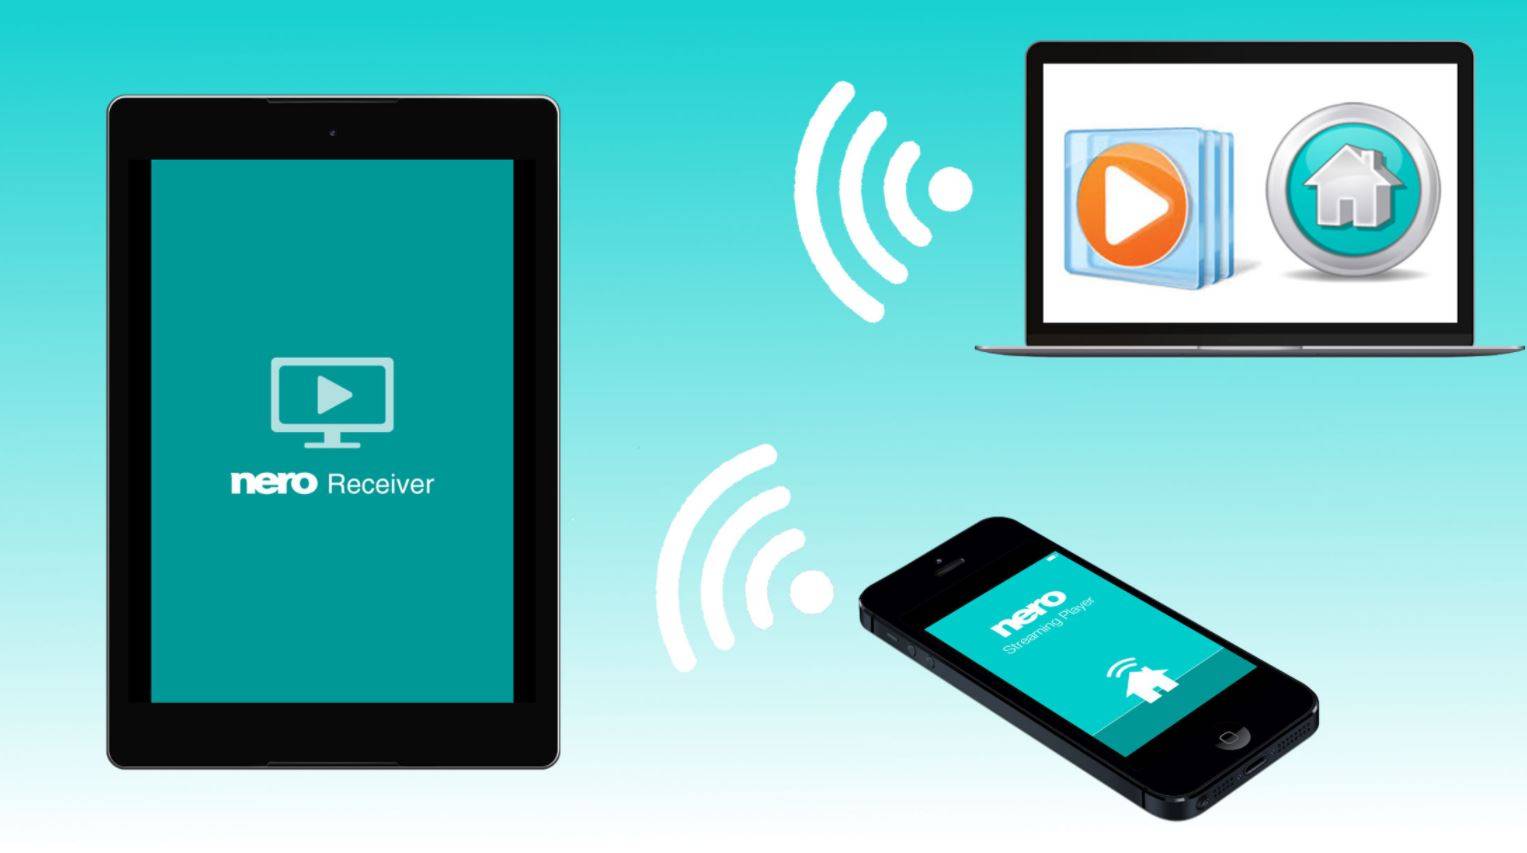
Stream videos, photos & music via your PC in your home network and play your media wirelessly on your mobile device with super easy to use ‘Nero Receiver’ App.
Stream videos, photos & music to your tablet in the garden!
Listen to PC music playlists on your smartphone in the bedroom!
Friends came over? Show some photos & slideshows sitting on the couch!
Also stream media files between different mobile devices within the same WiFi network – even platform independent. E.g. use Nero Streaming Player App on one mobile device as a wireless media server and via Nero Receiver App let your second mobile device become your wireless media player. Nero Receiver App is also compatible with numerous other UPnP / DLNA media servers and media player apps.
Nero Receiver provides you with an easy and high quality solution!
Play photos, videos & music stored on the PC to your mobile device
Stream music and music playlists
Stream photos and slideshows
Cast single videos or several videos in a row
Play any media file from Media Player® to your tablet or mobile
Cast media files using other UPnP / DLNA media servers – also media server apps
Pause or stop media playback and skip titles using your smartphone
Special features in combination with Nero MediaHome
Transcoding: always stream in device-compatible format
Face Recognition: automatic categorization of your photo library
Geo Tagging: sort photos by places you have visited
Themed Slideshows: stream slideshows with automatic intro/outro, transitions & music
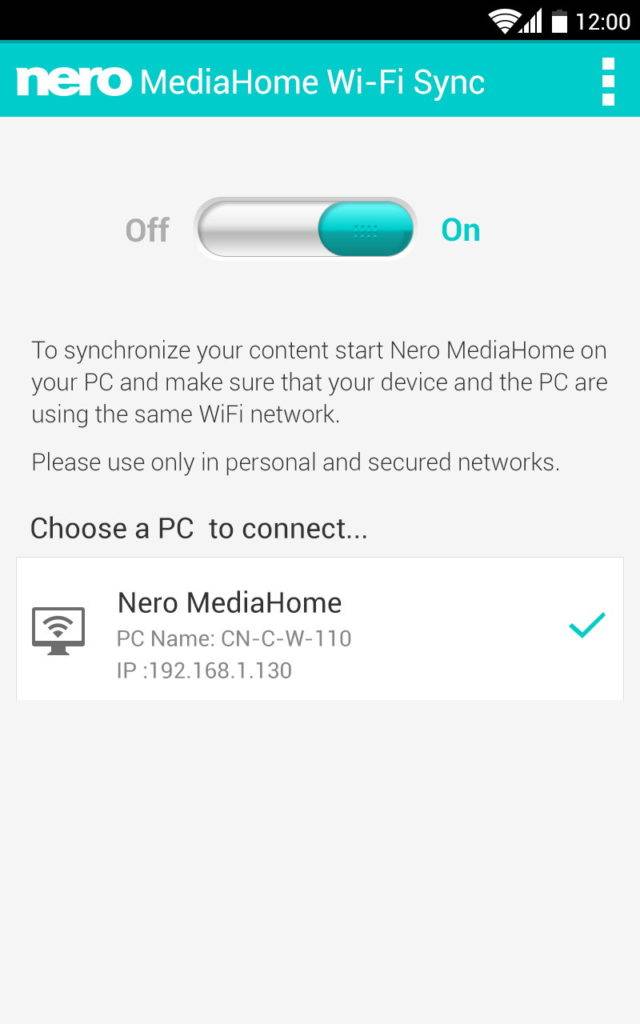
‘Nero MediaHome WiFi Sync’ App is the super easy to use wireless solution for transferring your image, video, and music files from your mobile device to your PC and vice versa.
‘Nero MediaHome WiFi Sync’ helps you to sync all your media in just a few simple steps between your PC and your iOS or Android device.
Pre-condition: Install and run the universal media center ‘Nero MediaHome’ on your PC, and have your PC and your mobile device logged in to the same network.
Unlimited data transfer
Synchronization of music, photos, and video
In case of file incompatibility auto-transcoding to best matching format
Want to archive the full set of photos and videos that you shot with your smartphone during your vacation on optical disc. Want to burn all your text and pdf documents on your tablet to disc? Need the songs of the music library from your tablet on CD to play in your car stereo?
With ‘Nero AirBurn App’ burning files from your smartphone or tablet to disc has never been easier. Just use Nero AirBurn on your mobile device, your WiFi network, and powerful Nero Burning ROM on your PC.
Nero AirBurn lets you simply compile media and data files on your Smartphone and Tablet and wirelessly send these to your PC for burning. The free App is available for iOS and Android.
Avaialble for iOS and Android mobile devices
Burning ‘over the air’
Collect files from your favorite app in a Nero AirBurn compilation
Needs Nero Burning ROM running on your PC
Supports compilation formats and disc formats of Nero Burning ROM (CD, DVD, Blu-ray-Disc™, etc.)
Auto notification on your device when burning is completed