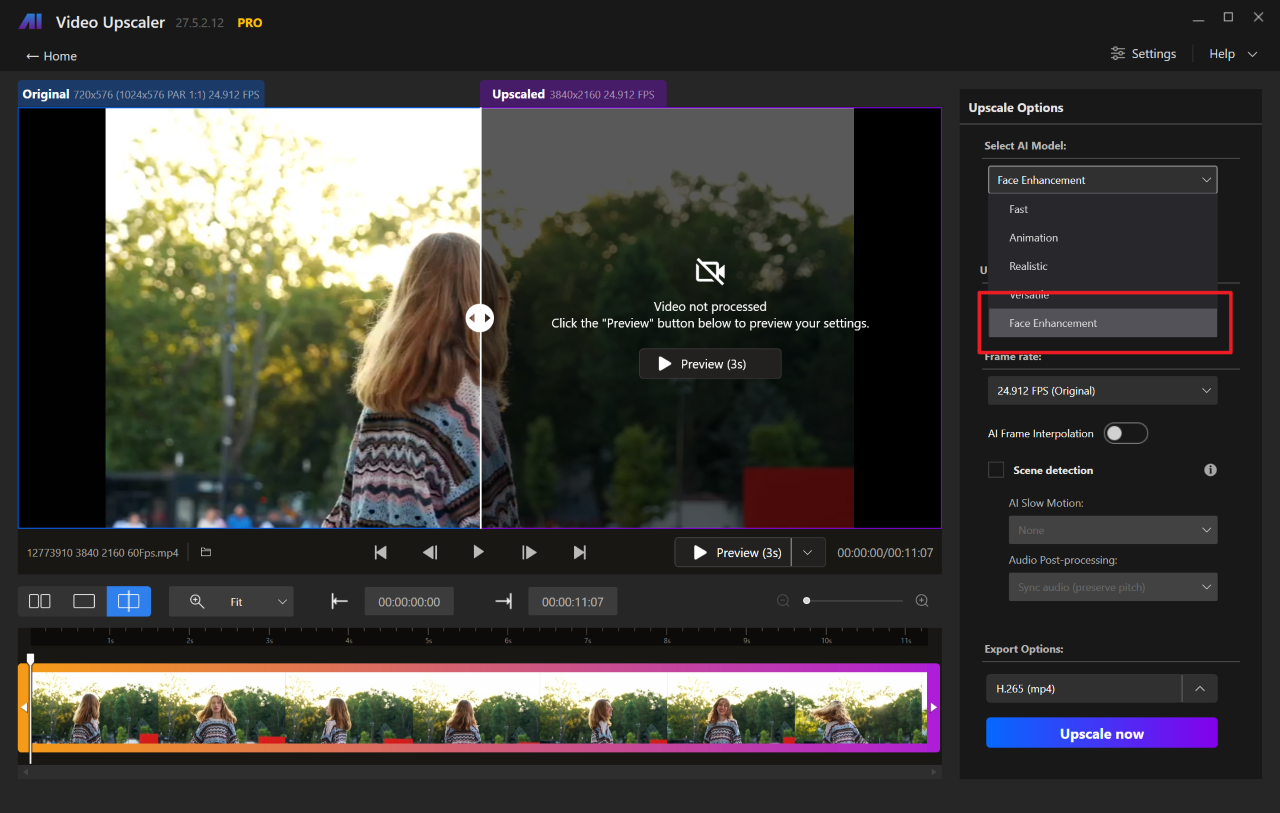
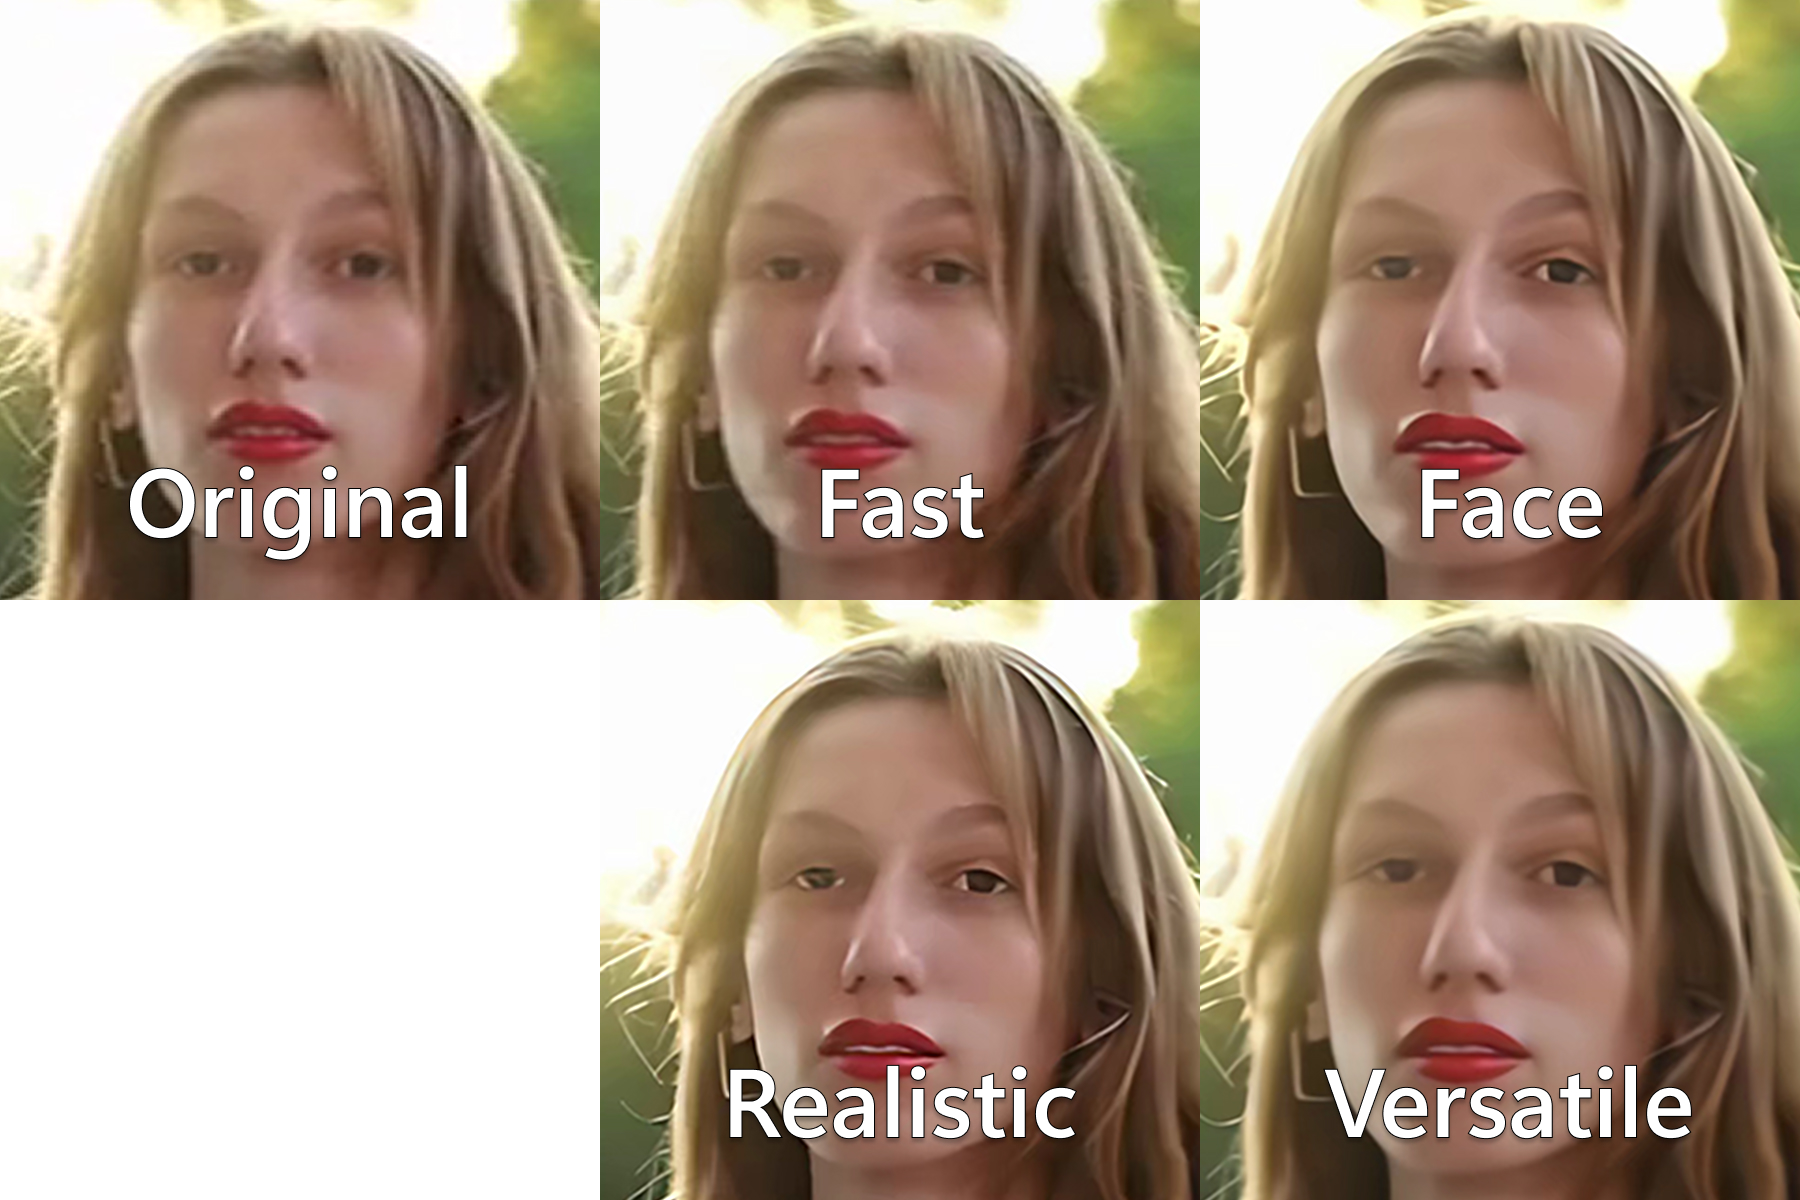
The new “Face enhancement” model has been added to Nero AI Video Upscaler since version 27.0.1.7 & 27.5.2.12
The “Face Enhancement” model is suitable for improving the details of a person’s facial contours. This model is suitable for real video footage and is not suitable for faces in CG or animation.
See detailed comparison with other models. Compared to the Realistic and Versatile models, the Face Enhancement model balances facial clarity and smoothness.
Note: the “Versatile” model only available for the Nero AI Video Upscaler subscription version. Windows Store Pro version will get the model updates later.
Please check the following preview screenshots and recommendations are on the below.
All the original videos resolution are 1280×720. Upscale to 3840×2160 (4K) and zoom to 200% to preview.
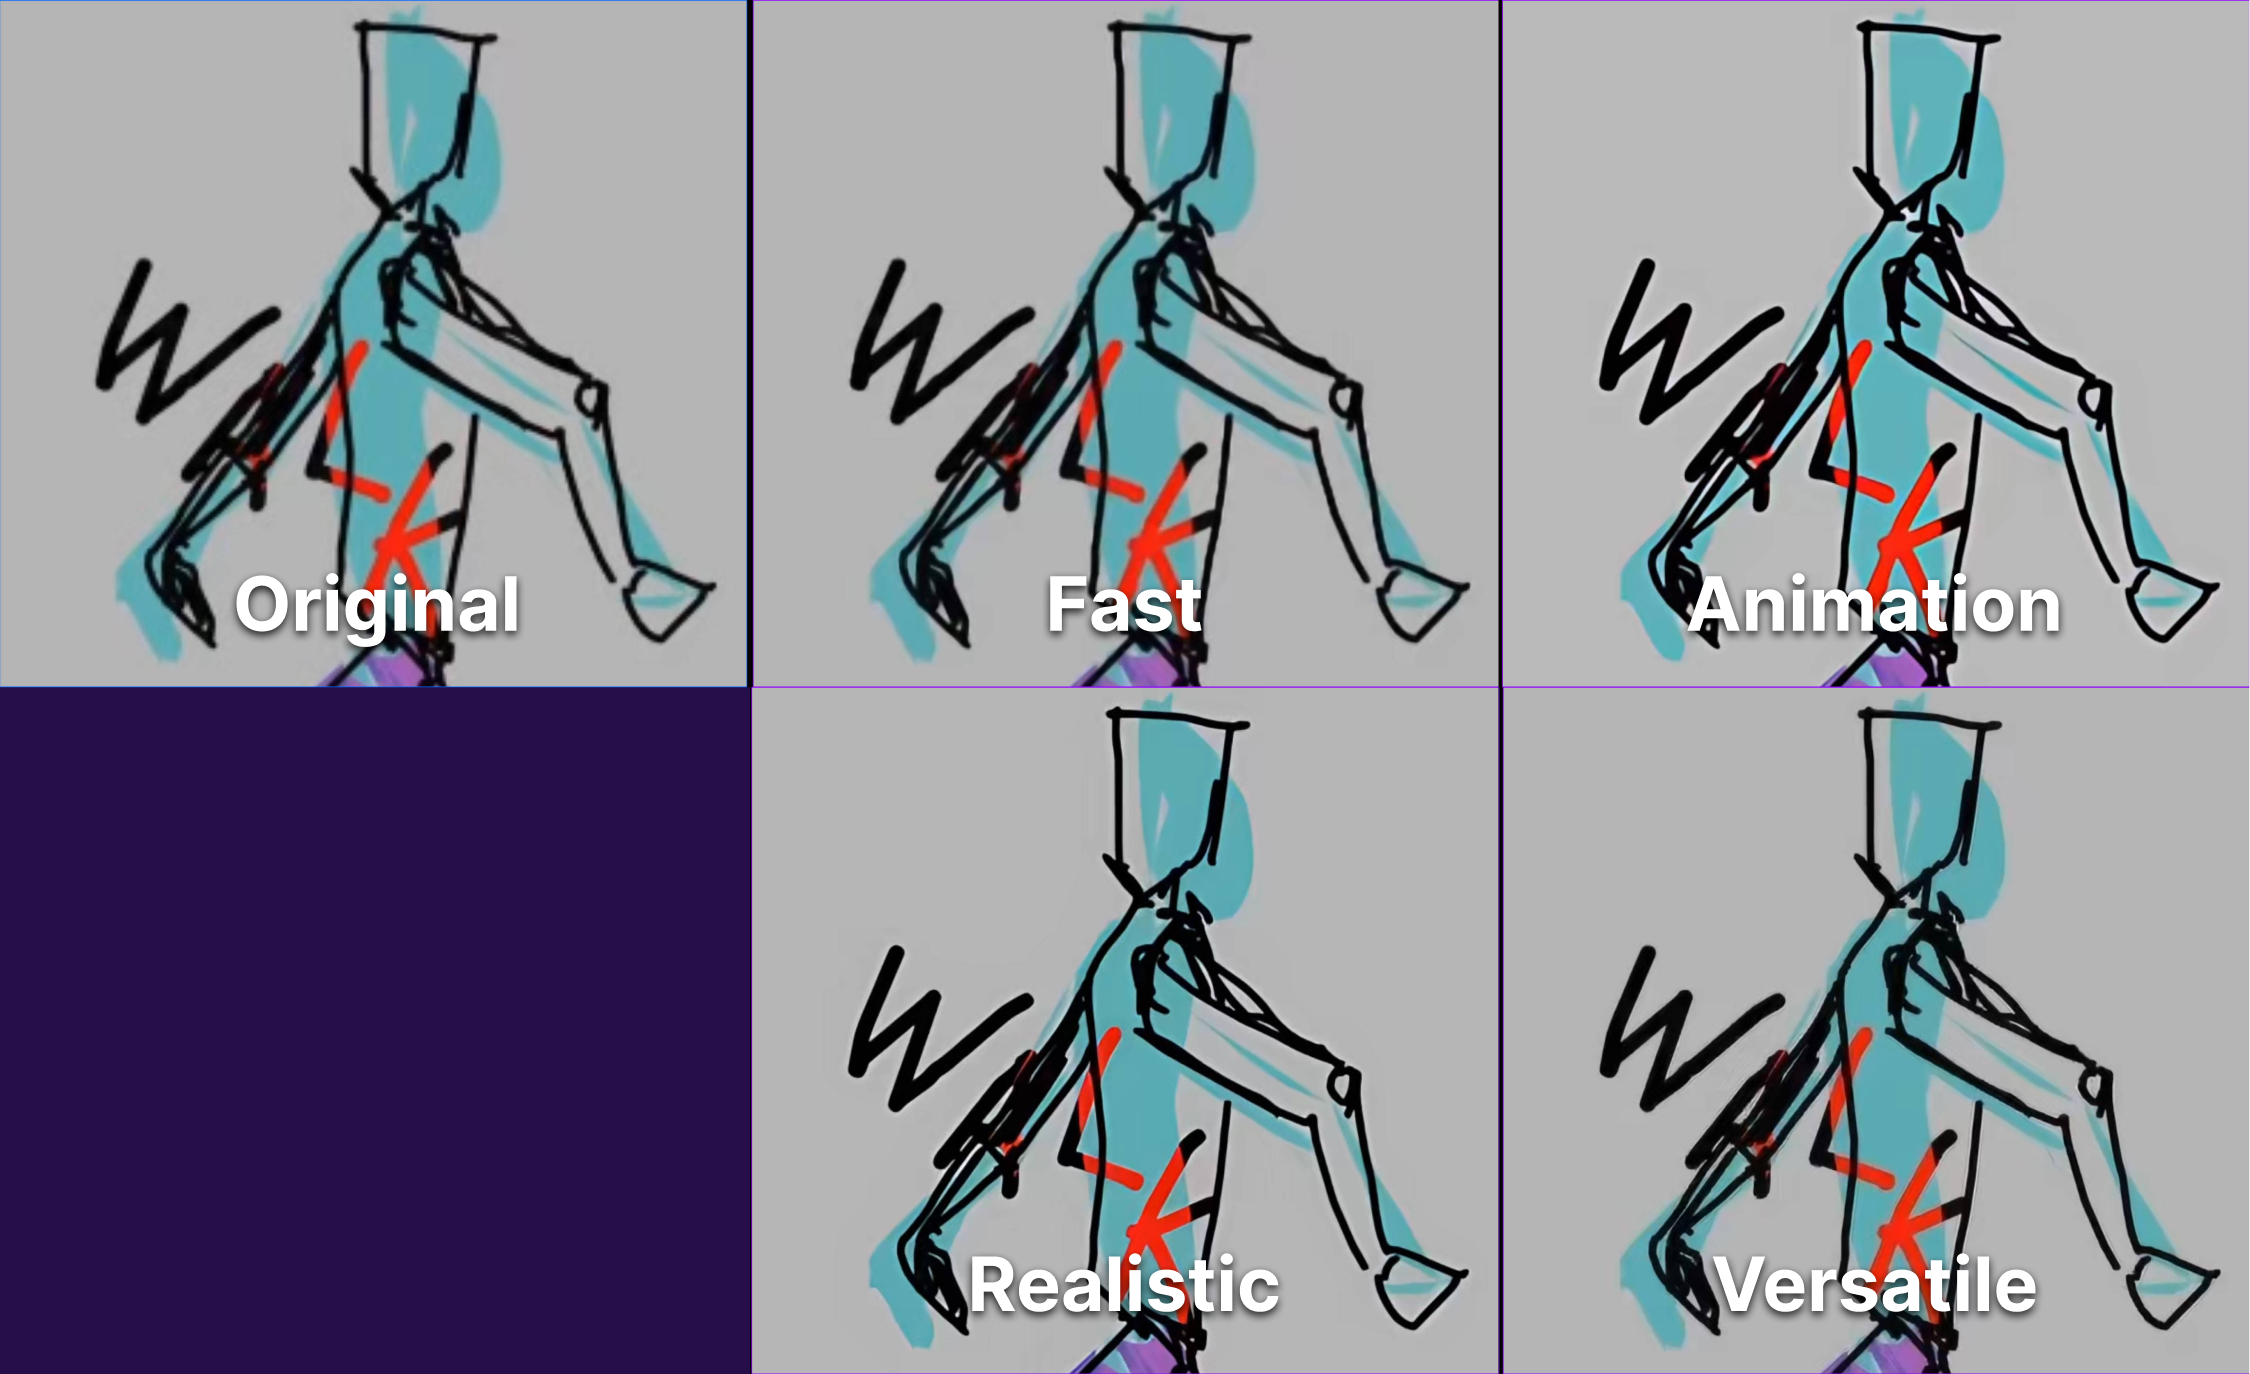
2D animation
Animation model is strongly recommended to increase the sharpness and contrast to get the clear view of the upscaled video.
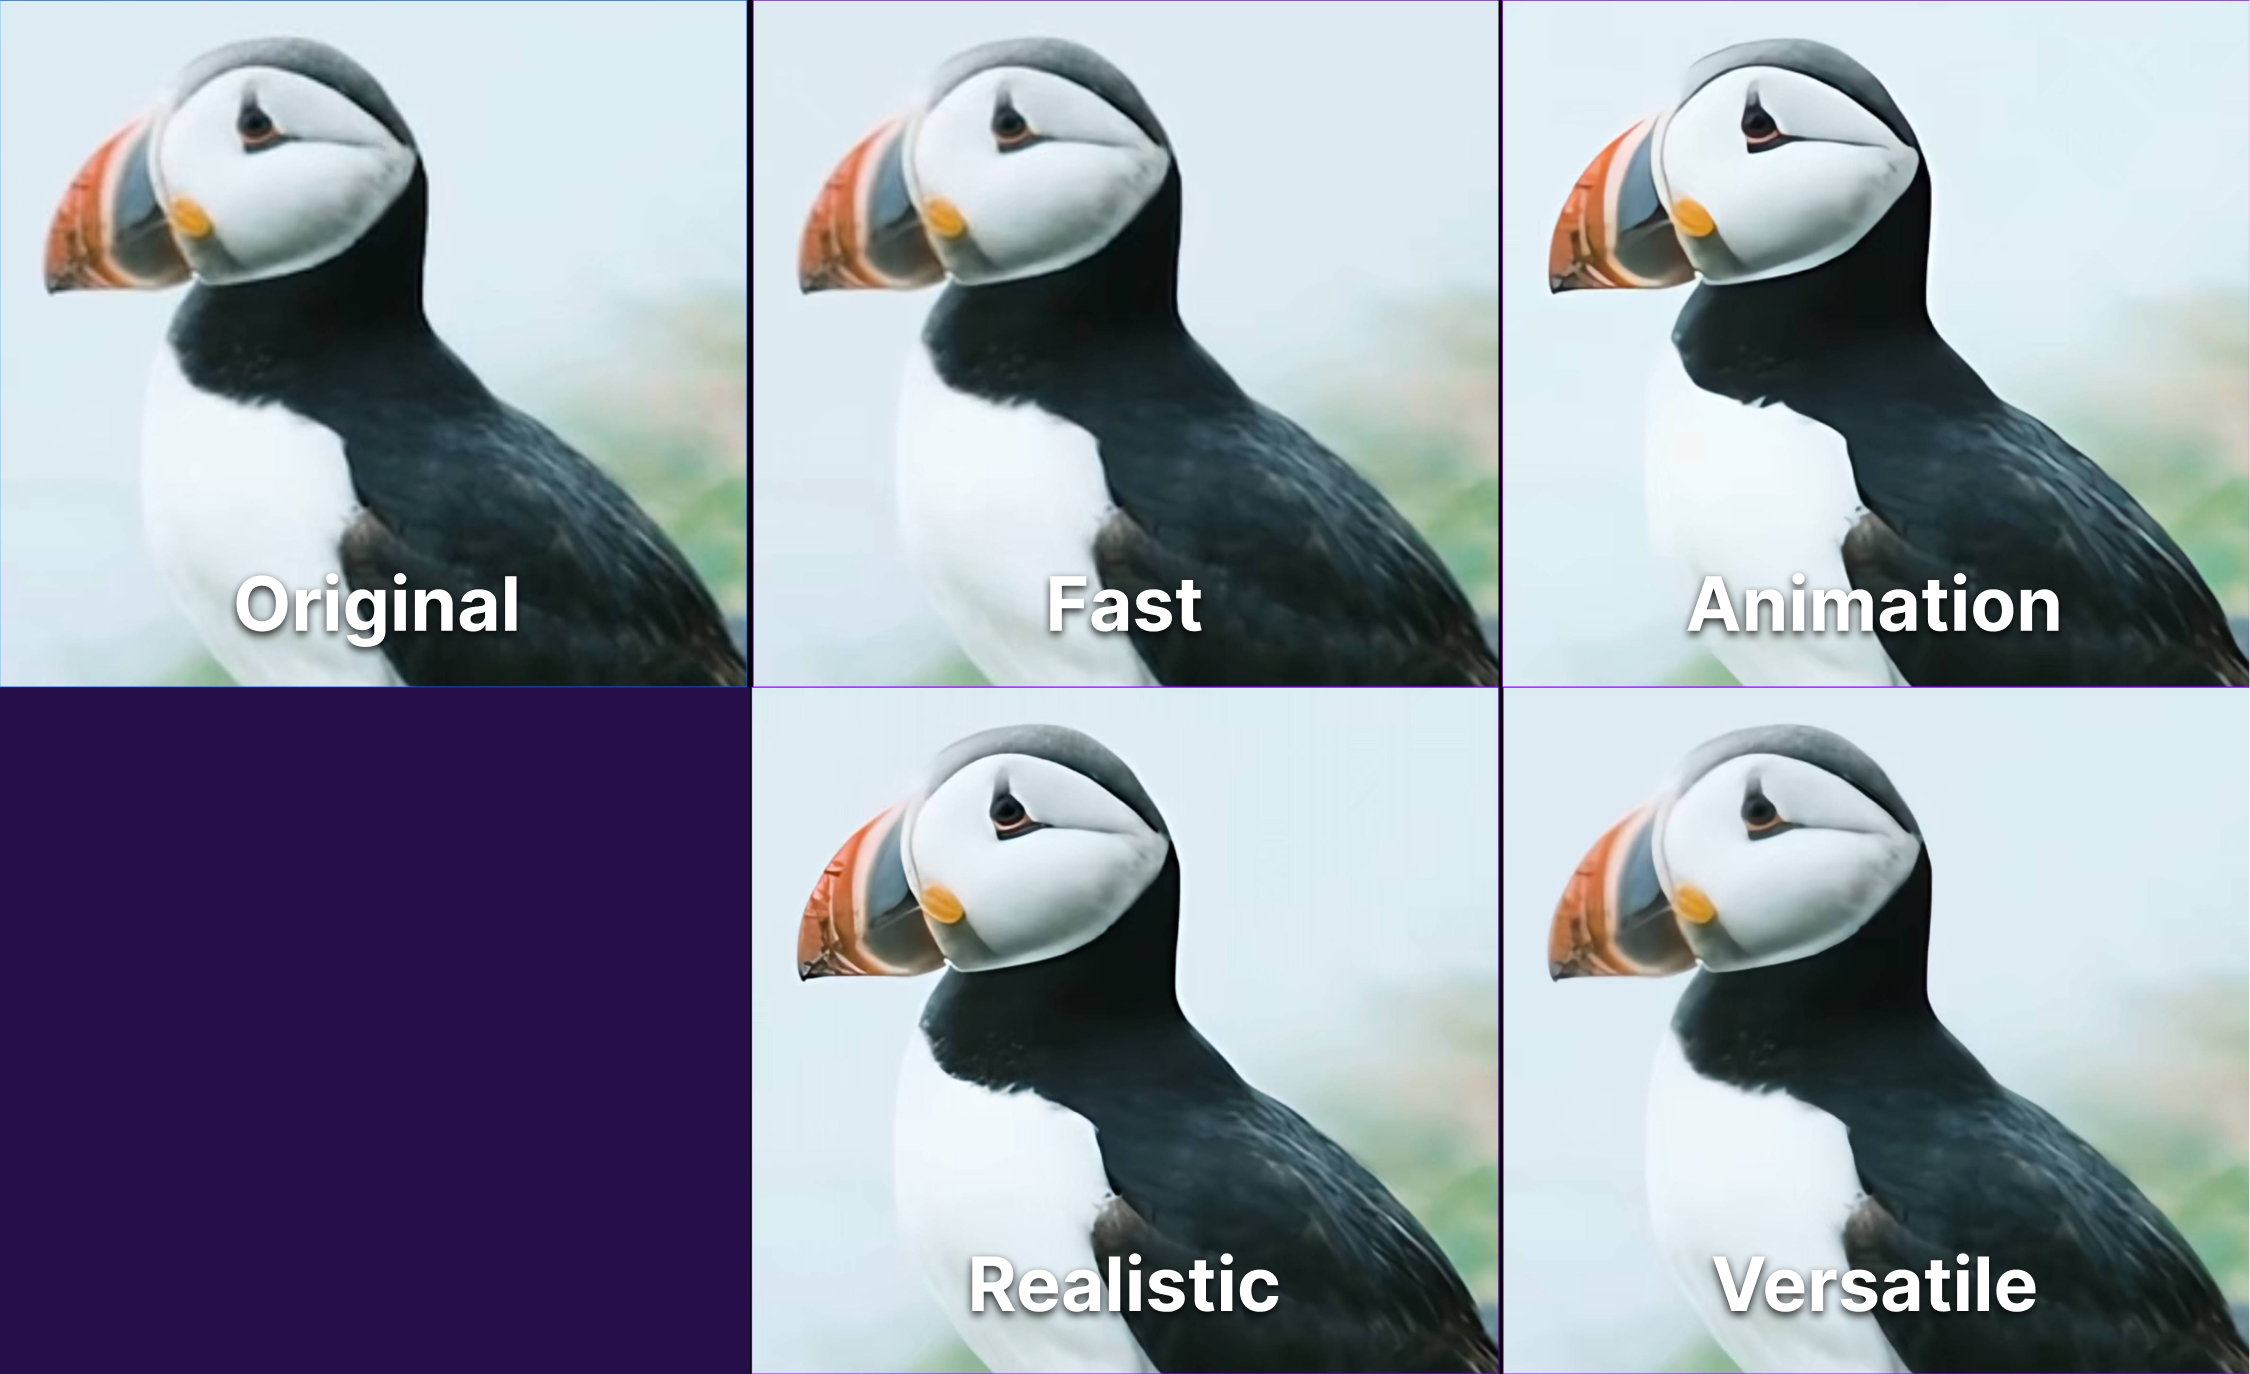
Animals
Versatile model is recommended to keep the details of the animals. If you feel the processing time is too long, Fast model can also be used but it keeps more noises than the versatile model.
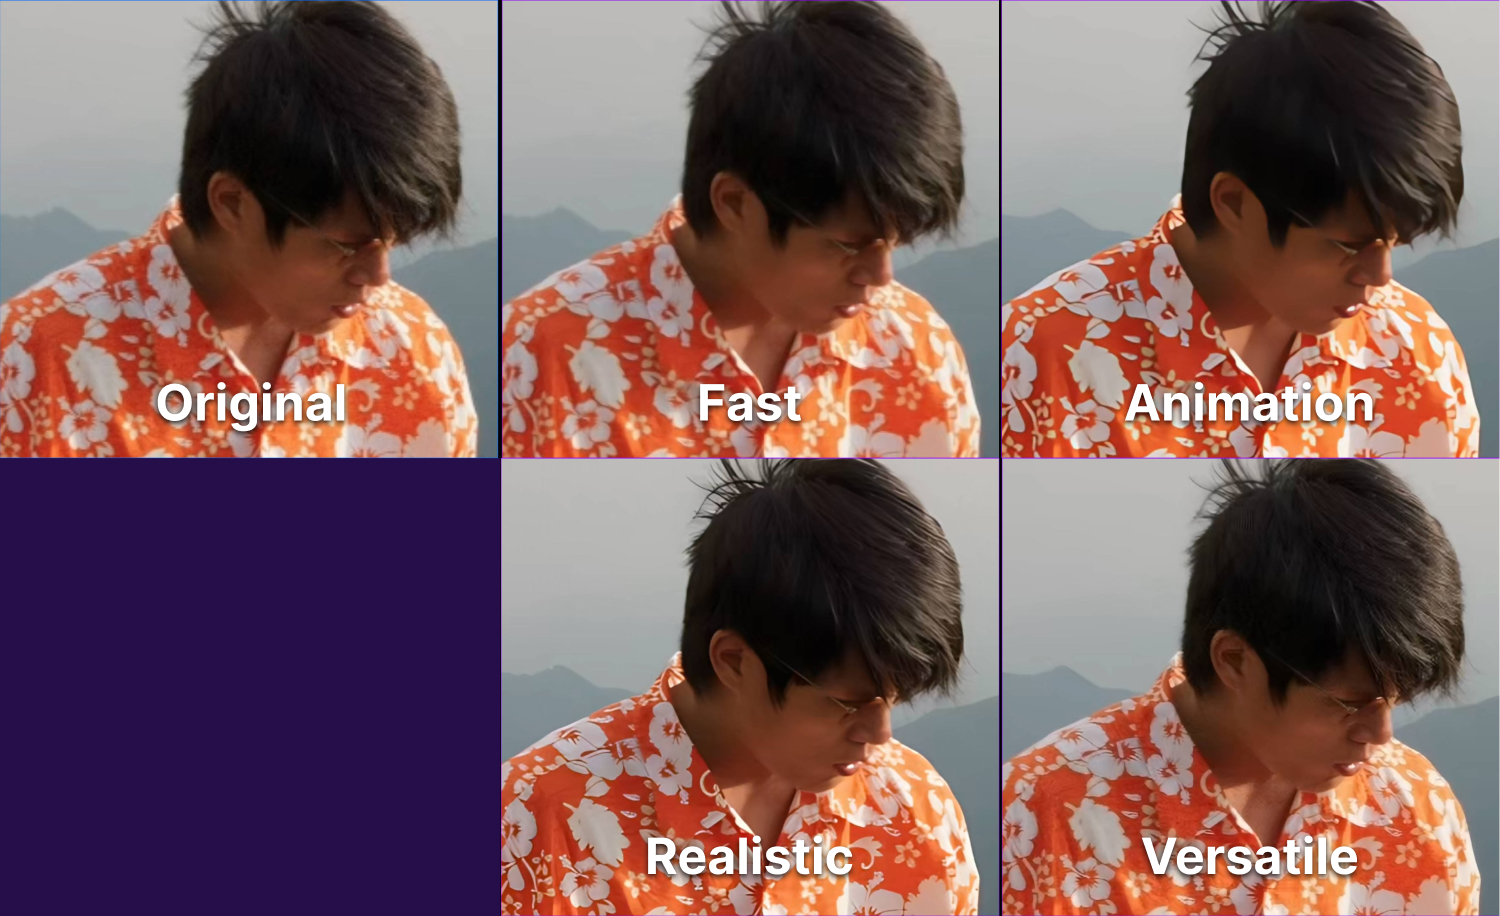
Portraits
Realistic model is recommended to refine the skin texture and suppress the noises. If you prefer to keep the skin texture, versatile model is also recommended.
Still life
Realistic model is recommended to refine the edges by sharpening the video and suppress the noises. If you prefer the less sharpness view, versatile model is also recommended.
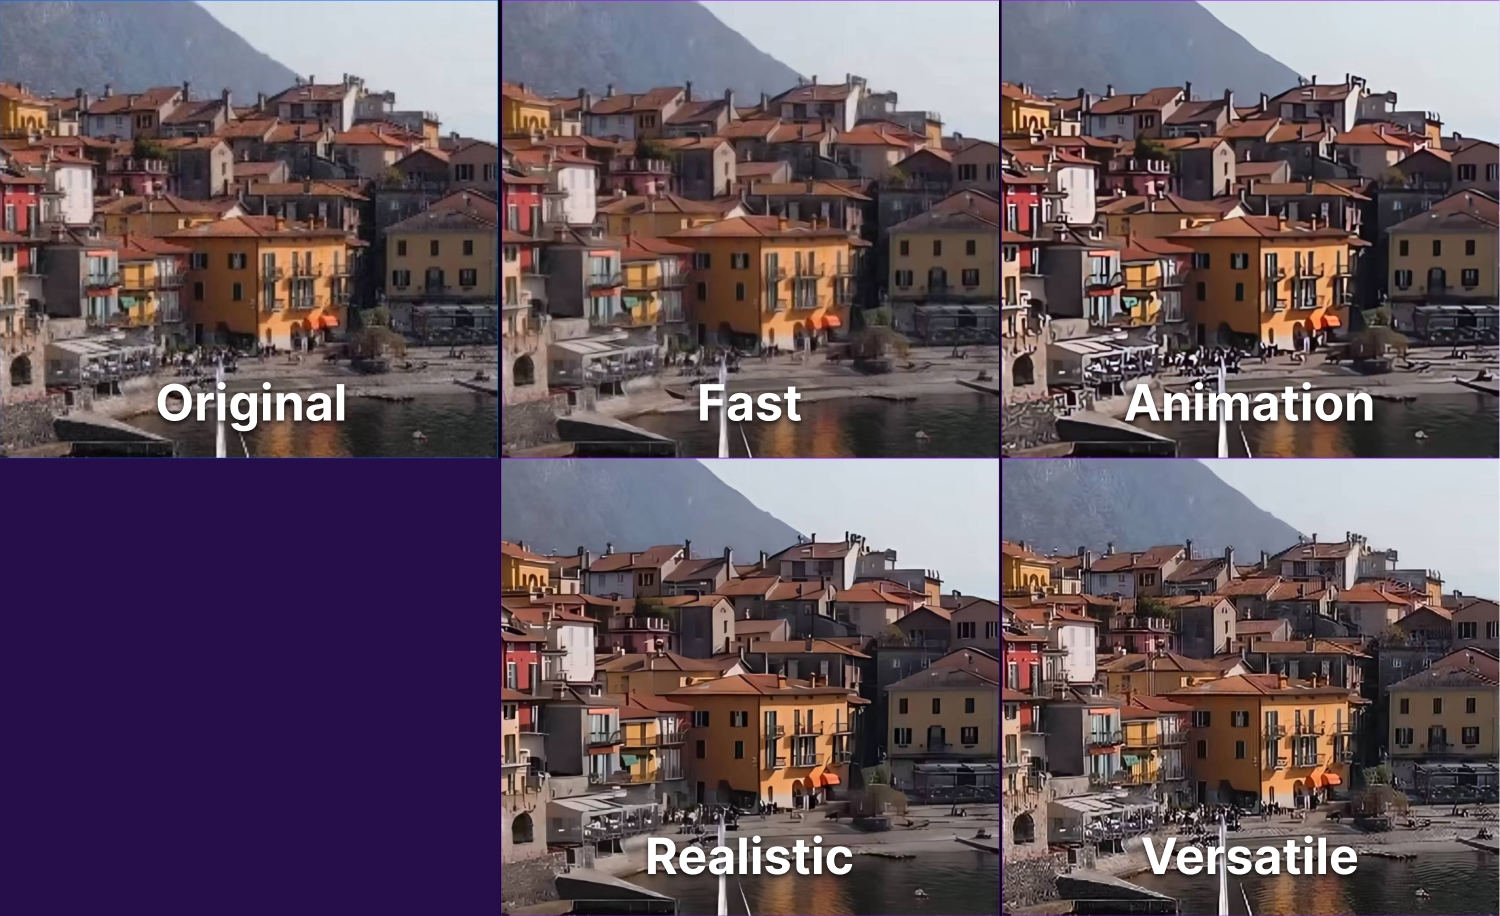
Landscape & architecture
Versatile model is strongly recommended to keep the sharpness and slightly increase the contrast to reserve more details from the original video.
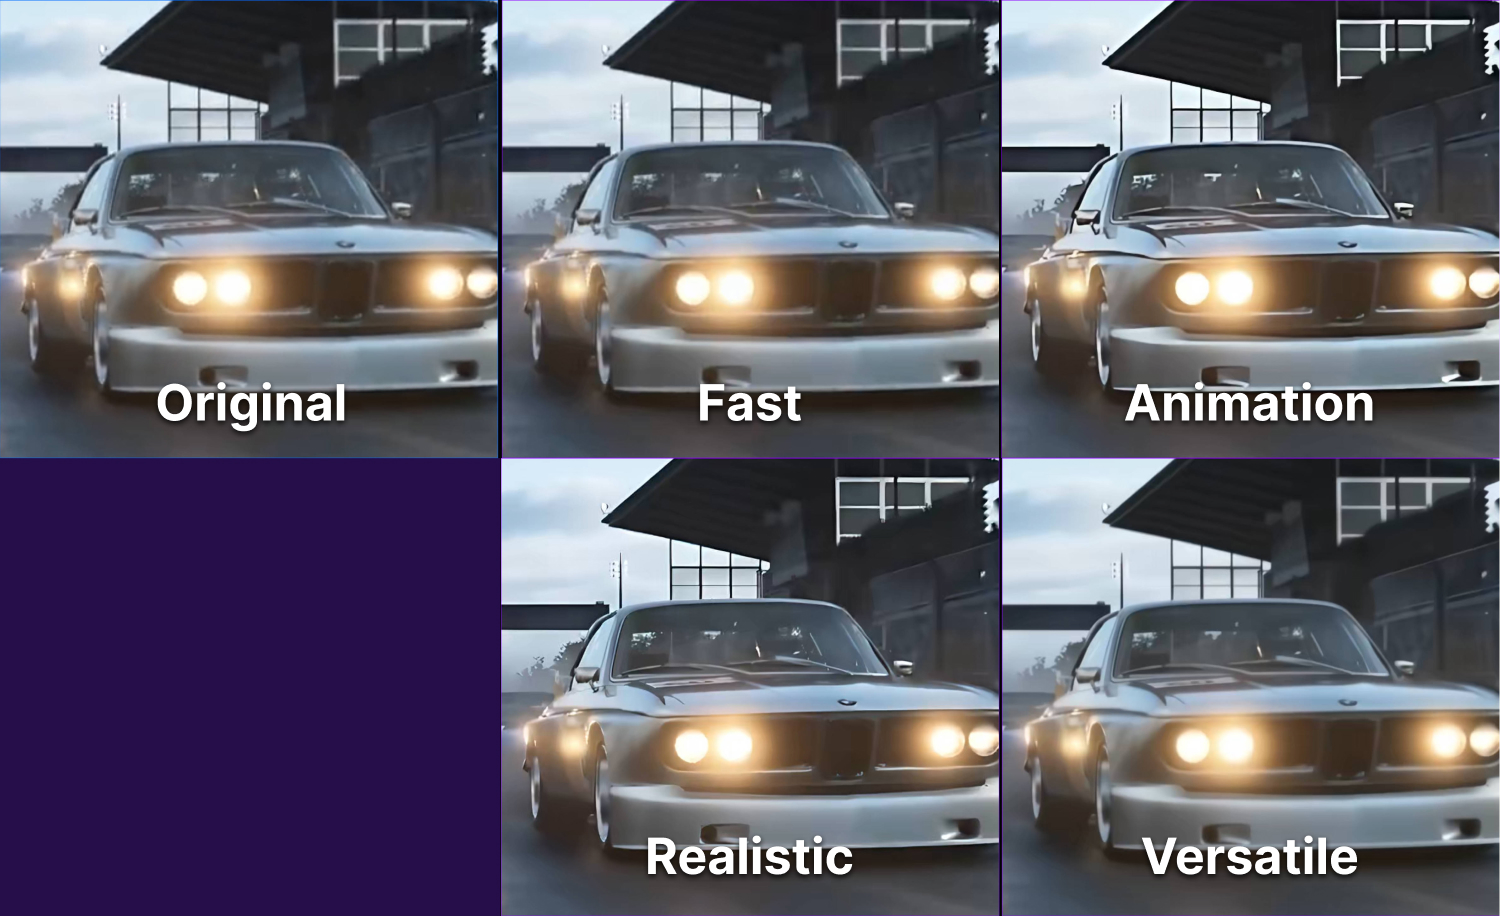
3D CG
Realistic and versatile models are both recommended to retain the sharpness and reduce the blurry. If the original video has been applied some post-processing effects like film grain, you can use the versatile model to keep these effects. If it is not, realistic model can process the video more faster.
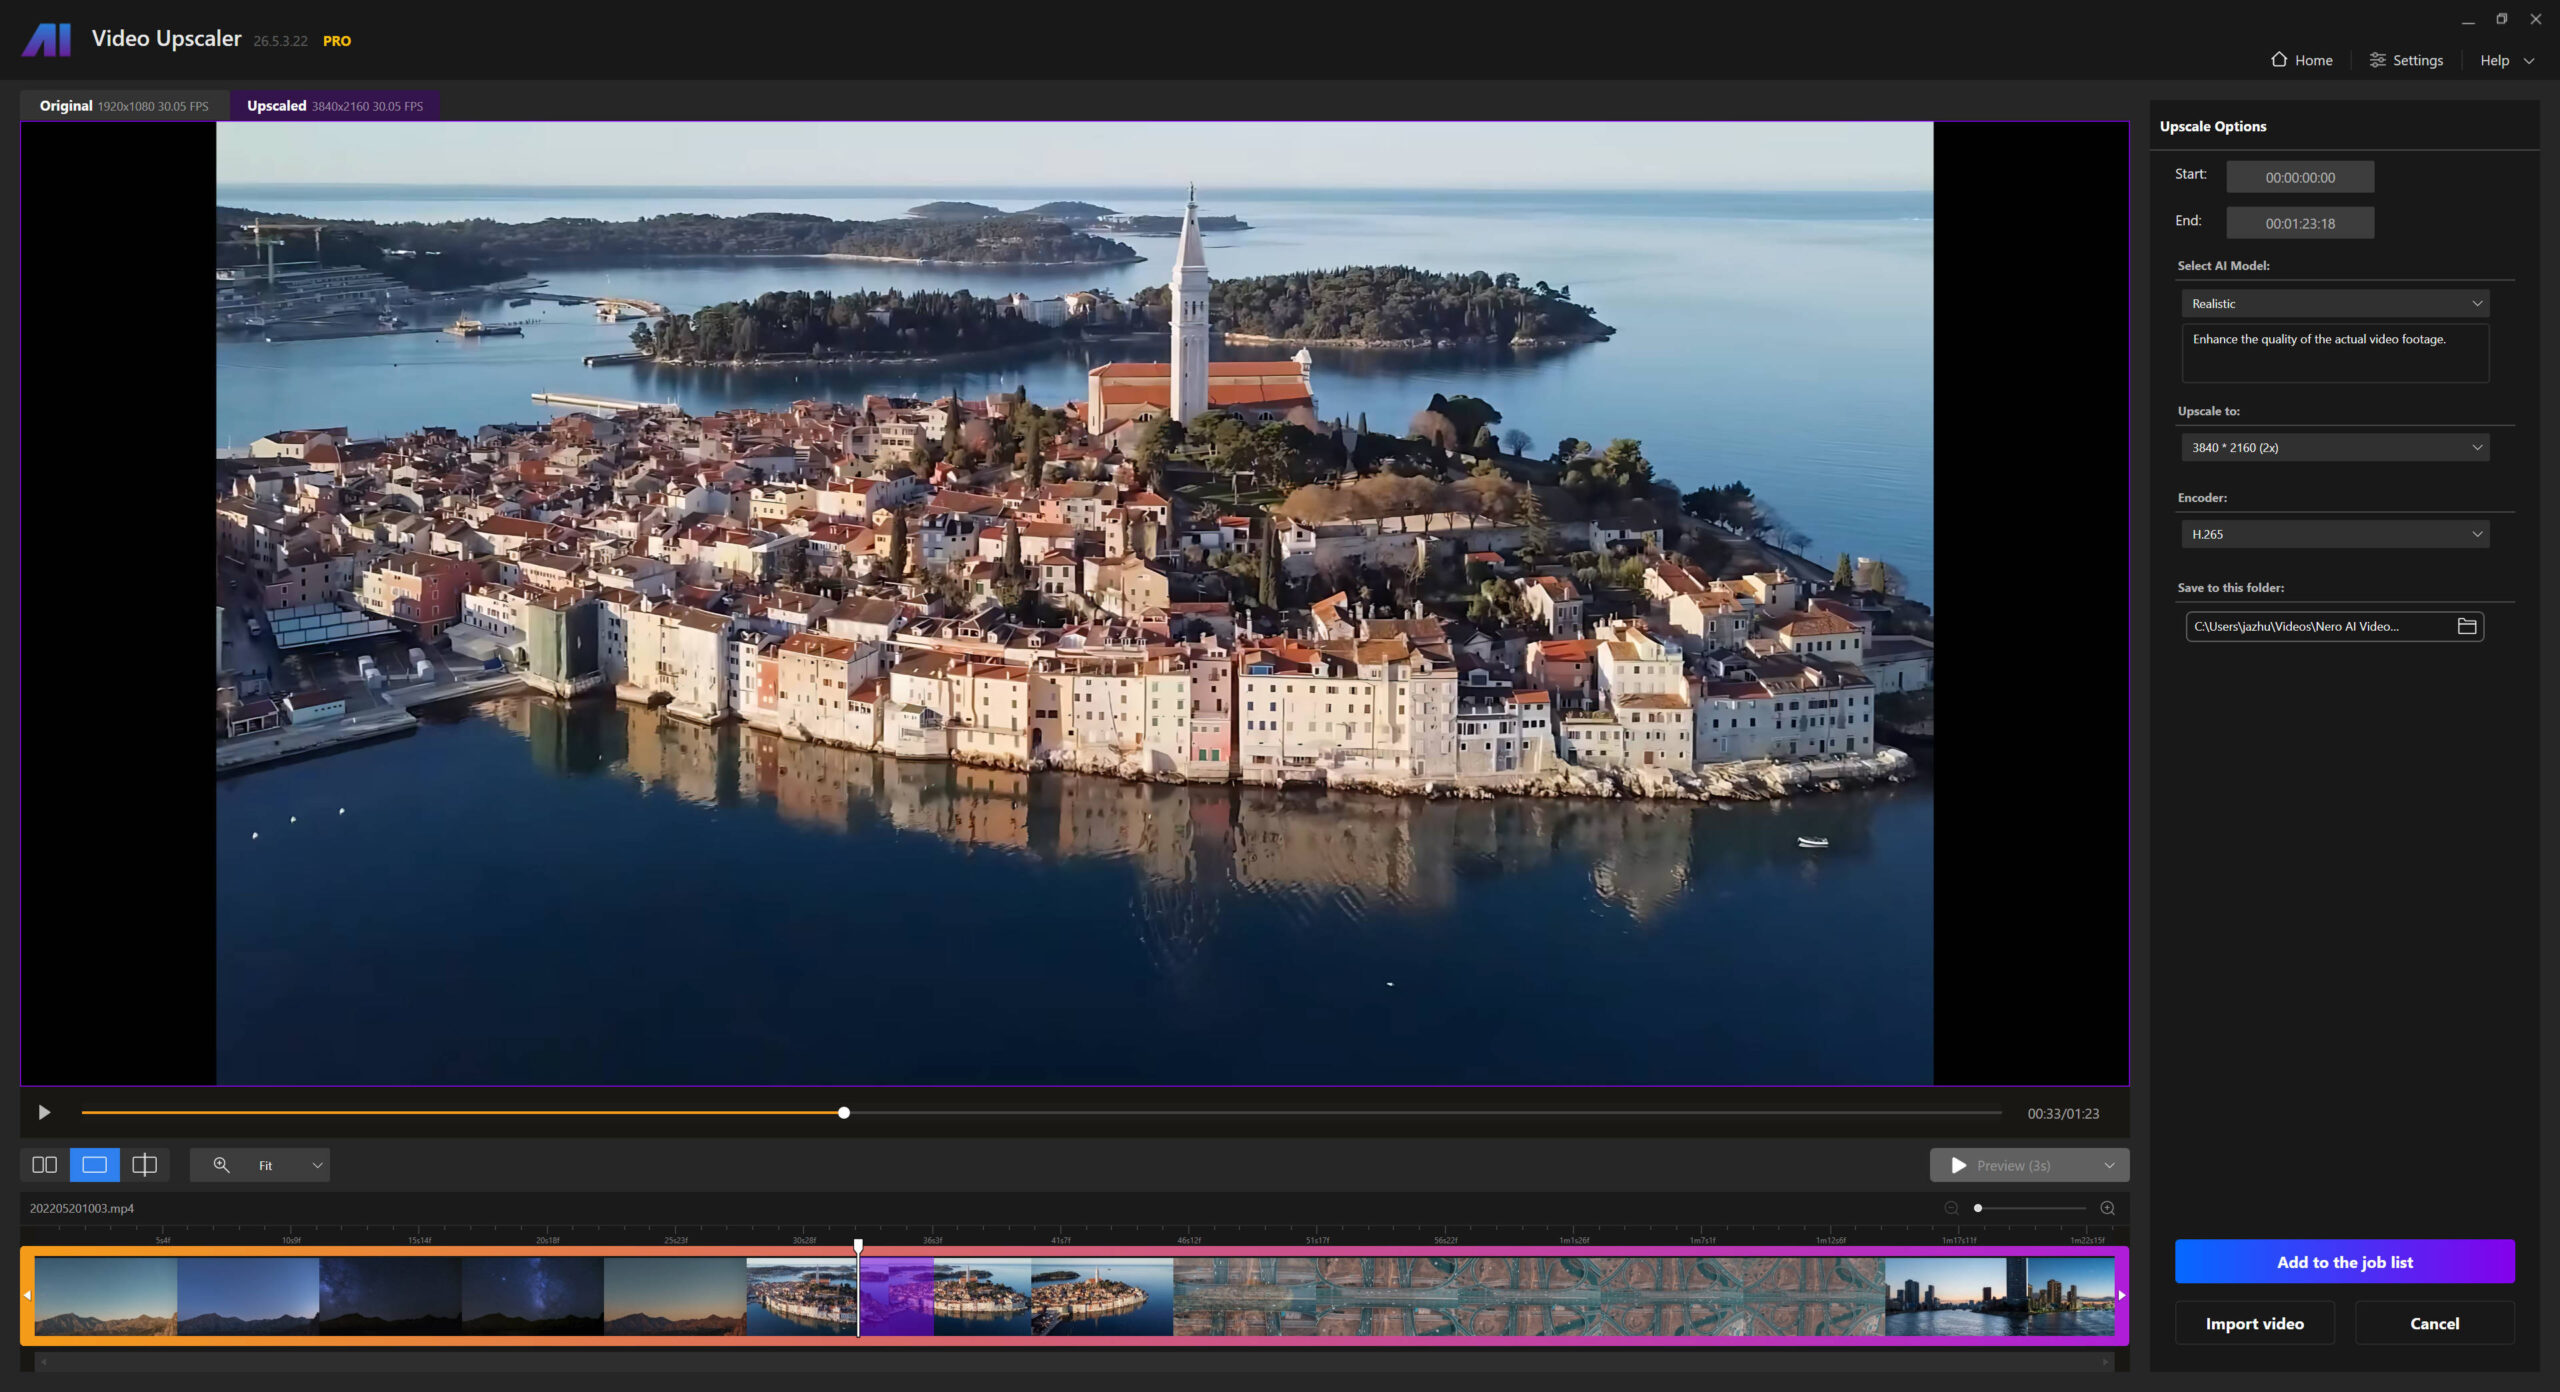
Welcome to the new version of Nero AI Video Upscaler*. We have implemented some new features for the convenience of your video processing.
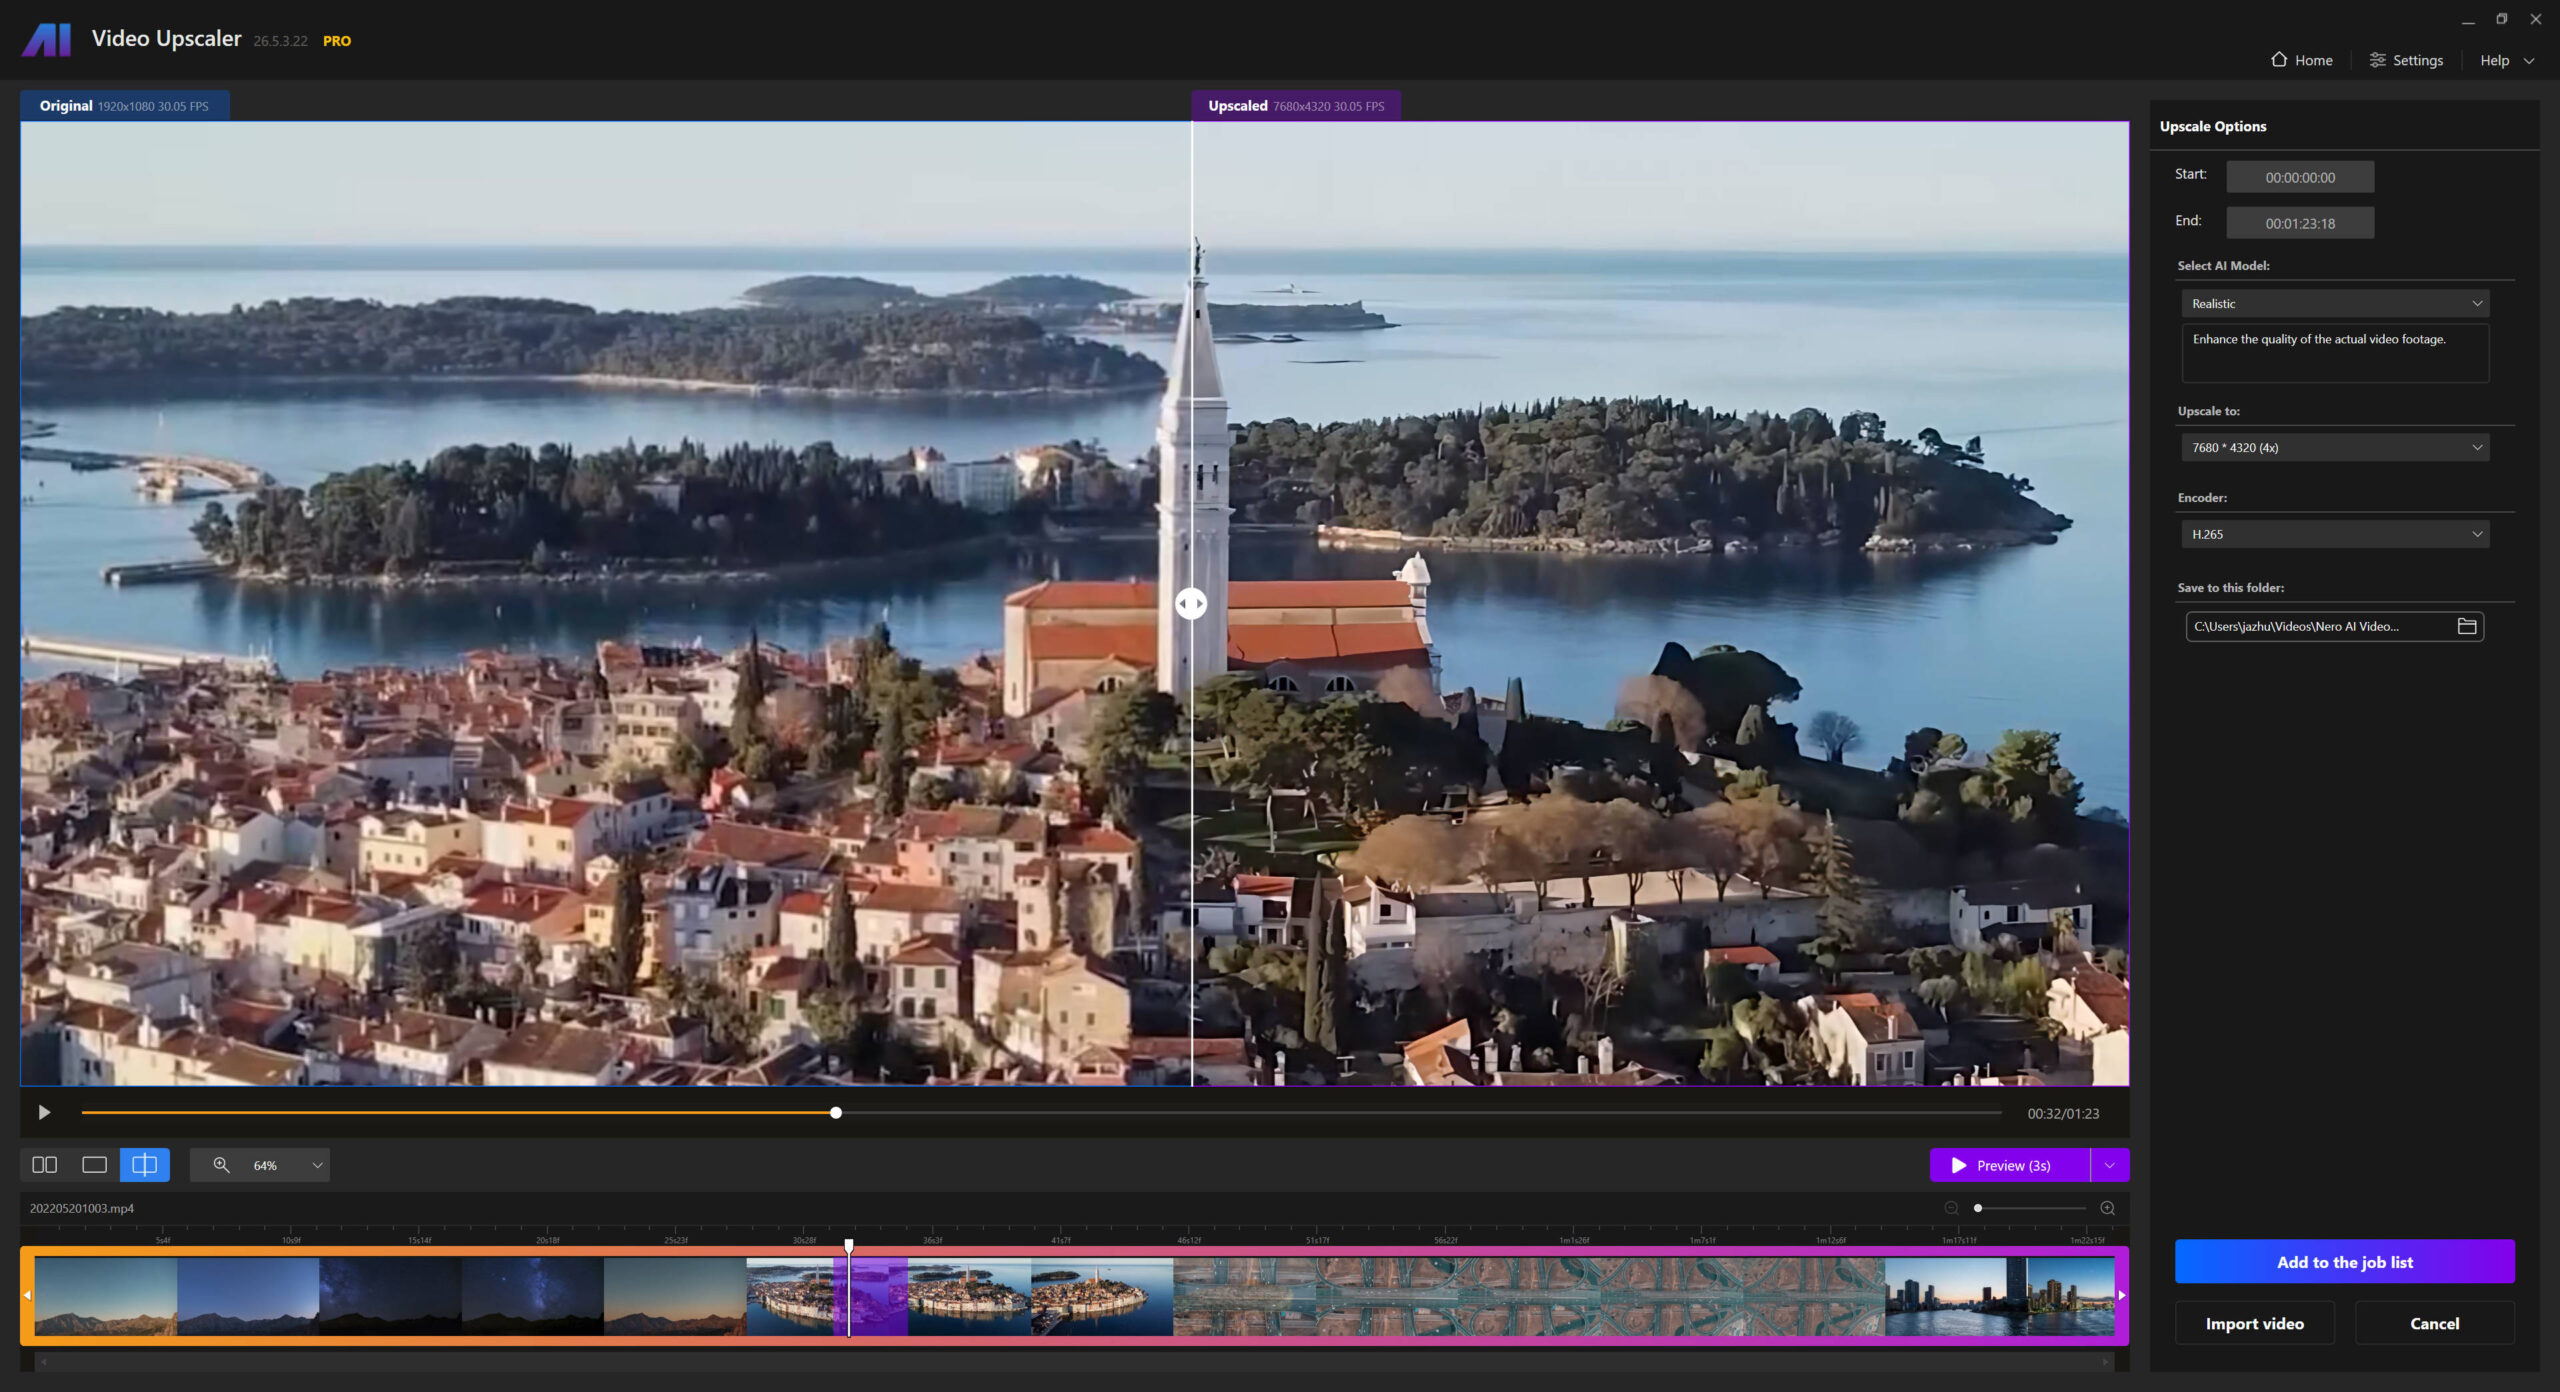
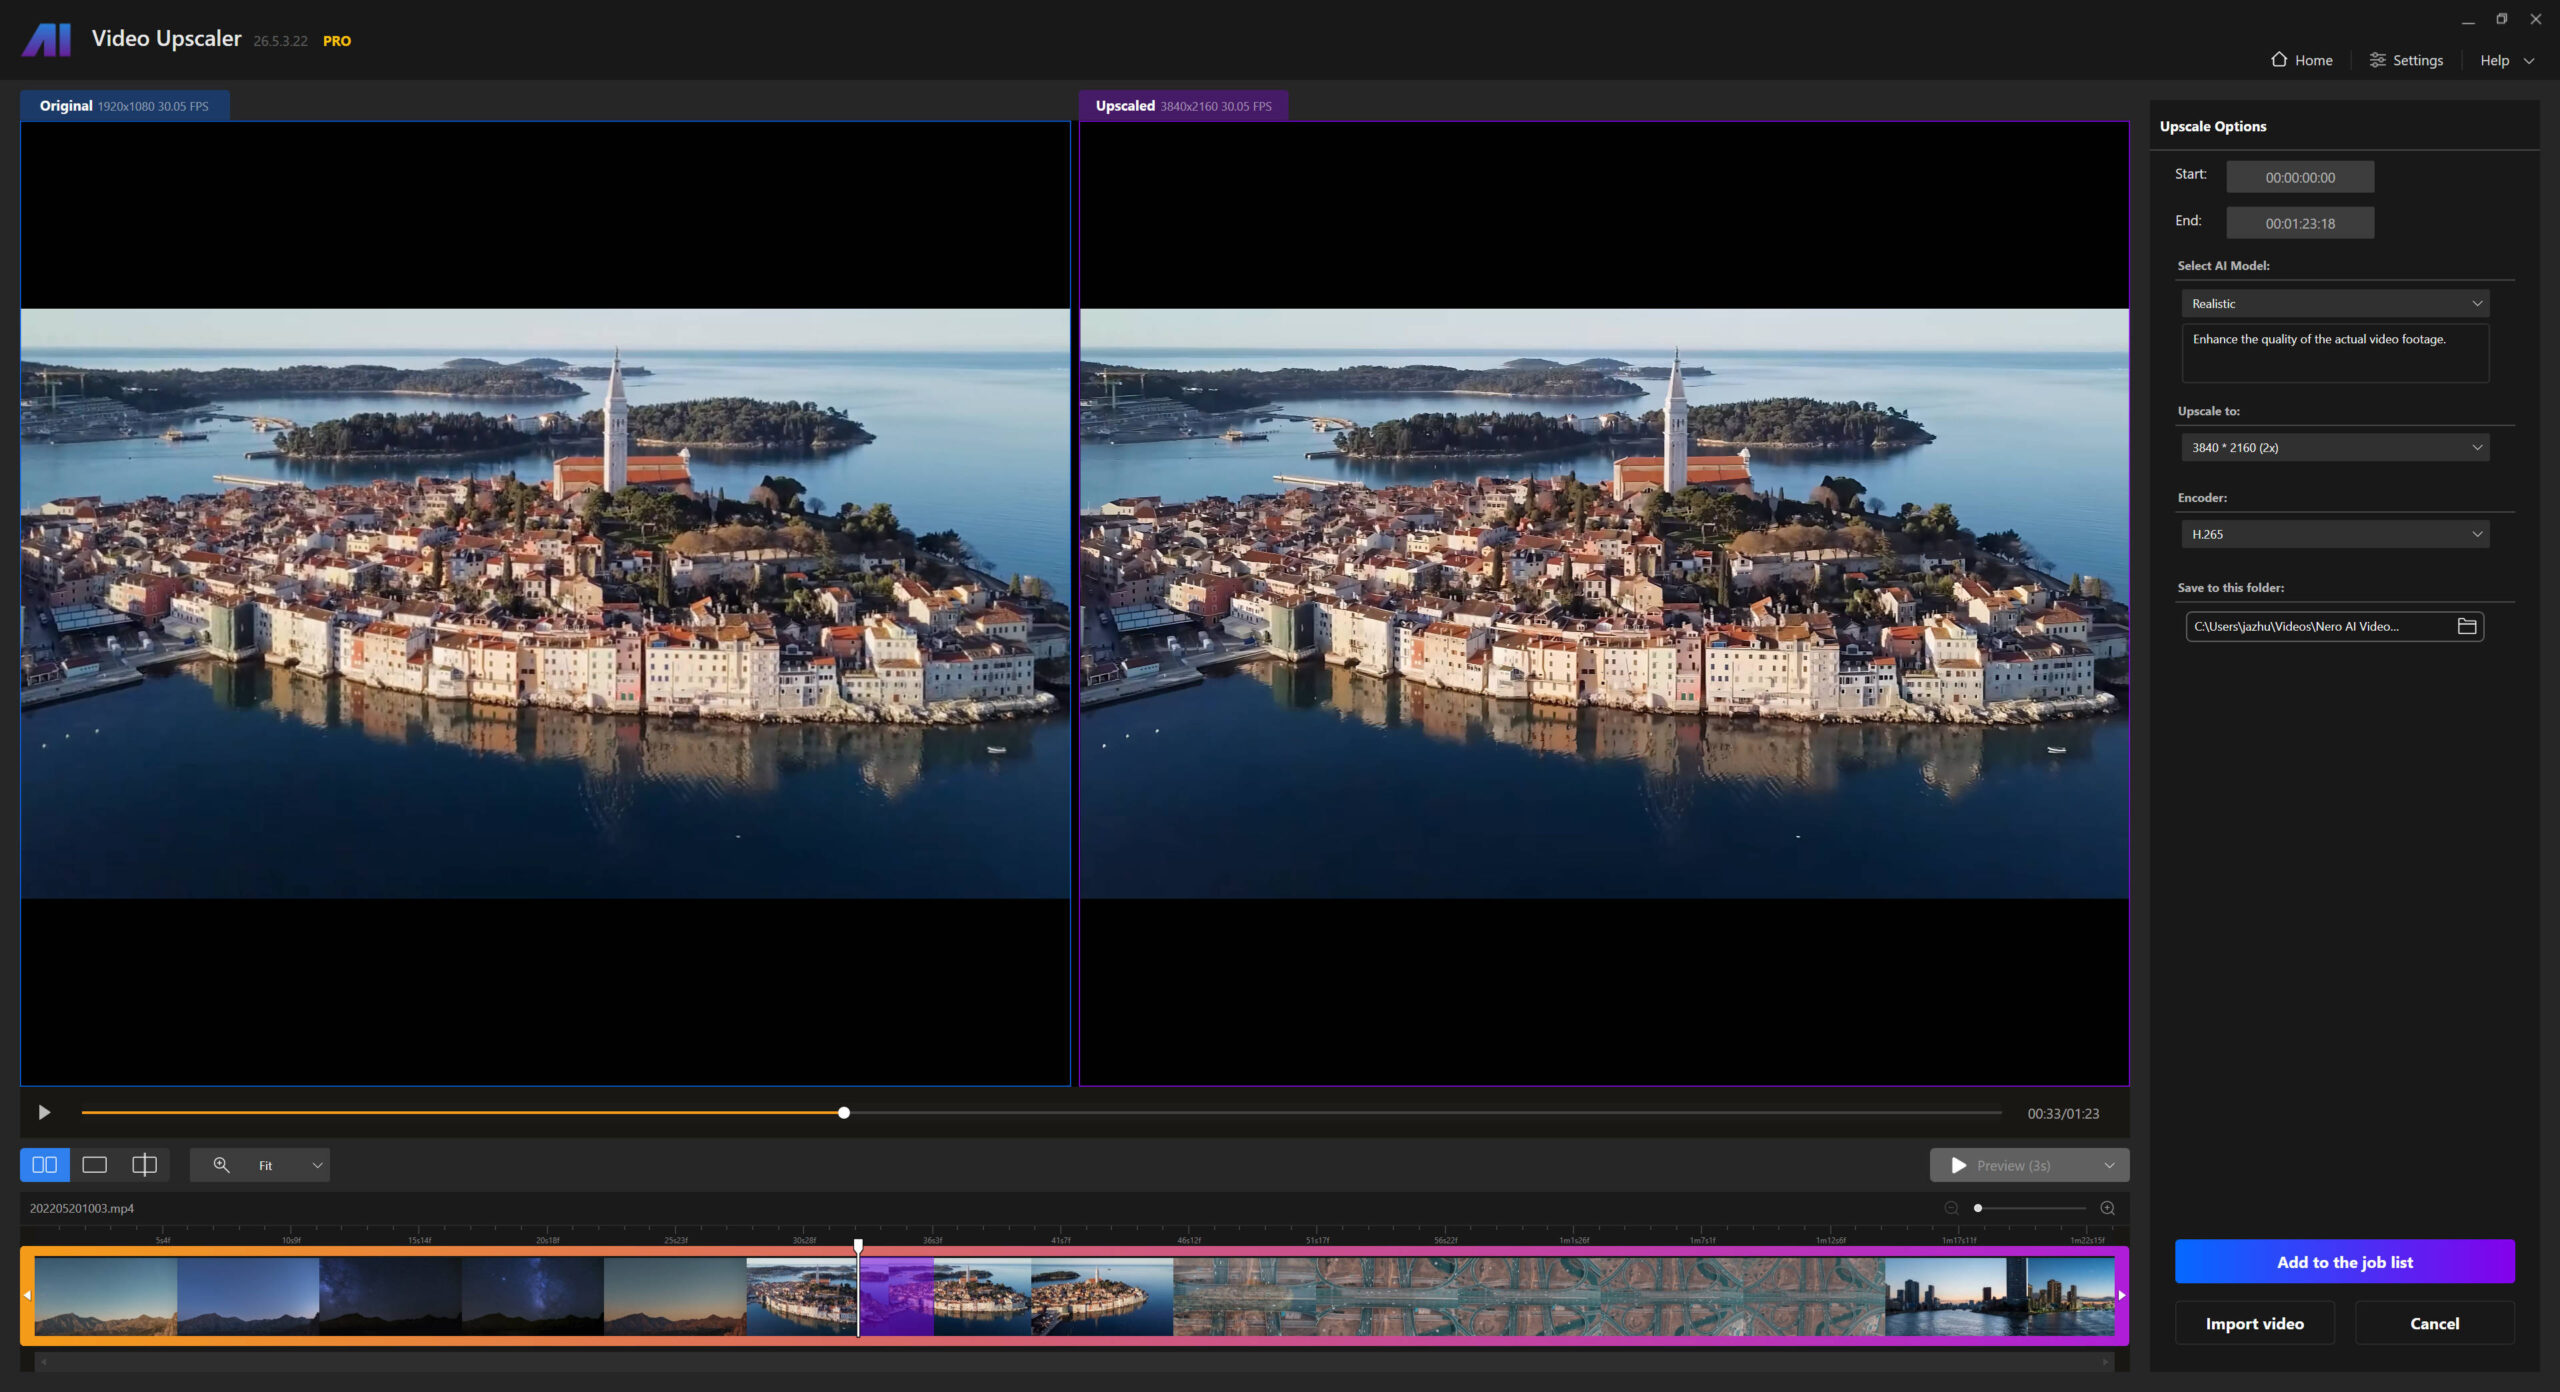
New Preview Function
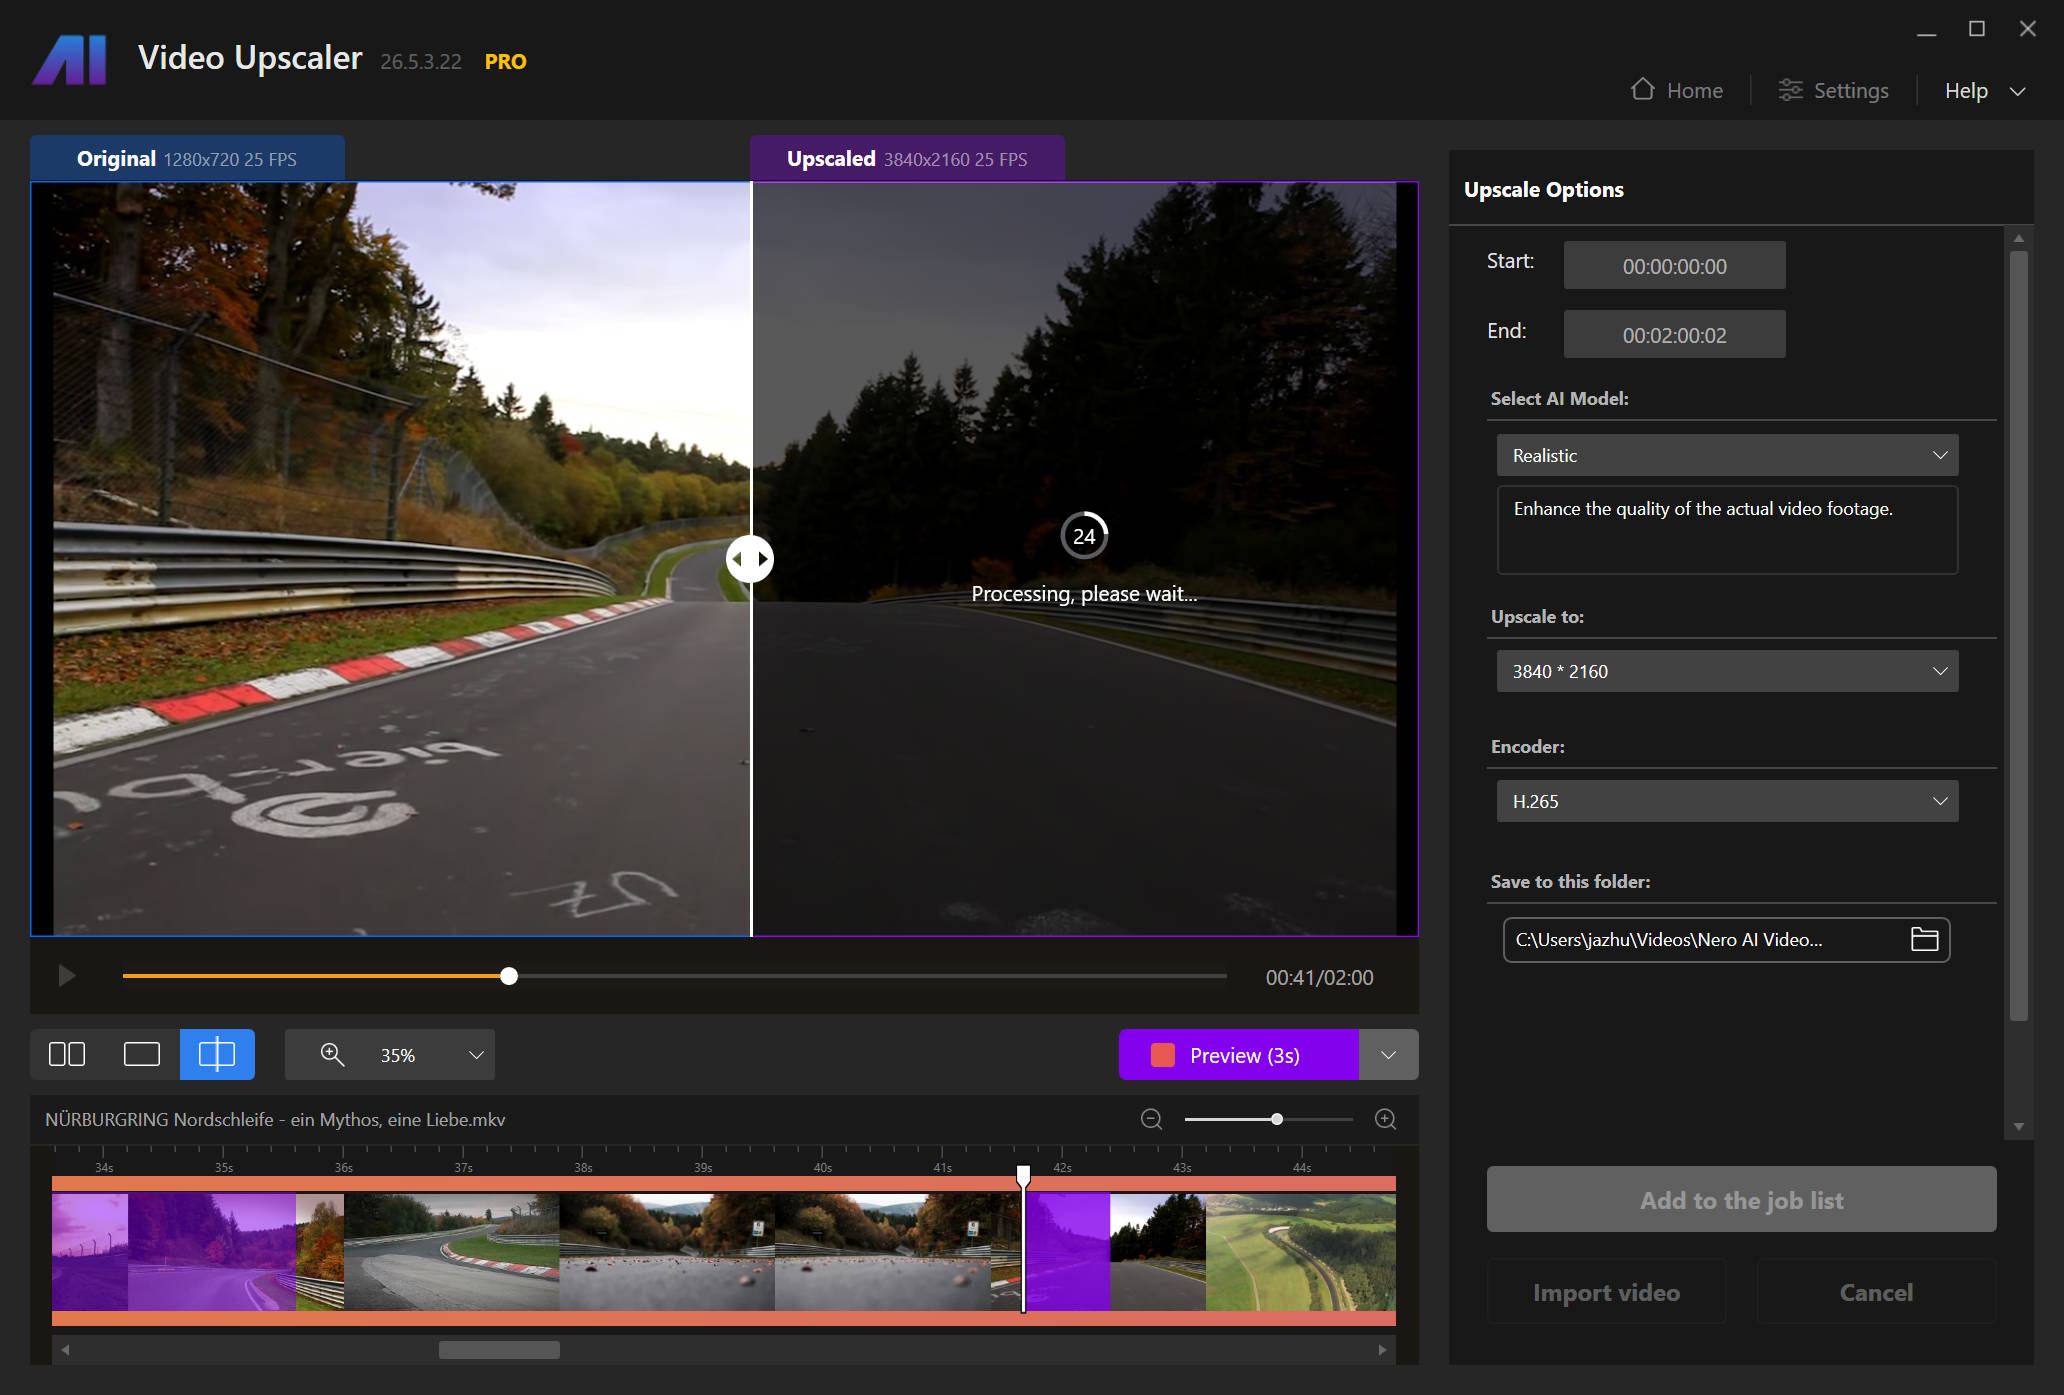
The new preview function provides 3 methods for view the upscaling result.
Comparison view
Single view
Split view
You can also enlarge the video to preview the details by using the mouse wheel or by the zoom selection.
To preview the upscaled result, please use the “Preview” button on the preview window or above the timeline after setting all the upscaling parameters and waiting for the processing completes.
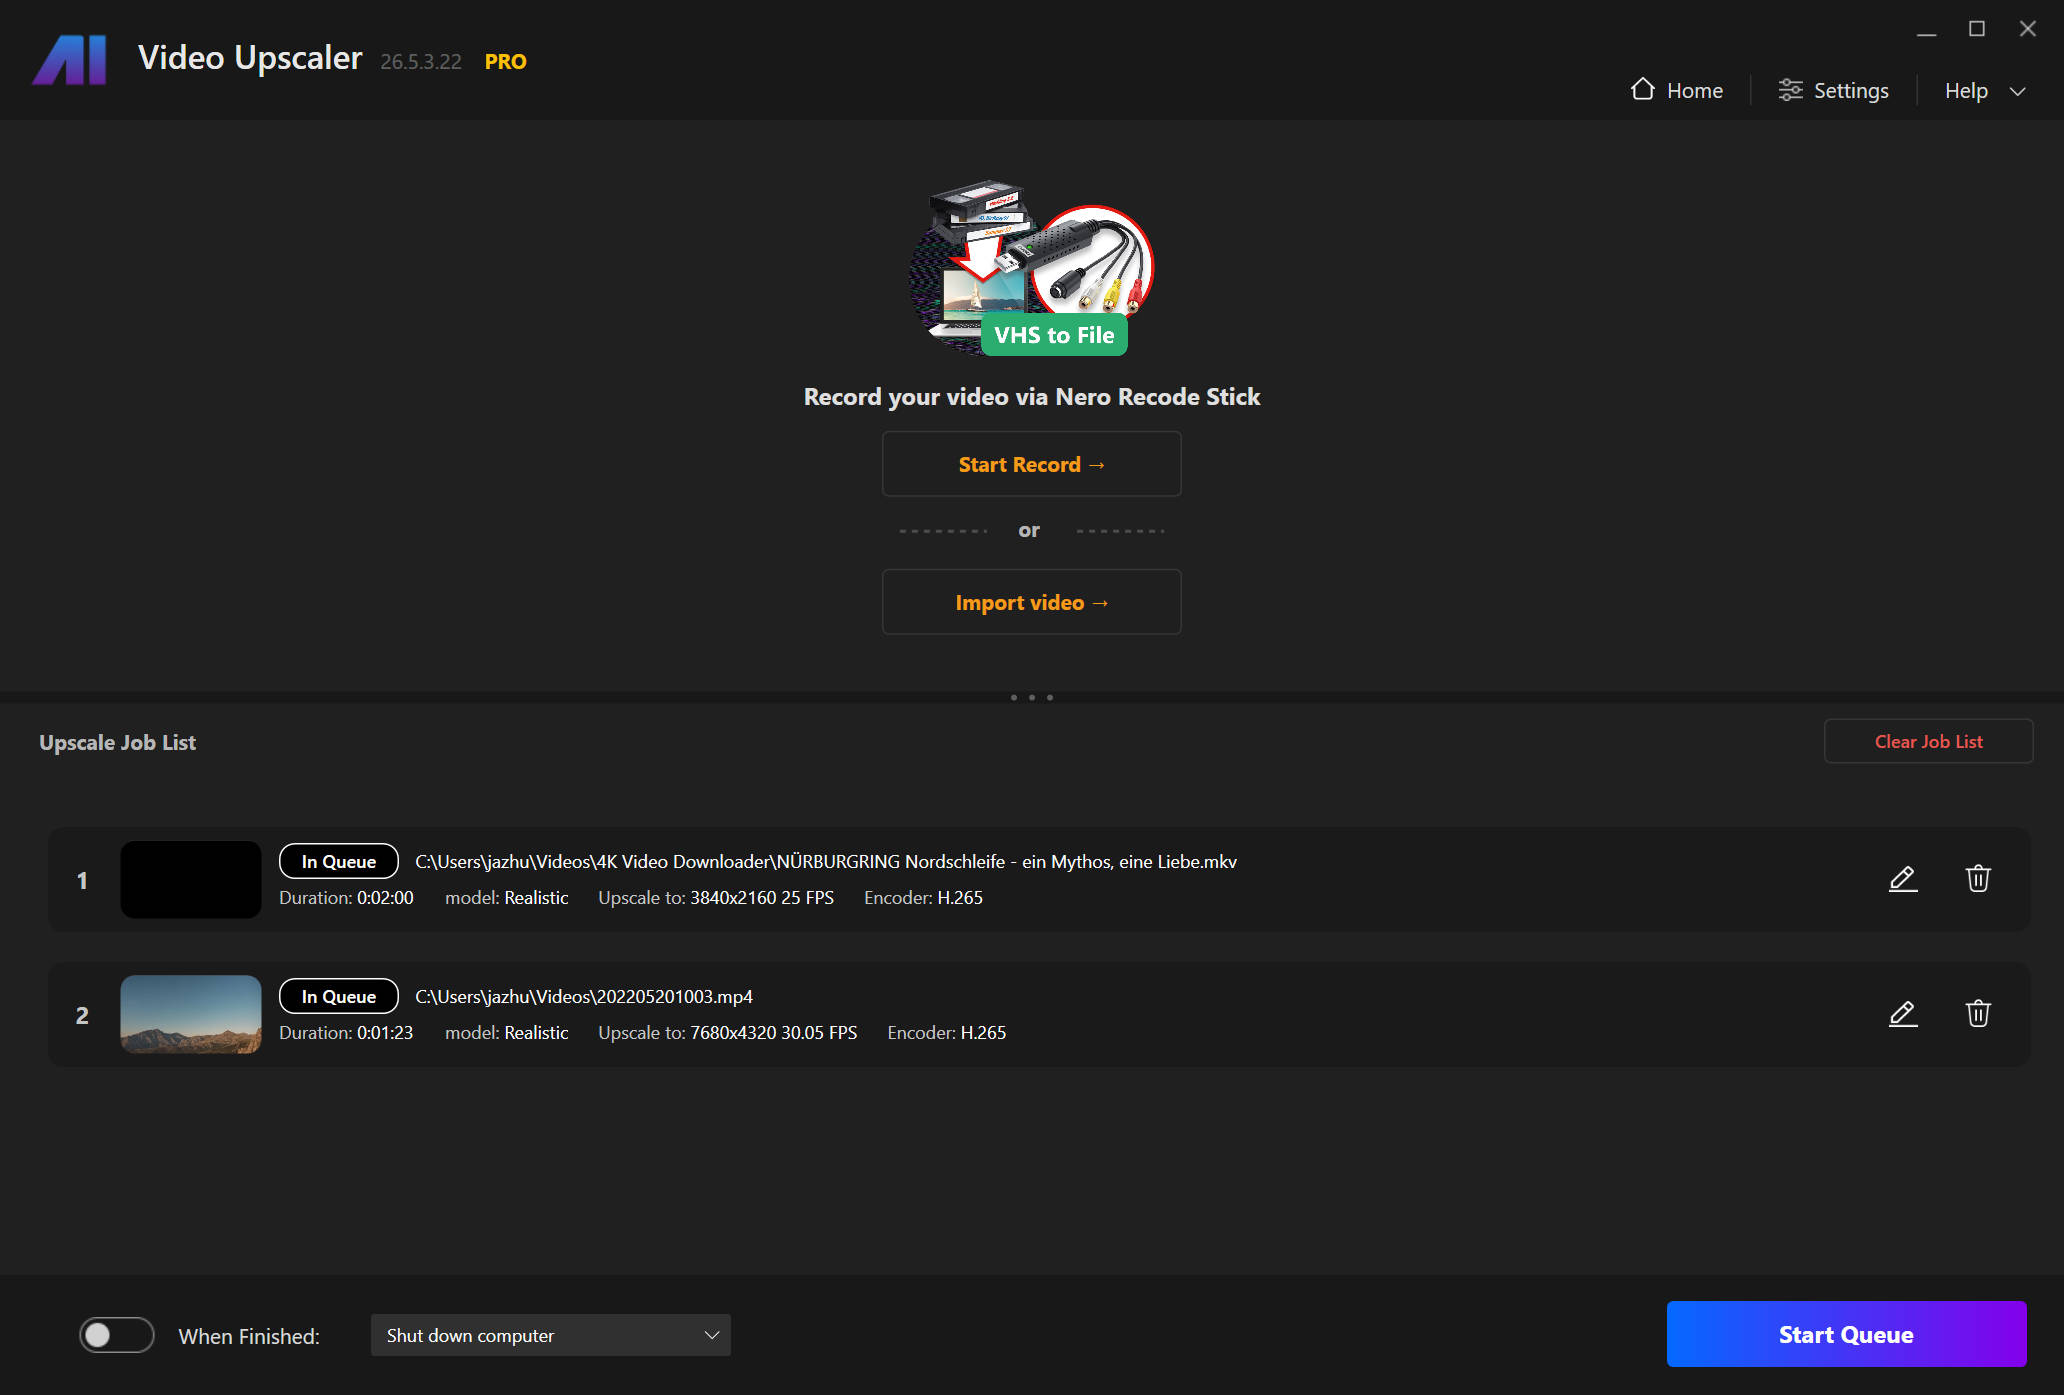
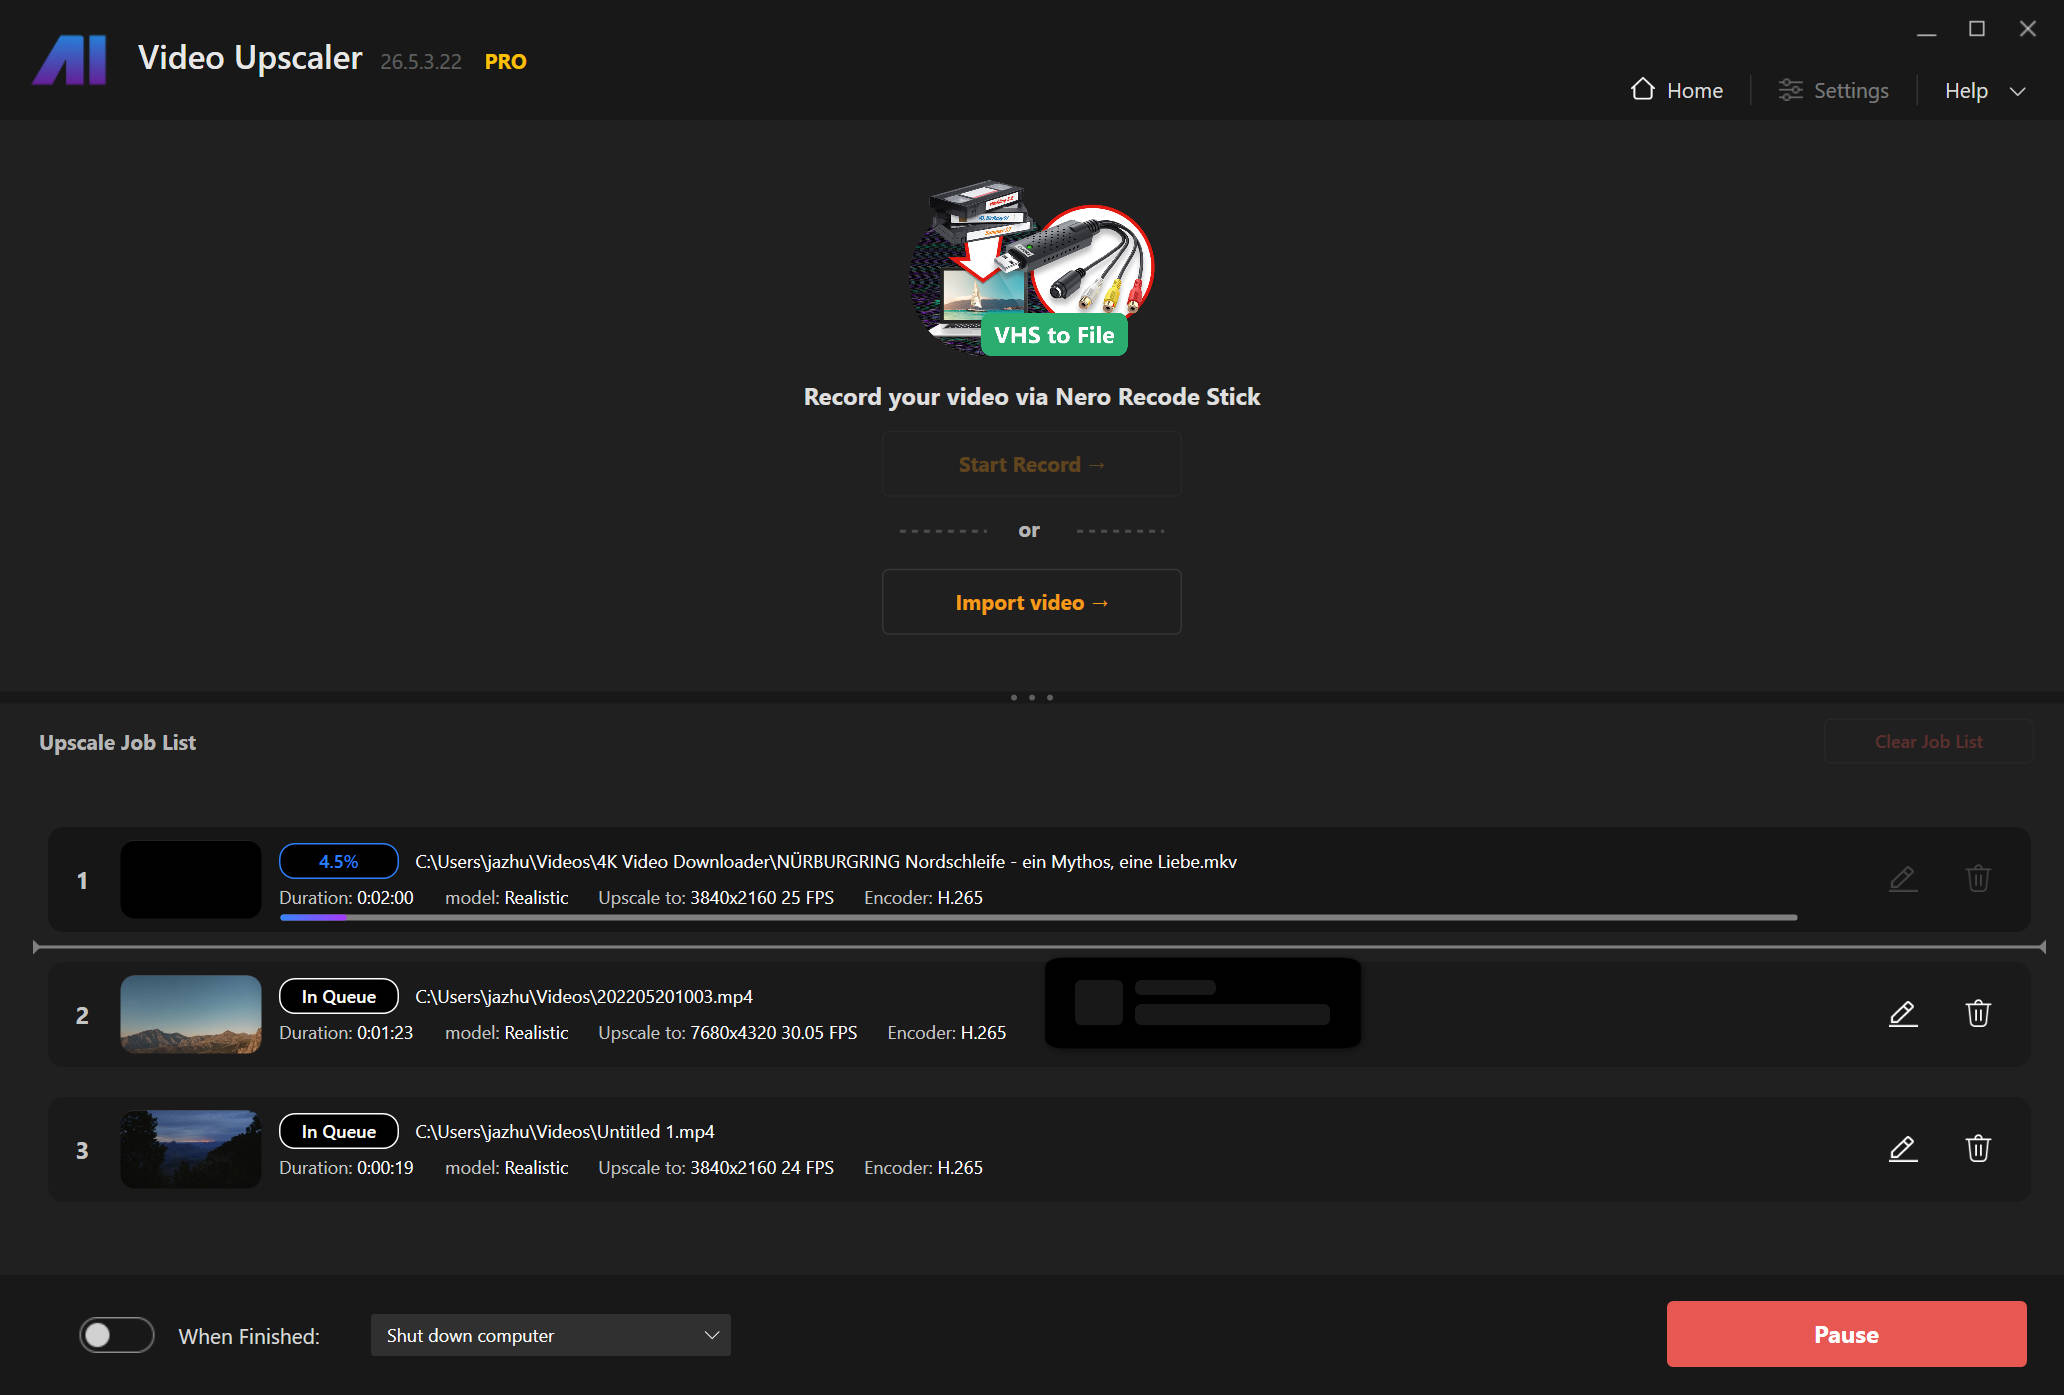
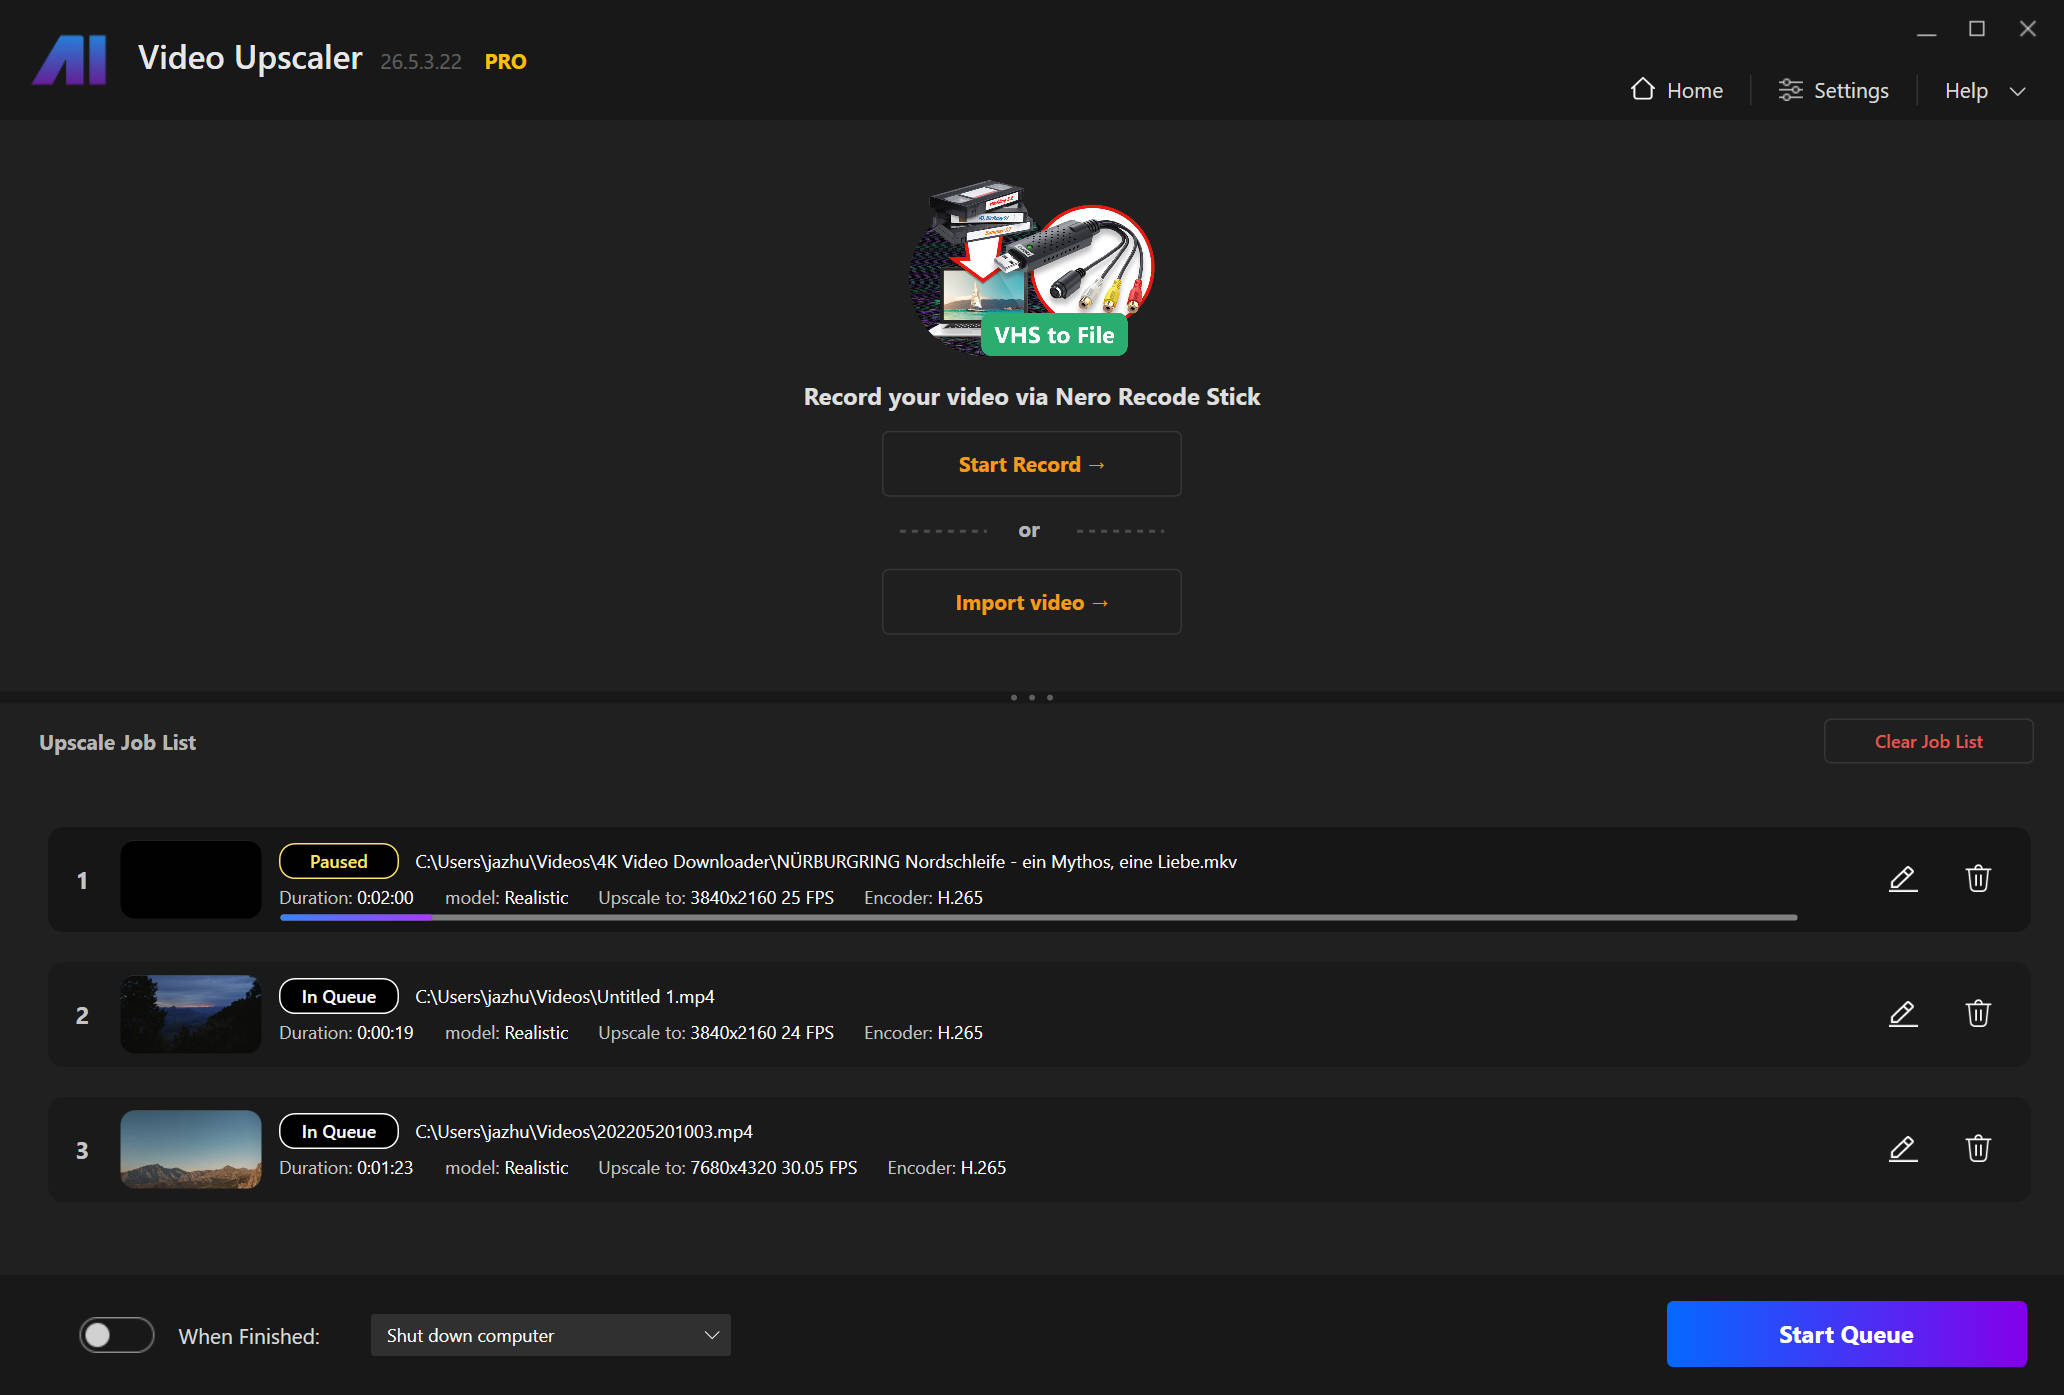
Batch process
Use the “Add to the job list” button to add the current upscaling task to the job list.
Click the “Start Queue” button to start processing all the videos in the list.
Click the “Pause” button if you want to edit the current processing job. Please note that the processed part will be abandoned if you edited the job.
To edit the jobs in the list, click the “edit” button or double click the job to open the editing panel. If you don’t want to save the editing result, please use the “Cancel” or “Home” button to return to the homepage.