Enhance your photos with powerful tools
Nero PhotoSnap is proud to present its latest update, packed with exciting new editing features. Now, you can take your photo editing skills to the next level with advanced tools like AI-powered auto-enhancement, professional-grade filters, and precise color adjustments. Whether you’re a beginner or a seasoned photographer, these tools will help you transform your photos into stunning works of art. Stay tuned for more details on how to make the most of these new features!
Add Text and Clip Art to Your Photos
In the latest update of Nero PhotoSnap, we are excited to introduce our new text and clip art features. Now you can easily add text and clip art to your photos, allowing you to personalize and enhance your images in creative ways. Whether you want to add captions, quotes, or decorative elements, our tools provide you with a wide range of fonts, styles, and clip art options to choose from. With just a few clicks, you can transform your photos into unique and visually appealing compositions. Stay tuned for more tips and tricks on how to make the most of these exciting features!
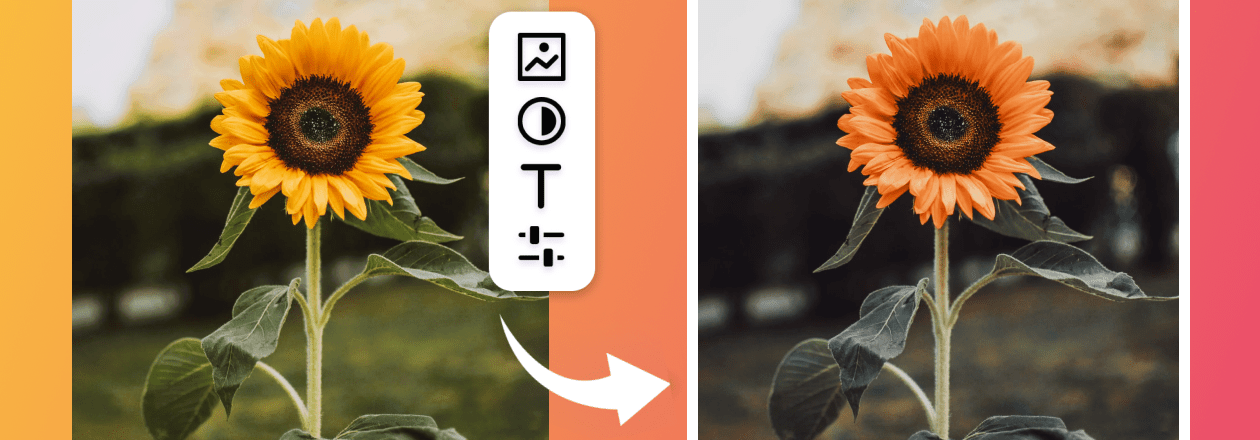
Applying LUT to your photo
With the latest update of Nero PhotoSnap, you can now take your photo editing skills to a whole new level by applying LUTs (Lookup Tables) to your photos. LUTs are powerful tools that allow you to quickly and easily change the look and feel of your images. Whether you want to give your photos a vintage film look, a cinematic color grade, or a trendy Instagram filter, the LUT feature in Nero PhotoSnap has got you covered. Stay tuned for more tips and tricks on how to make the most of this exciting new feature!
Nero KnowHow 00319